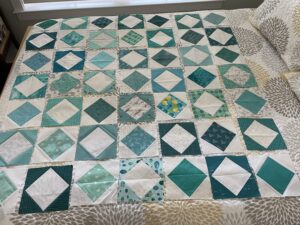
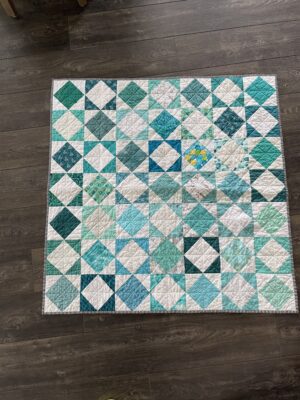
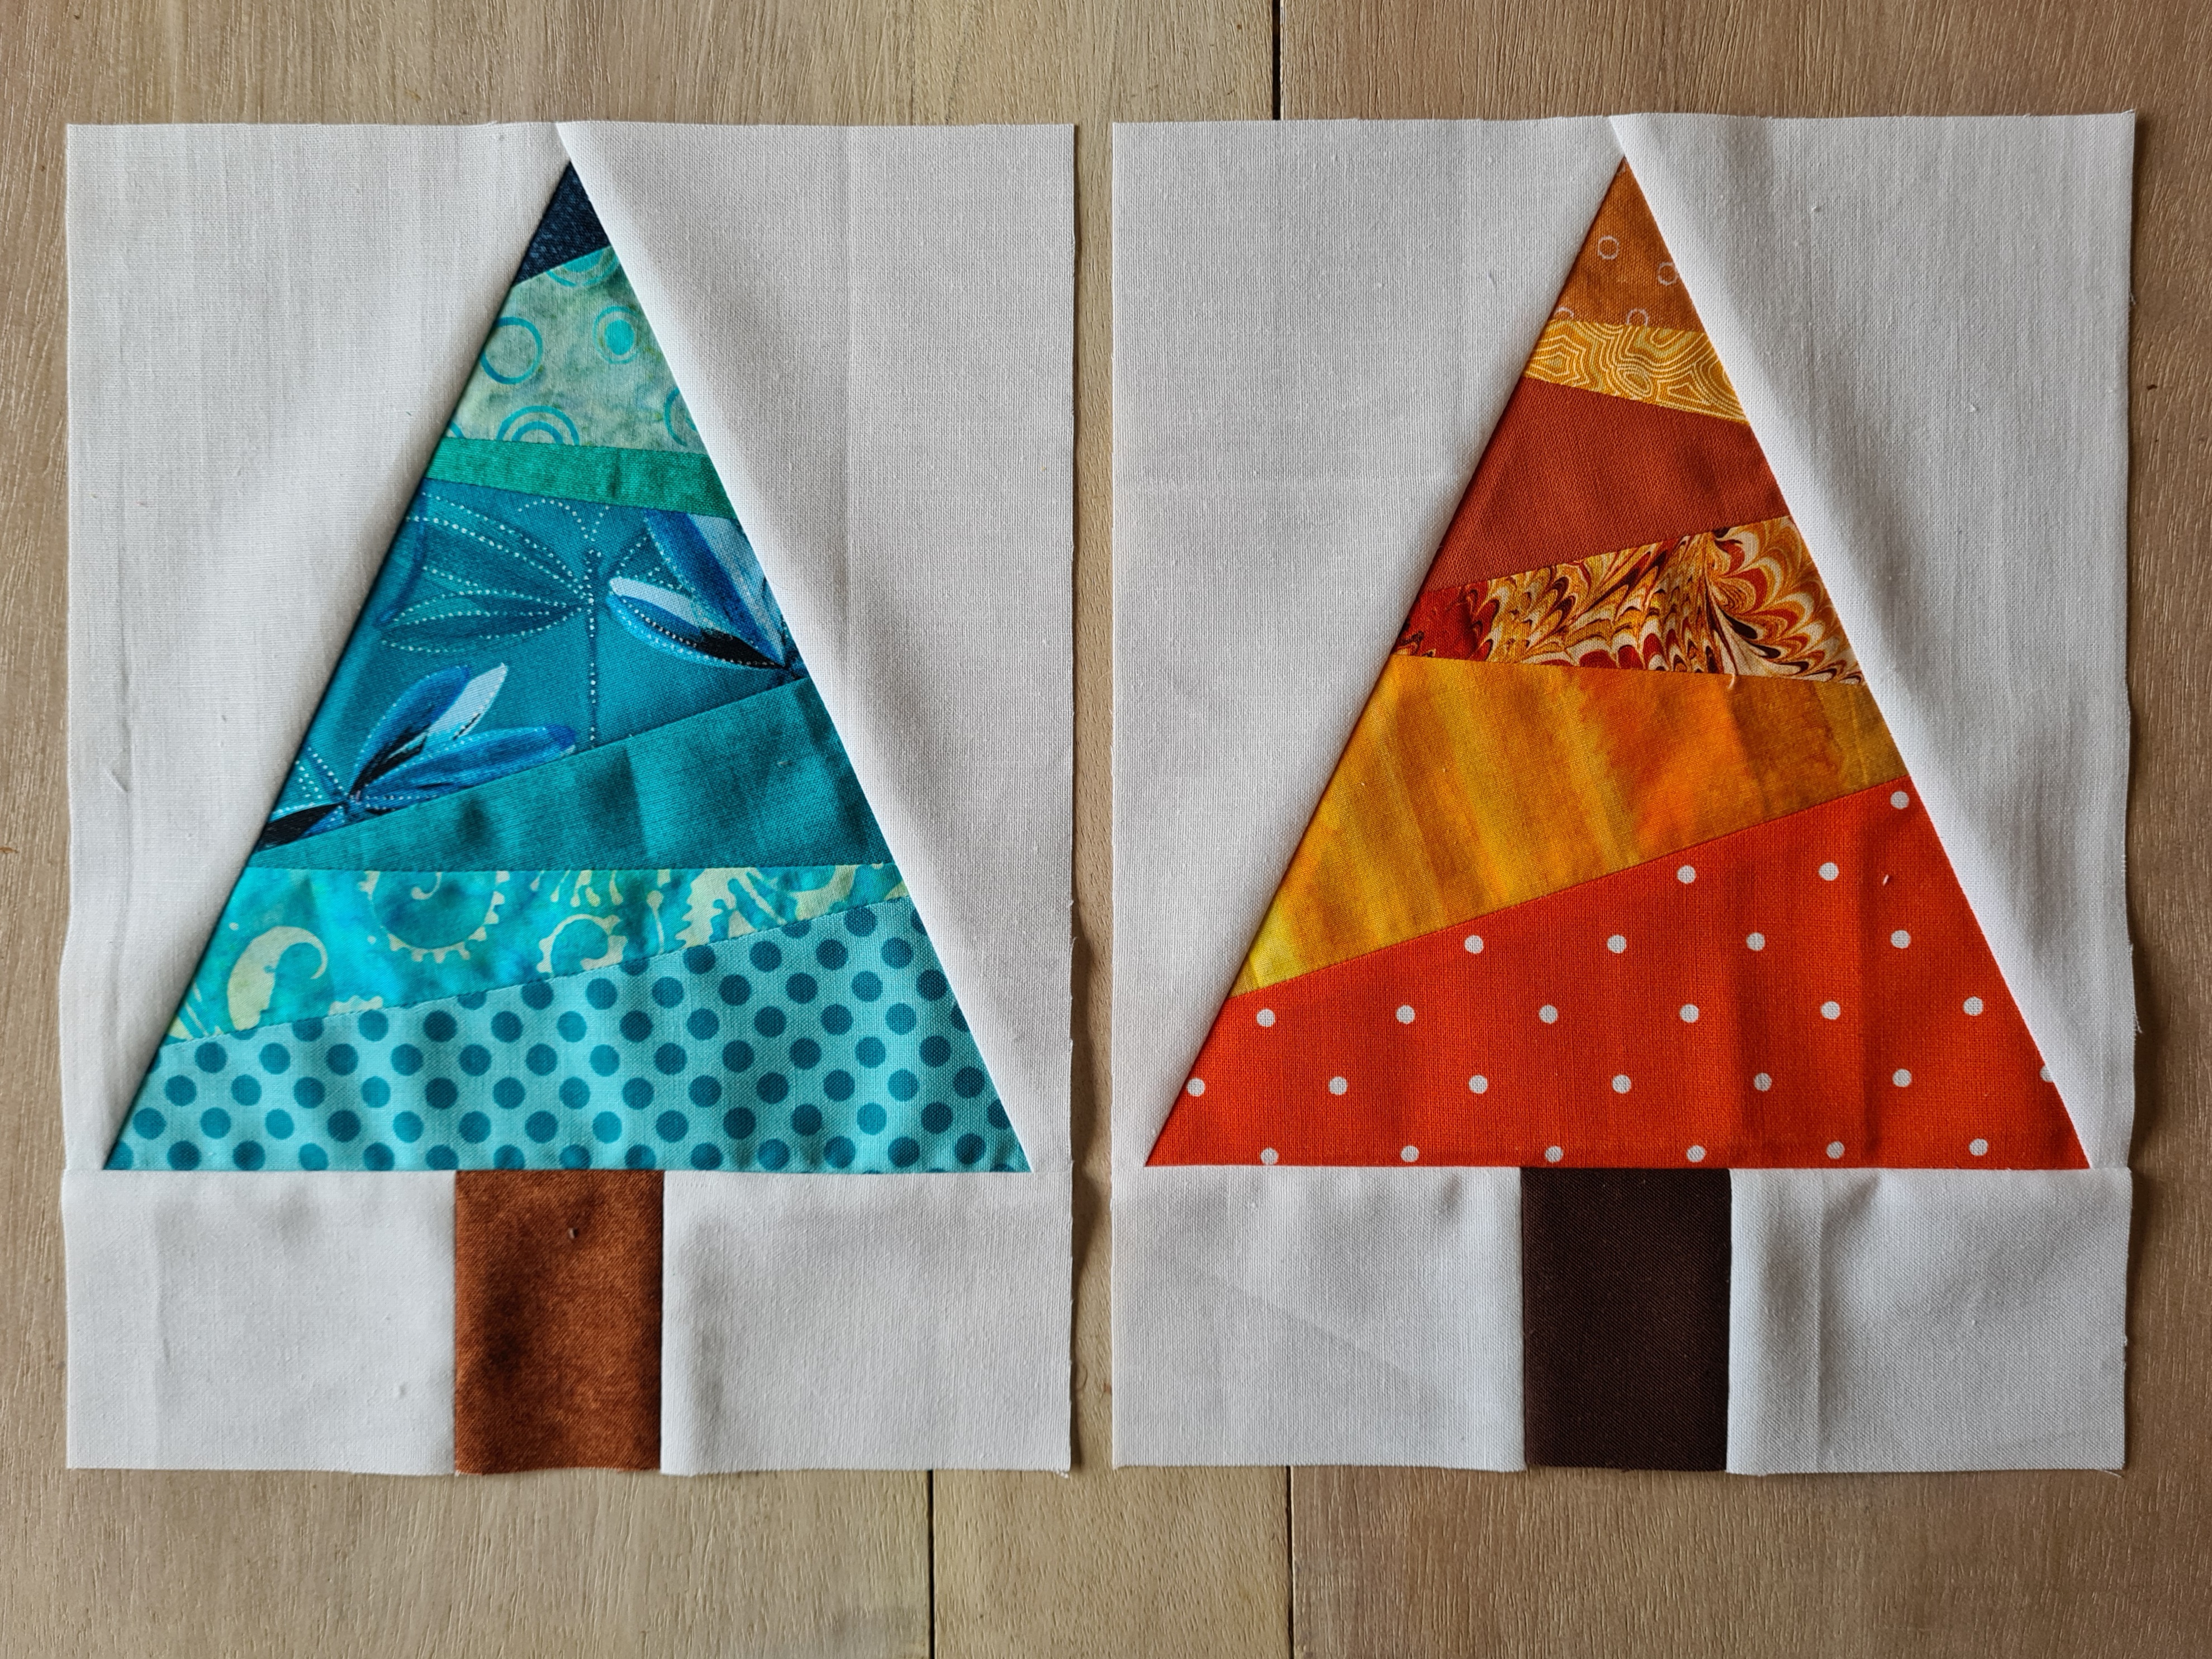
This is my first Stash Bee Swap and I am excited and nervous to share my tutorial! In the months leading up to my turn as queen, I have been going through older posts on the site for inspiration. Emily's post from 2017 about a Magical Forest got me wishing for my own quilt of colorful trees. Her post is full of fun tree tutorials including one by Leah Day that was the jumping off point for this scrappy tree tutorial.
Tree Template
I found it helpful to use a tree
template when creating this block. Cluck Cluck Sew has a free
printable template that creates the perfect size tree. You can download it here. Remember to make sure the scale is at 100% when printing and check the 1" square for accuracy.
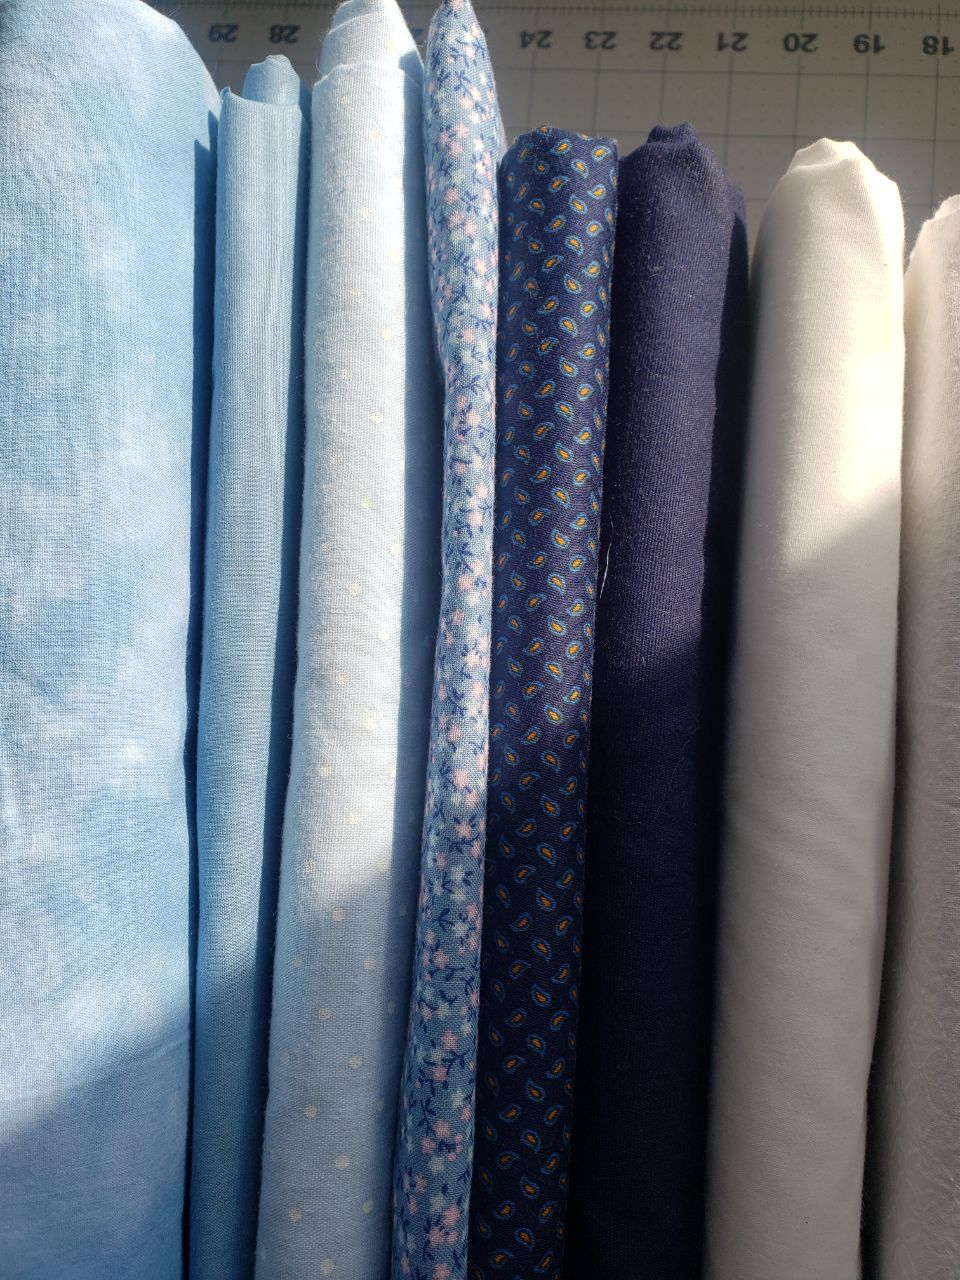
Colors:
The trunk of the tree should be a dark fabric:
brown, black or gray.
You will also need a fabric that reads
as solid white for the background.
You should also select one color for
the body of the tree. The base of the tree should be made up of 3 to 7 fabrics all in the same color family. This pattern is perfect for scraps or small strips of fabric left over from previous projects. I would like the trees to be rich, vibrant, and/or bright. So please select colors that are bright, saturated, or jewel tones.
Patterns and variation in colors are great. Just try to avoid using
too many muted or pastel colors.
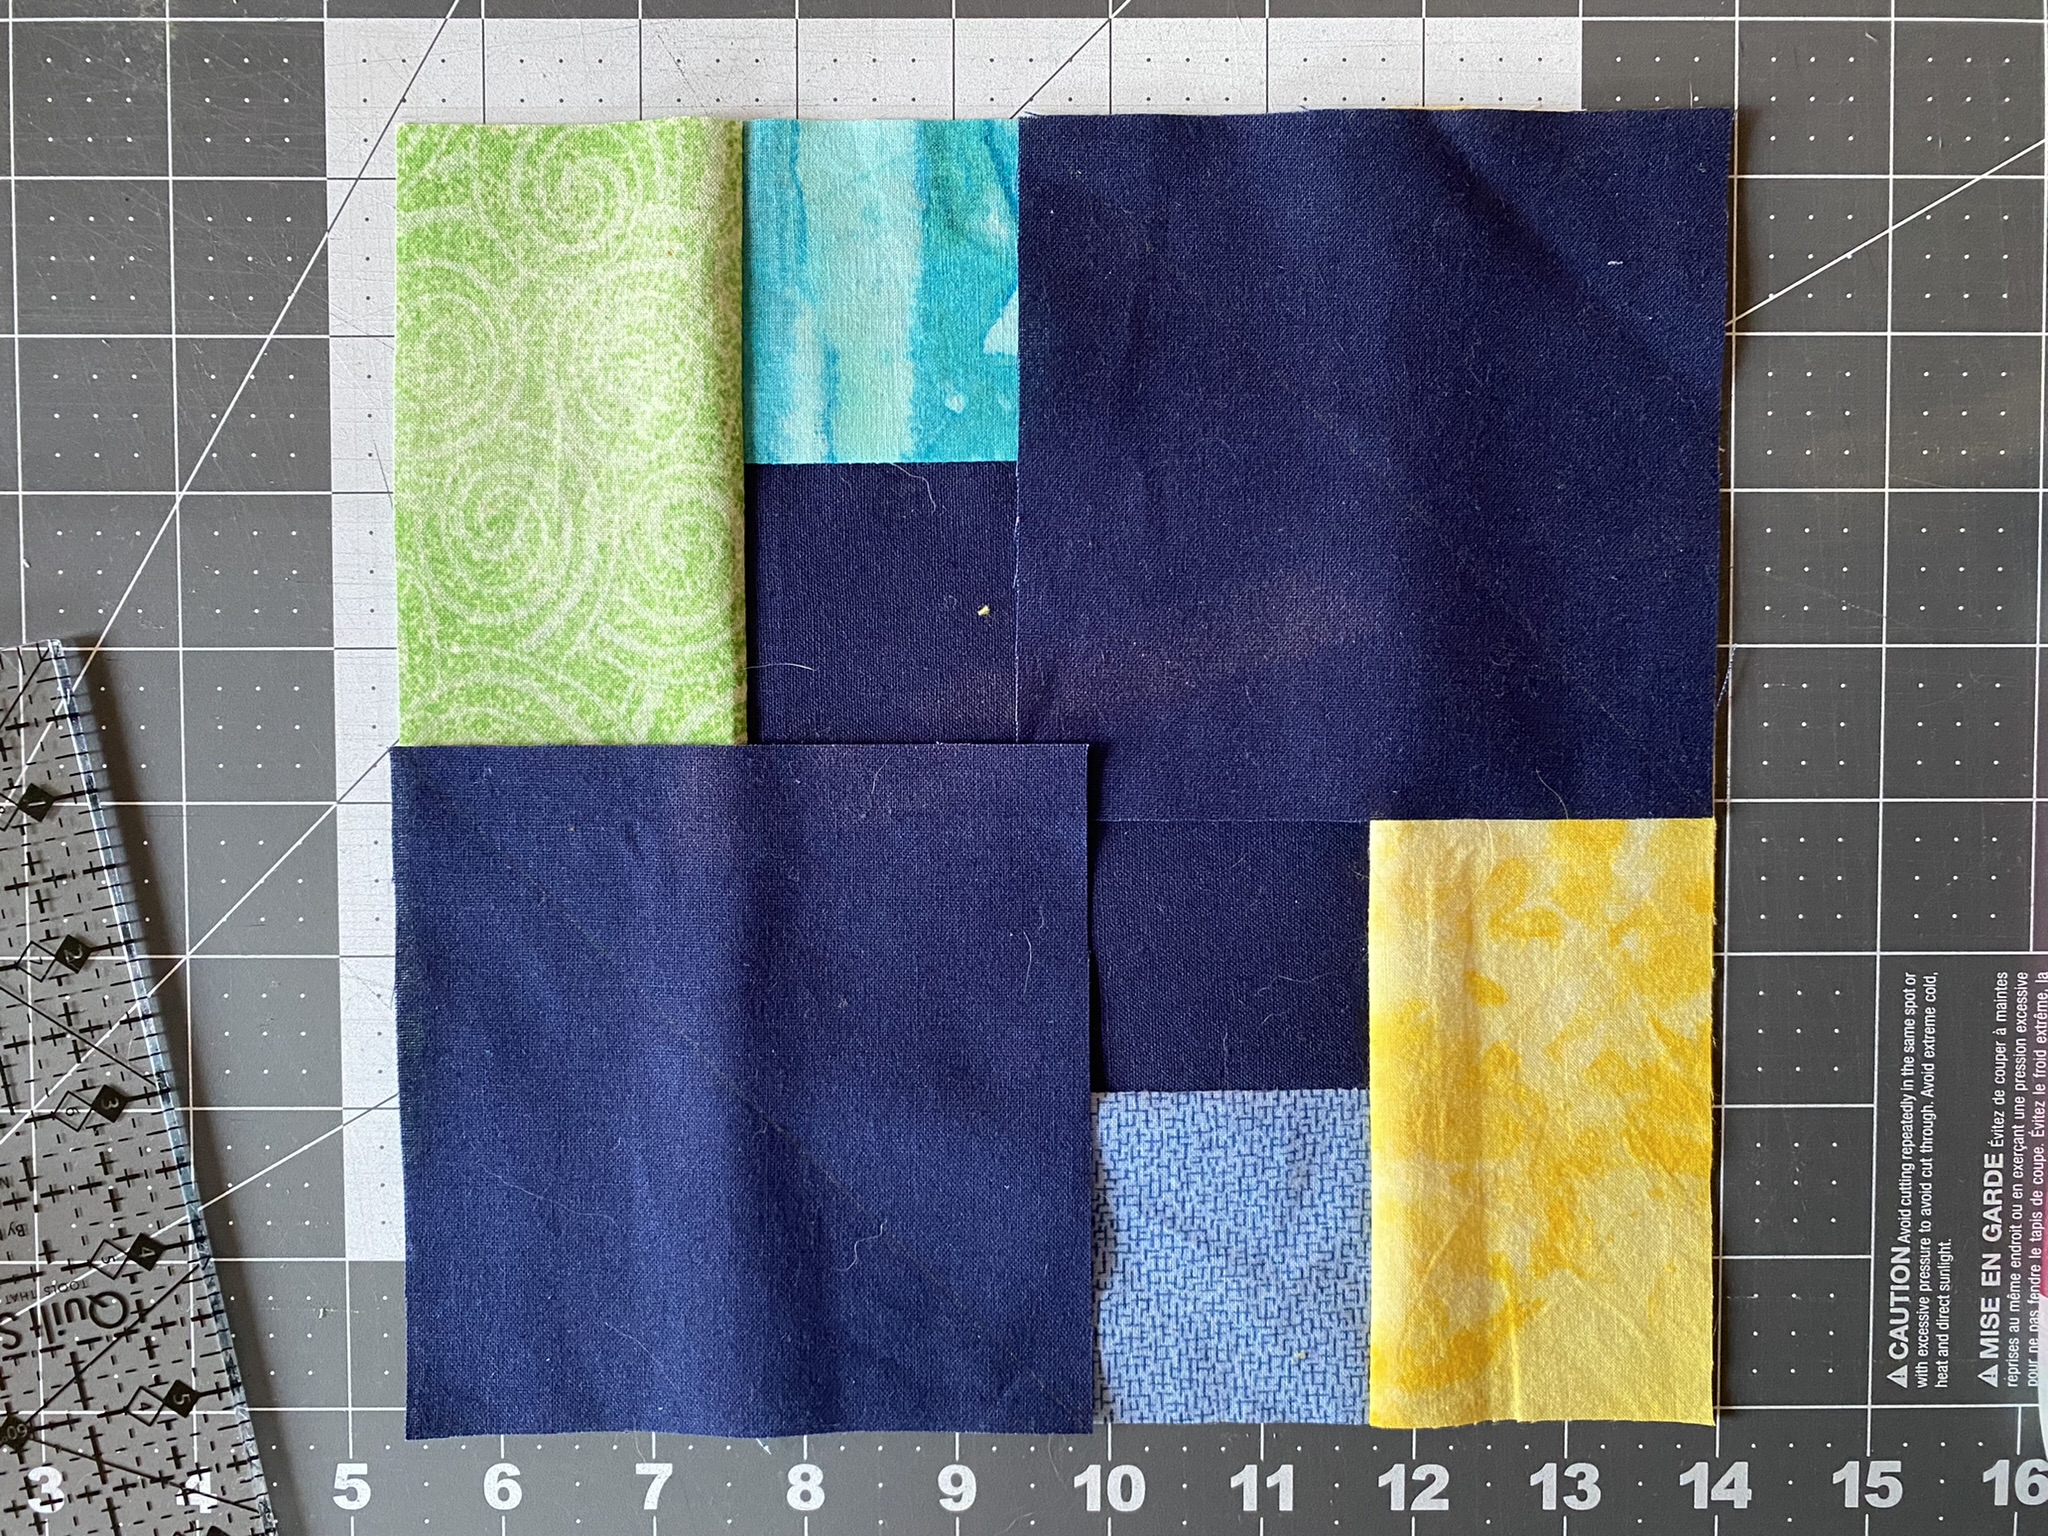
Here are some groups of scraps I choose, but feel free to select any color for which you have a number of bright or jewel tone scraps.
Cutting:
2 white rectangles- 2.5" x 3.25"
2 white triangles- use the template to cut the white triangles that will be the background of the tree.
1 dark rectangle for the trunk - 2.5" x 2"
Body of the tree- Select between 3 and 7 fabrics to make
up the body of the tree. The largest fabric should be at least 7.5" long, so that it fits the bottom of the template. This is a great opportunity to use some small strips or scraps. They do not need to be straight, since we are going to cut them wonky. The scraps will get cut to their final size as the block is assembled.
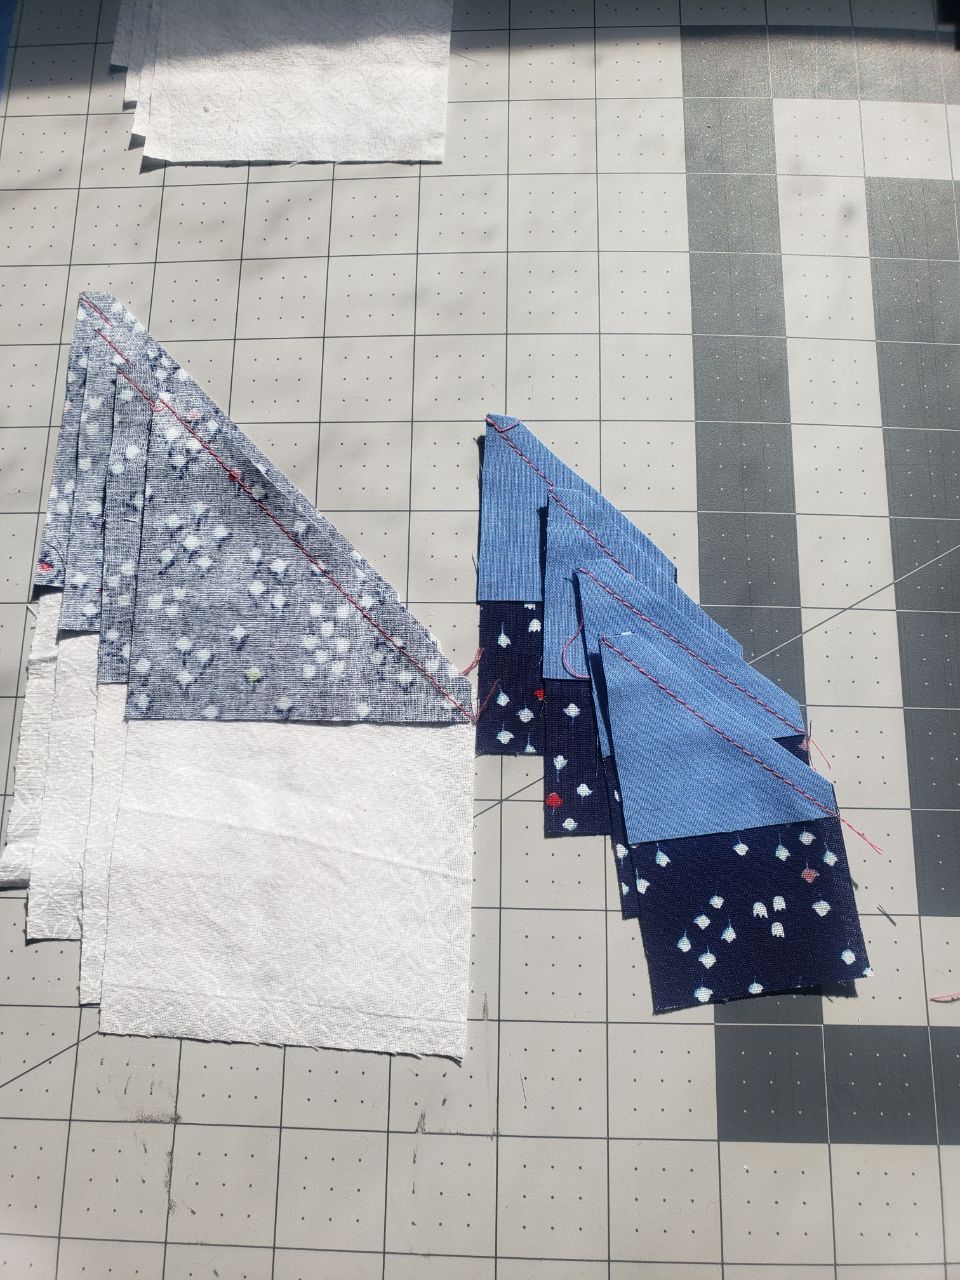
Assembling the Body of the Tree:
Lay out the fabric strip that will be
the bottom of the tree. It should be at least 7.5 inches long, but
can be any height that you choose. You can use your tree template to
verify that the the length is sufficient. Line the bottom of the template along the bottom edge of the fabric. The fabric should be long enough for the template to fit on top of.
Remove the template and cut the top of your first fabric at a wonky
angle. You can chose to make the cut as steep or as shallow as you like.
Now select your next fabric and place
it right side down on top of your first fabric. My second fabric is double sided. If yours is not be sure to place it so that the right sides of the two fabrics are together. The edge of the second fabric should be placed along the edge where you made your wonky cut on the first fabric.
Use your template to verify that the
fabric is long enough. When you place the template along the bottom edge of your first fabric, there should
be a little bit of the second fabric visible on either side of the
template (see arrows in picture below).
Sew the two fabrics together using a scant quarter inch seam. Press to the dark side and open. Now make another wonky cut, this time in the opposite direction as you did for the first fabric.
Add the next fabric strip. As before you
should place it face down on your fabrics so that the right sides are together.
Use your template to verify that the size and positioning of the fabric is correct. As you can see in the image below, you should be able to see the edges of the fabric peaking out from both sides of the template.
Sew this fabric onto your base tree stack and press.
Now make another wonky cut in the other direction.
Continue adding fabric and cutting until you reach the top of the template. For this tree, that meant adding one more piece of fabric.
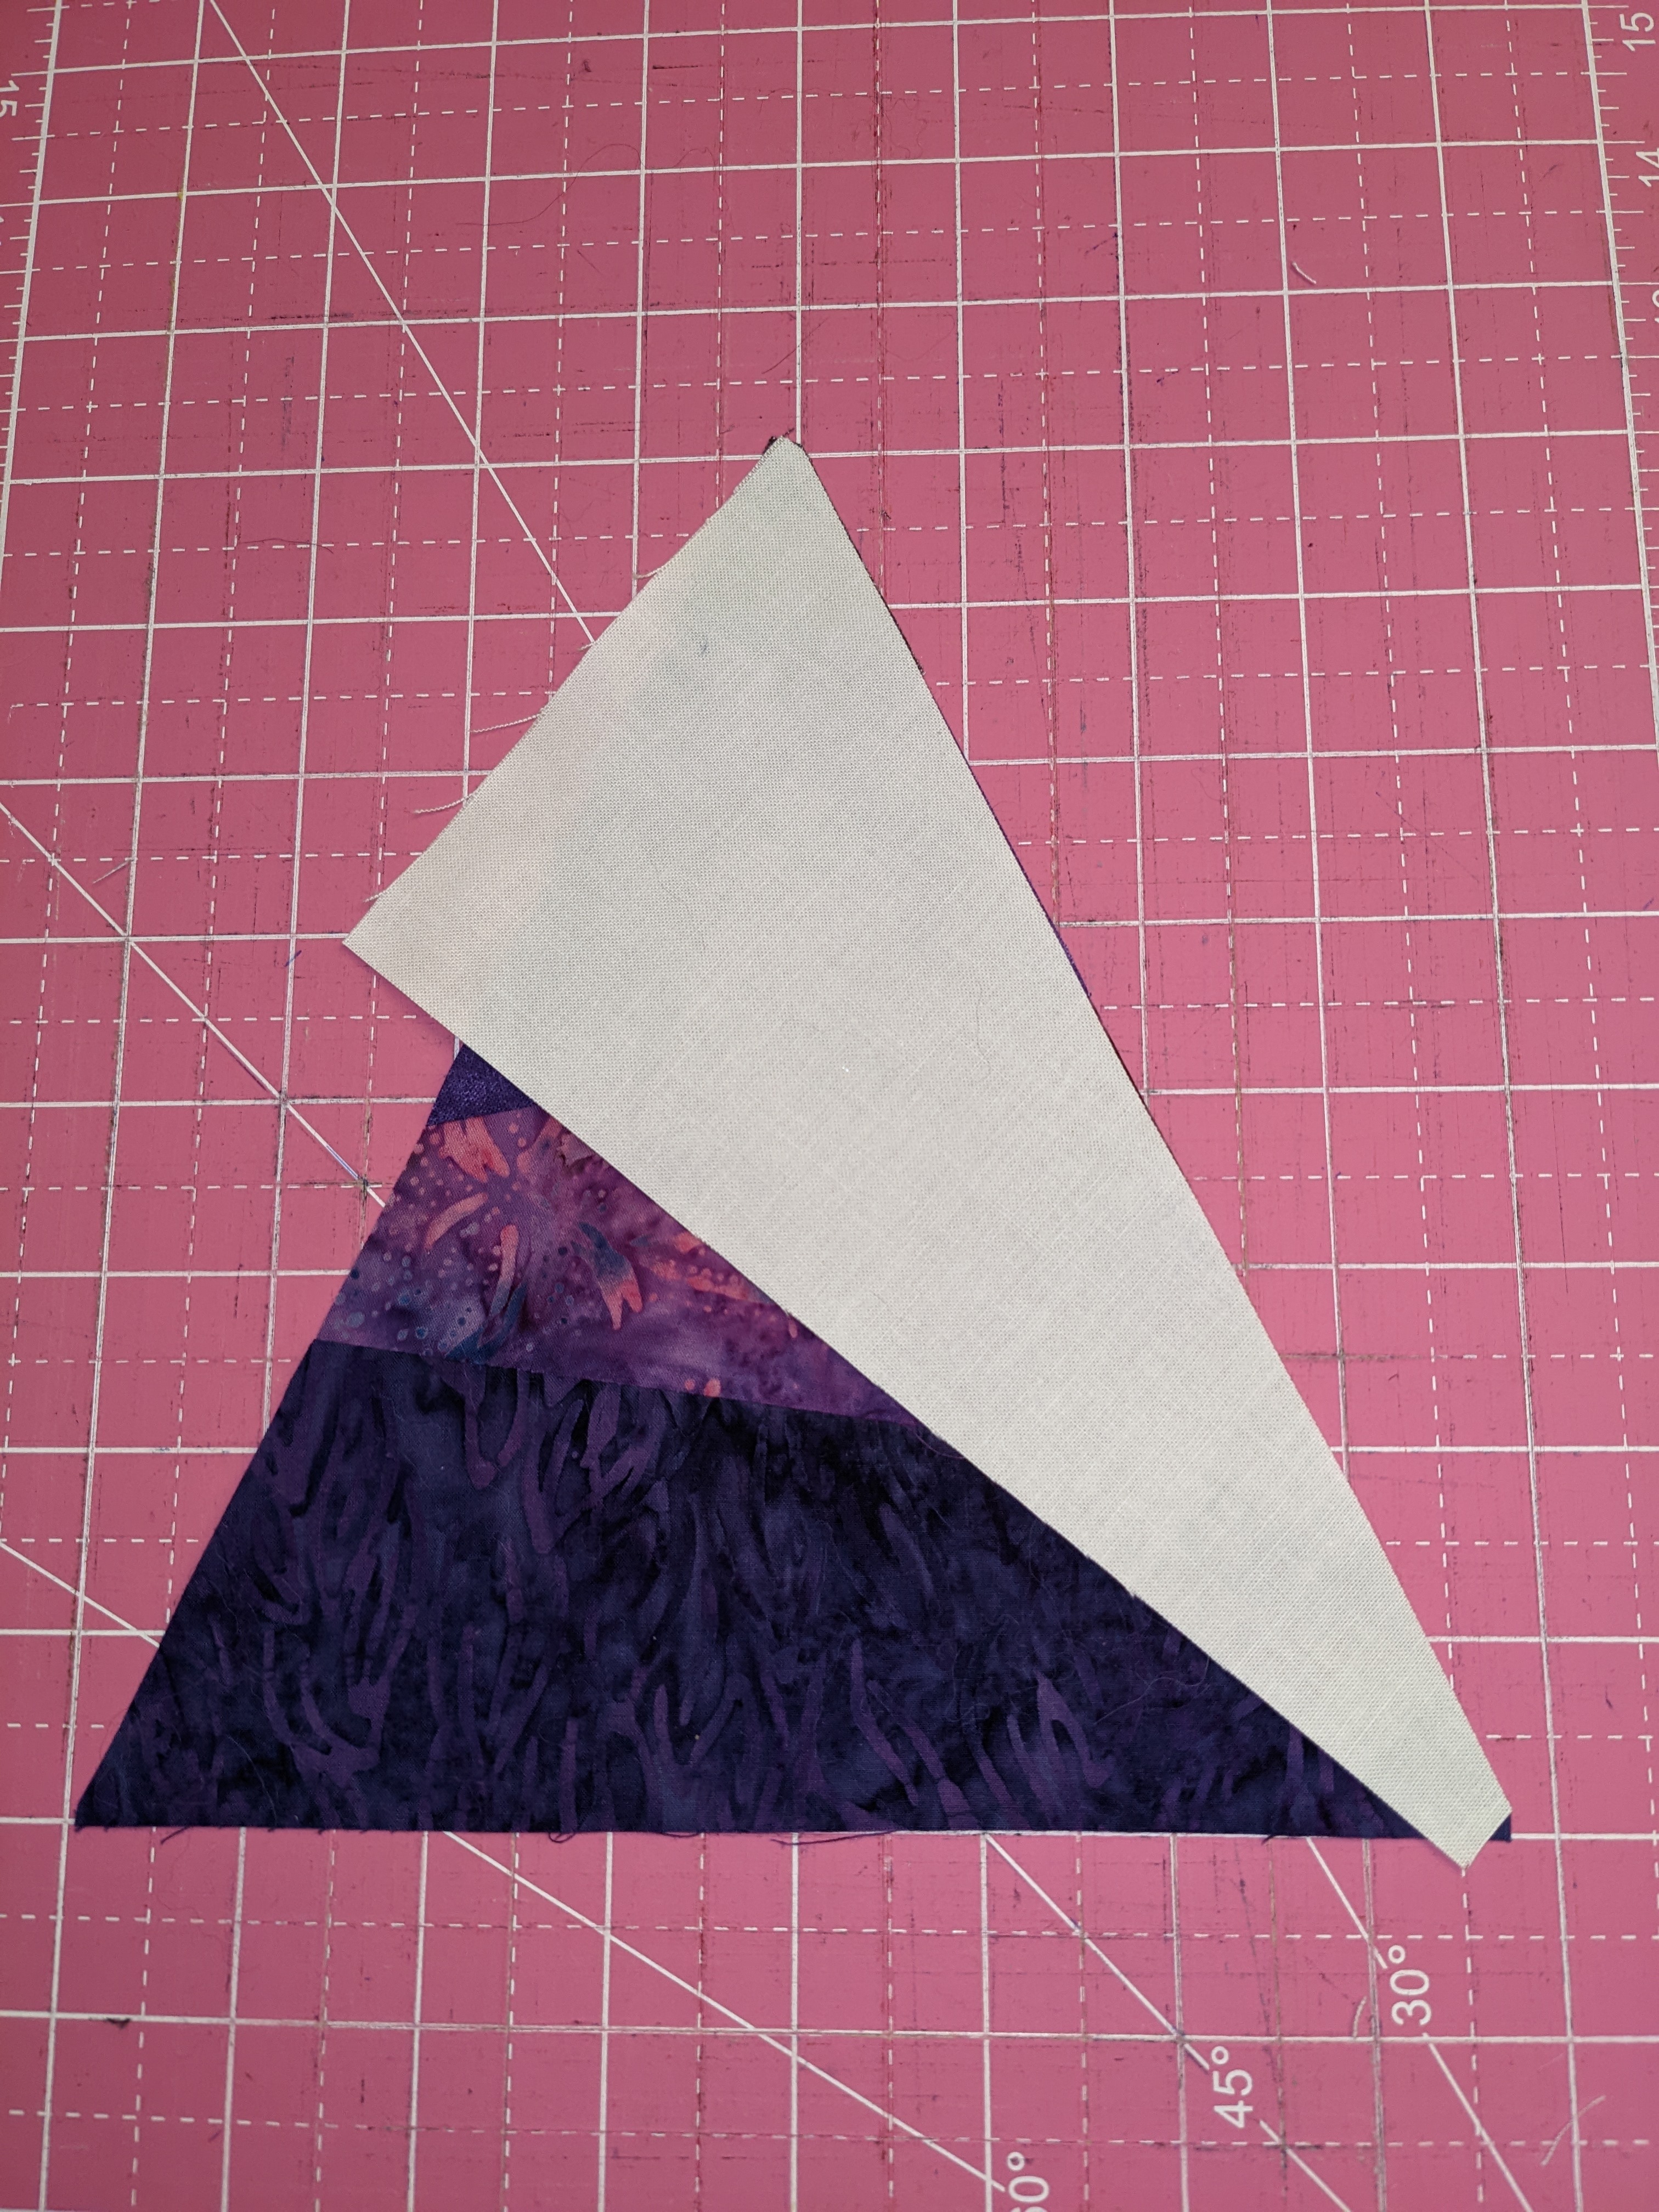
Once you have reached the top of the tree, use the template to cut of the excess fabric. Position your ruler along the edge of the template to make your cuts.
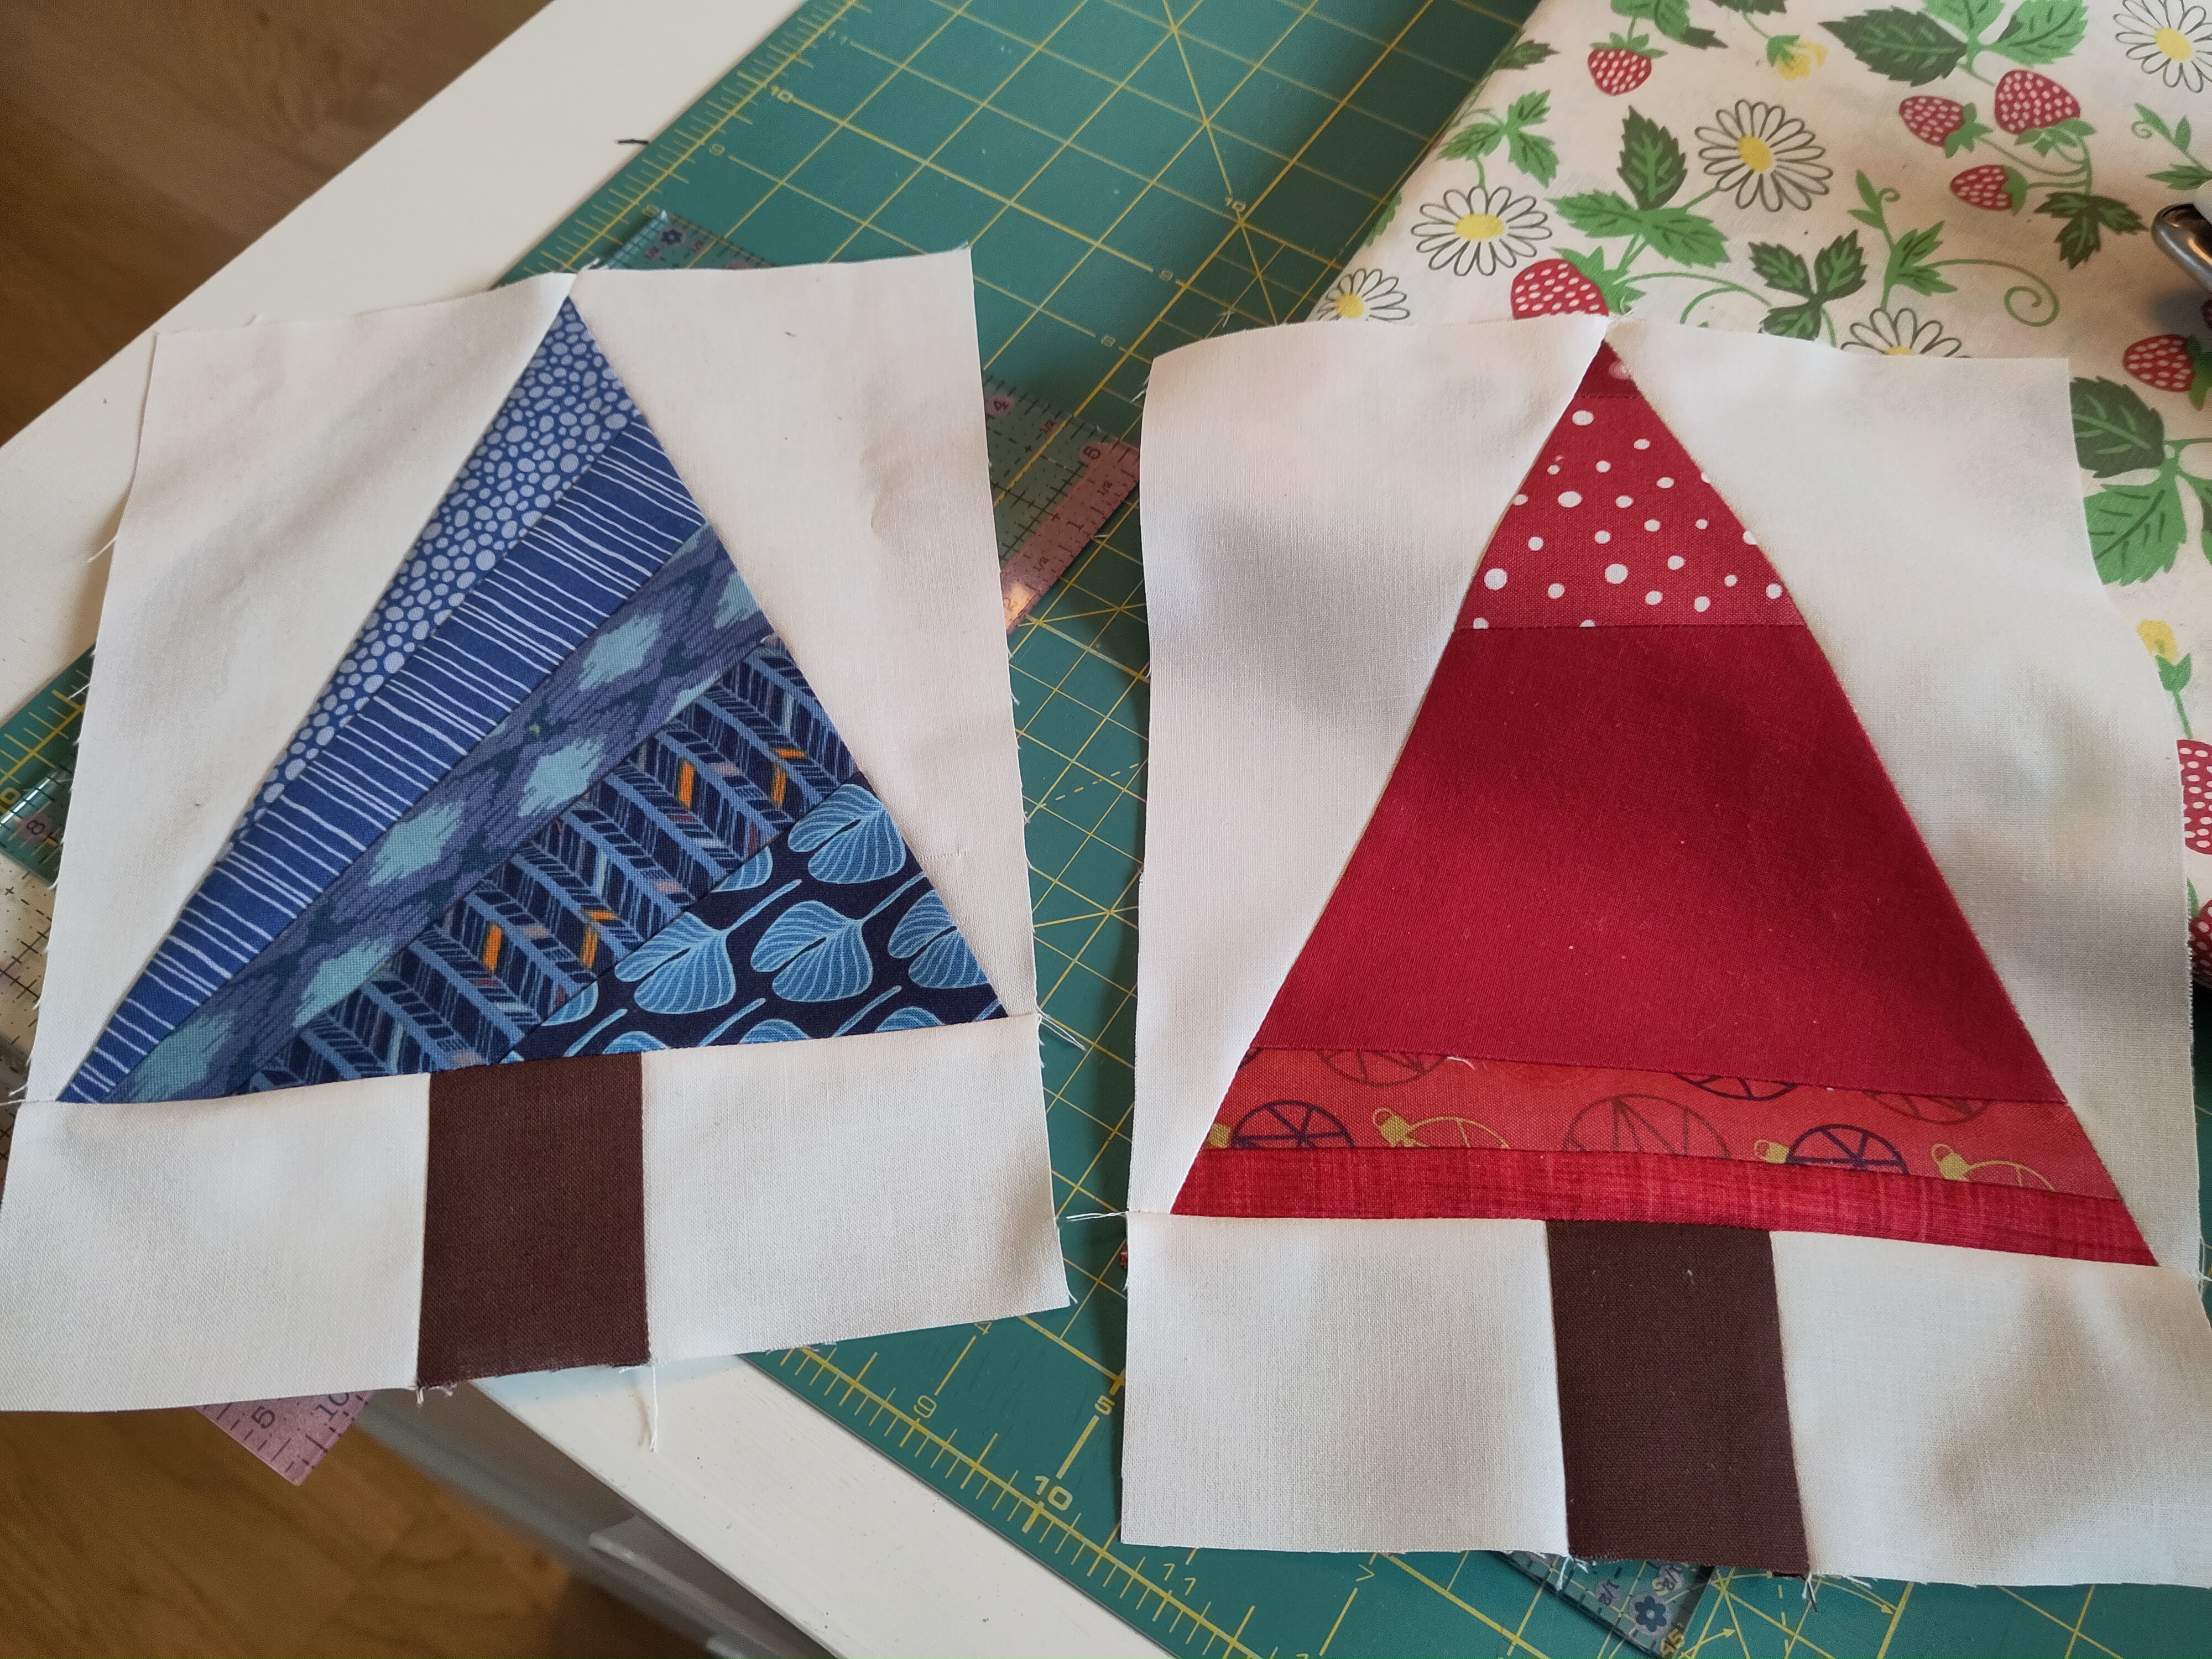
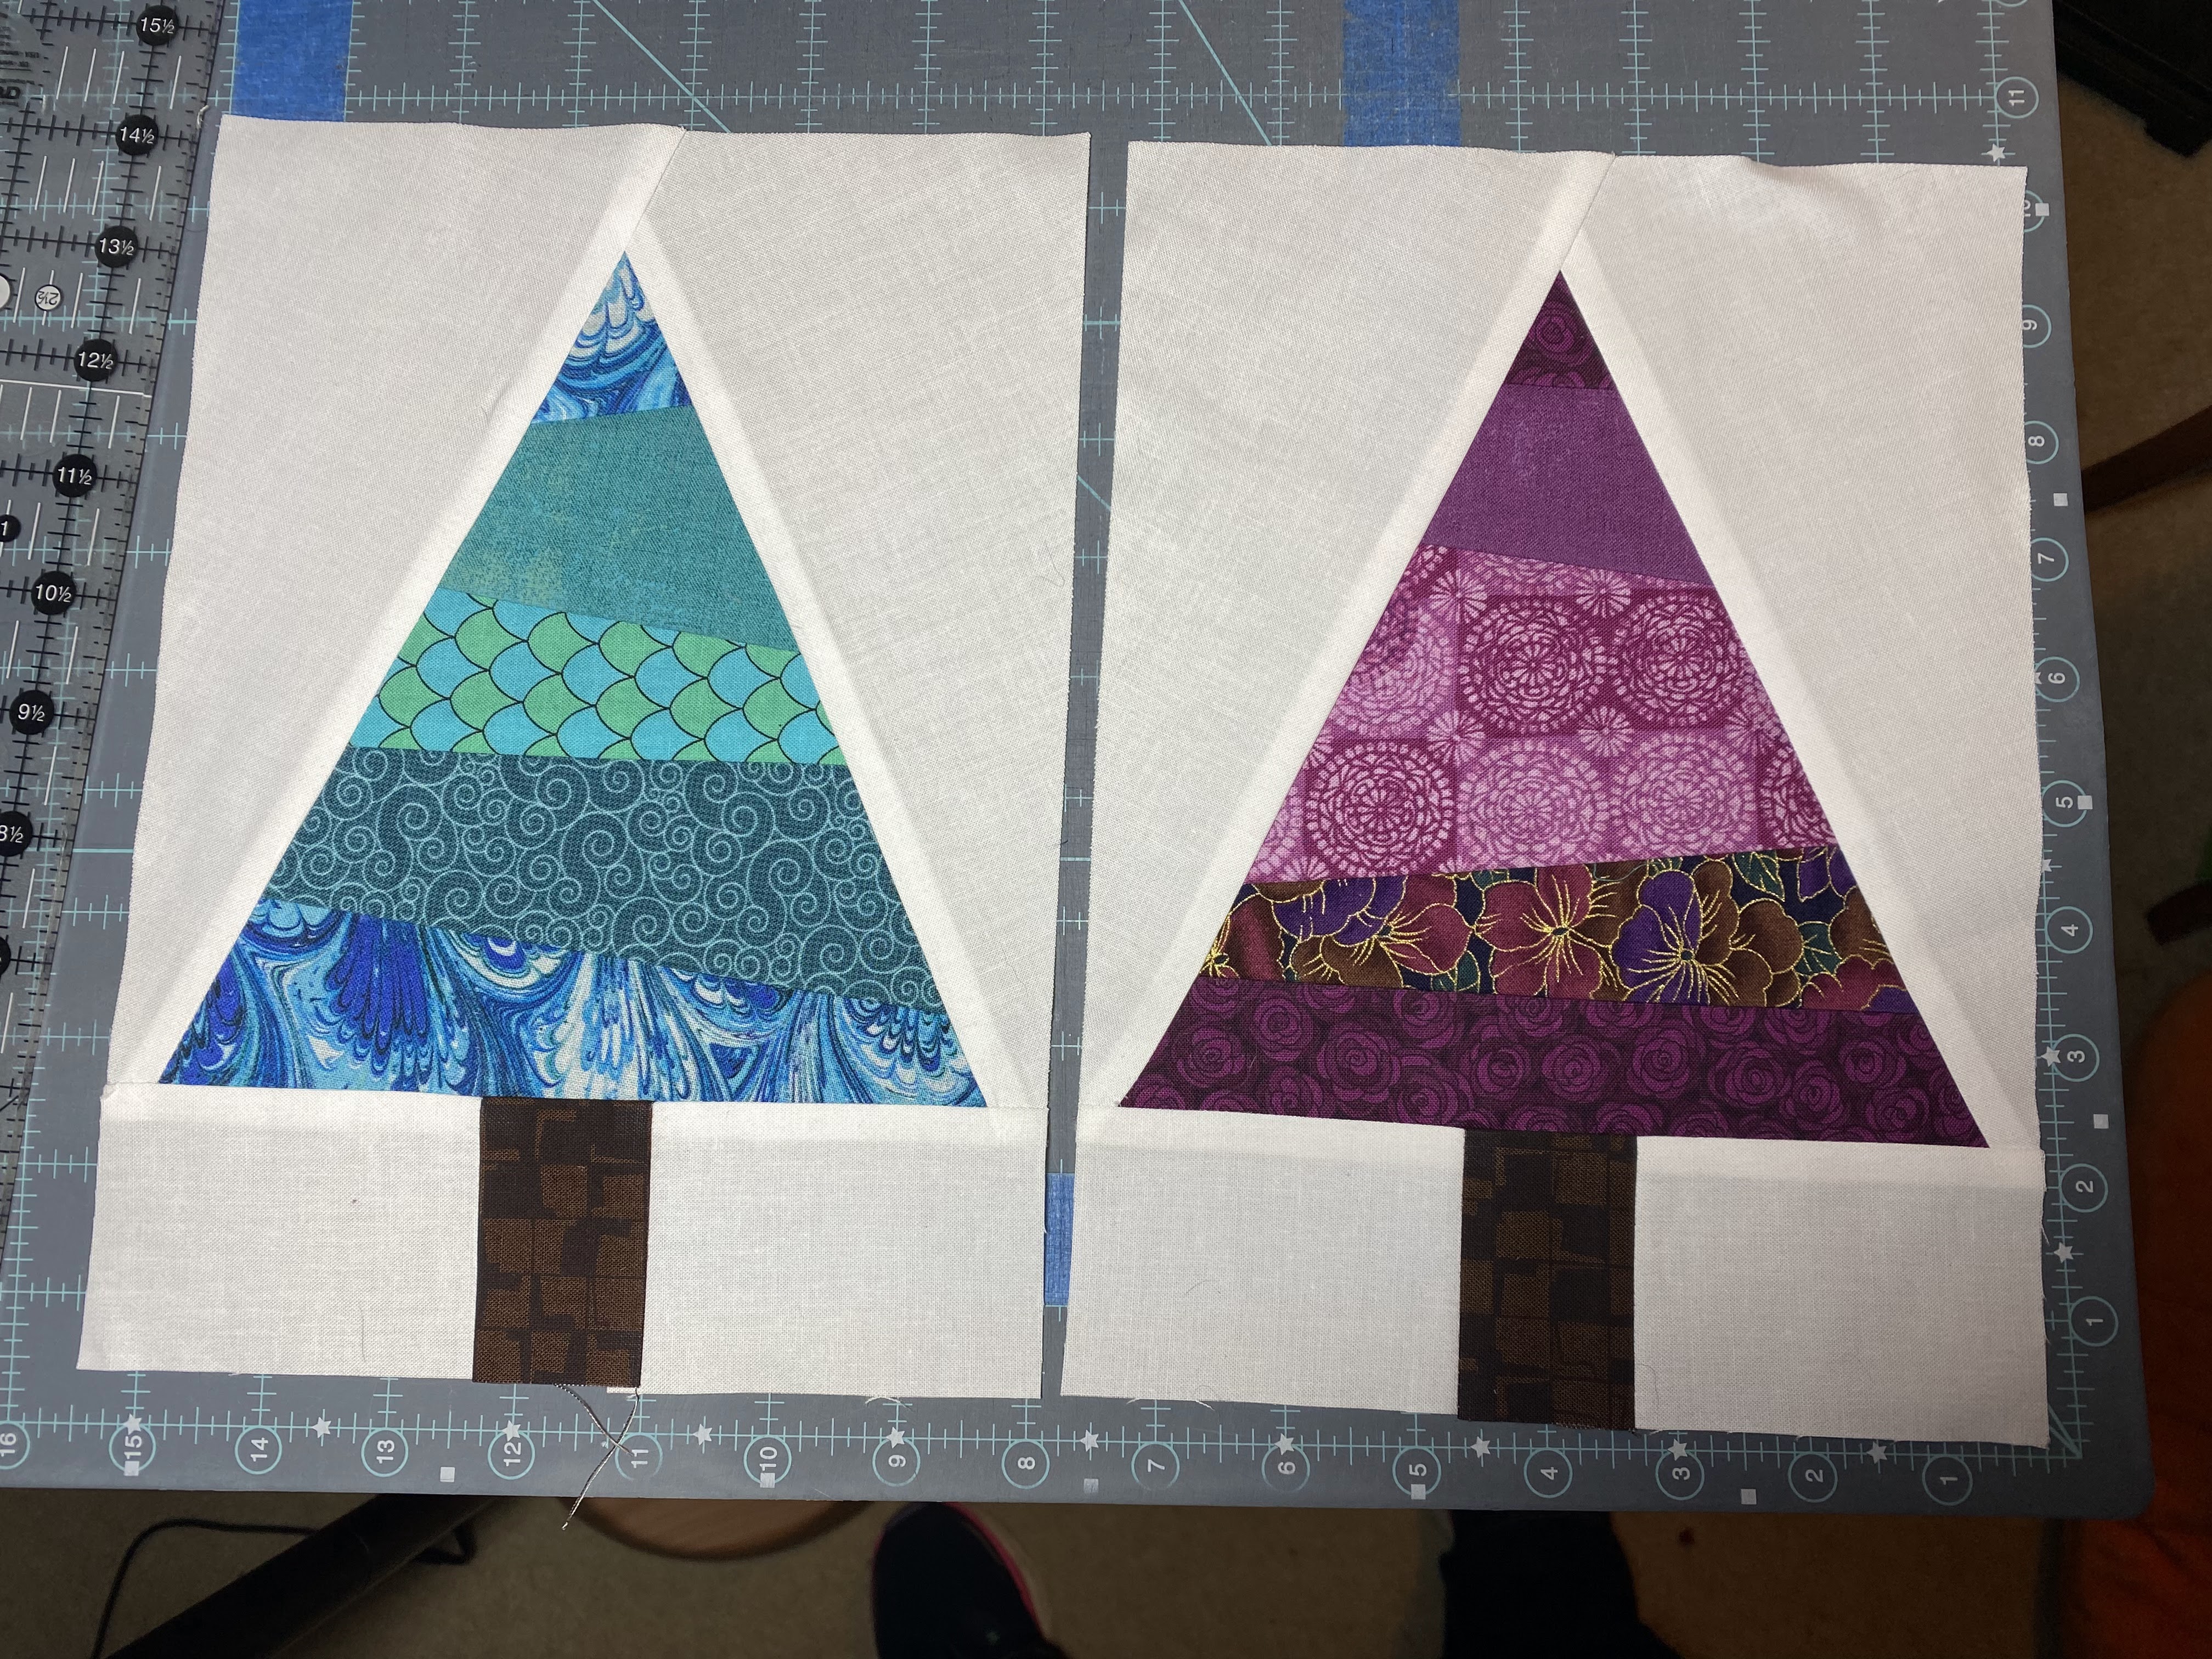
This will reveal the final, scrappy triangle that will be the body of the tree!
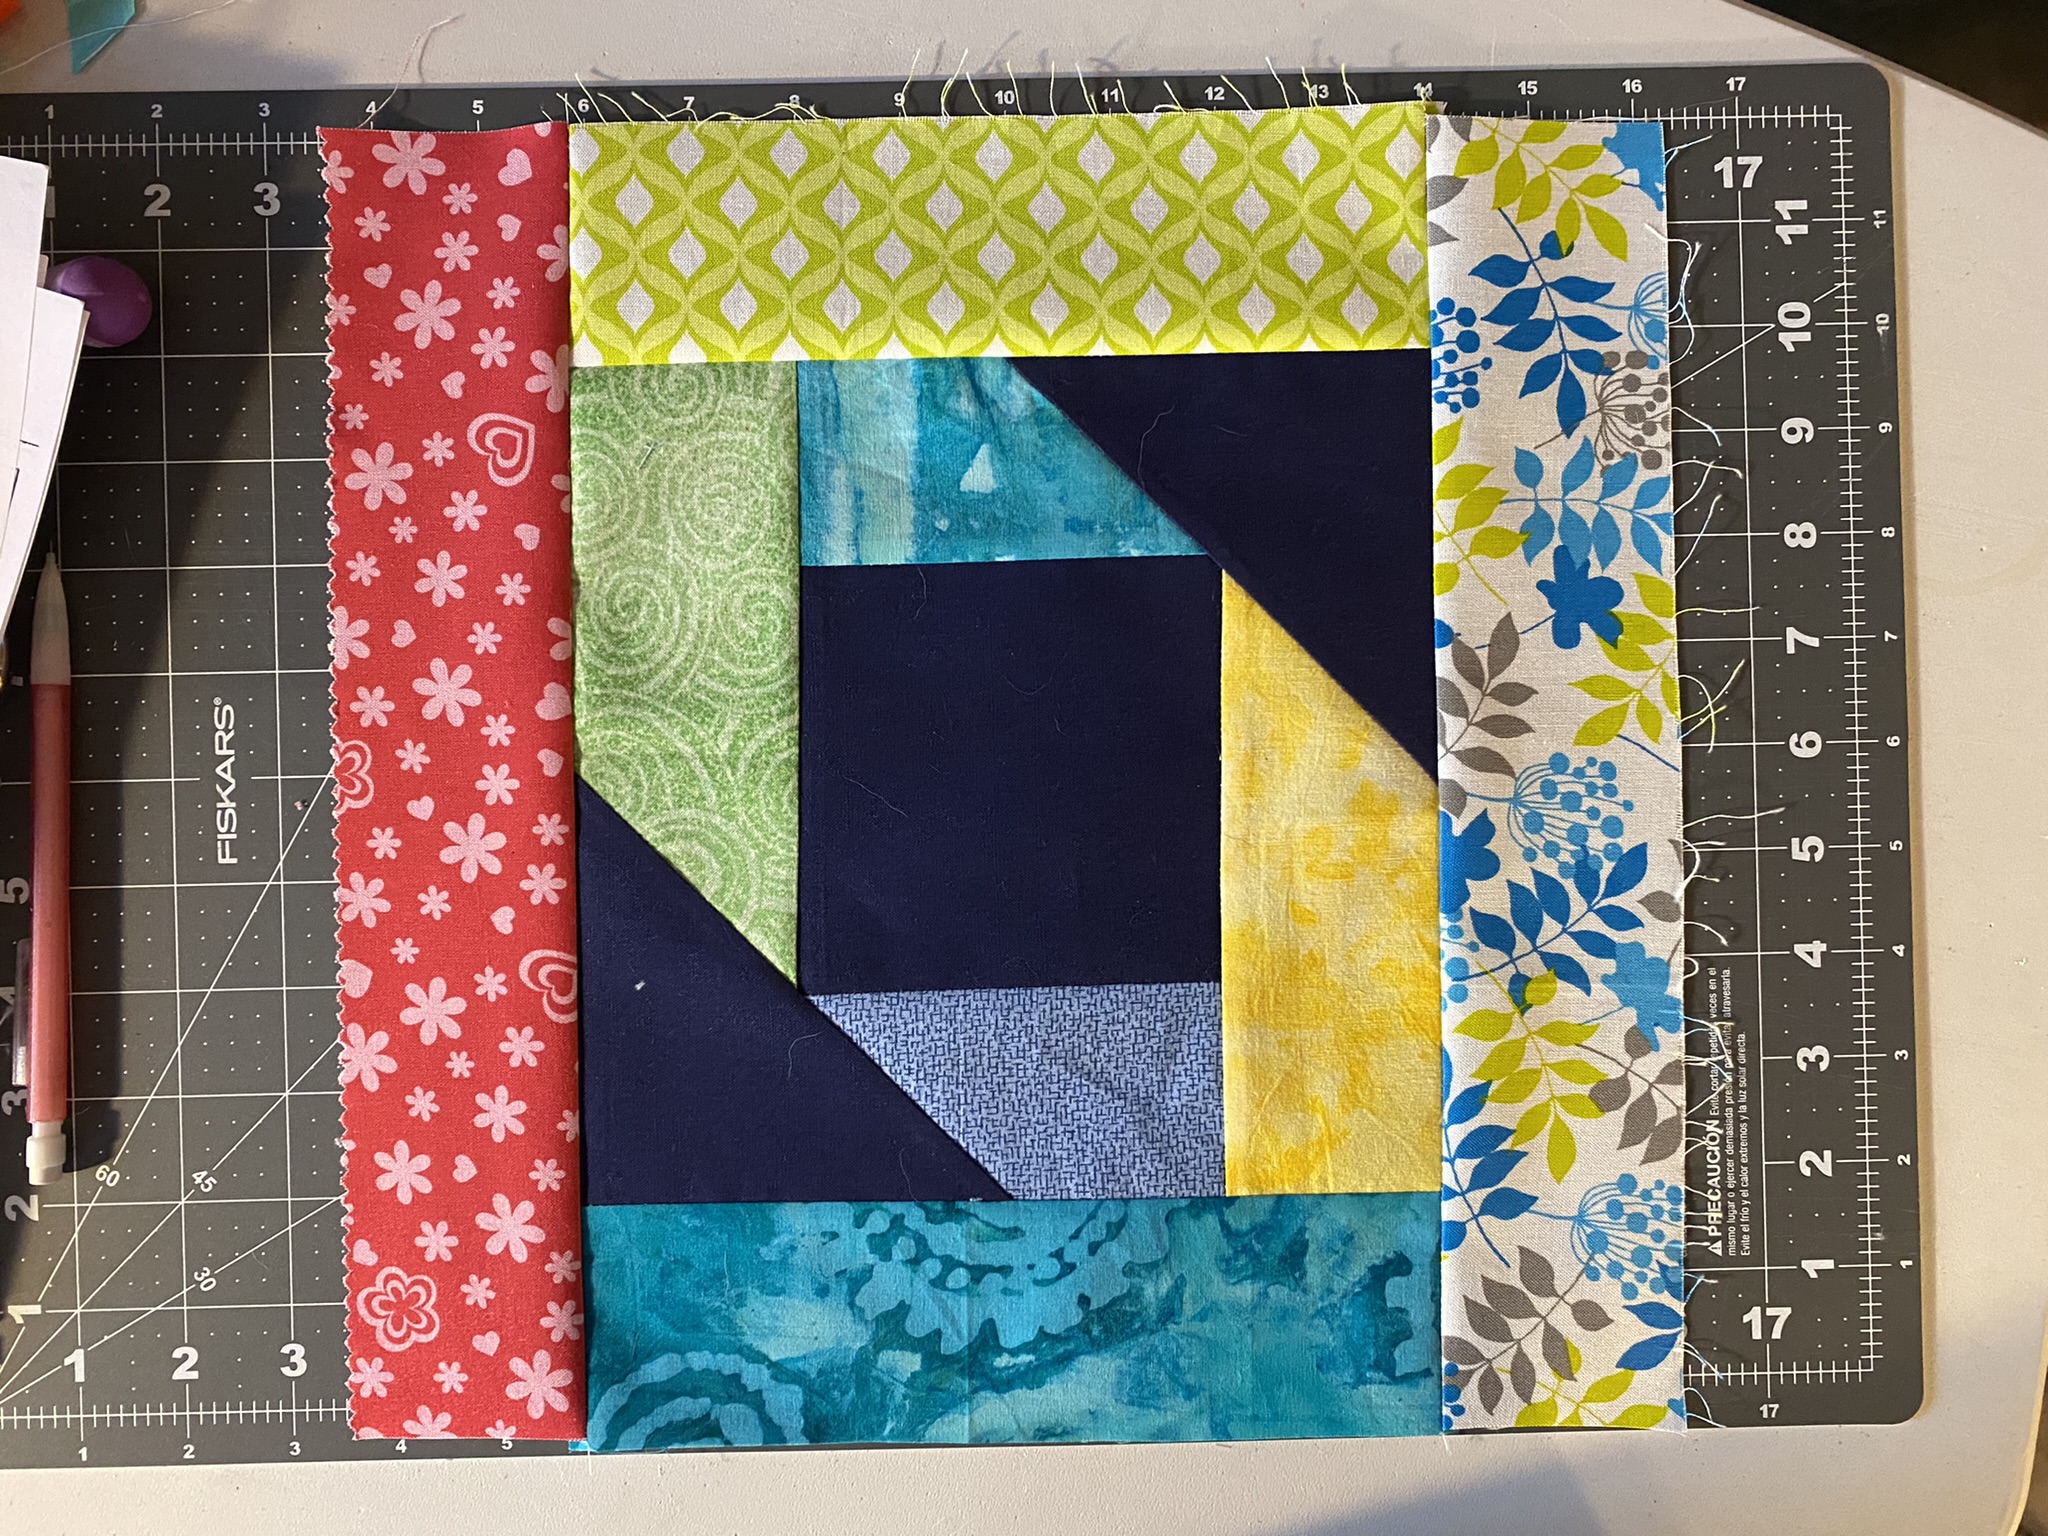
Add White Background
Now you can attach the white triangles you cut out using your templates to the body of the tree. Match the large end of your white triangle with the
small end of the tree and line up the edges. Sew together using a scant quarter inch seam.
Now do the same thing on the other side.
Assemble and Add Trunk:
Position the dark trunk fabric between
the two white rectangles so that the sides that measure 2.5" match up.
Attach one white fabric and then the other to the edges of the
trunk. Then sew the trunk section to the bottom of the tree to finish the block!
That is it! You finished scrappy tree block should be 7.5" x 10".
Thank you for including me in such a fun year of swapping!
-Starla


.png)


