


Hi Rita
Your block was fun to make and very quick. I only realised afterwards that the orange and black look like Halloween. But I hope I will work with all the other blocks you’ll be receiving.
This one will go in the mail today 😊
Ruth

Hello Hive 1:
The weather in Kentucky is certainly conducive to sewing these days. The farm is blanketed with snow and COLD. Here’s my block for February:
Jane

Hi everyone! This month I’m asking for a Log Cabin block. My mom had a blue log cabin quilt that I always loved as a kid and I thought it would be nice to make one of my own, with your help!
Preferred Color Palette:
I’m hoping for darker fabrics that are blue(ish) - all medium/dark shades of blue, teal, violet and lighter fabrics (white, off white, tan, light blue, light gray, beige, etc.). You’ll need a square and 6 rectangles of the darker fabric and 6 rectangles of the lighter fabric - they can all be different, or you can repeat fabrics. Solids, prints, batiks are all fine. I’d like to avoid anything with words if possible, as well as anything juvenile/licensed and holiday related. Here are fabrics I pulled and considered for my sample blocks.Dark:
Light:
Something along these general lines, but feel free to add violet, some more medium toned blue/teal/violet, some pale grays/pale blues…
Cutting Instructions
Light Fabrics
1 rectangle - 2 inches by 3.5 inches (B)
1 rectangle - 2 inches by 5 inches (C)
1 rectangle - 2 inches by 6.5 inches (F)
1 rectangle - 2 inches by 8 inches (G)
1 rectangle - 2 inches by 9.5 inches (J)
1 rectangle - 2 inches by 11 inches (K)
Dark Fabrics
1 square - 3.5 inches by 3.5 inches (A)
1 rectangle - 2 inches by 5 inches (D)
1 rectangle - 2 inches by 6.5 inches (E)
1 rectangle - 2 inches by 8 inches (H)
1 rectangle - 2 inches by 9.5 inches (I)
1 rectangle - 2 inches by 11 inches (L)
1 rectangle - 2 inches by 12.5 inches (M)
I did this late at night, so some of the colors in my photos below are off, but the construction should be easy enough to see.
Take the blue square (A) and sew the 2x3.5” white rectangle (B) to the top of it. Then sew the 2x5” rectangle (C) to the left side of the AB unit.
Add the blue 2x5” rectangle (D) to the bottom of the ABC unit, then the blue 2x6.5 rectangle (E) to the right side. Continue sewing the strips on to the center unit in alphabetical order/by their increasing size. It helped me to lay the block out and sew around in a counter clockwise direction. I pressed all seams away from the center unit, but please feel free to press in whichever direction you prefer! I found some handy instructions and diagrams on the Threadbare Creations blog and on the Polka Dot Chair blog. They are both making a 12” finished (12.5” unfinished) block as well, so their cutting instructions should match mine if you prefer to follow either of their tutorials.
The blocks should be 12.5 inches square when you’re done. I’ll give a final trim when I get them, so no need to worry about that.
Let me know if you have any questions! I’m excited to see how they all come together.
Thank you!
Sarah
This month we're going to make a modified disappearing nine patch block. We'll be using mostly whites, greys, and blacks with a splash of color.

Fabric
Ideally, you would use all solids. I really love solid quilts. If you don't have enough solids, try to use fabric with as little obvious print as possible.
Colors: choose at least two (although ideally four to eight) colors in the white-grey-black spectrum. Also choose one color to add a pop of color to the block. For the color, think jewel tones. Please no pinks, pastels, or darker hues. I have plenty of solids, so I found eight different hues but you really don't need that many. Cut at total of 9 squares that are all 4.5" x 4.5".

After cutting, split the eight white-grey-black squares in two groups - light and dark. Take what you have and split them as you think best, even if they're really all on the dark side or all on the light side. You'll need either 1) three light squares and five dark squares, 2) four light squares and four dark squares, or 3) five light squares and three dark squares. I split mine as four by four.
Arrangement
Depending on which grouping you decided on above (1, 2, or 3), the arrangement will be slightly different...
If you chose option number 1 above (three light squares and five dark squares), arrange them so that the five dark squares are in the center and corners. Put the three light squares and the colored square on the sides.

If you chose number 2 above (four and four) the colored square will be in a corner (or center) and put one group on the sides and one group in the other corners/center.


If you chose number three above (five light and three dark), put the light squares in the corners and center. Put the three dark squares and the colored square on the sides.


This month I'm asking for a 'Knee-Bend' Block. I'm sure this has been done before, and I didn't really invent it, but below my take on a traditional tutorial for this.
However, if you prefer to use FPP for this, let me know, and I'll send you a PDF with the FPP pattern for this.
Block Size:
The Block should end up 10" square finished,
which means, it'll be 10 ½” square including Seam Allowance.
Fabric Choice:
My colour inspiration for this is the whole of the colour wheel!
Plus either Black or White.


Hi All
In America, July 4, 2026, is the 250th Anniversary of the
United States and I’m using that as the inspiration for my block. I’ve chosen a block that can be done in Red/White/Blue
and that I’ll probably either complete as a veteran charity quilt or possibly a
picnic style quilt for our July 4th activities.
Use the Chain Mail Block Tutorial with my fabric/color and modified cutting instructions or you can follow my basic instructions below.
Here is a pic of the final block.

Here is a pic of my fabric pull. Please NO SOLIDS, no batiks, no character or juvenile prints. The white is a low volume that is mostly white with some blue or red and if you don't have that, a white on white. Some of the low volumes will lean towards cream and this needs to be white. The Reds are true reds or can lean to orange red. The Blues are darker medium blues and can be lighter navy but please stay away from real dark navy that reads more black.


Rather than follow the tutorial specifically, this block is straightforward enough that I just laid out my pieces and then sewed them together.
Coaching:
If using white on white - be sure to check which is the right side.
For the blue and white blocks - check your orientations to ensure the 4 patches continue the diagonal design.
Chain piecing works well for many of the blocks, just be sure to put them back into their correct orientation.
Be sure to watch your 1/4' seams and measure your final block at 12.5" square - do not trim. If not the right size, your seams need to be adjusted.
Pressing to dark side for 4 patches allows for nesting seams. Other seams you may want to do open or whatever your own preference is to ensure a nice flat block.
I hope this all makes sense and I look forward to getting your
blocks. Any questions, just post in the
Instagram chat. I’m there a few times a
day and check for messages.
Lisa…

Hi Rita!
Here is my block for you. I am sort of glad I waited until the end of the month. Based on everyone's choices, I chose green to shake things up! This was a good one to start off for me since I joined late. I will get this in the mail this week.
Beth

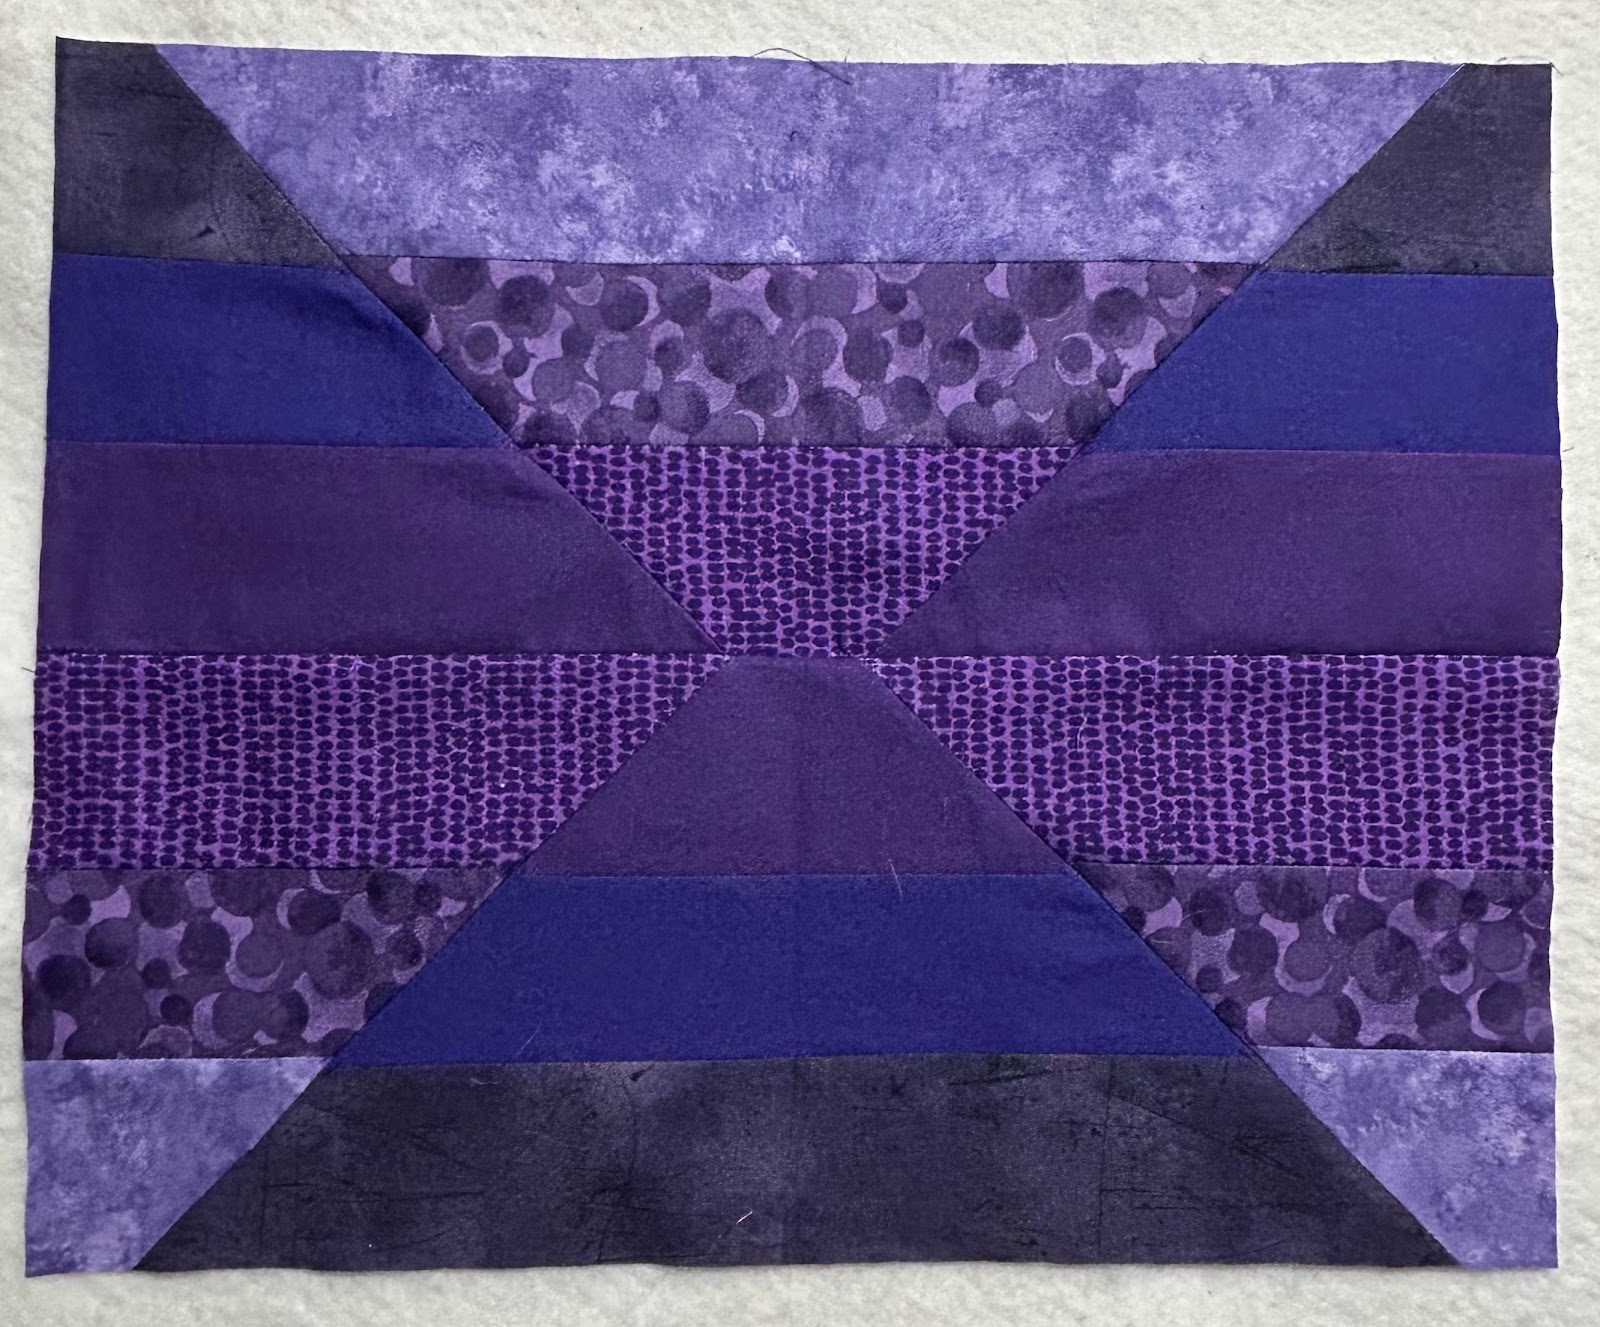

Thank you for this nice tutorial👍 I went for pinks. I hope this works out with what you have in mind!
Will be crossing the Atlantic in the next few days.
Take care,
Marie

Rita,
I have completed my block. This was fun to make. The picture looks like the colors are not all blue, but they are.
Jai

Happy February! I hope 2025 is treating you well so far. This is my second year participating in Stash Bee and my first year as a co-leader. I’ve barely made a start on my blocks from last year, and I wanted to finish it before March... I don't think that's happening 🤦
For this month, we’ll be working on a simple block with only 2 colours. Last year I made a quilt as a present for my friends who got married, but I made 12 blocks too many! The 12 blocks were a bit too small for a quilt by themselves so they’ve sat around waiting for me to get up the motivation to make another few blocks to go with them. Then I thought, why not get you all to do it?


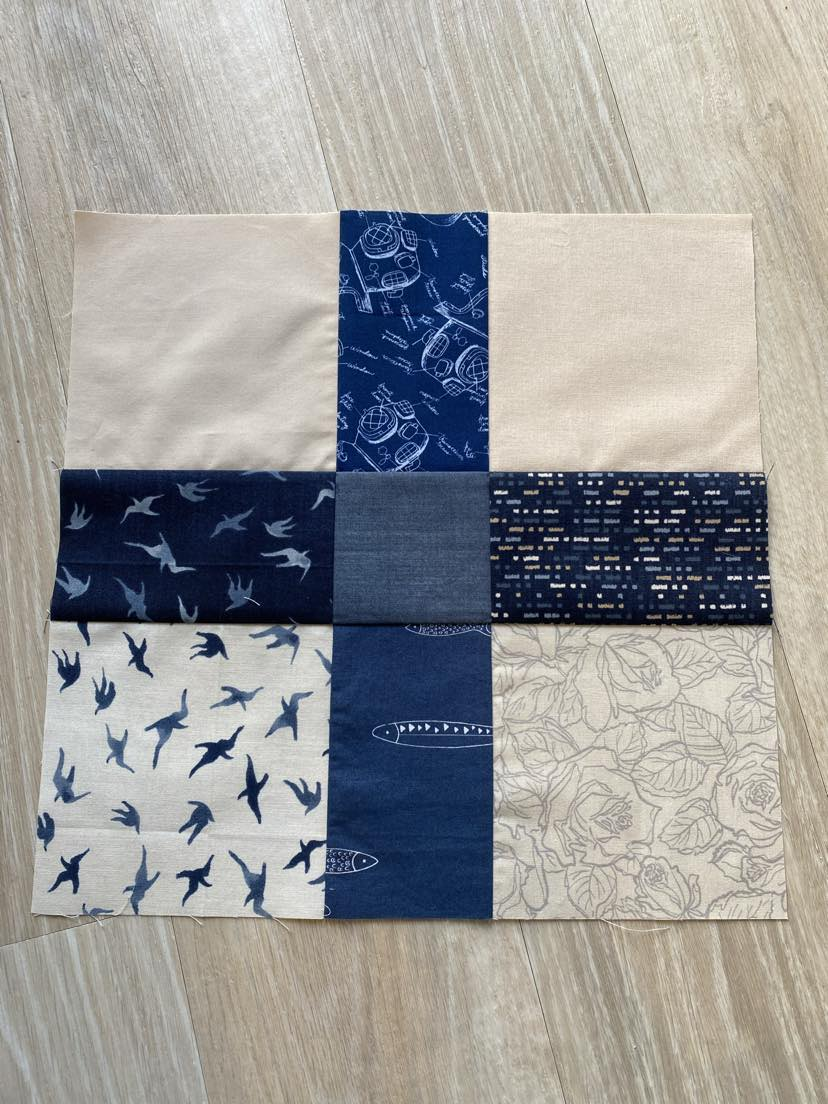
Happy February Hive 5!
I love participating in Stash Bee. The connections and inspiration are a bright spot every month. My hive last year had many “choose your own adventure” tutorials. It was great fun and allowed so much creativity. I hope my new hive will enjoy this approach (and maybe even consider it as an option for their tutorials).
Karan Bolan created a collaborative quilt last year that she called “Sixteen.” You can see her quilt and read the story here. Notice the variety of colors and scale! There are a few that contain a different amount of blocks, and I love that variation too!
This year, I’d like to create a collaborative version with you. You get to PLAY and make your own decisions. This should be super easy and quick.
Fabric
You get to make all the color decisions and decide the size (small, medium, large).
Please choose two solids. (If you don’t have solids, find fabrics that read as solid from a distance.) It’s the contrast that will make your block sing, so please choose two colors with medium to high contrast.
Here are a few ways you can play with colors:
Whichever you choose, please save a 2” x 5” piece of the lighter of the two fabrics for a label. (label directions below)
Construction
There are two approaches to block construction.
Think of these width measurements as guidelines for three different sizes of blocks.
I used slightly differently widths for each strip when constructing my sample.
You can even make a block with more than 16. Sometimes the fabric lets you create variations. Let the fabric tell you what to do.
Cut two strips approximately the same length.

Sew the two strips together and press towards the dark.
Fold the two strip unit in half and cut along fold (fold is shown below the rotary cutter). Since none of these blocks need to have distinct final measurements, use every bit that you are able.

Lay out the units so that the colors are alternating and sew those two together, continuing to press towards the dark.


Fold that unit in half and cut on the fold again.

Fold the remaining two units in half and cut. You will now have four repeating units of four strips with four blocks each.

Place them in an alternating sequence and sew together.


Do Not Square Up! I want wonky . . .
Label
I finally figured out a way to remember who created which block. Please use that 2” x 5” piece of the lighter of the two fabrics in your block to write your name and city. Leave .5” perimeter to allow for the seam allowances. I think I’ll have just as much fun assembling the labels on the back as I’ll have assembling the front.
If you create more than one (which I do not expect no matter the size), please send a label for each block.

These are blocks that I’ve created so far. There’s not a lot of color variety at this point, which is why I will appreciate the colors from your stash. I’ve enjoyed experimenting and had fun adding two flying geese to one of the blocks and creating one that contained 32 squares.

These can be addictive.
Thank you very much for contributing to my quilt. Message me if you have any questions.
With much gratitude,
Cathleen
@KitchKouture


