One mauve, one dark blue, and two minty green cats headed your way!

Julia

One mauve, one dark blue, and two minty green cats headed your way!
Julia


Nicole Buendia
Hi Diana,
It's a new year of swapping and this was a great beginning. These cats are adorable and I can't wait to see them all together!
I am popping them in the mail today!


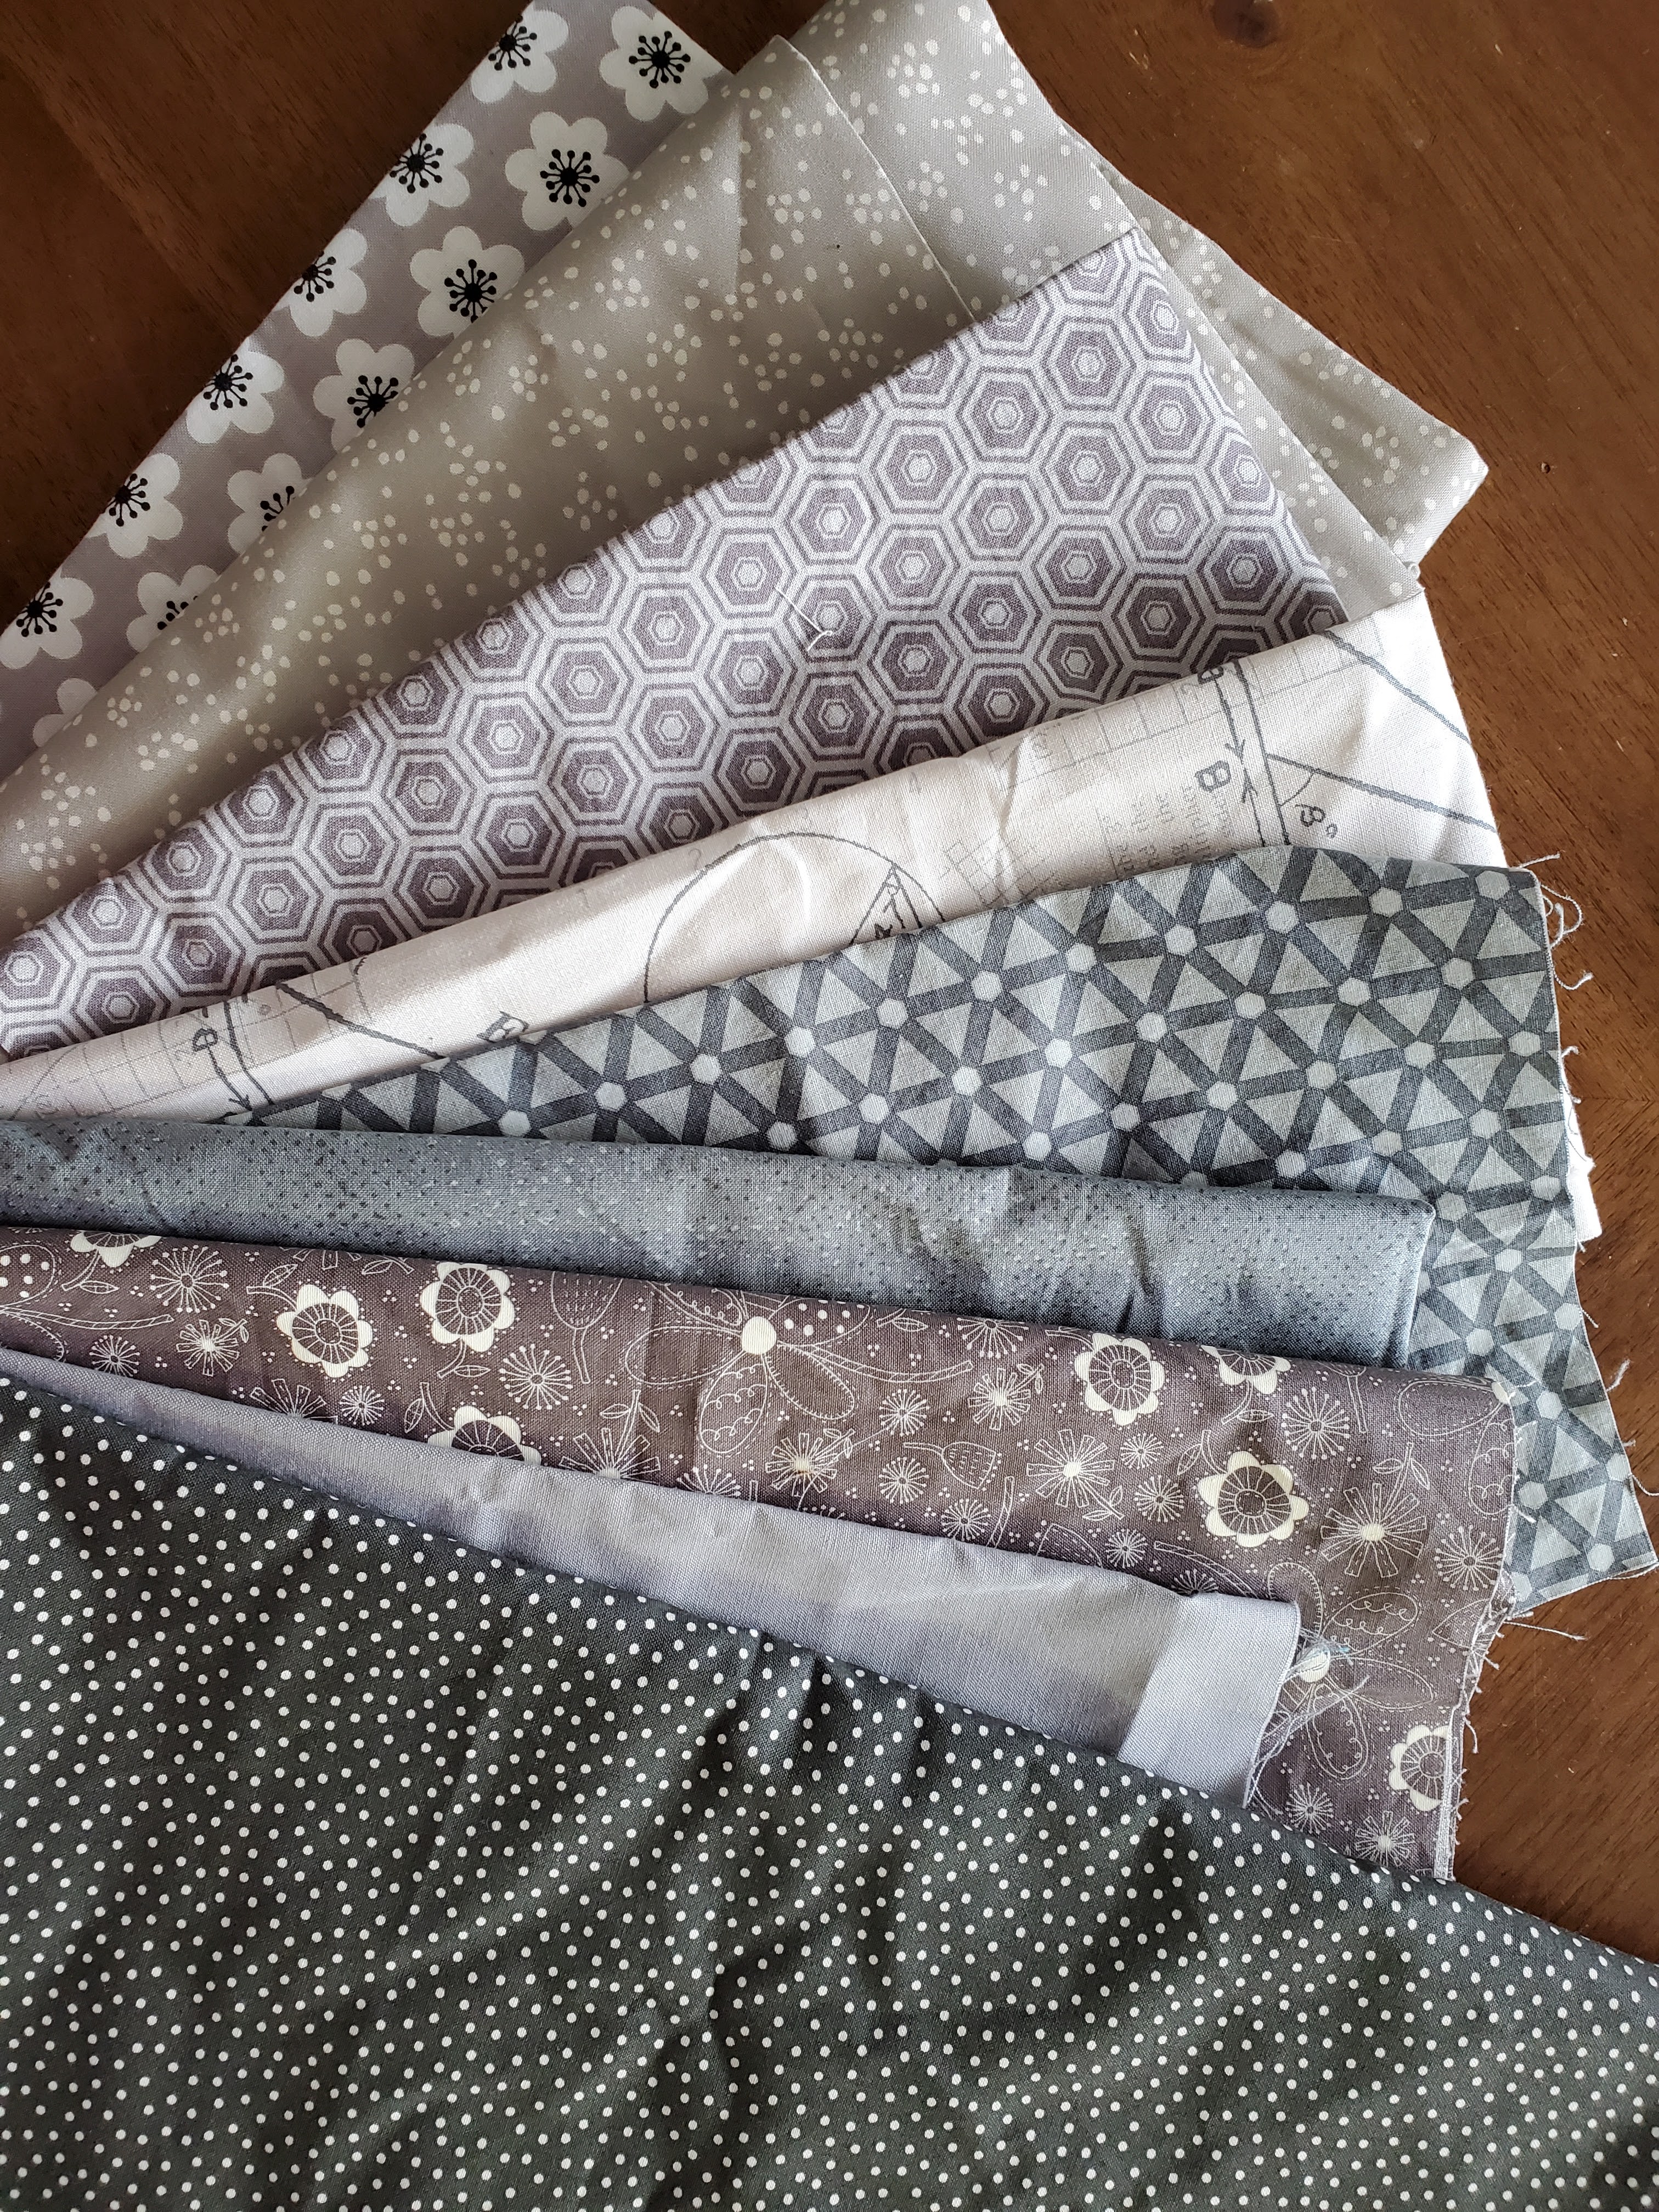
These kitties were fun! Although now that I look at them all laid out together, I can see that I unintentionally leaned heavily into those with horizontally oriented designs... Hopefully they'll blend in well with everyone else's blocks 😺


Yay! My first block is done and it was so fun I made a second one.
Eight little cat blocks will be headed to Diana this week.

Deana
Hello Hive 6!
Since there is snow on the ground, and January is kind of dreary after the holidays, I hope this Tulip blocks brings some cheer as we dream about Spring.
This is the same block I had my Hive mates make for me last year. I was going to make a baby quilt for my little girl who was born in April 2022, but I haven't finished it so my plan is to make a bigger quilt for her instead.
In principle, I don't believe in gendered colours or imagery (my son can wear clothes that are pink and have flowers too), but the reality is I have been really excited by all the "girlie" stuff since she was born, especially all things floral!
So for this month's block, I am requesting a Pink or Yellow Tulip block!
Pattern Credits:I have written up the tutorial for 1 tulip block, based on a combination of two very similar free patterns:
Missouri star quilt co’s “Totally Tulip” quilt pattern.
Here is their video tutorial - she makes 1 block but the cutting information is based on making the whole quilt so I adjusted the cutting instructions for 1 block.
2) Cloud 9’s “Amsterdam” quilt pattern.
https://cloud9fabrics.com/wp-content/uploads/2013/12/AmsterdamQuilt.pdf
Fabric:
For this block you will need 6 different fabrics- 3 for the tulip "petals"; 2 for the stem and leaves; and a background. See the table for the colours needed.
Please choose modern, bright fabrics. No muted tones
Here are some photos of my fabric pull from my own stash:


Cutting:
Note, I have provided cutting instructions for the leaves based on the 2 at a time HST method. You will have to adjust the cutting dimensions if you want to do the 4 at a time method (if you make two blocks, you could also do the 8 at a time method).

Sewing:
Tulip petal portion:
Sew a “snowball” corner to each of the two 5” pink/yellow squares:
Finger press your 2.5” background squares on the diagonal.
Place the 2.5” background square right sides together in the corner of the pink/yellow square
Sew along the finger-pressed diagonal line going
Trim ¼” from the sewn line
Press towards the pink/yellow
Note: If you are using directional fabric, pay attention to which corner you are “snow-balling”, based on the arrangement in which you intend to sew two yellow/pink squares together


Sew two “snowball” corners to the bottom of the pink/yellow rectangle
Finger press your 2.5” background squares on the diagonal.
Place the 2.5” background square right sides together on each of the bottom corners of the pink/yellow rectangle
Sew along the finger-pressed diagonal line going
Trim ¼” from the sewn line
Press towards the pink/yellow

Assemble the tulip, and sew together
Sew together the top two squares so the snowball corners touch together on the inside; press open
Sew the top unit to the bottom rectangle
Press the last seam open, or towards the rectangle

Lead & Stem portion:
Make 4 HSTs using the Traditional (2 HSTs at a time) method:
Draw a diagonal line on the wrong side of each of the 5” background squares
Place one 5” background square on top of one 5” green square, right sides together
Sew ¼” away from either side of the diagonal line
Cut along the drawn diagonal line
Open up the HST units and press towards the green
Trim the HSTs to 4.5” square
Repeat with the other set to make four green/white HSTs total


Assemble and sew the leaves together
Sew two HSTs together so the leaf points to the left, and sew two HSTs together so the leaf points to the right
Press open
Each unit should measure 4.5" x 8.5"
Add the stem between the leaves
Sew the gray stem in between the two leaf units
Press towards the stem
The combined unit should measure 9.5" wide x 8.5" tall

Combine tulip petals with stem and leaves
Line up the center of the gray stem with the center of the tulip unit, and sew together
Press open

The finished block will be rectangular, and measure 17.5” tall x 9.5” wide
Thank you!
~Alanna
Happy New Year to All!
I am happy to be back with Stash Bee once again. Every year is a struggle for me to decide which block I would like to see my hive mates. Being the first of the hive, I have decided to go with an easy block and keep things stress free. I made a variety of test blocks before deciding. Finally, I found a version that could be controlled scrappy.
I saw this block on Pinterest in several varieties. Scrappy, super scrappy & 2 colors. It is the Oh, Susannah block, although, according to several sources, it is Mr. Roosevelt's Necktie.

Here are some links that provided inspiration:
For my tutorial, I have made 2 blocks; pink and blue. Bright, saturated colors are what I'm looking for. The colors below are samples. Don't worry about exact matches. The colors that are off-limits are browns, blacks, and grays.
My apologies for the photo quality - gray and rainy day, inside lighting and shadows. I know I flipped back and forth between color schemes. You are making one block, I made multiples to show examples.
Things to remember
Seams: Scant 1/4" seam, Sew with a small stitch - no larger than 2.
Pressing: I press seams open. If you press to the side, we can still be friends.
Now on to the tutorial!


Choose a color and then select 4 different fabrics.
From each fabric, cut (1) 3.5"sq. and (1) 3.5" x 6.5" rectangle
From low volume (or white) fabric, cut (8) 3.5"sq.


LOVE Block

I would like you to make a L O V E block inside a frame of random borders.
For colors, you can be real scrappy. Just a few guidelines for choices of fabrics. Please go through your bag of scraps!
Letter backgrounds (BG) need to be same fabric within each letter. Choose a fabric that is either a small scale print, texture, solid or fabric that is not too wild.
For the letters themselves, pick a contrasting color. Then use any scrappy choices. I guess the big thing to think about is contrast. Here is an example of how I picked some fabrics and laid them out. I think my E was not as good in contrast as the others. You can view your fabrics in a grey scale to double check to see if you want to change anything. You can vary each part of the letters, but keep them in the same color family. I am not a fan of browns, and avoid solid whites and black.

Each letter will measure 4 inches (3 1/2 inches finished). The four letters after sewn together will be a square of 7 1/2 inches. And strips will be added as a frame to make the block measure at 10 1/2 inches (10 inches finished).
Hints for FPP:
There are many online tutorials and videos you can watch if you are unfamiliar with the method.
Either tape or pin the first piece of fabric. Start with pieces 1 and 2 and sew seam on printed side of block. You can fold back the the paper on the sewn seam and trim the seams at 1/4 inch - just make sure you are only cutting the seams and not the fabric for the block. Remember to shorten your stitch length for easier paper removal.

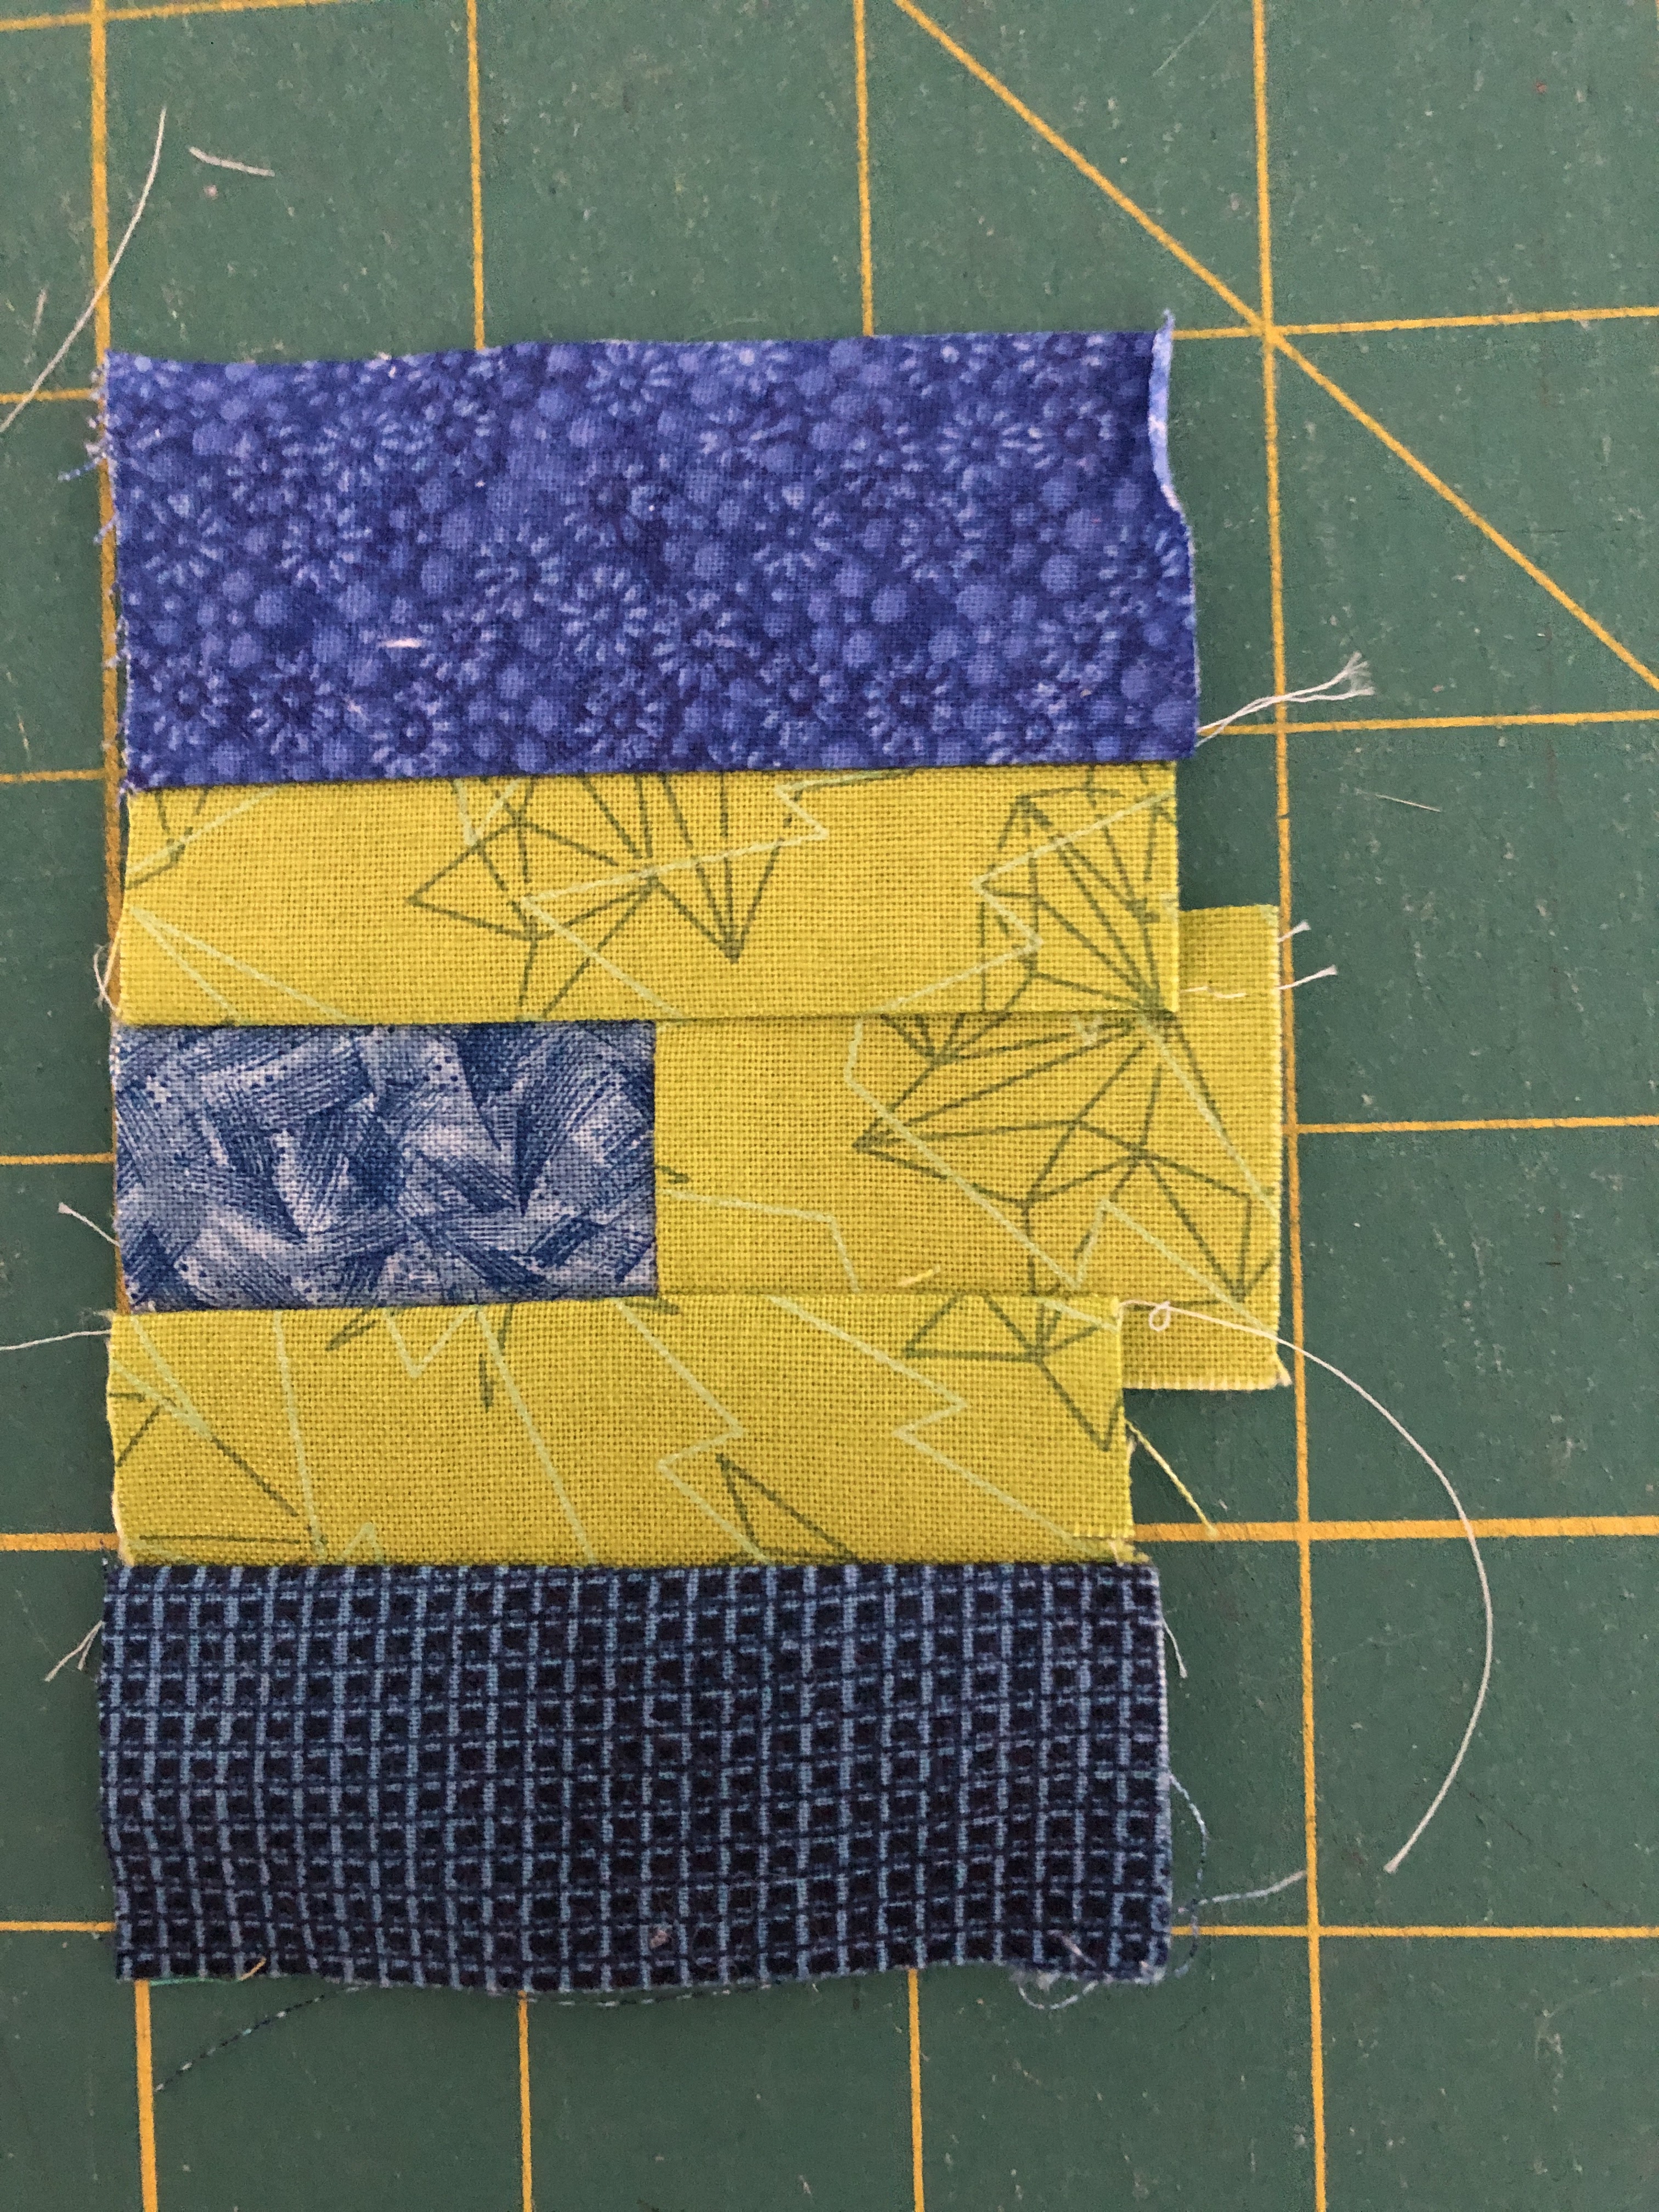
For the center part of the E, I think it is easier to pre-piece the background (BG) and letter part and place those in center with the seam in somewhat the same place as the line between 1 and 2. Then proceed as usual. Remove paper and sew the L and O together side by side and then the V and E. Then sew the pairs together. I ironed toward the O and then with the lower pair towards the V. Then they could be nested. Block at this point should measure 7 1/2 inches square.
 |
| This paper is shown in the wrong side, the printed side is the sewing side. |
Note these sizes will work, but if yours vary a bit, that is totally fine. Do not worry! If each block can be read as the letter, I am happy with it!
For L, cut a BG square/rectangles around 3 by 3 1/2. Cut the bottom L part at least 1 3/4 strip and a little wider than the BG square. This can be sewn at a slight angle, if so just cut the strip a little longer. Trim edge on left and put the left hand L part on, at least a 2 inch strip. Trim block to 4 inches square.

For V, cut a BG tall triangle with a base of 1 3/4" and a height of 3". Cut two letter strips around 1 inch (or a little wider, one side could be slightly wider) by 5 inches. Sew one on one side of the triangle with excess going past the tip (bottom of the V) of the triangle. Iron toward the triangle and trim the excess off in line with the triangle. Note: 2nd photo below should have the ruler to the edge of the yellow fabric before trimming.

 |
| Ruler should be lined up with outer edge of background yellow piece before trimming. |
Sew the other V letter strip to the other side. For the outer edges I laid the V part on top of the BG fabric and slid it over to make an echo cut but bit wider and taller than needed. This allows for trimming down, so the BG won't be too small. Do this for both sides and then trim to 4 inch square.


For the E block, start with a BG and a letter piece cut at 1 by 1 1/2 inches. Sew together on the 1 inch sides. Next cut 2 BG pieces of 1 inch or slightly less by 2 1/2 inches. Sew one each to top and bottom of center E piece lining them up with the left side, don't worry about the right side, it will get trimmed later. Then add the top and bottom E parts of cut at about 1 1/4 by 2 1/2 inches. Add the left side E of about 1 3/4 by 4 1/2. Then trim the right side, add about an inch strip of BG on the right side. then trim to 4 inches.
Here are the 4 sewn together.
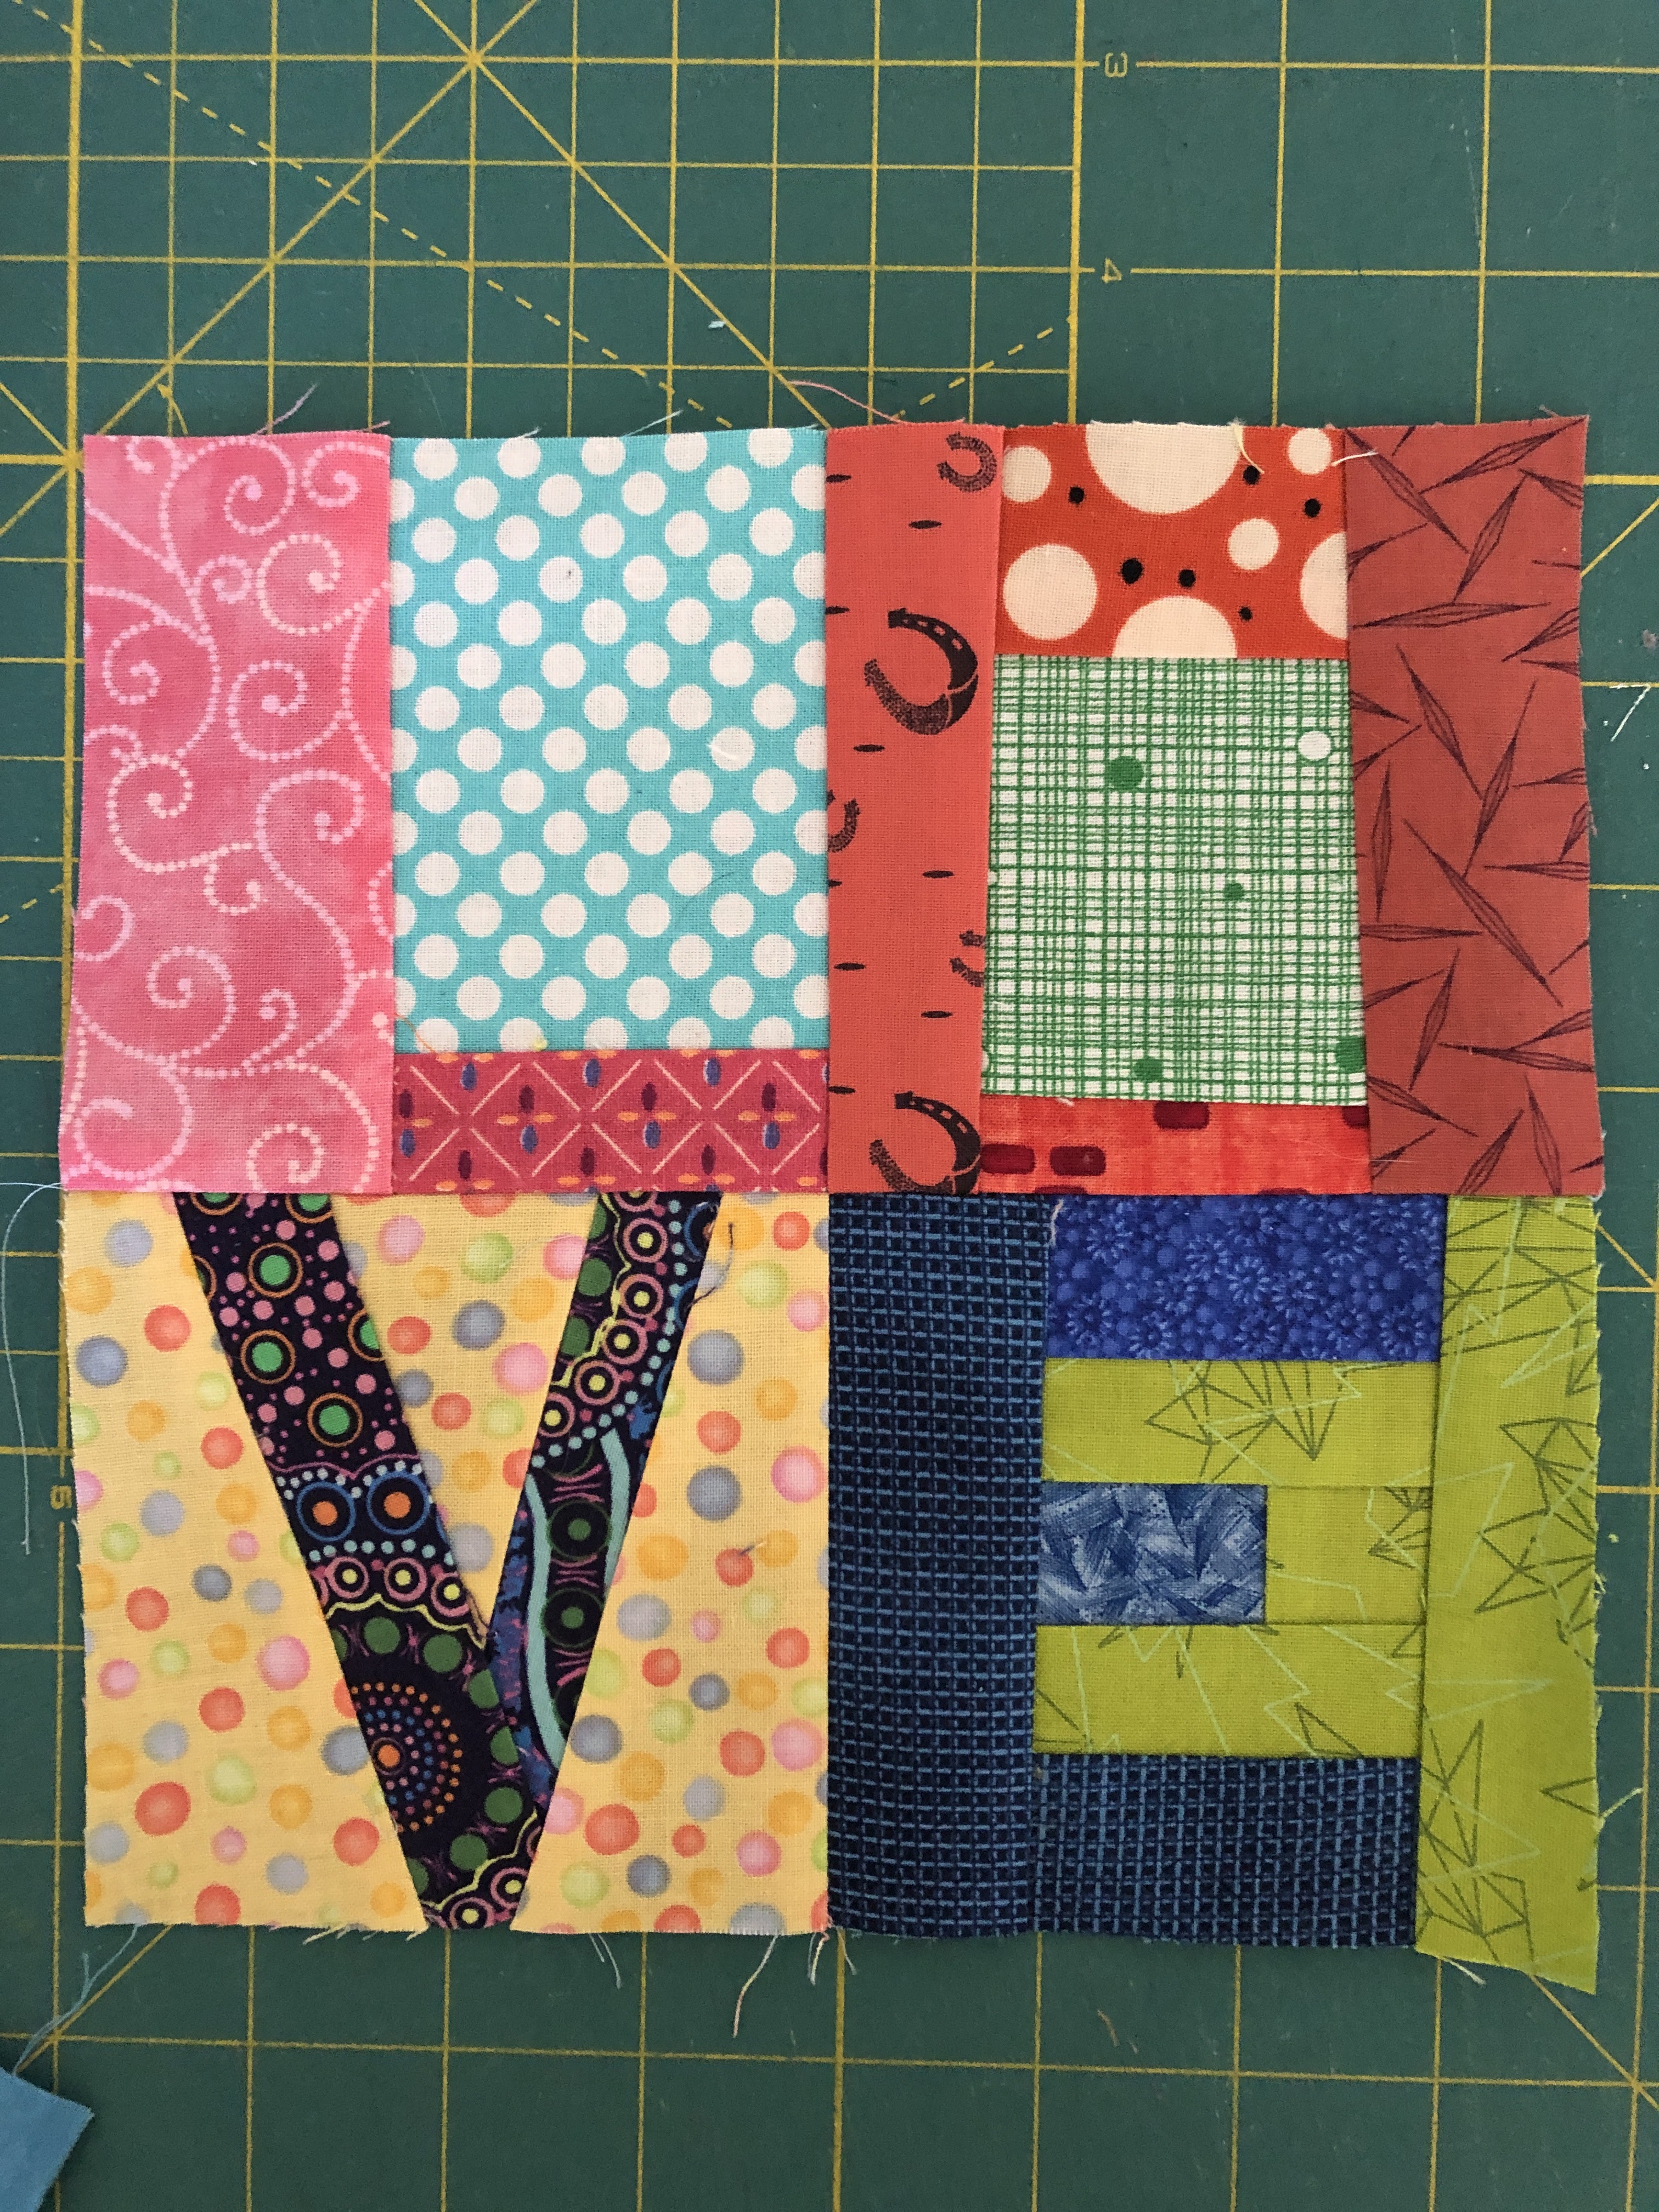
Next cut some strips 1 1/2 to 2 1/2 wide and add to the 4 sides. You can add 1 or 2 strips to a side. Then can be cut slightly angled if you want. You can add top and bottom first and then sides or go around like adding for a log cabin. Anything goes, just needs to end up at least 10 1/2 square in the end. I made them larger and then trimmed down to the final square. Here are 2 finished blocks. The left one was FPP and the right one was regular pieced.

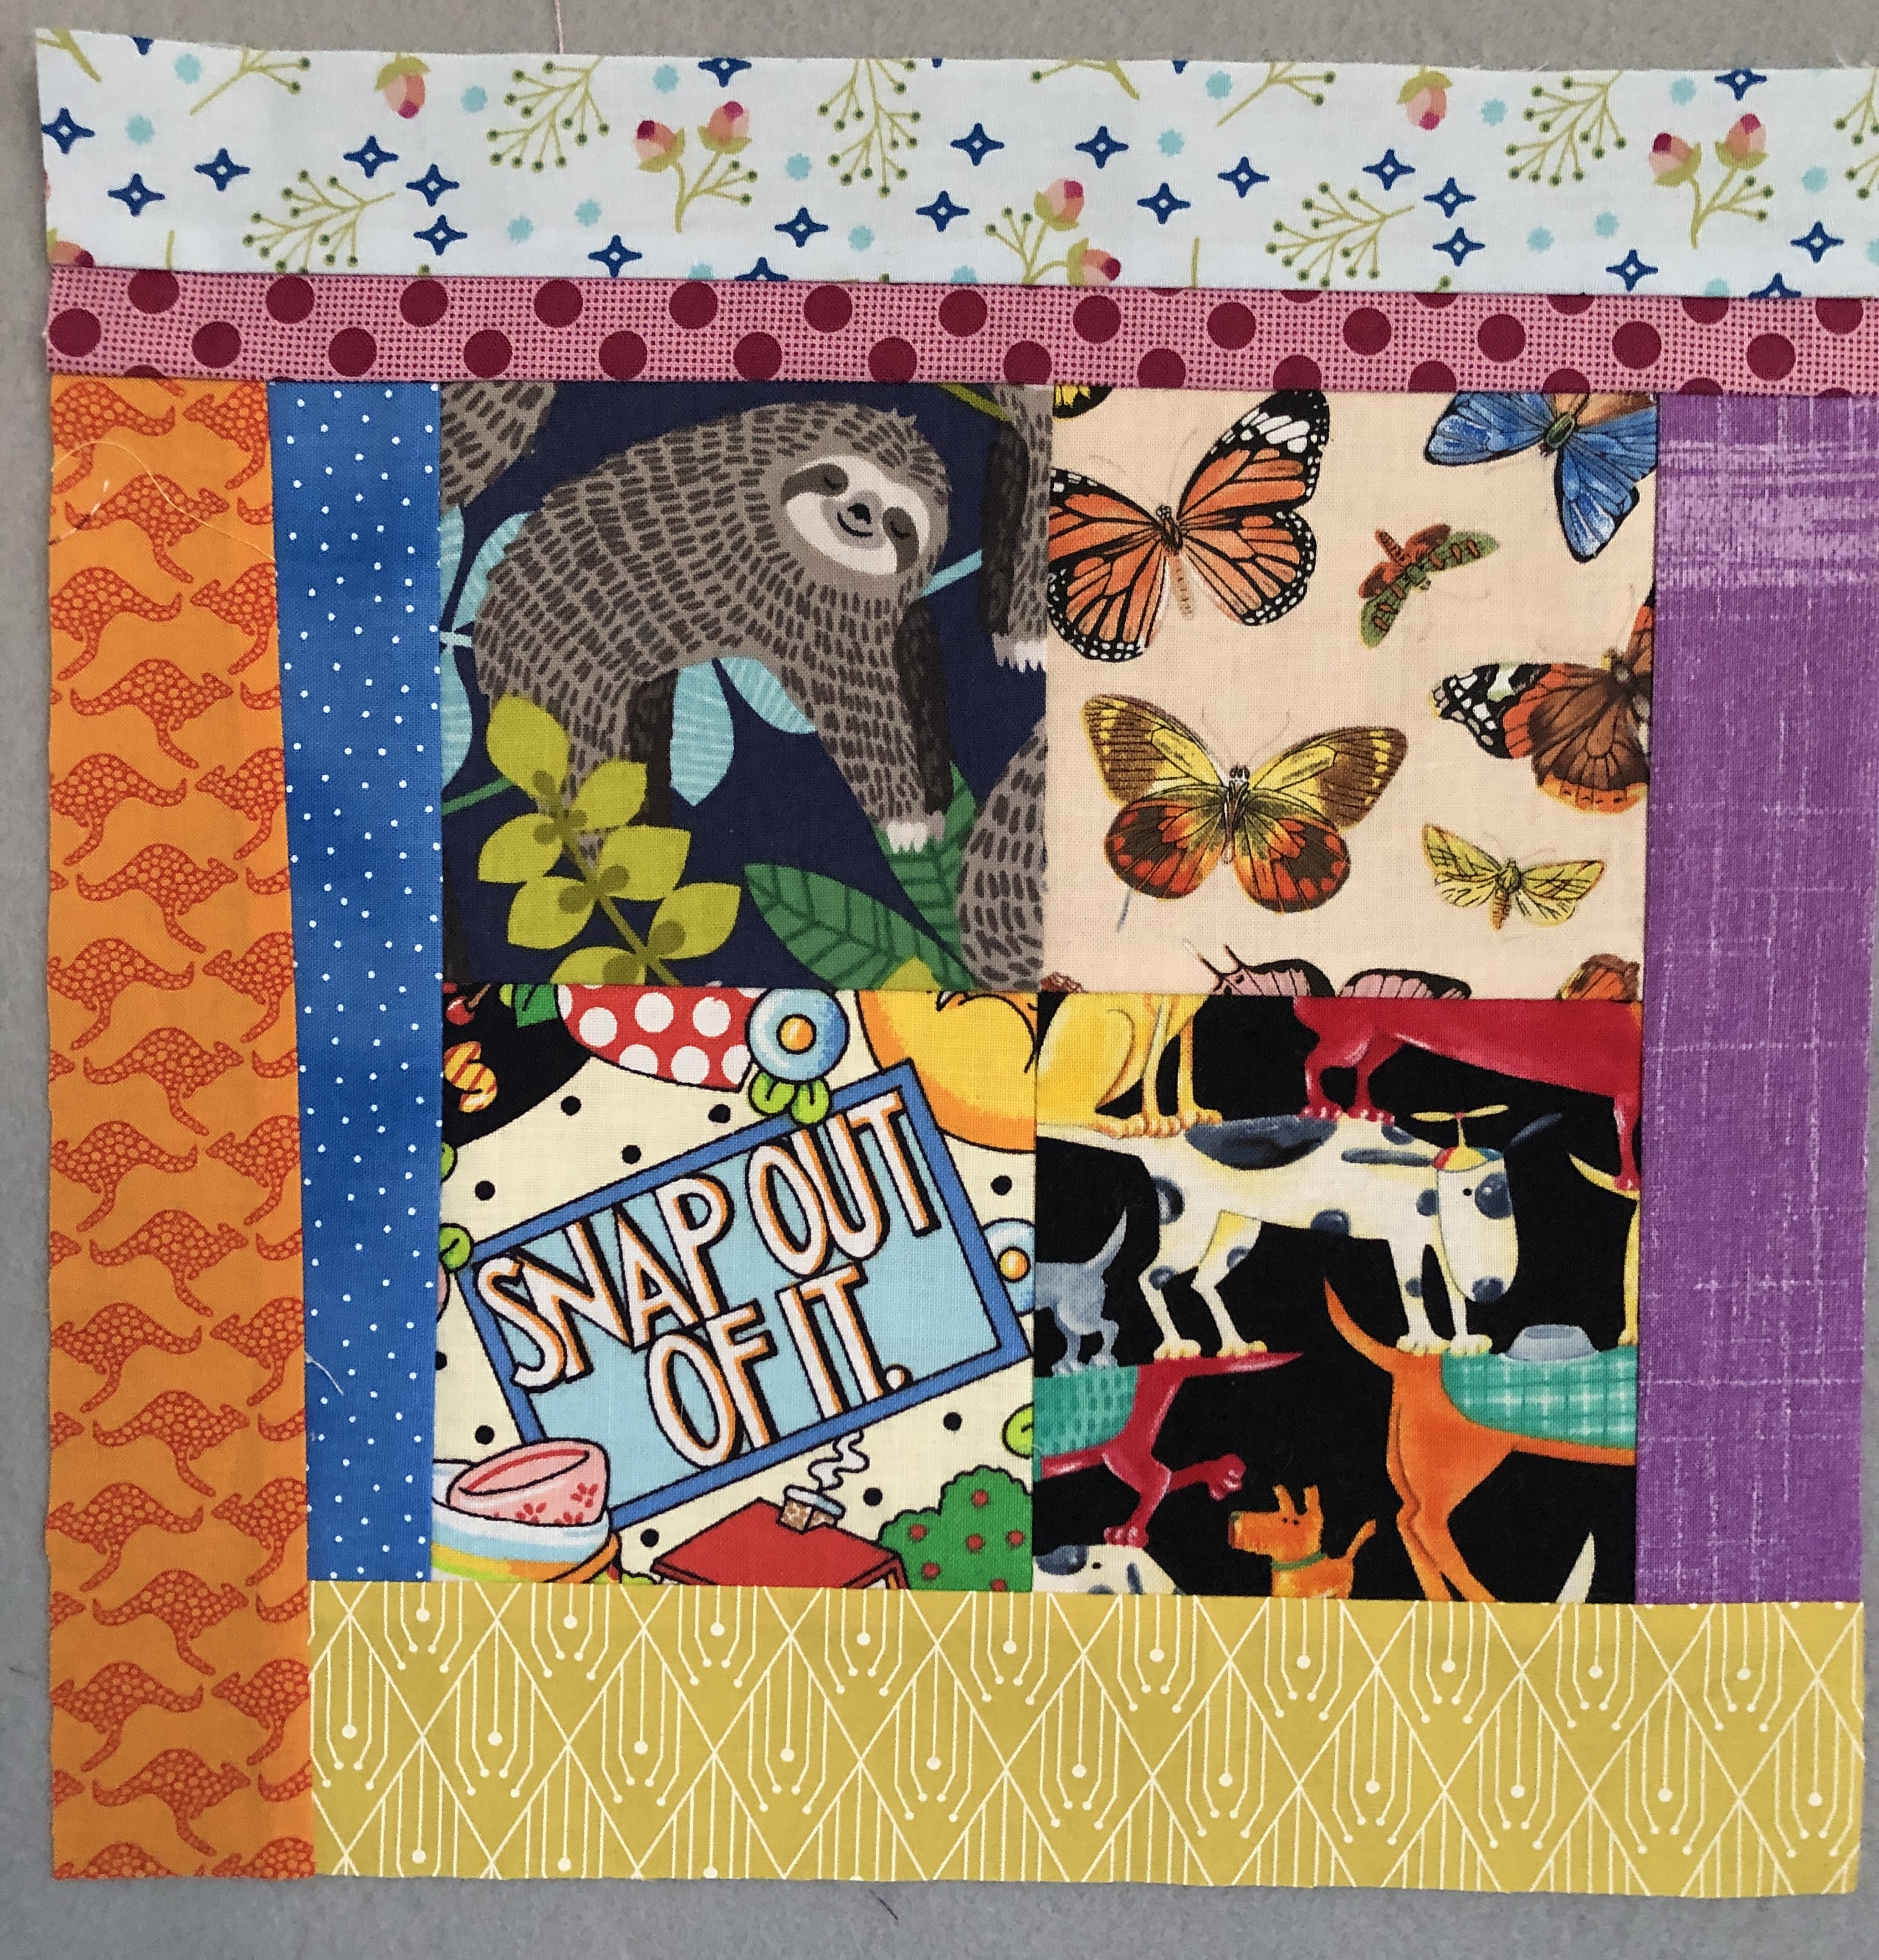
Now for the easy alternate block. Feel free to make this if you have any qualms the letters are not for you. Go through your novelty fabrics and fussy cut 4 - 4 inch squares you like. They can be animals, flowers or what ever you find interesting. Just avoid anything too juvenile or babyish. Finish the border in the same way.
Sorry if this seems like a lot, please just have fun!
Thank you, Gayle
