Two Churn Dash blocks for Marie. Being a quilt angel for Rose. Will be in the mail tomorrow.

Gayle from Hive 2

Two Churn Dash blocks for Marie. Being a quilt angel for Rose. Will be in the mail tomorrow.
Gayle from Hive 2


This was a wonderfully simple block Marie! I got it in the mail a few days ago, so it should be arriving any time!
Amanda
Hello all,
I made comments under each of your posts upon receiving your blocks but then realized you may not be looking there. So far I’ve opened beautiful blocks from Kathie, Joan, Rochelle and Pam. Thank you all for your lovely handiwork.
Hi Marie,
A nice simple block! Hope you like this light blue. It kind of looks like Grunge but it’s not. I’ll put it in the mail Monday.
Bob’s your uncle! I had to look it up... it’s not a common saying in California. From Wikipedia, “The origins are uncertain, but a common theory is that the expression arose after Conservative Prime Minister Robert Gascoyne-Cecil, 3rd Marquess of Salisbury ("Bob") appointed his nephew Arthur Balfour as Chief Secretary for Ireland in 1887, an act of nepotism, which was apparently both surprising and unpopular. Whatever other qualifications Balfour might have had, "Bob's your uncle" was seen as the conclusive one.”[1][2]


Pam

Your block is on the way Marie! I love a churn dash block, but those HSTs are always getting the best of me. The fabric is a bit more blue than grey in real life, hopefully it will work for you.

 I love the churn dash block. I never tire of sewing them. I hope these are the right blue. I can mail them on Monday. Paulette


PINK or RED
|
GREEN
|
WHITE
|
Print A:
4 x 2in squares
Print B:
4 x 2in squares
Print C:
3 x 2in squares
1 x 2.5in square
Print D:
3 x 2in squares
1 x 2.5in square
Print E:
3 x 2in squares
1 x 2.5in square
total:
17 x 2in squares and
3 x 2.5in squares
|
2 x 2.5in squares from print A
2 x 2.5in squares from print B
2 x 2in squares from print C
|
4 x 2in squares
5 x 2.5in squares
|


Option 1: 6" X 8" block
CUT:
White Fabric:
a. 1- 2.5" x 6"
b. 2- 3.25" x 1.5"
c. 4- 2.75" x 1.5"
d. 2- 2.25" x 1.5"
e. 2- 1.75 x 1.5"
f. 1- 1.5" x 6"
Christmas Fabric:
g. 1- 2.5" x 1.5"
h. 1- 3.5" x 1.5"
i. 1- 4.5" x 1.5"
j. 1- 5.5" x 1.5"
Brown Fabric:
k. 1- 1.5" x 1.5"
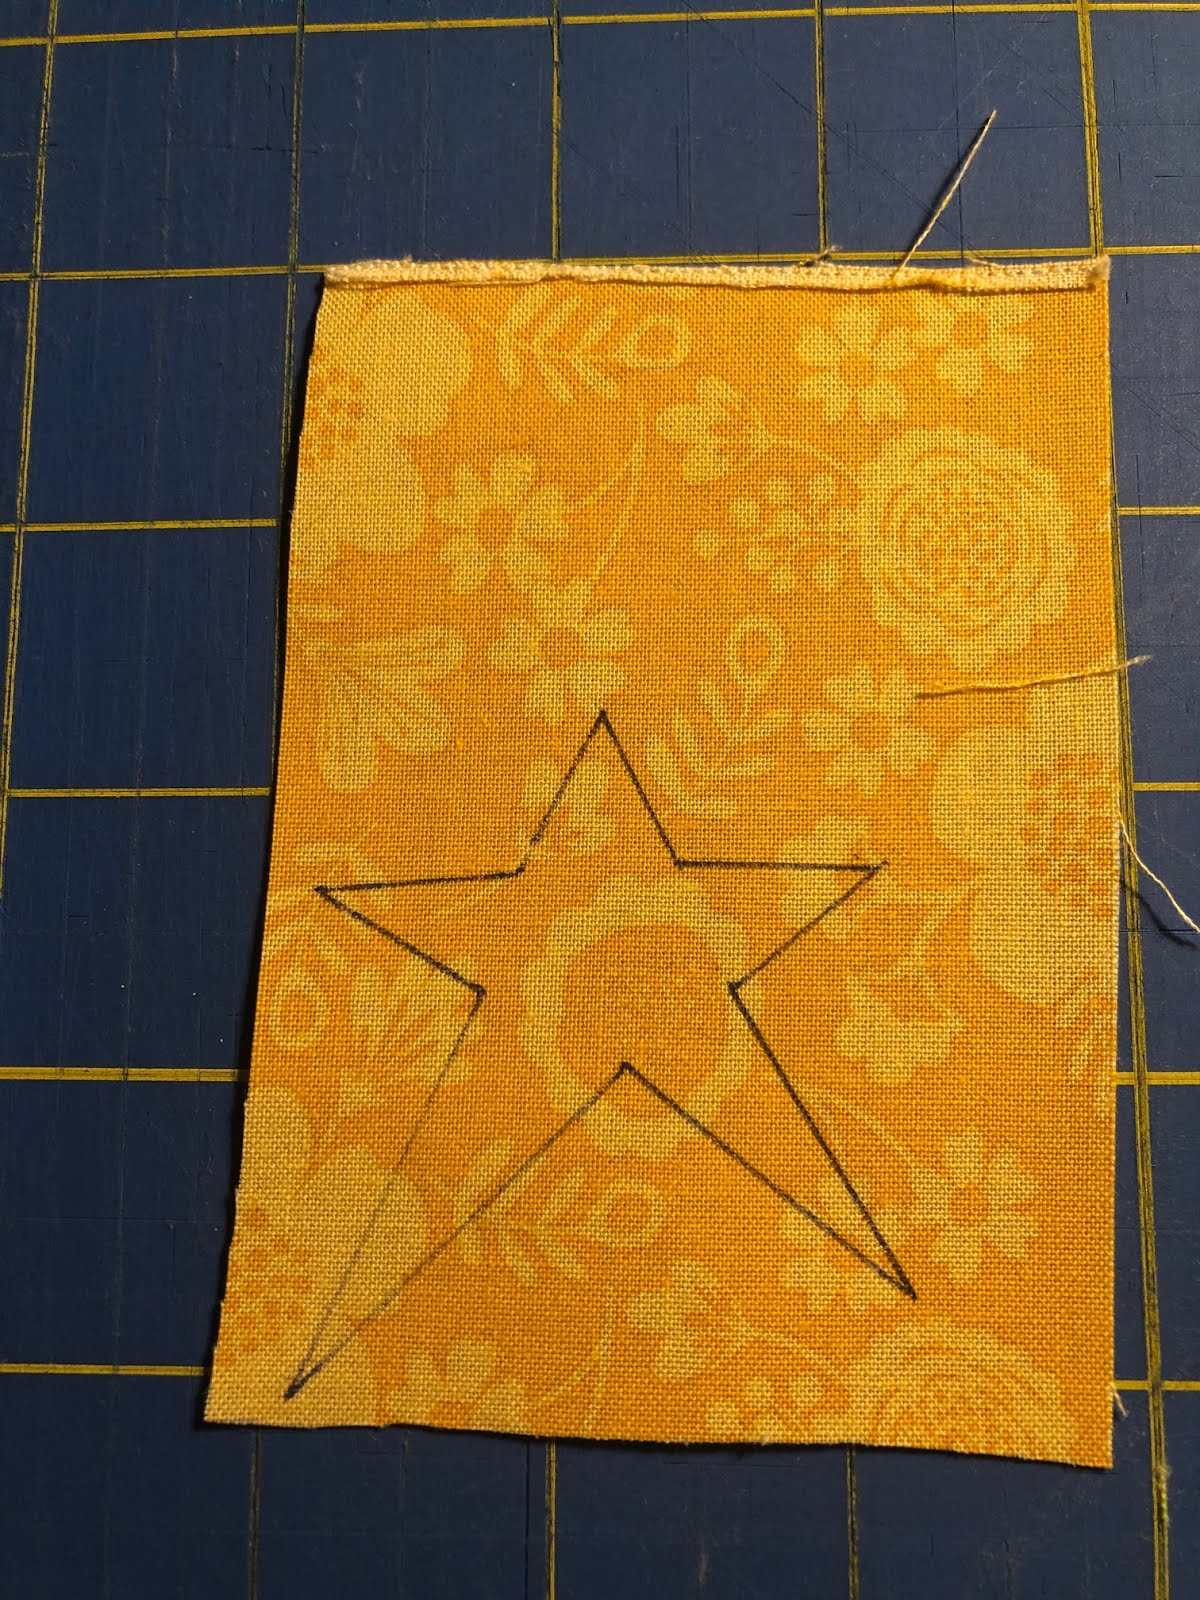
Scrap of yellow for the
star
|
Option 2: 11.5"
X 14.5" block
CUT:
White Fabric:
a. 1- 3" x 11.5"
b. 2- 6" x 2.5"
c. 4- 5" x 2.5"
d. 2- 4" x 2.5"
e. 2- 3 x 2.5"
f. 1- 2.5" x 11.5"
Christmas Fabric:
g. 1- 4.5" x 2.5"
h. 1- 6.5" x 2.5"
i. 1- 8.5" x 2.5"
j. 1- 10.5" x 2.5"
Brown Fabric:
k. 1- 2.5" x 2.5"
Scrap of yellow for the
star
|


 From this to this: