
Give me your neons! Your children's patterns! Your licensed fabrics and your novelties!
For this November block, I was inspired by Judy Newman's book, "Quilts for Life Made with Love". I love her creative take on traditional star blocks, and designed my own with this inspiration!
My idea was to create a star that had a center focus with the added fun of more star points.
Make sure your stitch width is .25 (1/4 inch) otherwise the math will be wonky.
Well let's get started!
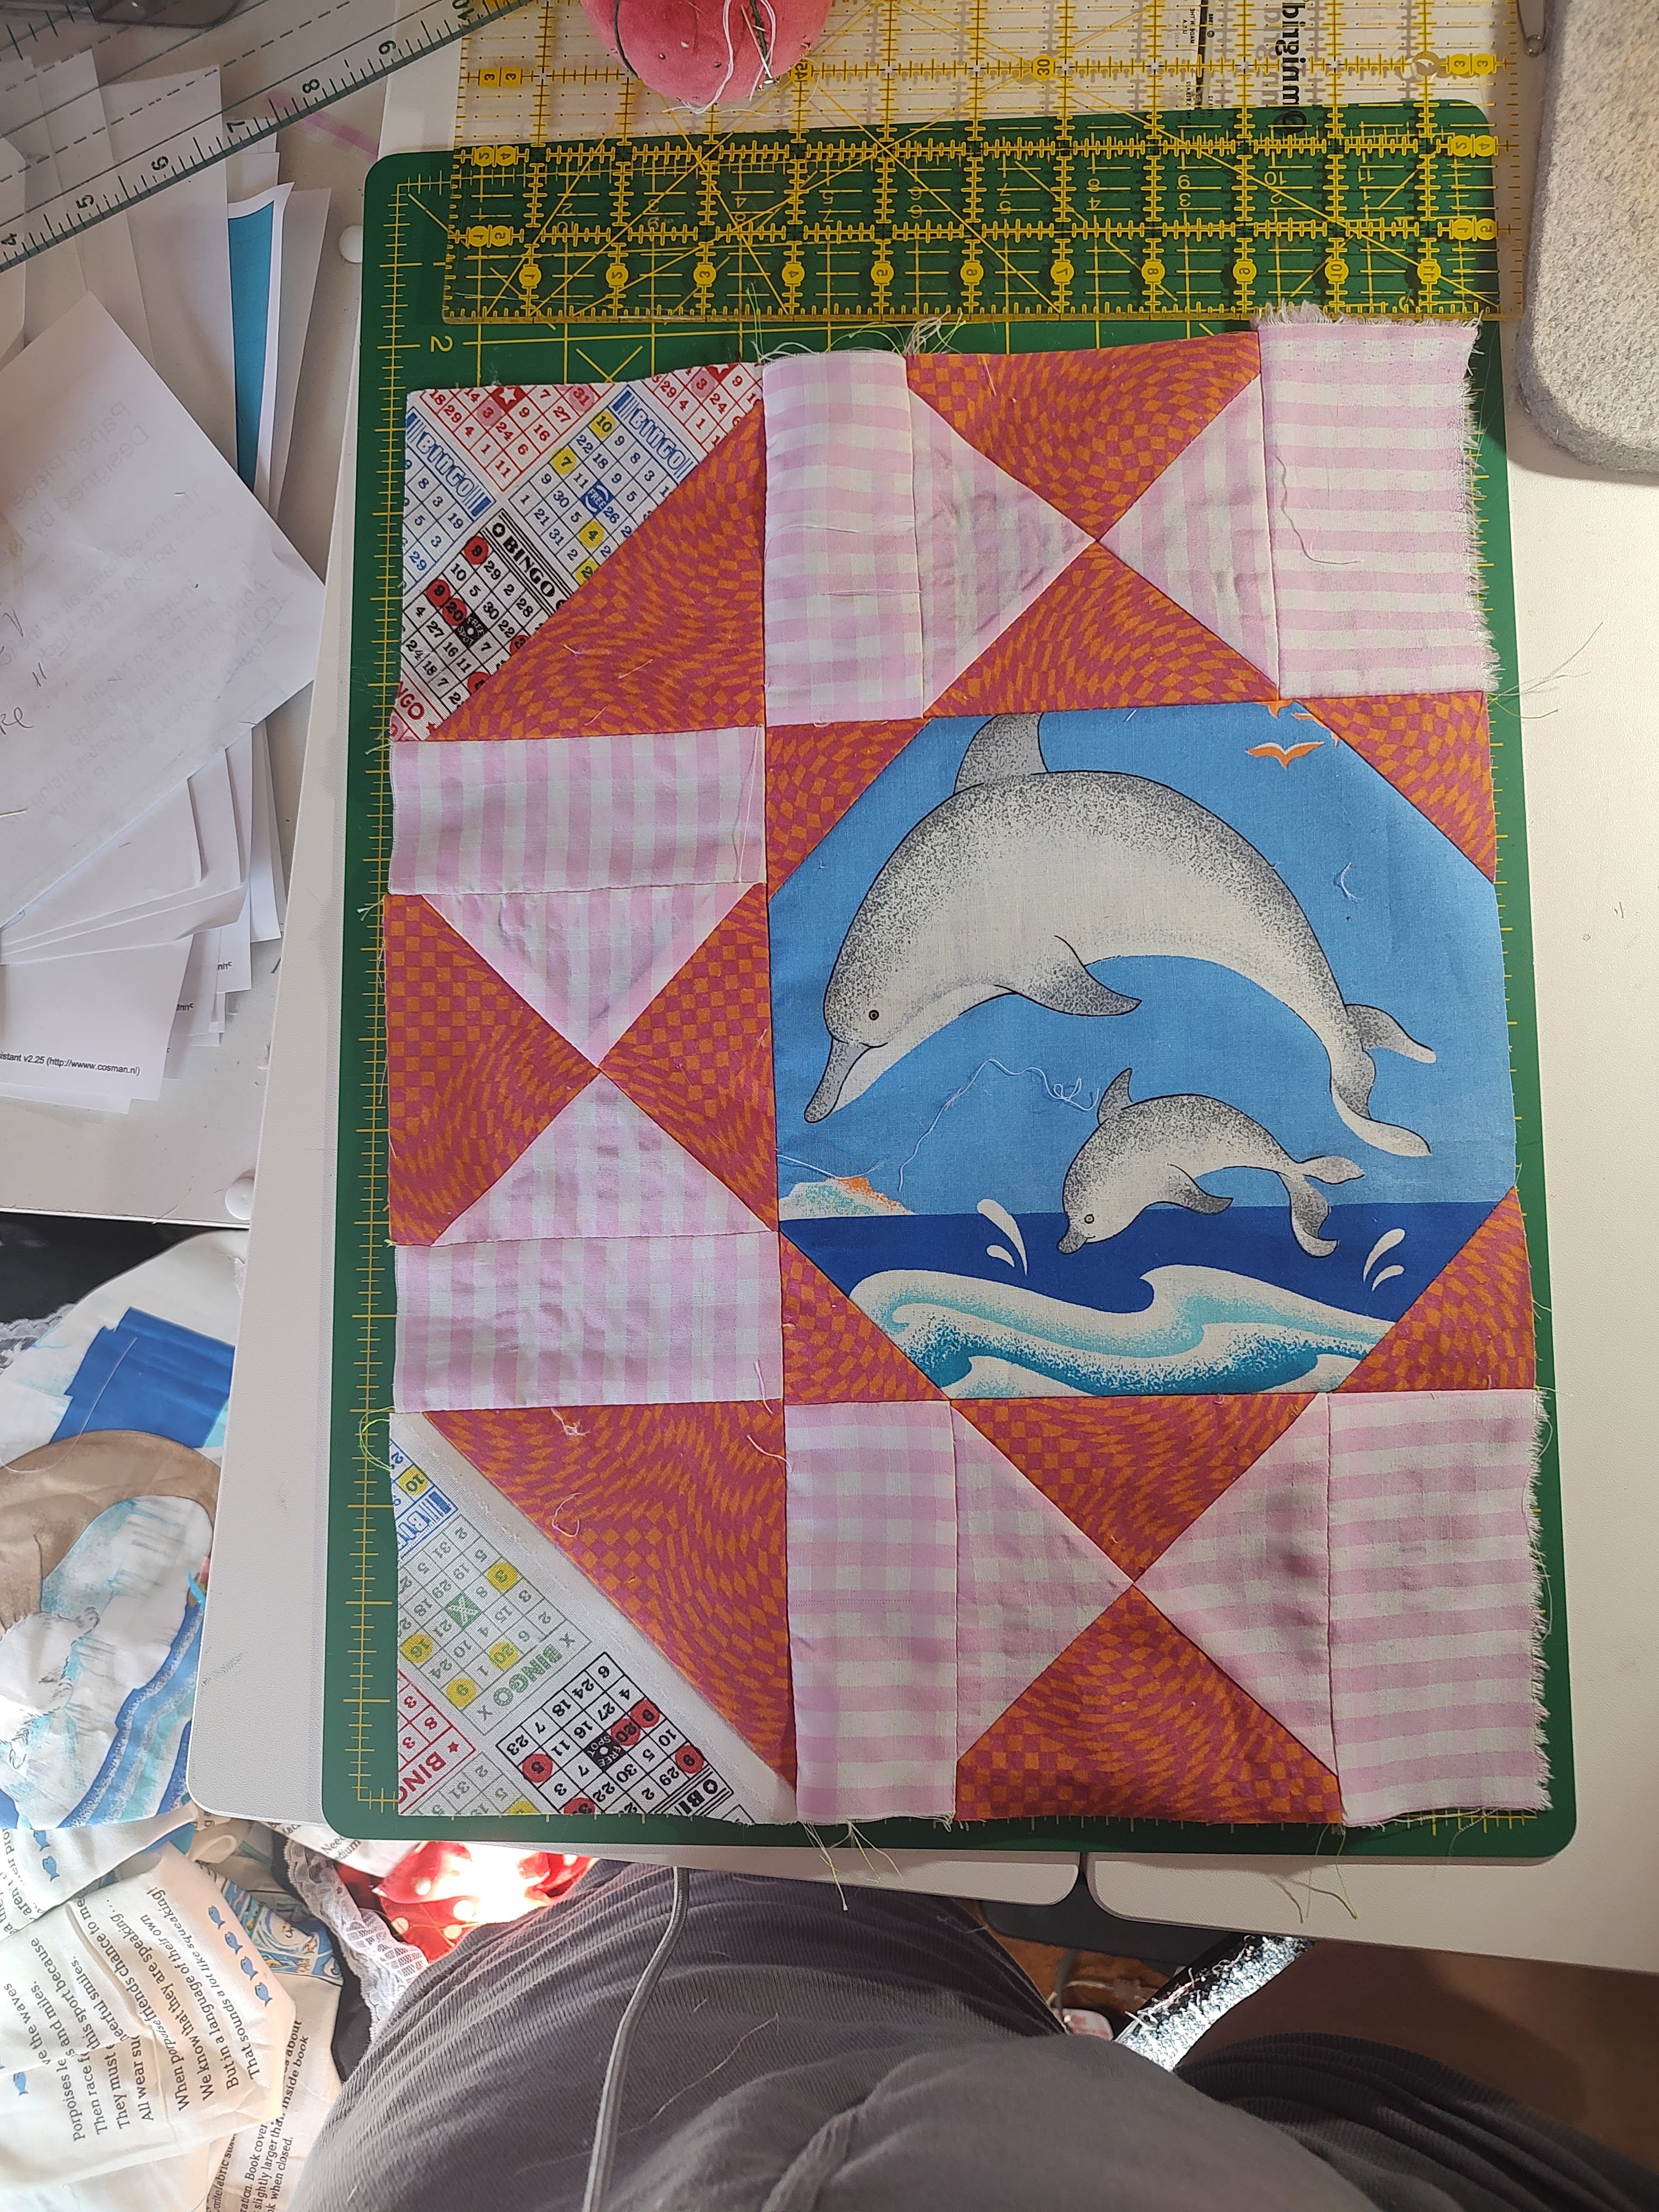
At the end of this tutorial you will have a 16.5 inch by 16.5 inch unfinished inch block that looks like these:


Fabric Selection
For your pull, you will need 4 total fabrics: a background fabric, a fabric for the star points, a foreground, and an edge.
The only restrictions for the fabrics for this block are please absolutely NO Sports Team Logos of any kind, Star Wars, Marvel or superheroes, Harry Potter, or Mickey Mouse (other Disney is fine, I would prefer something else but I know they own everything.)
There is, however, a huge bonus for Garfield fabrics, and vintage/vintage inspired children's patterns. You'll get big ole proverbial gold star!
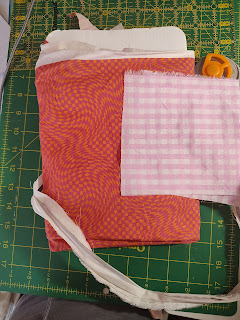
Background Fabric- Anything goes!
Choose something patterned, novelty, neon, ugly, you name it! It can also be a solid, if patterns and colors are not something in your stash. No worries!
Here is what my chaotic pull looked like:

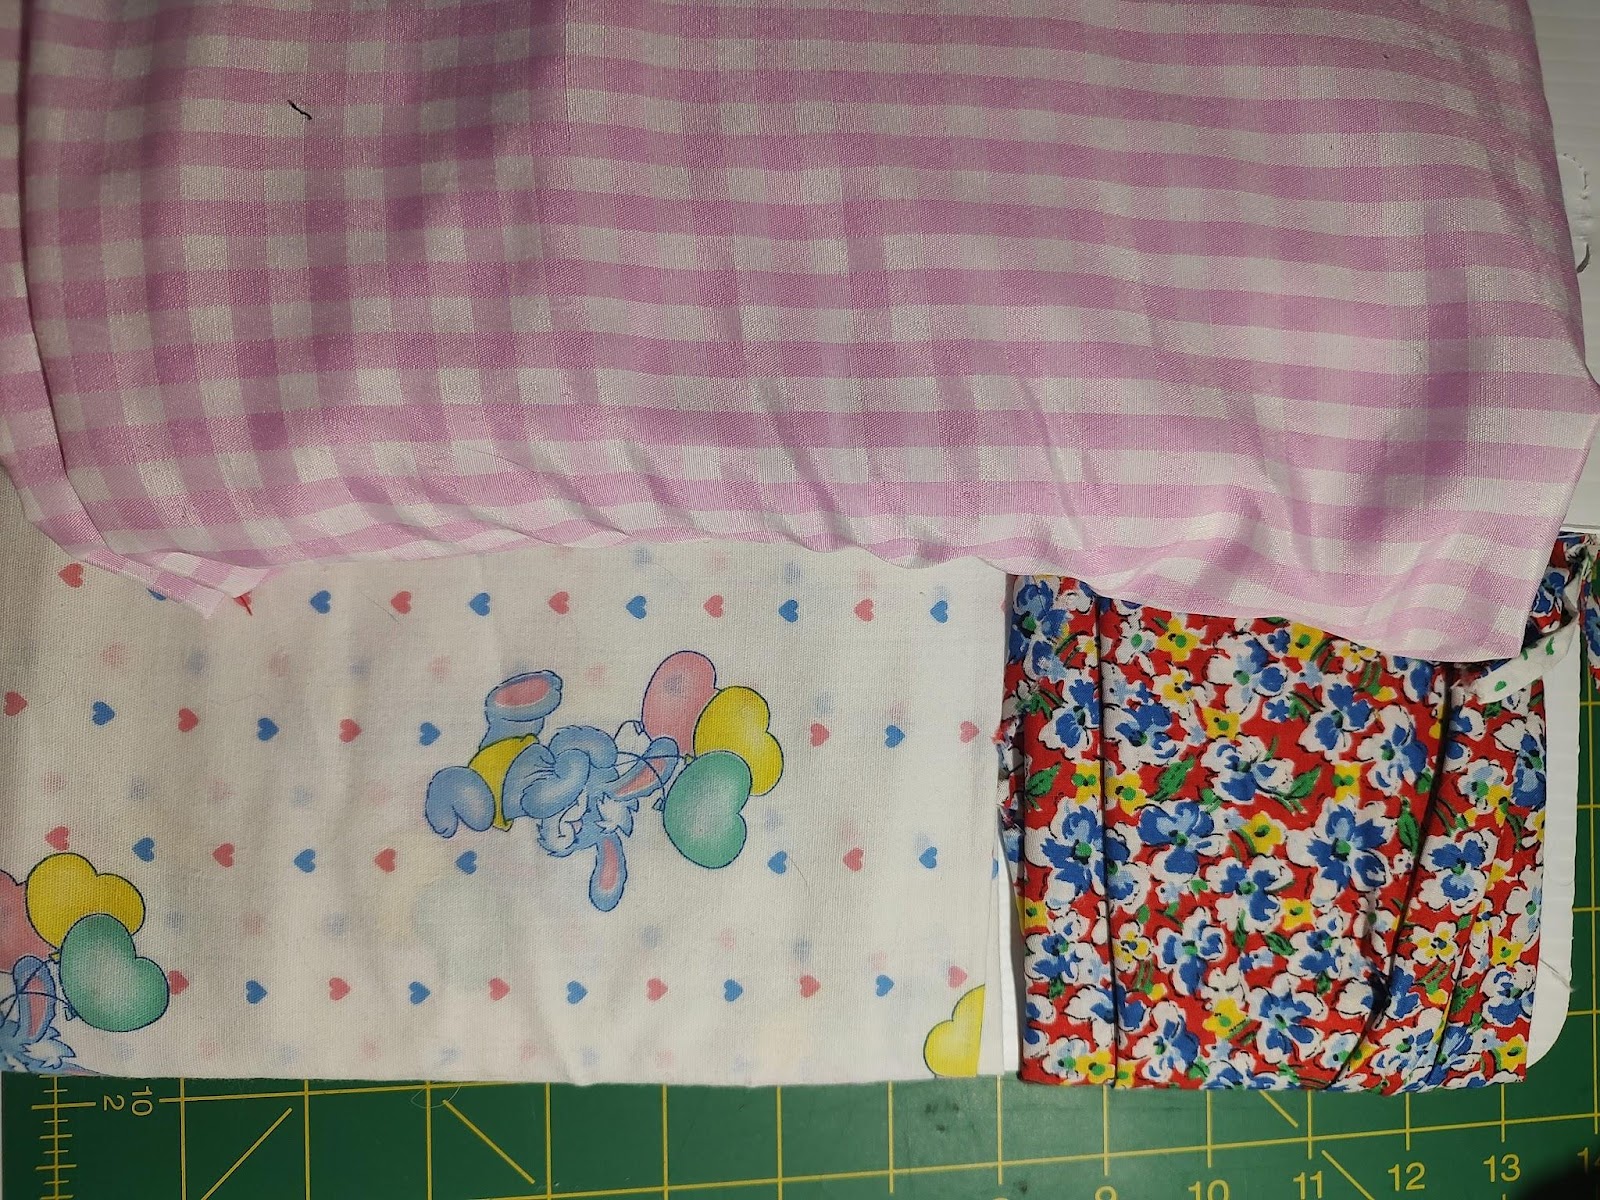
Star Points- Contrast the background
This pull is based off of how it looks with the background fabric. Nothing too similar, otherwise the star points will get lost in it. Otherwise, there are no restrictions. A low volume pattern works best, but it doesn't have to be low volume. There is no reason your pairs have to be this wacky, feel free to pick whatever makes you happy!
Here are potential pairs I pulled for some of the backgrounds I chose:


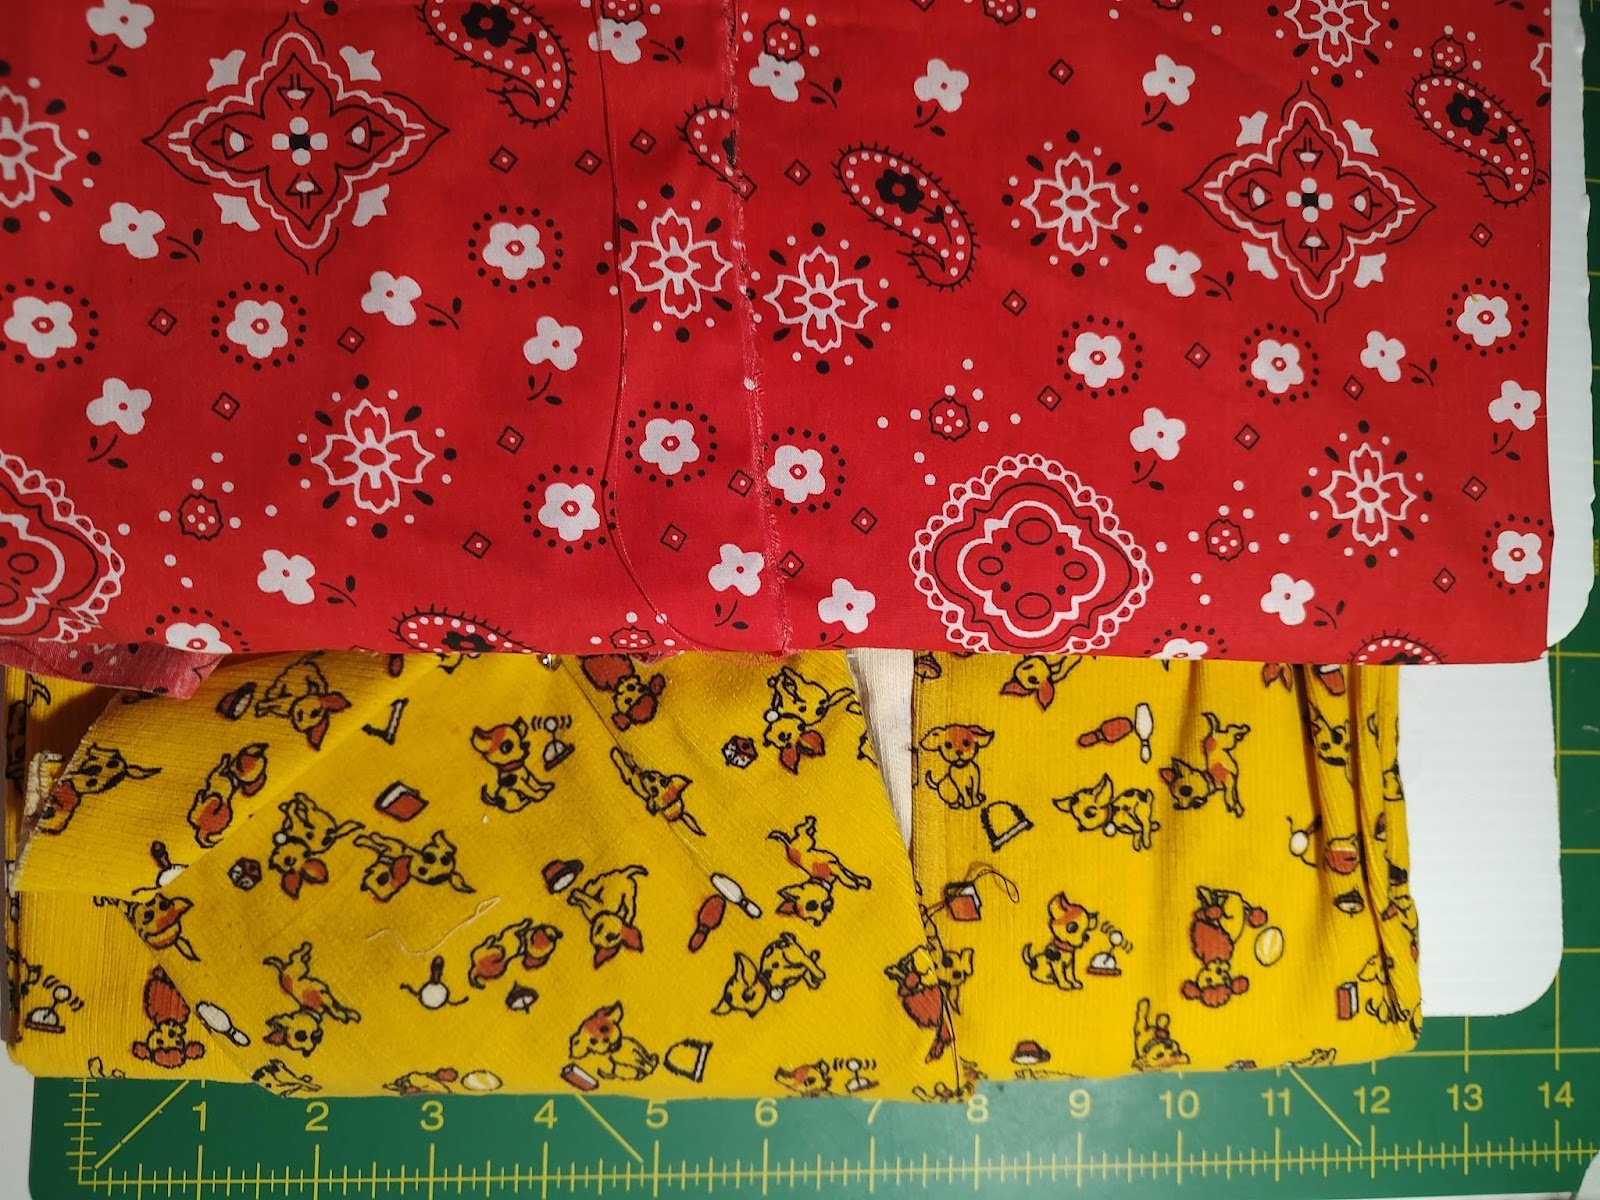


 These two are my final choice
Foreground- Character, animal, baby pattern, licensed character, or a floral.
If you do not have any of these, don't fret! A beautiful solid, or interesting pattern is also cool! Just choose a fabric that makes you happy, (or mad and you want to get rid of it). Again, bonus points will be awarded for Garfield, or an old children's fabric ;)
Here is what my pull looked like for this:


 --^^Here is me measuring and realizing this piece is too small to use :'(
Edge- Anything goes!
Dealer's choice! Whatever fabric you have on hand that sounds fun to use, go for it!
Here is my Edge fabric pull:

Cutting
Sewing
The 4 elements that comprise this 16.5" x16.5" unfinished block are:
1. One 8.5 x 8.5 inch unfinished Snowball Block
2. Four 4.5 x 4.5 inch unfinished Half Triangle Square blocks
3. Four 4.5 x 4.5 inch unfinished Hourglass Quarter Square Triangle Blocks
4. Eight 2.5 x 4.5 unfinished rectangles
Making the Snowball block
Follow this link for more details: Snowball Block Tutorial from Scrapish.com
For this task, you will need:
- one 8.5 inch square of your foreground fabric
- four 3 1/4 inch squares of your star point fabric
 You will end up with an 8.5 inch unfinished snowball block at the end.
- Finger Press or Iron your 3 1/4 inch squares in half

- Pin a 3 1/4 inch square to each corner of your 8 1/2 inch square

- Stitch along the pressed line made in step 1

- Cut .25 or a quarter inch away from the stitched seam


- Press your seam towards the center of the block

- Repeat until all of the edges of the square are done, and you will end up with an 8.5 inch block

- Cut off the edges to square up your block, and you will end up with an 8.5 inch Snowball Square. Woo!
Make the Half Triangle Square Blocks
For this task, you will need:
- one 7 1/4 inch square of edge fabric
one 7 1/4 inch square of star point fabric

We will be using a method that makes four H.T.S. blocks at once!
Follow this link for more details--Four Half Square Triangles at a Time Tutorial from CoralandCo.com
- Place your two squares together, with the fronts of the fabrics together(I put a crease in my fabrics, but this is not a necessary step. )

- Pin in place, then sew around the edges of the two fabrics with a .25 inch seam

- Place a cutting tool horizontally on the sewn together square

- Cut along this line, then cut the two halves in half


- Open each piece, press, and cut the edges to square it to 4.5 inches


- Place your two squares together, with the fronts of the fabrics together
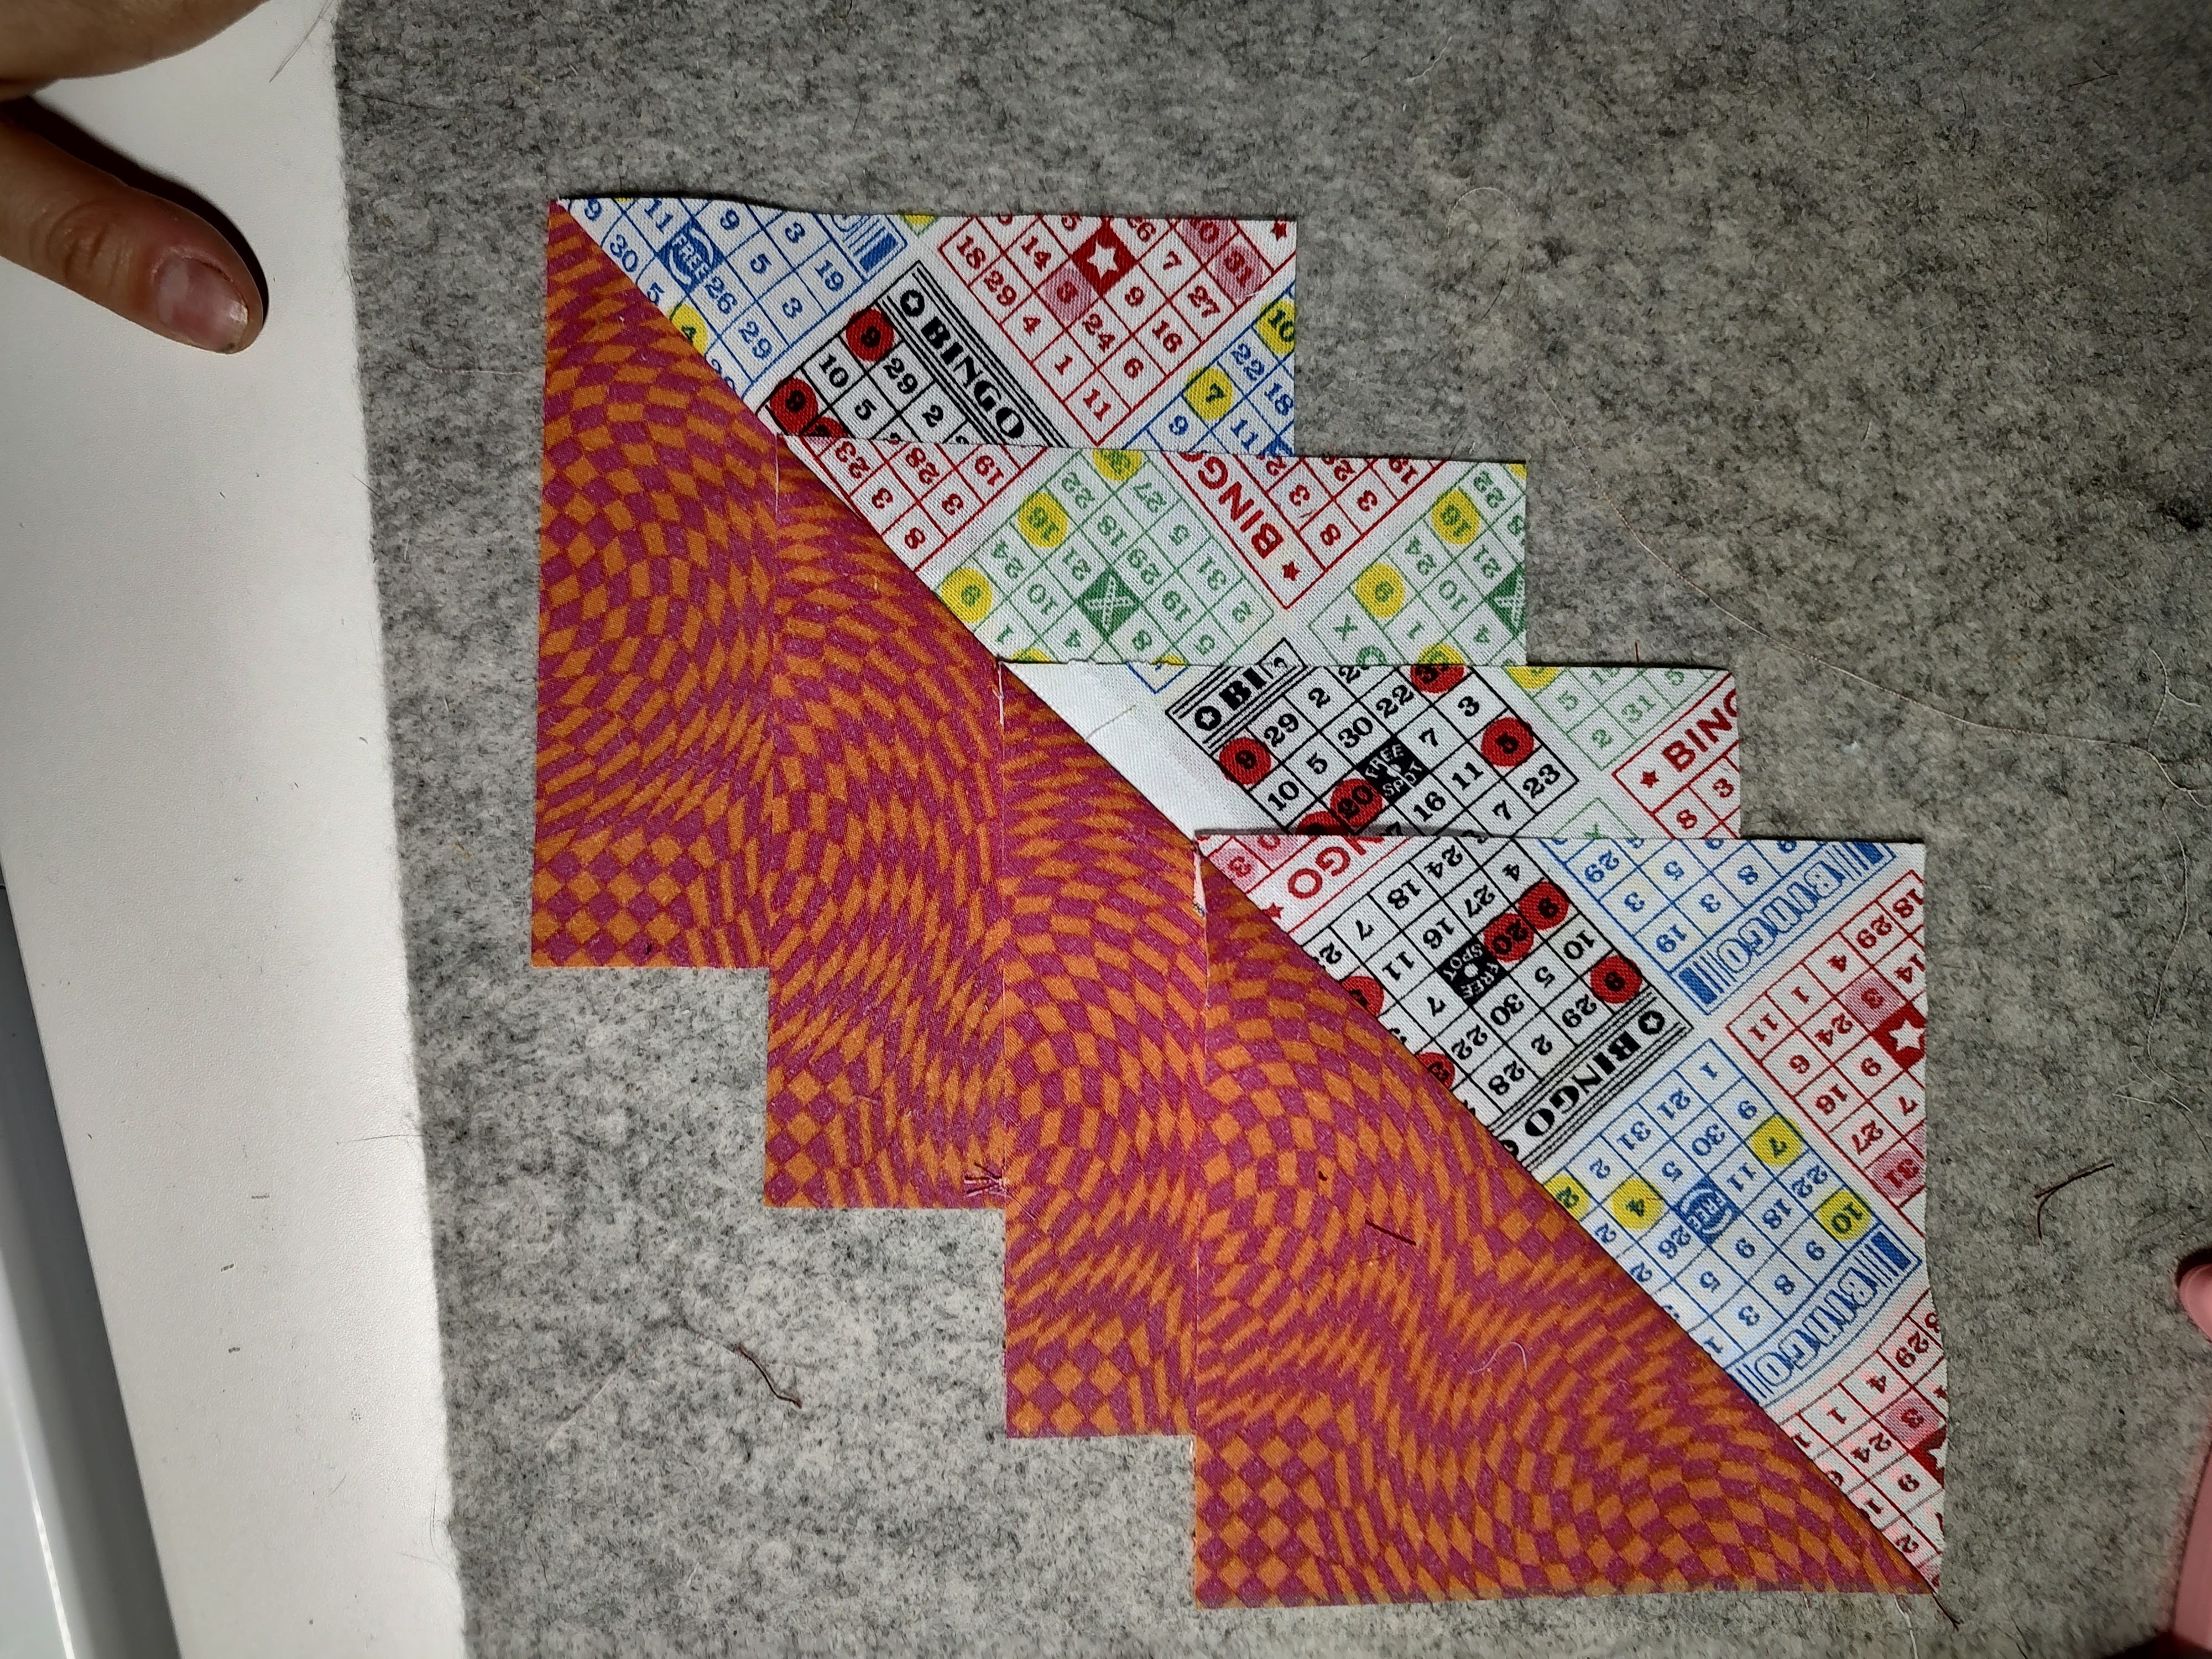
Make the Hourglass Quarter Square Triangle Blocks (QSTs)
For this task, you will need your:
- two 5 1/2 inch background fabric squares
- two 5 1/2 inch star point fabric squares

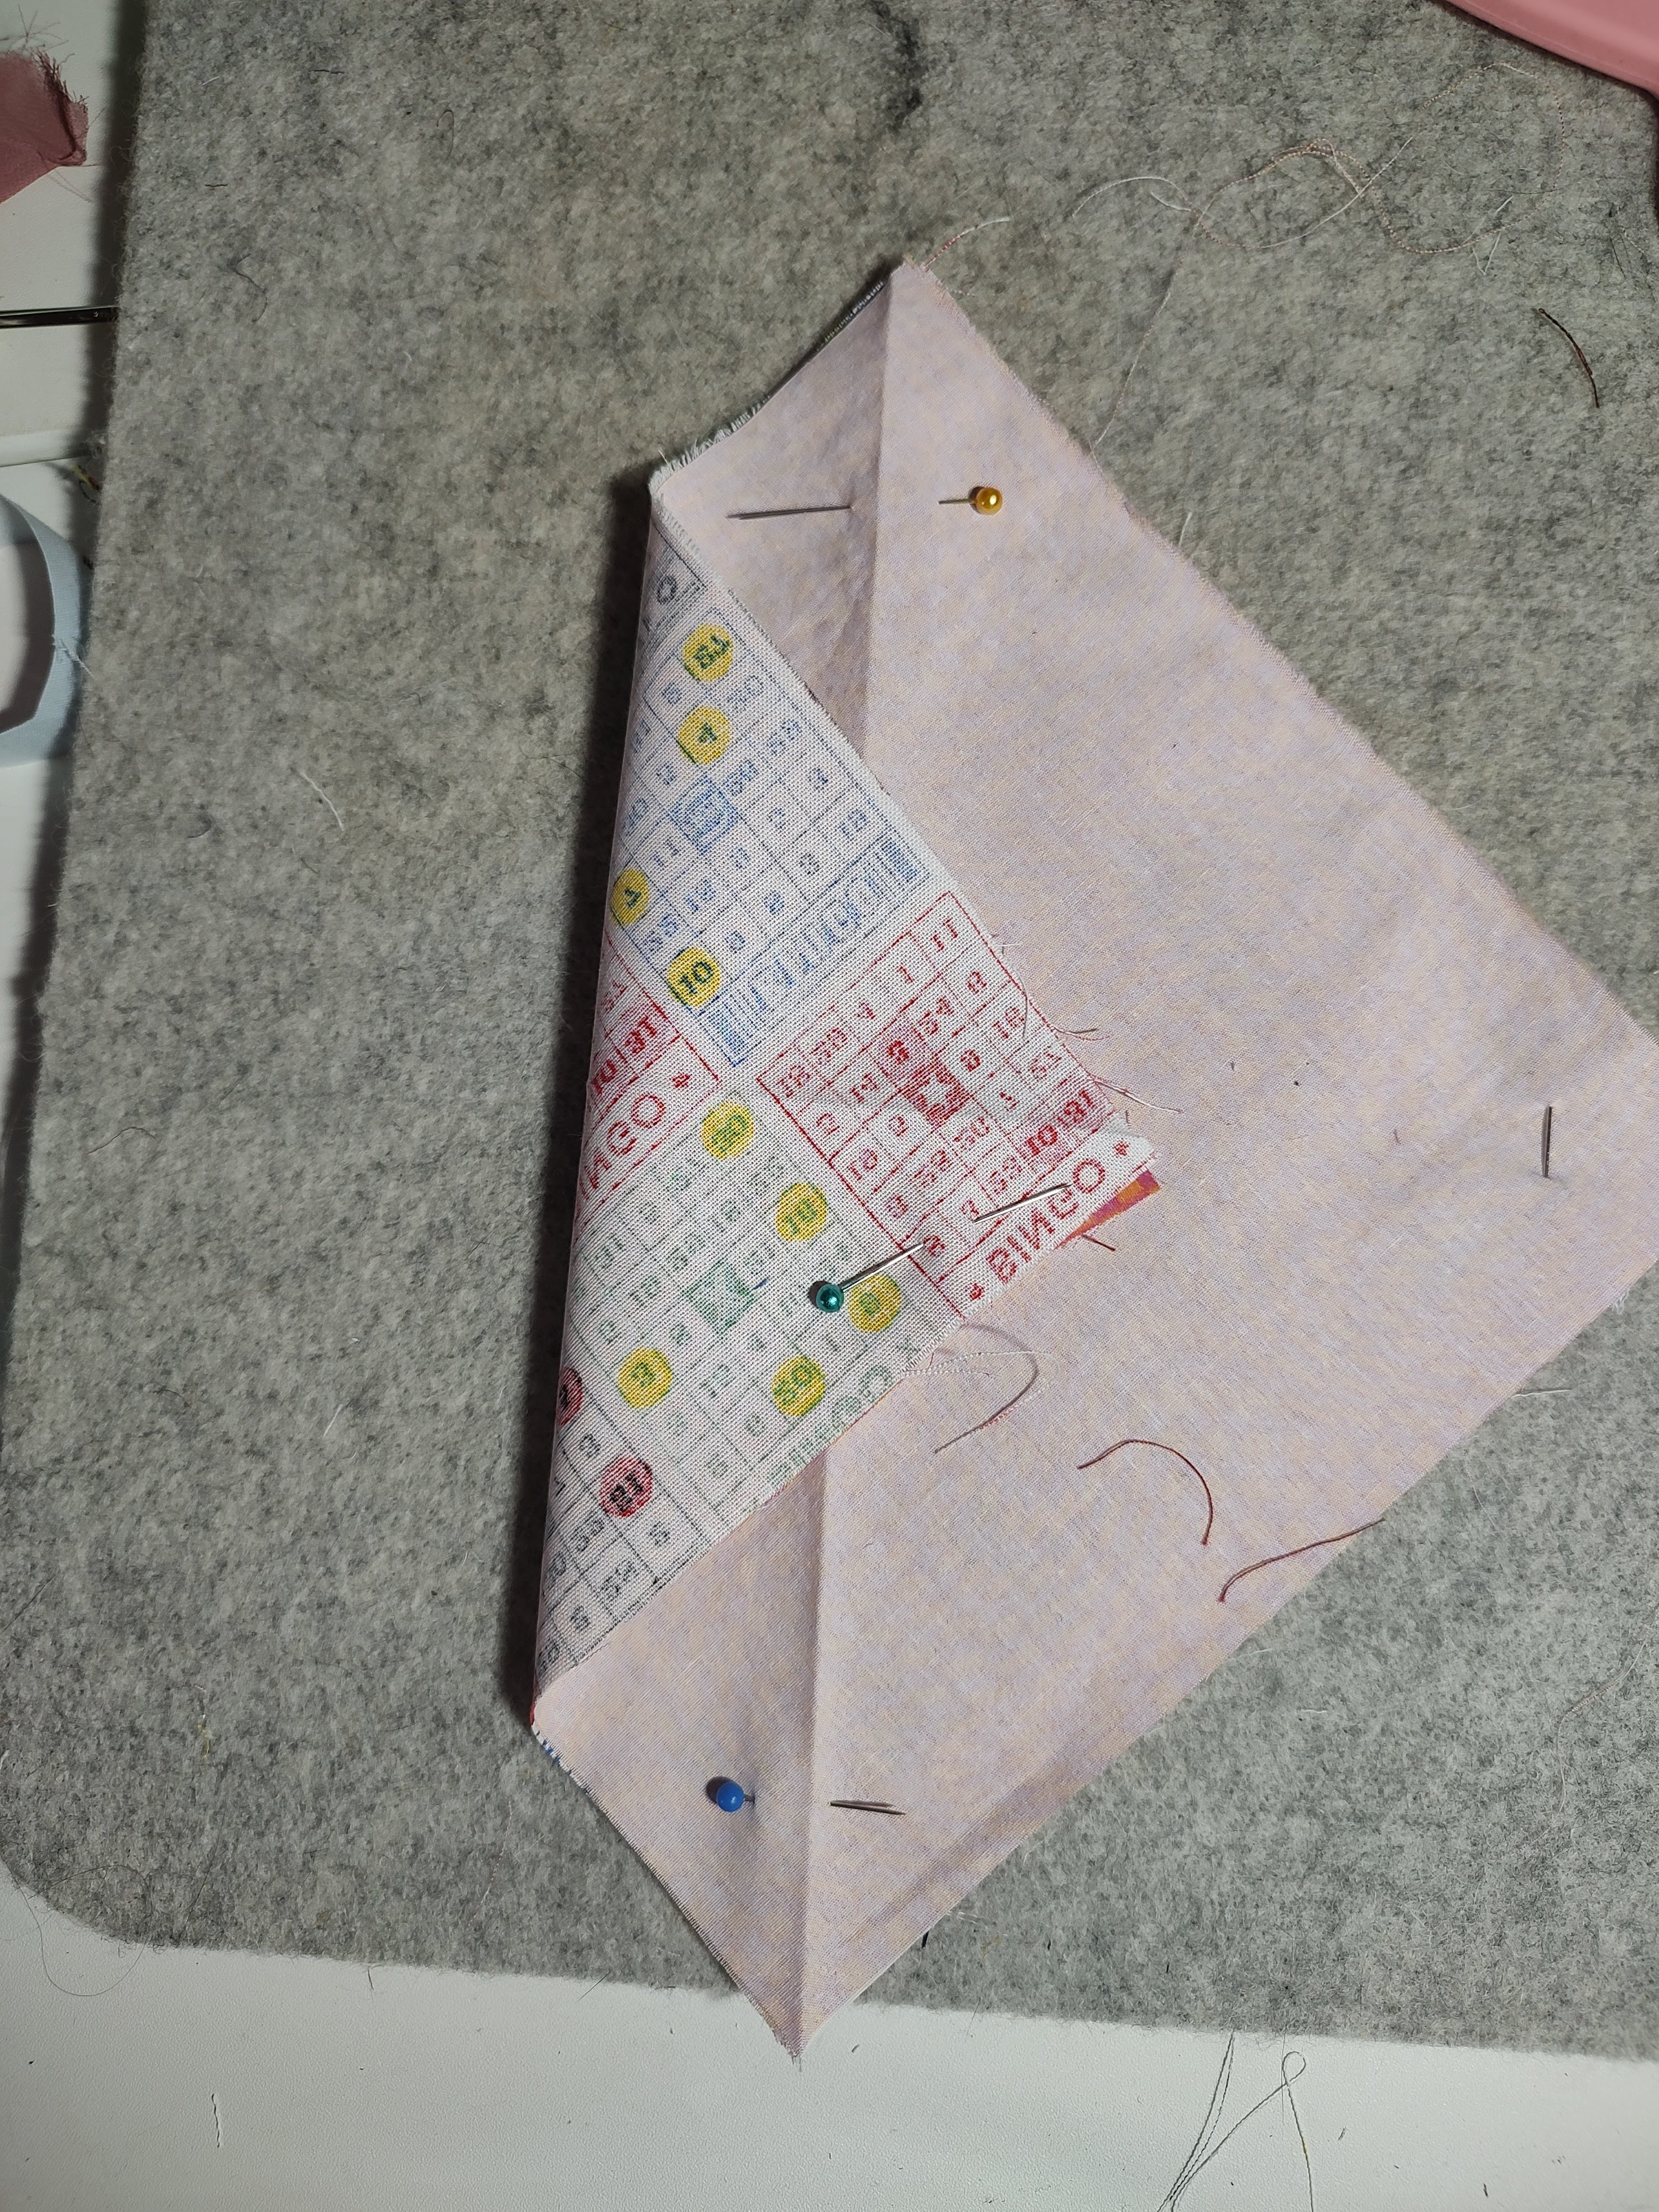
For more instruction, please follow this link-Hour Glass Block Tutorial- Finger press or Iron press the two star point squares in half, so there is a crease down the middle diagonally.

- Pin the creased star point fabric squares to the squares of the background fabric, with the right (pretty) sides together.

- Using the creased line as a guide, stitch 1/4 inch seam allowance on either side of the crease.


- Cut along the creased line

- Press Open and continue the previous steps until you have four identical half square blocks


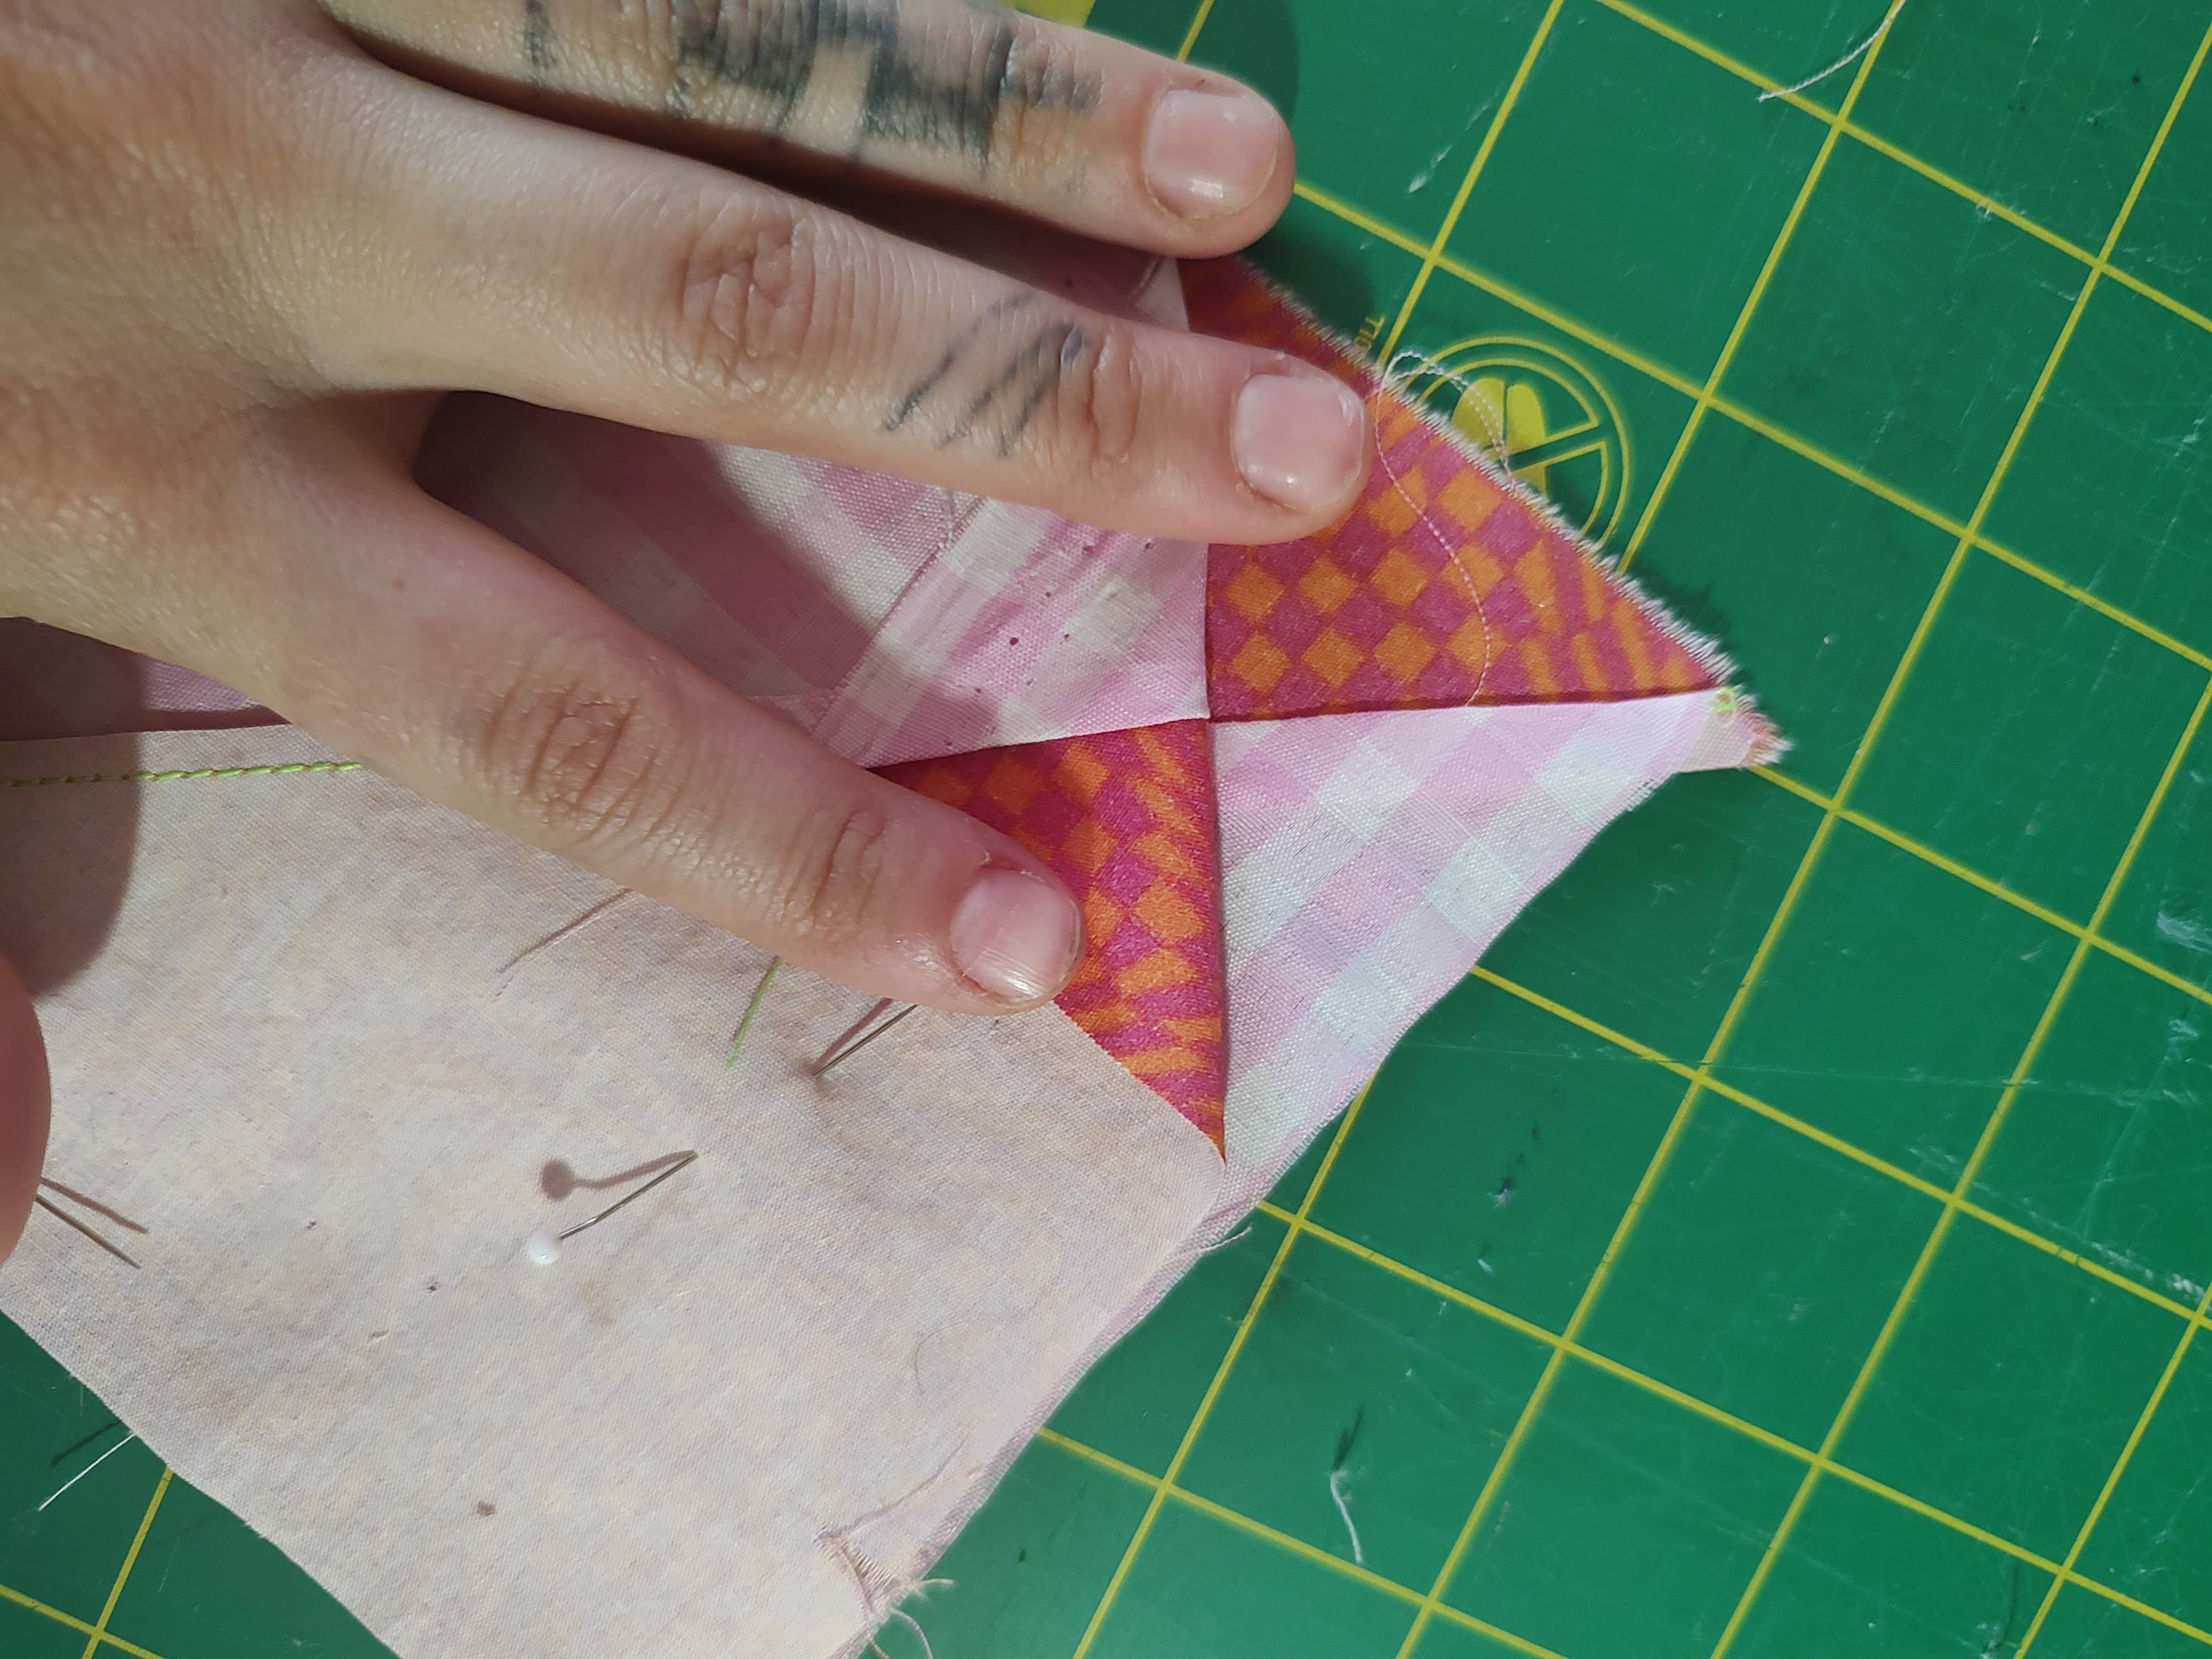
- Fold in half and iron press a crease into two of your blocks

- Prepare
your half square blocks for sewing by placing them on top of each
other, with the patterns mirrored. You should have different fabrics
touching different fabrics.


- Line up your stitch lines, and pin into place


- Using the creased line as a guide, stitch 1/4 inch along either side

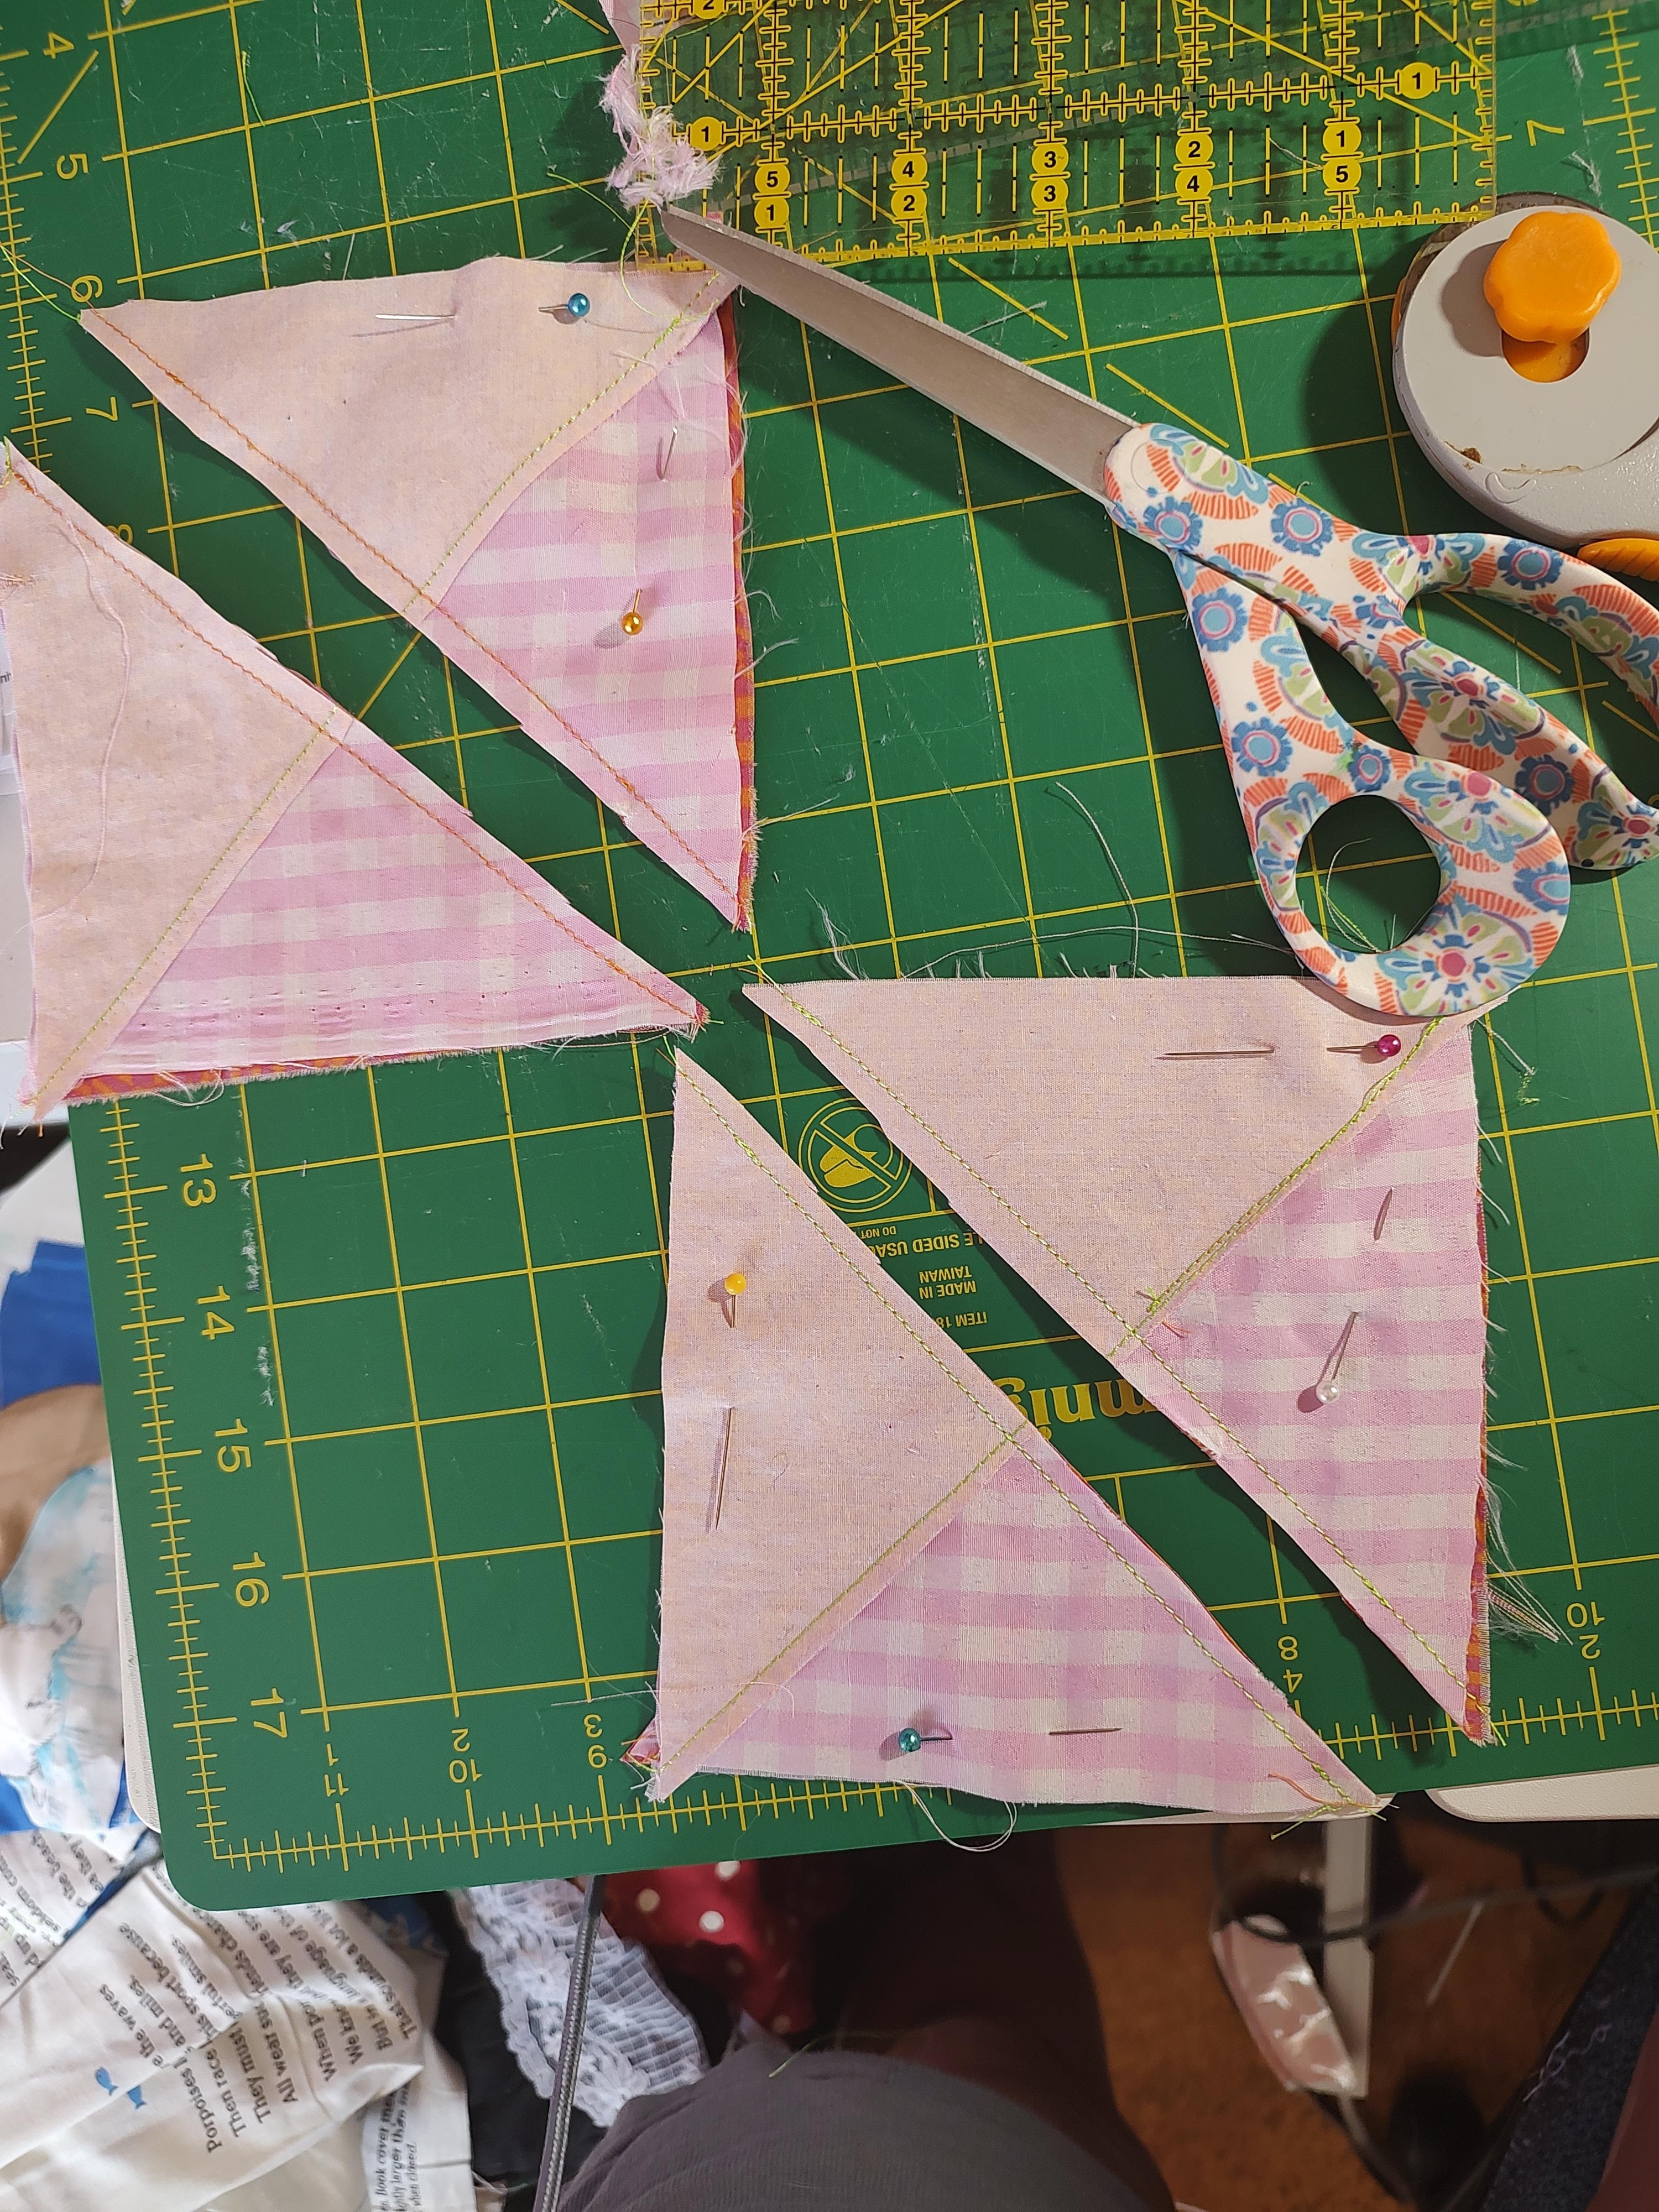
- Cut along the creased line

- Press
Open, and trim edges down to 4 1/2 inches. If your points aren't
perfect that is okay! Some slight off center points are totally fine, no
need to redo them unless you really want to.


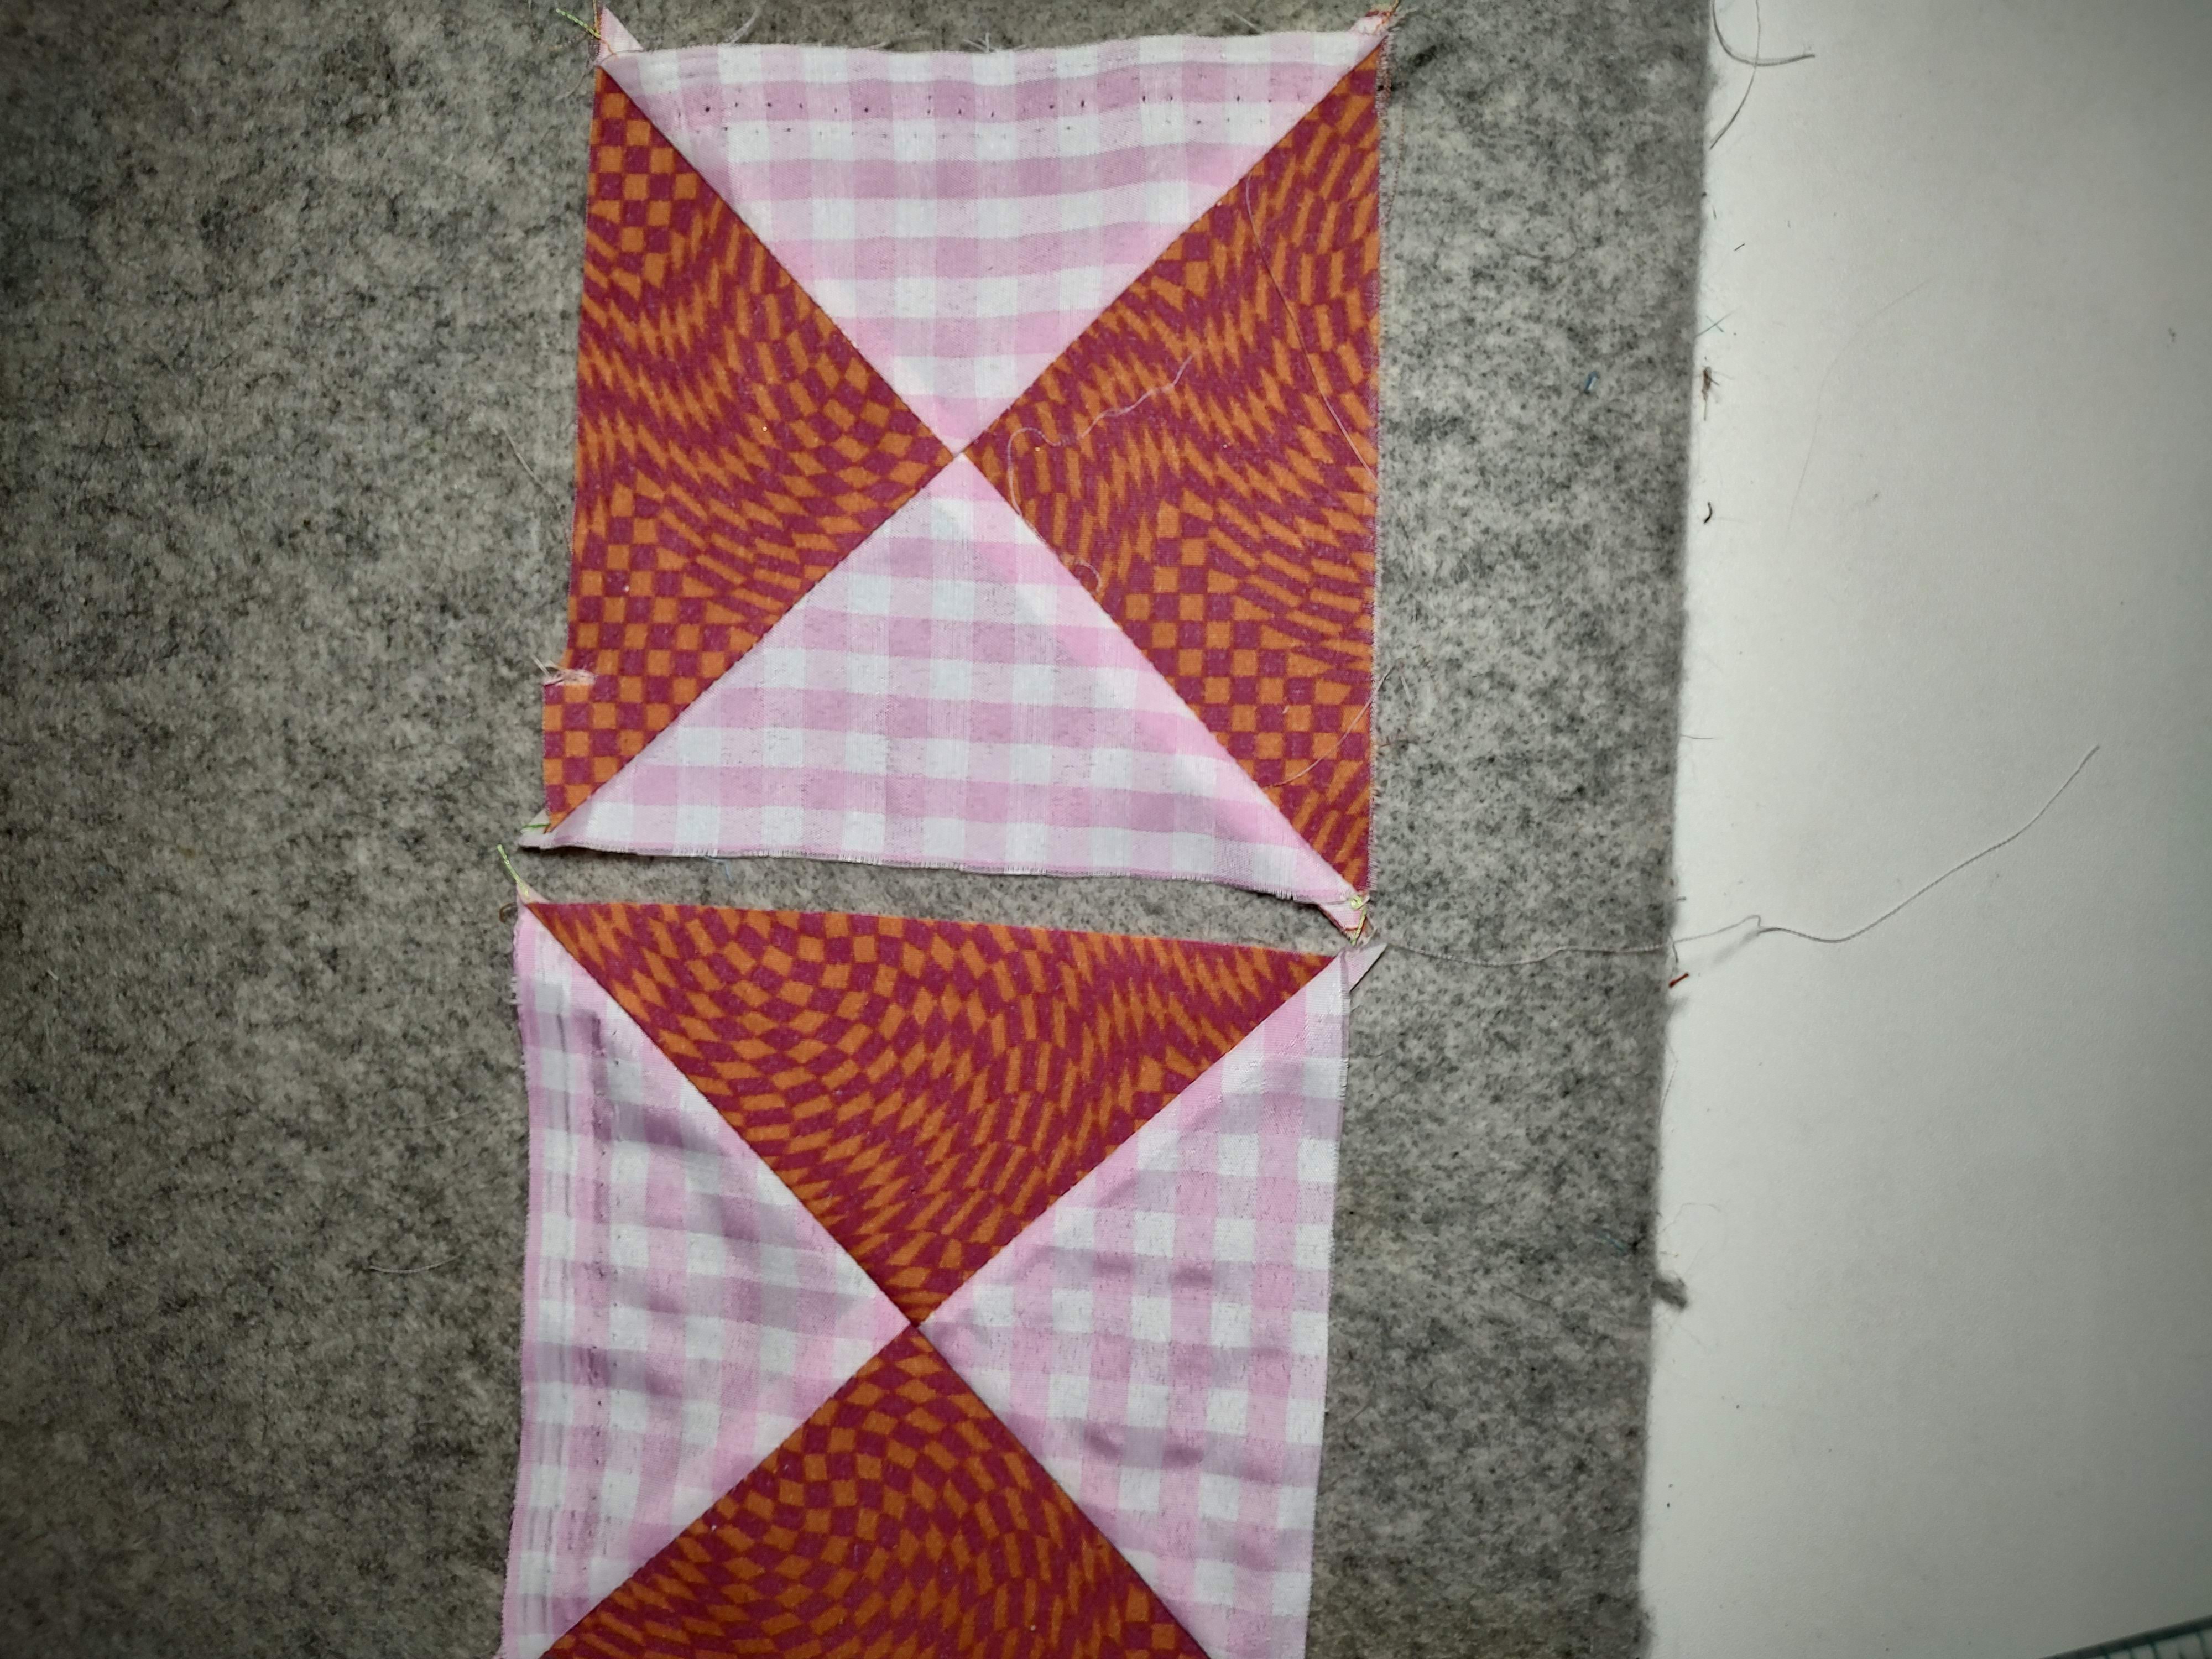
- Repeat steps until you have 4 great looking hourglass squares! yippee!!

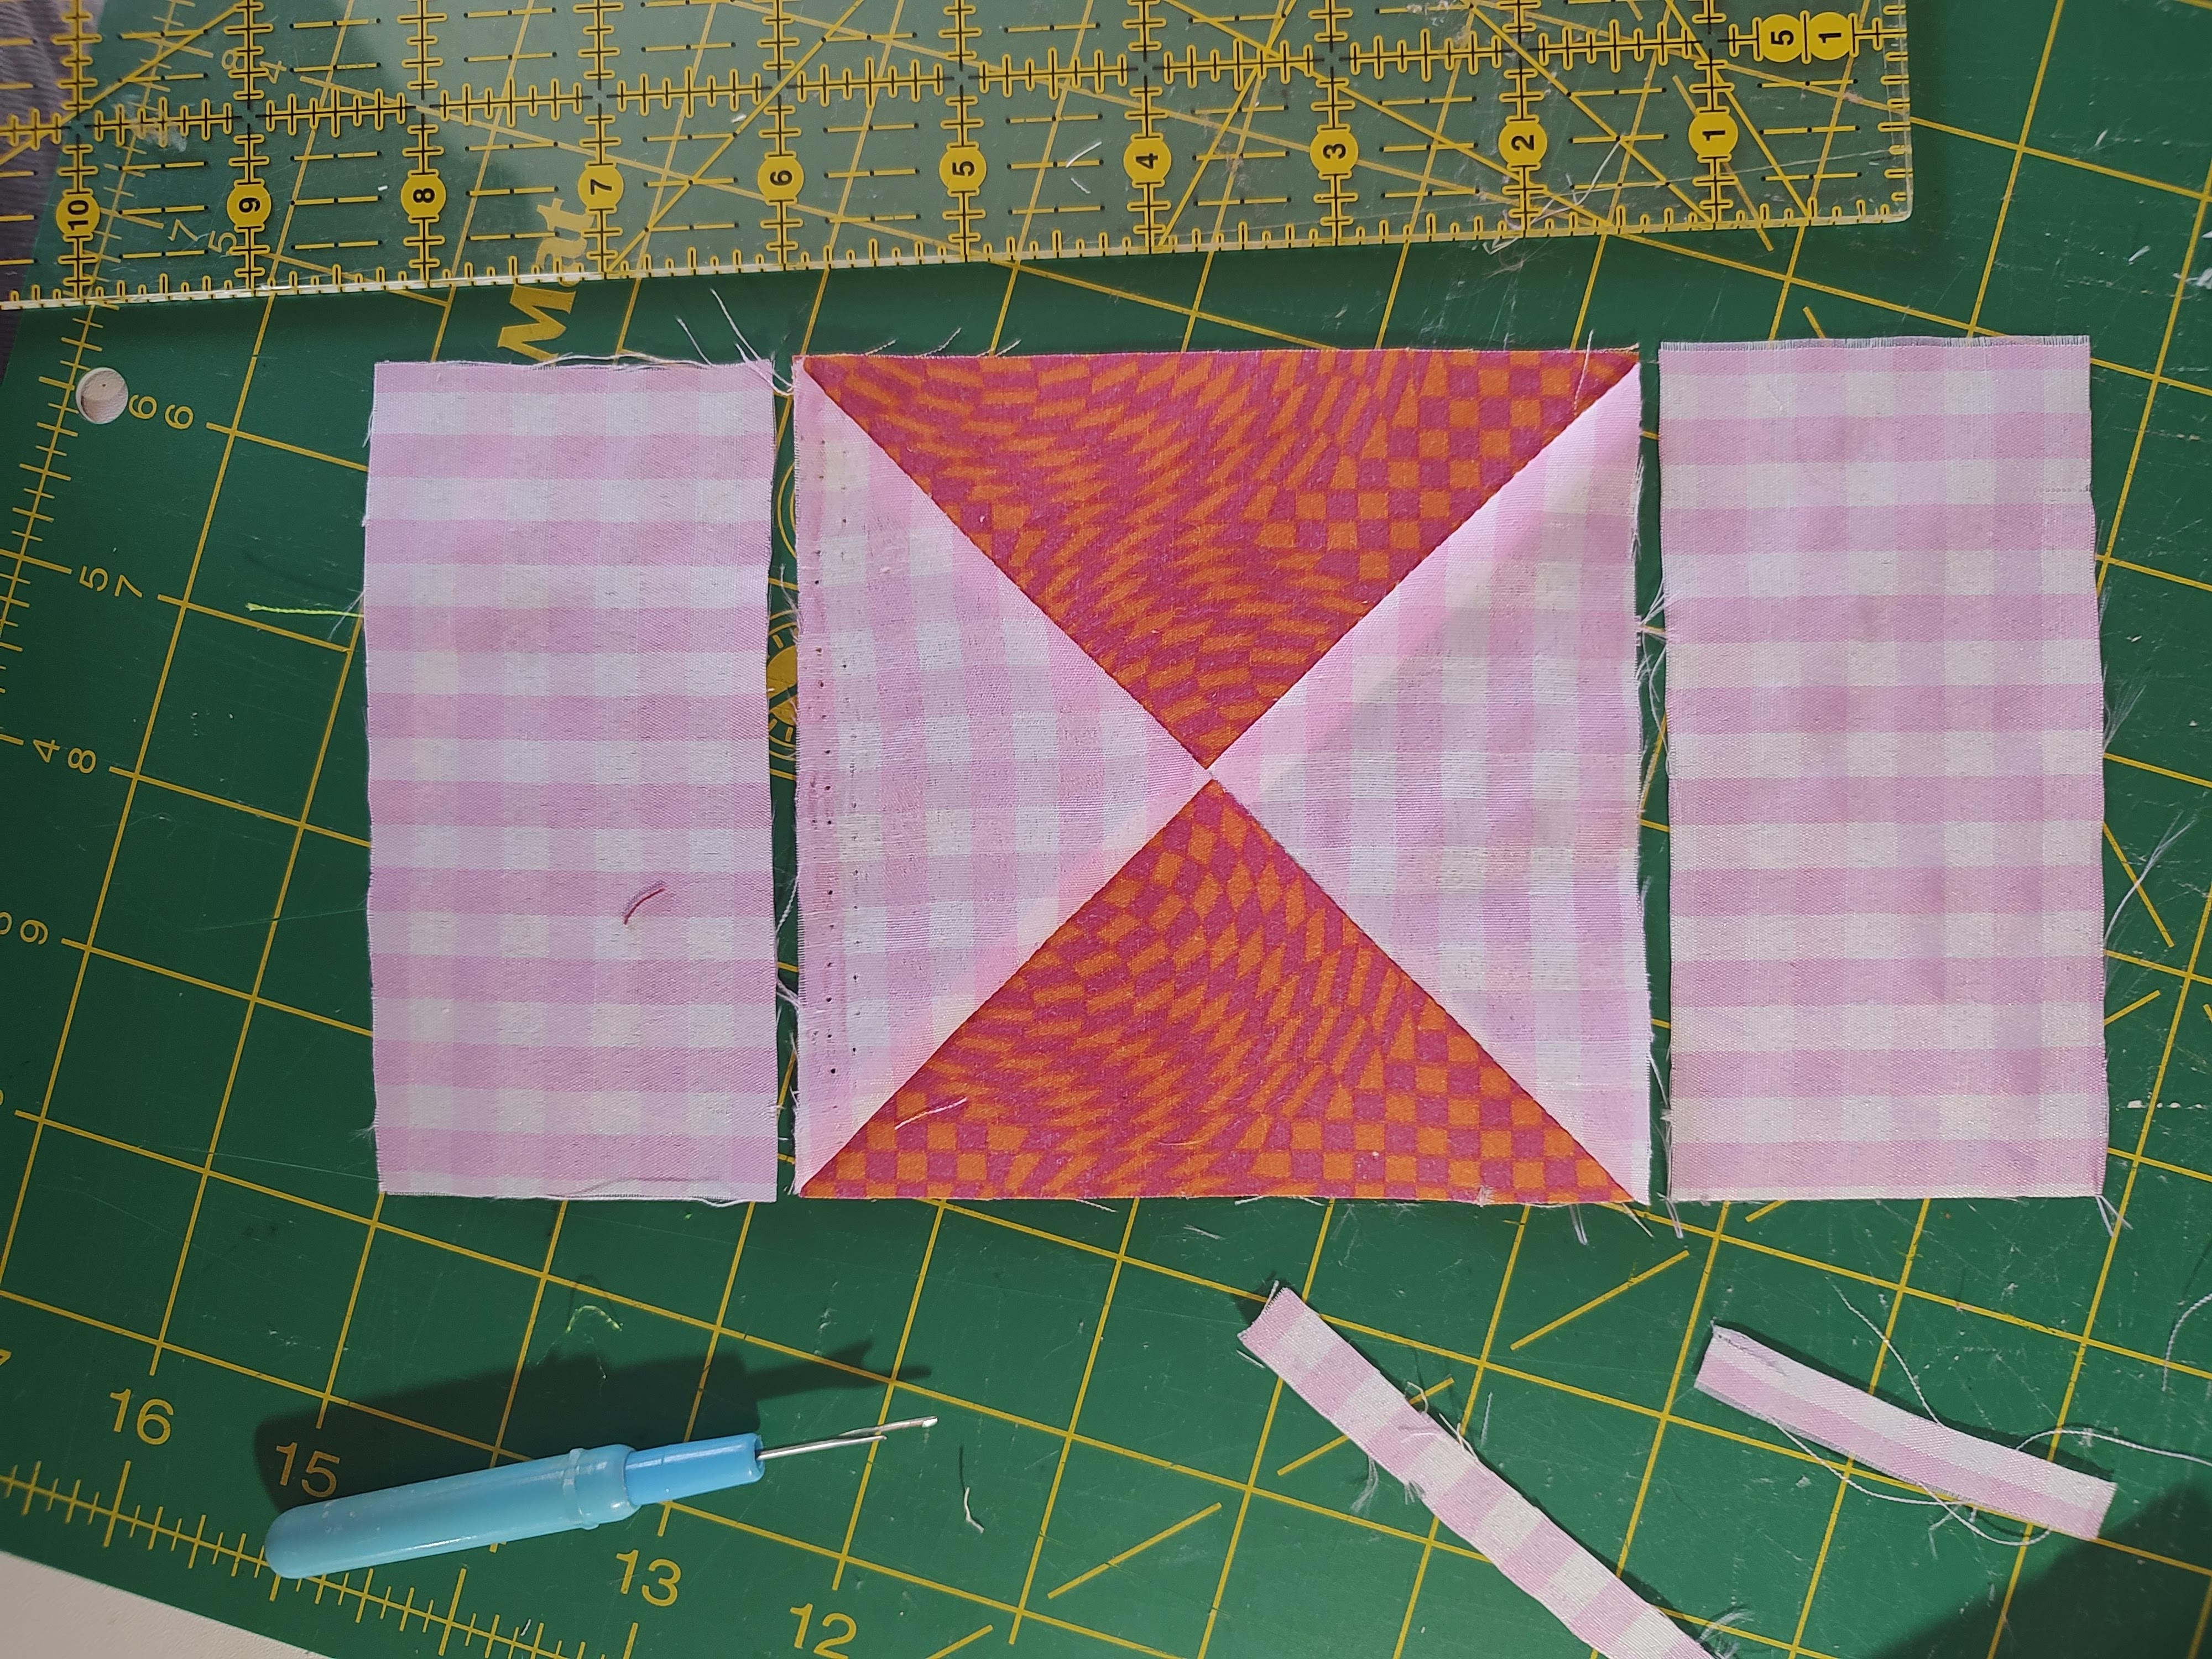
Make 8 Small Rectangles and Attach Them to Hourglass QSTs
For this task, you will need your:
- four 4.5 x 5 inch background fabric rectangles
- four hourglass quarter square triangle blocks

- Cut your rectangles in half, so you end up with eight 2 1/2 x 4 1/5 rectangles


- Place
one rectangle on either side of the hourglass that has the same
background fabric. Pin into place and stitch with a 1/4 inch seam.


- Press the seams open


- Continue
until each hourglass has two rectangles attached at either end of the
background fabric sides. These are now your extended hourglasses!

Combine Elements into Strips
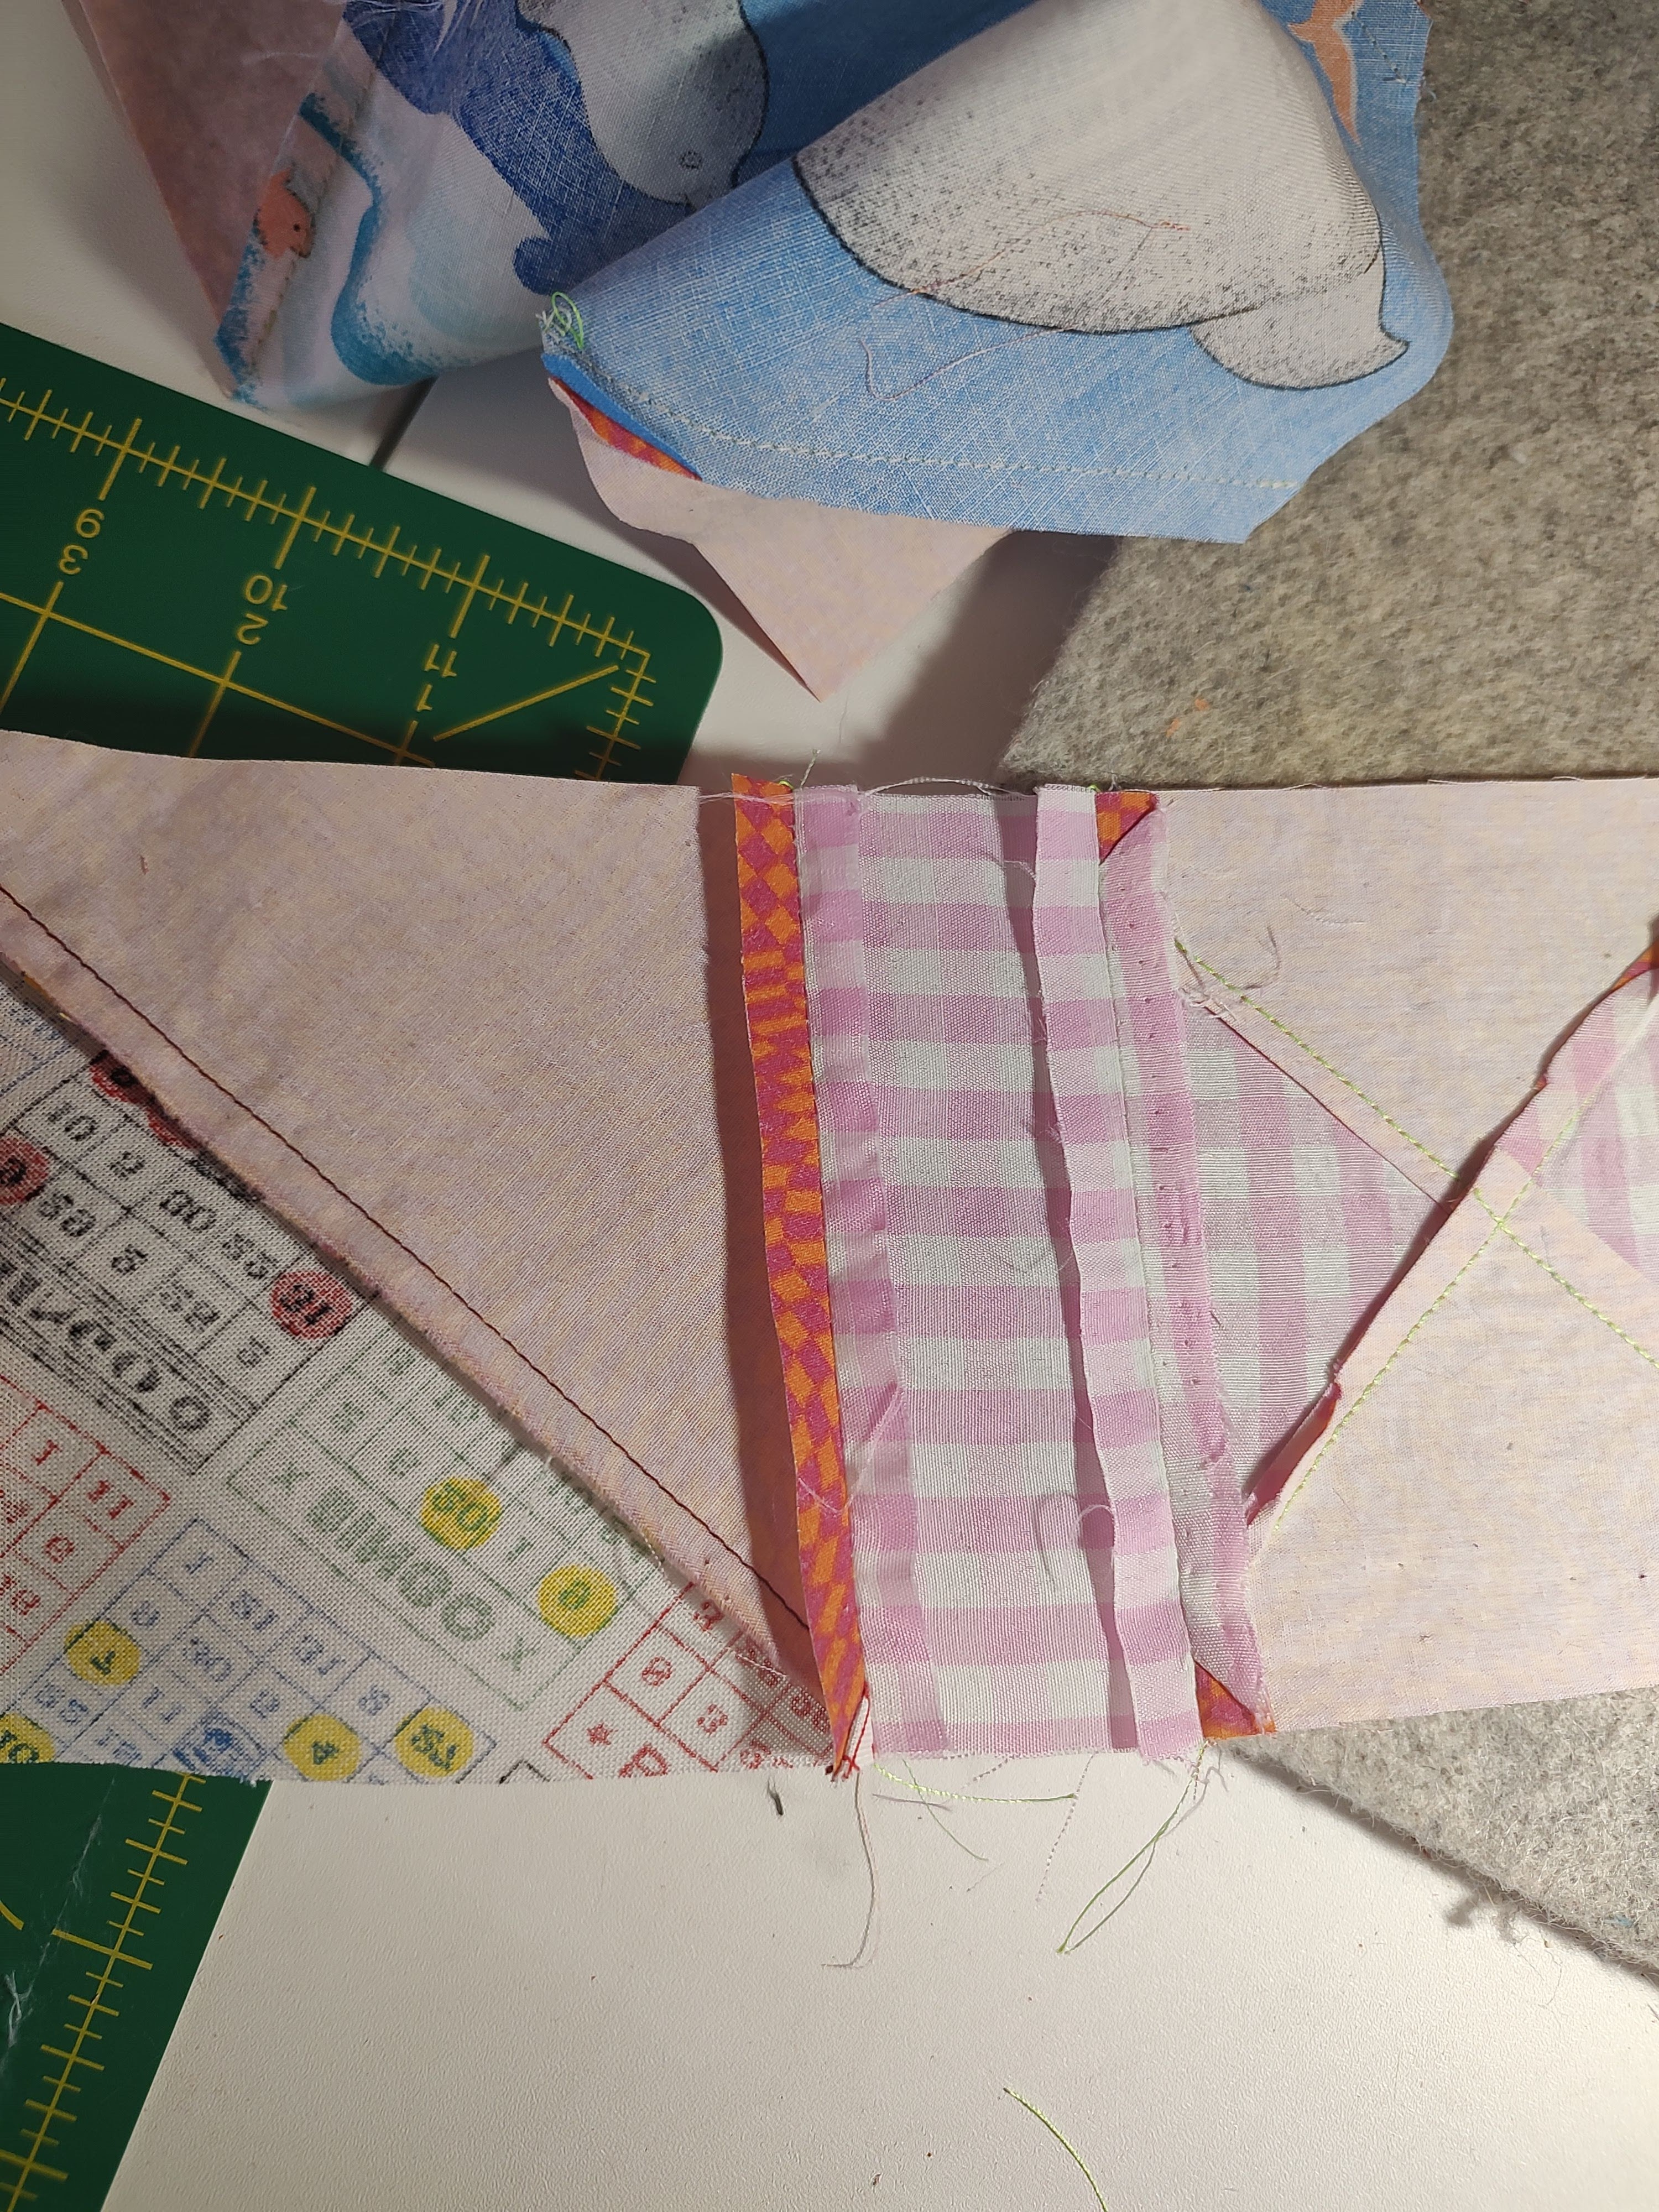
We will now add a Half Square Block to either end of two of our extended hourglasses
Take an extended hourglass, and two Half Square Blocks. Pin a Half Square block on either end, with the star point fabric touching the added rectangle piece. Use the picture below as a guide for how to attach these piece correctly.


2. Stitch along the pinned edges, combining the hourglasses and the Half Square triangle blocks, as shown here in neon green.

3. Press the seams open4. Continue until you have two of these strips

Now we will combine the Snowball block with the remaining extended hourglasses
- Pin
one of two remaining hourglass shapes to the top of your snowball block
with the right sides of the fabric facing each other.

2. Pin the other to the bottom of the snowball block

3. Stitch along the pinned edges
4. Press the seam open

5. You now have a completed center strip!
Combine the center strip with the outside strips
1. Take one of the outside strips, and pin it to the center strip with the Star Point fabrics facing the center strip, nesting the seams.
For a better example of how to do this follow this link- How to Nest Seams


- Pin
one of two remaining hourglass shapes to the top of your snowball block
with the right sides of the fabric facing each other.
- Stitch along this line, combining the two elements. Press the Seam open.


- Place the other hourglass strip on the opposite side of the center piece

- Nest the seams, and pin. Stitch along this edge


- Press the seam open, and you are done!! Your block will be around 16 inches x 16 inches unfinished. The "unfinished" block size is 16.5" x 16.5" and the "finished" will be 16 (after I stitch them together).

Give it a good ironing, and grab a snack!
Thank ya'll so so so much for your help in making this fun quilt! I look forward to getting your beautiful blocks. Please reach out to me with any questions or concerns at iris.m.b.engel@gmail.com- Finger Press or Iron your 3 1/4 inch squares in half
- Happy stitching!!!!
- Happy stitching!!!!


No comments:
Post a Comment