Tuesday, March 31, 2020

Hive 2 April Tutorial: Fan Block


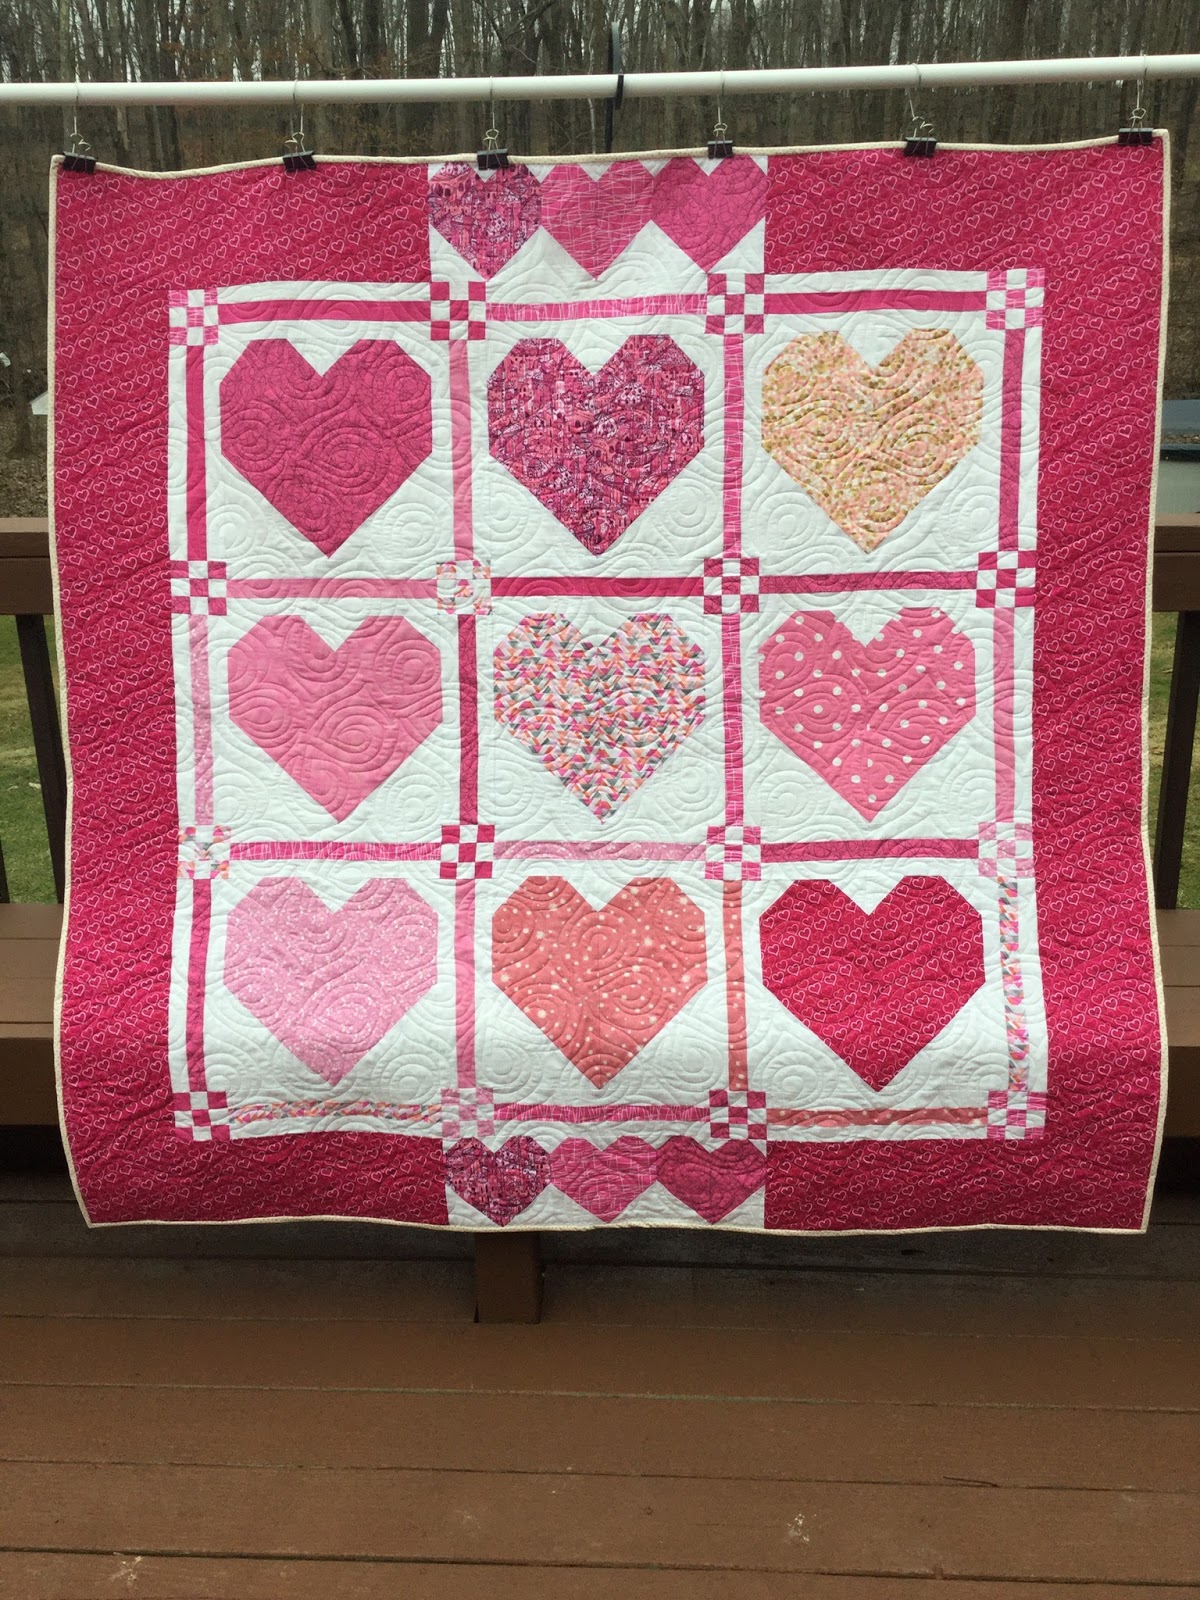
My how our world has changed in one month.  Here in Wisconsin, we are in “Safer at Home” quarantines keeping appropriate social distancing when outside running essential errands only.  Fortunately, I live in a very remote part of the state on forty acres with no neighbors, so isolation is not so new to us, but I confess, it is getting old.  I am a lawyer and am managing the logistics of court hearings by phone, but it is challenging.  My sewing this month has to be my refuge and not another challenge, so I chose to help you tackle a tiny bite of your string stash and play with color any way you choose.

Start with a piece of 8.5” x 11” inch copy paper and cut it to an 8.5” square.
Start with a strip between 1.75 and 2.5 “ inches and place face up in the middle of your paper.  Add a second string and place it face down and angled so that you sew it so the top fans toward the top corner.

Flip and fold back the paper to trim the excess fabric. 

Press strips open.  
Add more strips in similar fashion until you cover the paper in a “V” shape being sure to trim each time you add a strip.  Make sure your strips go over the edge about a 1/4 inch over all sides of the paper, because the paper shrinks a bit when sewing strips on.

After the paper is covered, press and trim to 8.5” square  and you’re done!

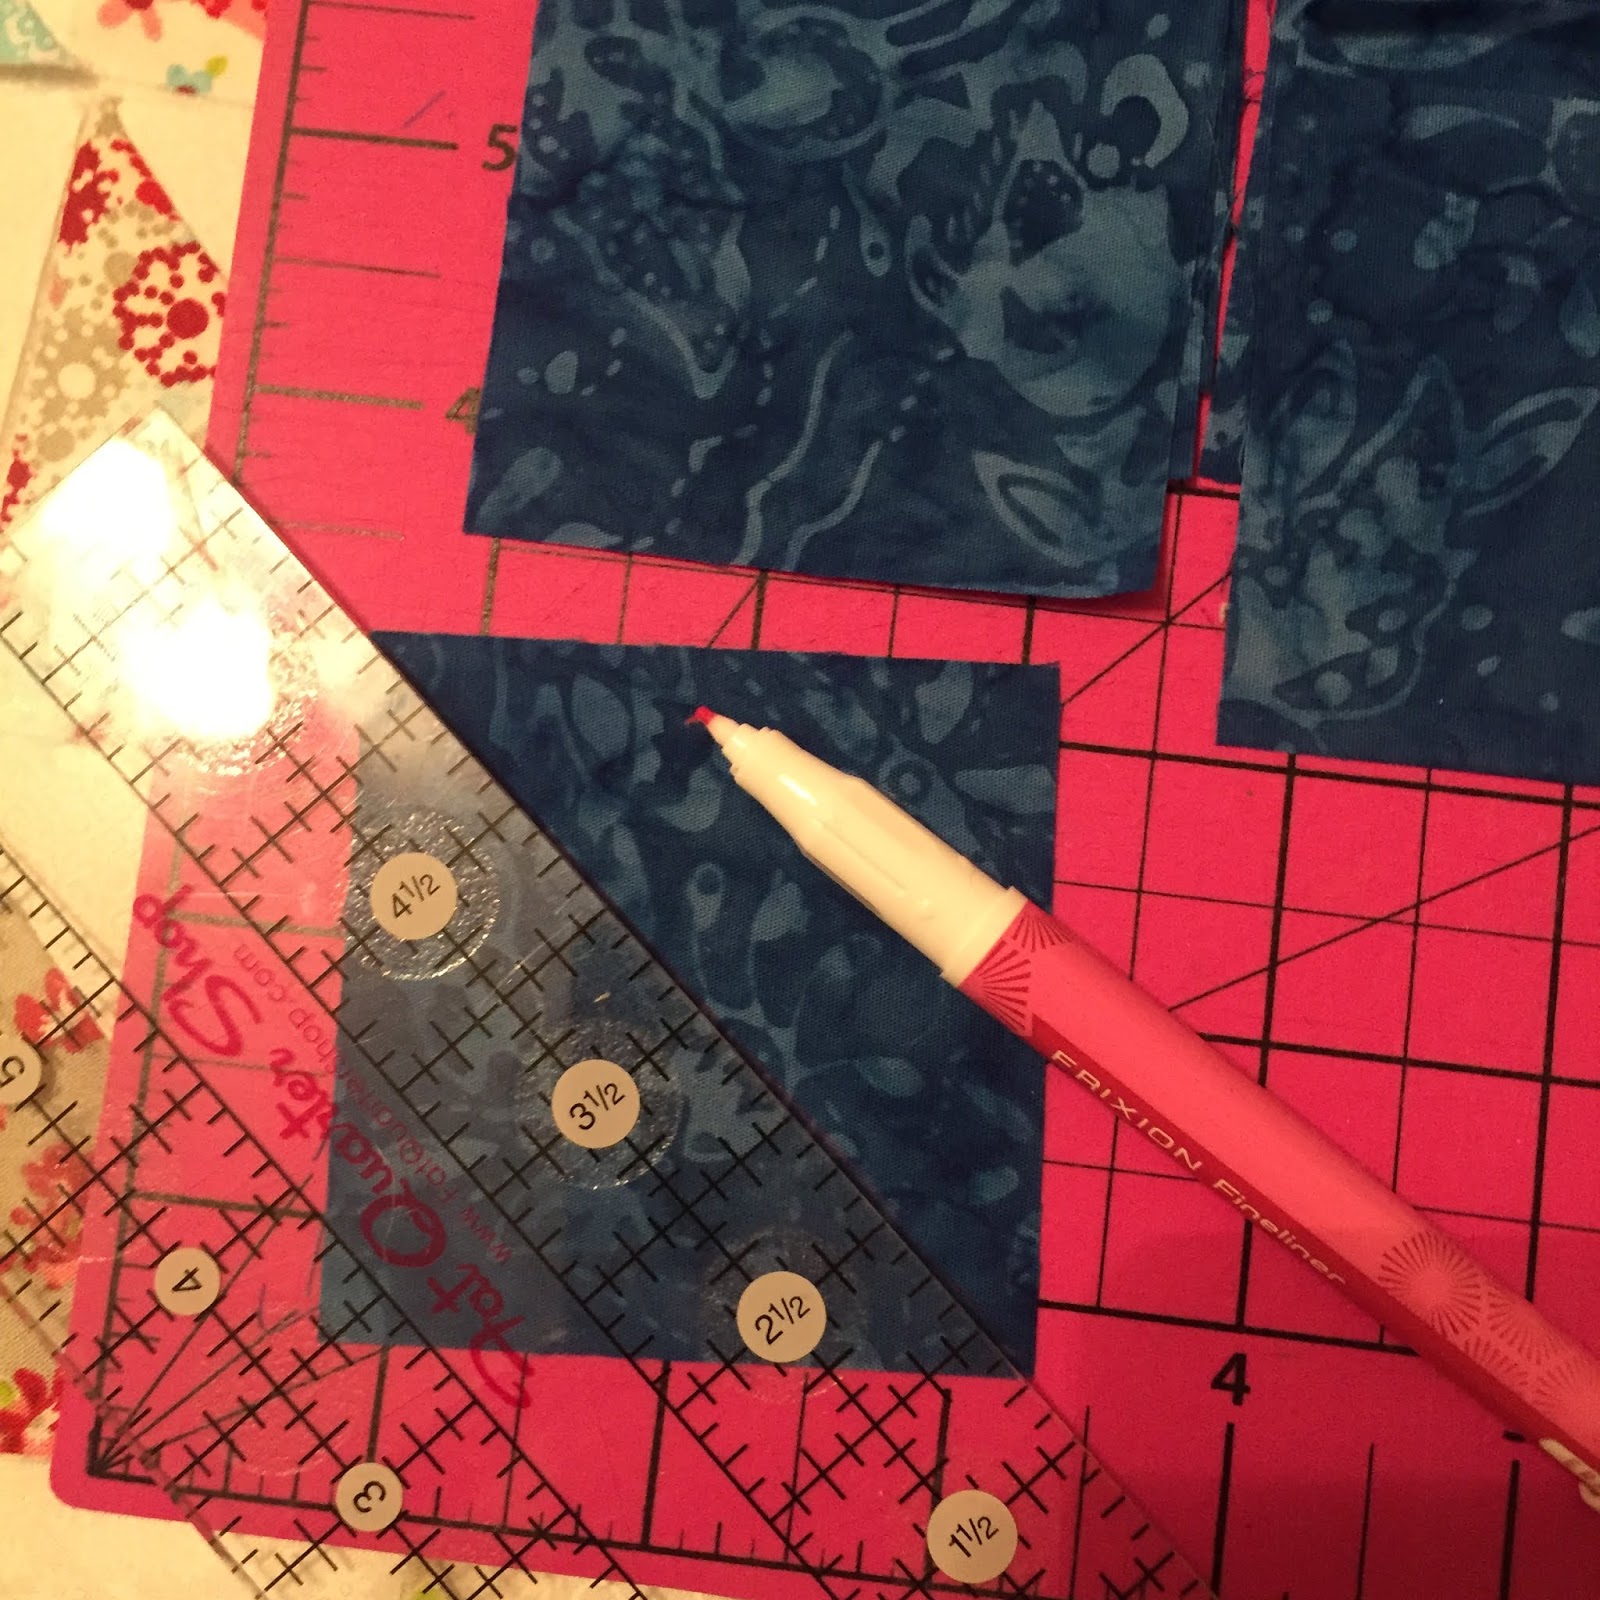
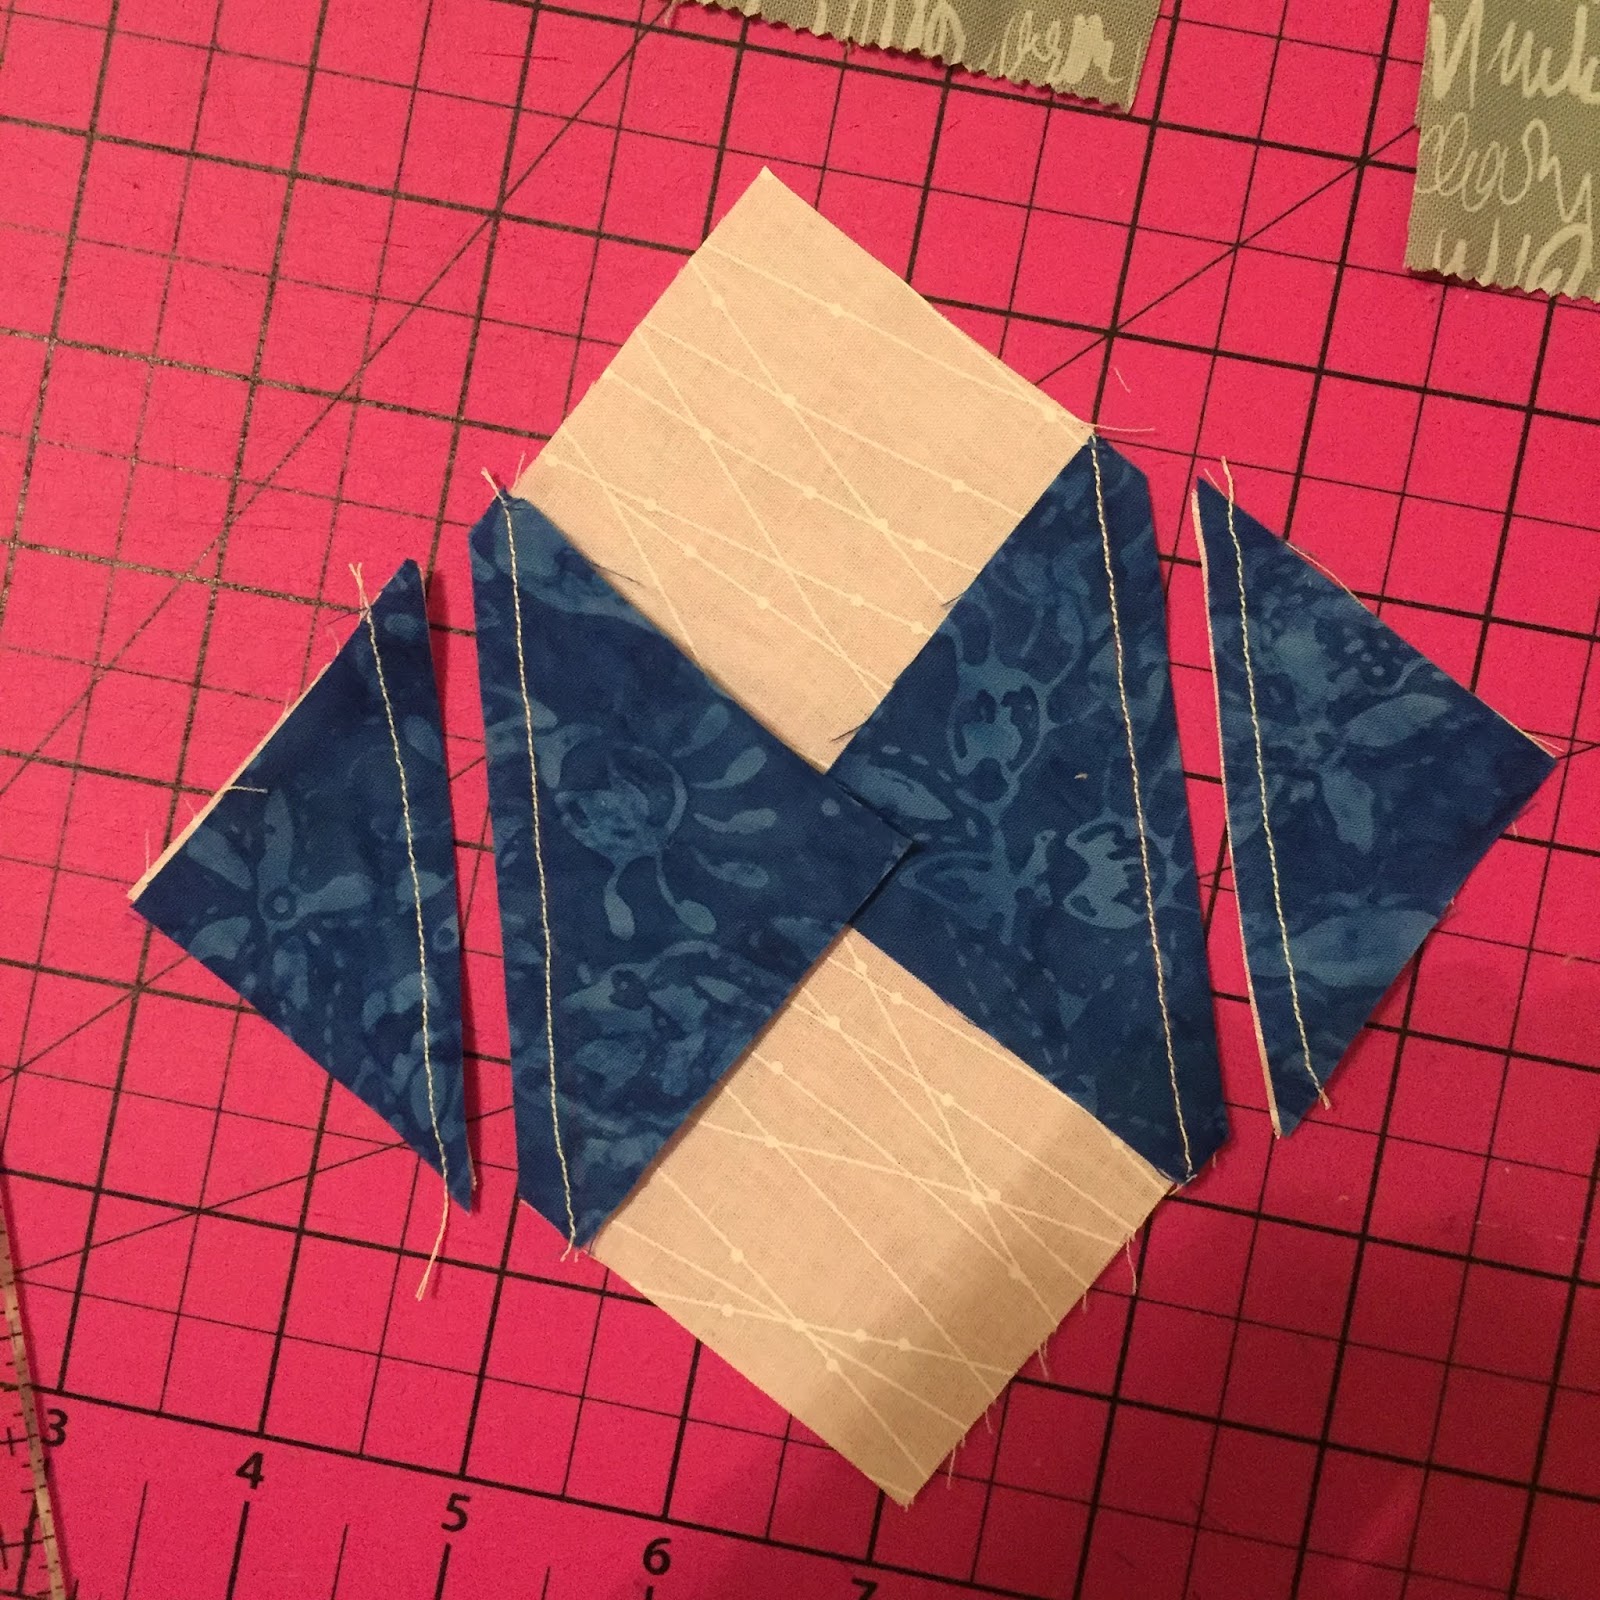
I started cleaning up my sewing room and kept finding bags of strings and scrap pieces that never made it to the master bin, so I dumped them out with the plan of just sorting, but decided instead to play with colors and create a block I could just sit and sew together.  I’ve managed to use up most of those string scraps which is very satisfying.   Here’s a square that didn’t  quite make a v shape, but this little guy in the picture is too cute to toss, so it will be one of the odd ones, but it illustrates why the first strip should be more or less straight up and down.

I hope you each find a little peace with your sewing through these trying times.

I’m going to get busy now making face masks for those heroic healers on the front line.  May we keep them and the rest of humanity in our collective prayers.

Monday, March 30, 2020

March Hive 1 Block for Rose


I am mailing this block out today! I have to admit that this month has taken its toll on my mental health and sewing just seemed so unimportant in the grand scheme of things, so I apologize I did not get it done sooner (I've had the pieces ready to sew for weeks), but at least it's not late! 💗

-Rochelle

Wednesday, March 25, 2020

March Block Hive 1


Rose colored block for Rose.  This was a fun block to do, so I made a few others to send along.  (This one looks darker in the picture than it actually is).  Hope you all are staying healthy and getting lots of things done at home.  Take care

Saturday, March 21, 2020

Cross/Snowball Blocks for Rose in Hive 1


These were fun to make. It's a nice version of the plus block, and I bet the snowball corners will make an interesting secondary pattern. I'm looking forward to seeing how these come together in the finished quilt.  I'll put these in the mail on Monday. Be well, quilting friends.
Pam

Hive 1 Block for Rose

Good morning! I made 3 blocks, not sure when they’ll get mailed. Hope everyone is well. Joan


Thursday, March 19, 2020

Monday, March 16, 2020

Plus Block

Hi Rose!!
Another fun block! As much as I love yellow--those blocks are beautiful-I chose green.
I didn't do this on purpose, but I'll say in honor of St. Patrick!
There's a second one underneath. I realized after making it that you asked for bright colors. I thought it was a pretty pattern. Hopefully you can use it.
I'm planning to get it in the mail to you today or tomorrow.
Stay well everyone!
Liz

Friday, March 13, 2020

Hive 1 March Block for Rose


I had the same idea as Kathie - Yellow = Bright!   Putting it in the mail today along with the little HST bits.  I look forward to seeing the blocks together.   Karen

Thursday, March 12, 2020

Hive 1, March Block for Rose

Hi Rose, 
These are my blocks for you.  Hope you like them and they are what you were looking for.
I do like Plus Blocks as well, was already toying with the thought to ask for one myself. We'll see.
The blocks will go into the post tomorrow.
The weather here is still temperamental, as expected in March. And as typical in Ireland there are really 4 seasons in a day.
This is still a bit early, but to all of you a very happy St. Patrick's Day from the Emerald Island.
Take care,
Rita

Monday, March 9, 2020

Hive 1 March block for Rose

I think I found the brightest fabric in my stash for this block.  Hope you like yellow!
Kathie L in Allentown

Thursday, March 5, 2020

Hive 1 March blocks for Rose


These were so fast and easy.  I'm feeling like my grays may be a bit light though. I will be mailing them soon Rose.  Looking forward to seeing how they fit into your project.  Paulette

Sunday, March 1, 2020

March 2020 tutorial - Hive 2

Hi,
It’s your March hive queen Karen from southern Ohio.
The block I’m requesting is the same block I requested last year as queen.  I’m deep into making donation quilts and this block is perfect, easy to make and looks great when put together as a lap quilt or twin size.
This is my most recent heart quilt and is hanging in a local senior activity center.
So for the tutorial.  You will need to cut 2 -6.5”x12.5” pieces of happy fabric, 2-6.5” x6.5” and 4 - 2.5”x2.5” background fabric.  The background will be your choice as long as it looks good with your heart fabric. (I was working with a group of solids so my tutorial blocks have that, but yours can be whatever.)
Draw a diagonal line on each of the background fabrics, position them on your heart fabric and sew on the line.  Trim 1/4” from each sewn line and press toward the background fabric.
When you sew the two heart pieces together, I’ve found sewing from the bottom of the heart works best.  The heart should measure 12.5”.  
I’m planning on making several quilts from my blocks, please use fabric you already have and just have fun!  If you would, Please send the the leftover large triangles and I can work them into the border.
These are a few of my heart blocks I made for this tutorial. I think you can see that any fabric will work for me.  My donation quilts go to nursing homes, local hospitals, and as money makers for local dog/cat rescues .

Hive 4 - Mini Log Medallion (again!)

Hi Bee Friends! I loved our January Queen's block so much that I've decided to use the same block, with only one difference - LOW VOLUMES!

It's a quick block, as we all already know. Fun and scrappy, my favorite kind of block. This block is great for left over jelly roll strips and hunting through your scrap bins!

COLORS: I like bright cheery prints. I made my test blocks in pink, aqua and yellow; my hope for this quilt is to organize it in a rainbow gradient, so I would love blocks in all the colors! Each block should be composed of four prints in the same color family.  They don't have to match, in fact, I think it's great to have a little bit of variation in hues; see my blocks at the end for example. My favorite designers are Cotton & Steel, RSS, Zen Chic, Tula, Alison Glass, but I also love Kaffe and Bonnie & Camille, Rifle Paper Co. florals, etc. As far as novelty goes, a dash of whimsy is great - see my cupcakes and little bees - even one of my low volumes is Alice in Wonderland.  I'm sure whatever you choose will be wonderfully interesting and fun - I would prefer to avoid holiday prints, please.

For the background, LOW VOLUMES. A bit of color on white/off white print is great. I would prefer to stay away from any dark cream or beige backgrounds. None of the pieces have to be the same fabric, or you can make them all the same. Again, see my blocks for example.

CUTTING INSTRUCTIONS:

From EACH of FOUR Prints in the same color family:

1 - 2.5" x 5.5" Rectangle
1 - 2.5" x 3.5" Rectangle
1 - 2.5" x 2.5" Square


(Note - I  don't care about directional prints lining up! Cut 'em all from a jelly strip if that's your scrap!)

Background:

From any assortment of low volumes, cut:

4 - 1.5" x 2.5" Rectangles
4 - 1.5" x 3.5" Rectangles


PIECING INSTRUCTIONS:
For all seams in this block, press towards the color print and away from the low volume.

This block is constructed in four segments. Each segment is constructed in the same manner, so feel free to chain piece if that's your jam!

Attach a 1.5" x 2.5" low volume rectangle to the right side of a 2.5" x 2.5" square color print.


Rotate clockwise.  Attach a 1.5" x 3.5" low volume rectangle to the right side.


Rotate clockwise.  Attach a 2.5" x 3.5" Color Rectangle to the right side. (I forgot to take a photo of this step! Just remember, rotate clockwise, attach to the right)

Rotate clockwise.  Attach the last 2.5" x 5.5" Color Rectangle to the right side.


Here is the back showing the seams all pressed away from the low volume.


Next - repeat with the remaining sets of prints.  Arrange your segments in a 4 - patch; rotate each segment so that the low volumes are on the outside corners.


Sew together and you're done!


 I pressed and nested my 4-patch seams, and spun the center, but you don't have to do that. Finished block should measure 10.5" square.

A few more test blocks to show color families. The Yellow block definitely has a few different hues.  But they all work when sewn together.


I like bee fabric, can you tell? :-)


Thanks for bee-ing my Bee Mates this year. I can't wait to see your blocks - since we're an Instagram hive, please snap a photo and post it, tag me!

Happy Stitching -  Sara    @Stitchedbysaratallas

Hive 1 March Tutorial

Hi all.  I am Rose from New Jersey......I have been a member of stash bee for quite a few years. My husband and I are retired. We moved 2 years ago to a single story home.We travel as much as possible.  It is quiet here, I miss the little girls that grew up so very fast. We do have grandchildren that make us happy and busy. We spoil them as much as possible.

 It is always interesting to see the new quilt blocks that come up in stash bee and there are always the great standbys that you see over and over. The plus block comes up a lot. This is a different way to make a plus. I'm loving it. Hope you will too.


The main tutorial for this block comes from the Hang Time Quilt pattern from Camelot Fabrics, design by Melissa Corry. I just changed the size of the block from 15" to 10.5". I also changed the color of the inside plus from background to gray. That is my plus. I am asking for bright happy colors for the color blocks, medium grays for the plus in the middle, and white on white for the background.


For this block you will need:
Gray: 1 - 6.5"x 2.5"
          2 - 2.5"x 2.5"
Color: 12 - 2.5"x 2.5"
White on White: 4 - 4.5"x 4.5"


Using 8 of the color 2.5 square fabric, draw one diagonal line. (This blue is much brighter then it looks here)


Pin them to the white on white blocks on opposite corners, like so and sew on the diagonal line. (I also sewed an extra line to save the left over half square triangle) Trim a quarter inch away.  If you would like to send them along, I am saving the cut off triangles for another project.


Press out the color fabric and you have four corners for the block.  

5
  Sew the color 2.5 square to the gray 2.5 square, and sew the final color 2.5 square blocks to the 6.5 rectangle gray. 


 Lay them out like this. Sew them in rows. 


And there is the finished block.  It should finish at 10.5" square.


 Thanks everyone!  If you have any questions feel free to ask.


Hive 3- March Tutorial- Treasure Hunt Block

Hi Hive 3!

My name is Katy and this is my third year in Stash Bee.  I love the opportunity to get to connect with other quilters and work creatively with others.   I am mostly a stay at home mom of two preschool girls, but once a week i get to take a break from them and work as a pediatric nurse.

Last year for Stash Bee I asked everyone to make a "Treasure Hunt" block.  Because my dream is to have a large full or queen size quilt, I'm going to ask you all to make the same block again this year (sorry to those who were part of my hive last year).

You can find instructions to last years post here:
http://stashbee.blogspot.com/2019/06/june-block-hive-5-treasure-hunt-block.html

Everything is the same.  let me know if you have any questions!  I look forward to receiving your beautiful blocks in the mail!

Here is a photo of all my blocks I received last year.  photo is a little dark, but i love how scrappy and fun this is when they are all together!


-katy