Wednesday, September 30, 2020

Hive 4 October Tutorial - Quatrefoil


Hi hive four from Australia,  

I've had so much fun so far in my first year of participating in Stashbee. I've really enjoyed making different blocks, seeing how other people select colours and do a layout. I've also learnt about what made it easier for me to complete a block, so hopefully my tutorial hits the mark. 

About the block

For my block, I've gone with a modified quatrefoil

There are several free quatrefoil block patterns available, but I wanted to use one which is a bit more forgiving. 

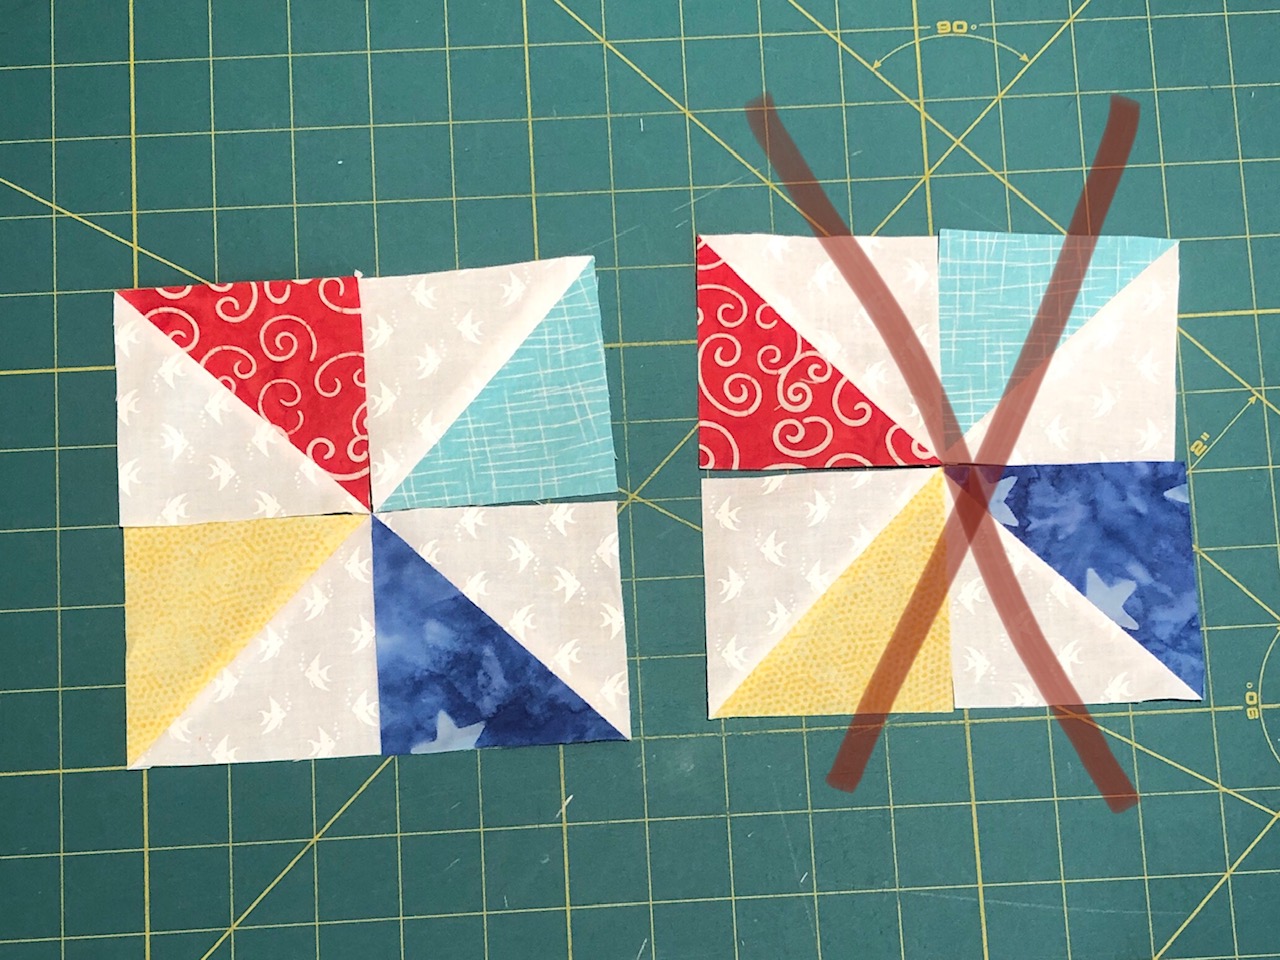
I used rounded 'petals' - so there are no points to lose, and makes joining the blocks less stressful.

I also used a four patch which doesn't need to match up with the petals (some patterns use a square that aligns to the bottom of the petal and/or folded triangle corner which gives a different secondary pattern when the quilt is laid out, but that's less forgiving of variation between quilters). 

I'm going to sash between the blocks with a cornerstone (either a dark green or multi-coloured to reflect the blocks) to give a lattice or Irish chain effect to the quilt. 

Fabric selection

I'd love it if you could use your favourite flower or colour as inspiration or just pick a complimentary combination of fabrics for the petals and centre from your stash. Pinks, reds, oranges, blues, purples, yellows are all good. Appropriate novelties are great too and I love text prints. Dots, blenders and solids are all good too. I'd also love it if you could share your inspiration in the description when you post your blocks. 

I'd like the background to be light, so any white, cream, white-on-white, low volume print that reads as light is fine. I've kept all the backgrounds the same in my test blocks as it's quicker, but if you want to go super scrappy, that's fine too. 

For the four-patch contrast, please use any mid-green, I've used both brights and more tertiary greens. I'd like this to have an overall leafy impression, so in terms of fabric patterns with other colours, so long as it contributes to that leafy feel, that's fine. 

Here is my fabric pull for some extra colour inspiration. 


Cutting


Note: This block is great for using up left over precuts - I've included which ones are suitable in brackets

Centre: cut one - 4.5 inch square (charm square or layer cake) 

Petals: cut four - 4.5 inch squares (layer cake)

Green: half width of fabric (20 inches) x 2.5 inch strip (great for a left over jelly roll or fatquater) OR cut two10x2.5 inch strips (layer cake) 

Background: half width of fabric (20 inches) x 2.5 inch strip OR cut two 10x2.5 inch strips  AND cut eight 2 inch squares. You can use yardage, one jelly roll strip or 1 layer cake (cutting diagram below). 


Piecing

Petal blocks: 
Draw a diagonal line on the back of the 2 inch background squares - I use Frixion Pens which disappear when ironed. Sew along the drawn line. Trim a quarter inch from the seam. Press seams towards the corner. You should have four 4.5 inch squares. 


Four Patch: 
make a strip set with the background and the green (if using layer cakes, you will have 2 strip sets). 
Press towards the green. 
Cross cut each strip set to 2.5 inches. 
Pair 2 and rotate one so that you create a four patch - the seams should nest and sew. 
You should have four 4.5 inch squares. 
Final Layout: 
Assemble the block - see layout below. The main trick to watch for is that the four patches run into the centre. I pressed the top and bottom row seams in towards the petals, and the middle row out away from the centre so that the seams nest, but you could also go alternating rows.  


Finished!
The final block should measure 12.5 inch square. 

Here are my test blocks. I have cropped out the quarter inch seam allowance so you can see how the rounded petals look.  

Orange flower - made with yardage

Blue flower - made with yardage and fat quarters

Pink flower - made with 4 layer cakes

30’s Pink Flower - made with fat quarters

Purple flower - made with yardage and scraps


Monday, September 28, 2020

Hive 1 September Sunflower Block For Liz

 Hive 1 September Sunflower Block For Liz


Liz, this is on the way to you today 😁  The instructions were a little intimidating at first, but it is  a really simple block! I do love the sunflower theme.  The hardest part was finding fabric.  These warm tones are not something I keep a large stock pile of, and I had to really dig to find the only brown fabric I own. I came in just under the wire getting this done, I have had some unexpected disruptions at home (as have a lot of us).  Everything is actually really great, just my schedule/time management is outta whack.


 💗 Rochelle

Saturday, September 26, 2020

I also love sunflowers!  I was hoping to try and grow one or two this summer, but the library, where the seed bank is, was closed during planting time.  I think this quilt will be beautiful!


 ~Amanda

Thursday, September 24, 2020


Hi All,

Sorry for posting this so late.

I had just about time to sew the block and put it in the post before my holidays. Now I’m back and work has taken over right away!

I’ve seen the email and know that Liz has received the block already. Hope it’s what you were looking for! The block was fun to sew, I’m sorry I didn’t have time to do more!

Take care and stay safe.

All the Best from Ireland, Rita.


Thursday, September 17, 2020

Hive 1 Sunflowers for Liz

 I love sunflowers too! Here are 2 more blocks plus some extras. Don’t know if I’ll drop at your house Next week or mail.  Enjoy! Joan


Thursday, September 10, 2020

Two More Hive 1 Sunflowers for Liz

What a cheerful quilt this will be!   I loved picking out all the fabrics.  One is an angel block for Rose.  I hope you like them.   Karen


Sunday, September 6, 2020

A Hive 1 Sunflower for Liz

 I'm a sunflower lover also, so I know this will be a great quilt.  I'll send a few 9-patches also.

Kathie L in Allentown


Saturday, September 5, 2020

Wednesday, September 2, 2020

Hive 1 September Block for Liz

Had a rainy day off so decided to put Liz’s block together.  It is going to be such a pretty quilt!  The colors are terrific and put you in a sunflower mood.  Thanks for the inspiration - going out to buy some now.


Hive 4 September Tutorial: Scrappy Mountains

 Hive 4 September block

Scrappy Delectable Mountains for Linda Schiffer (lindaschiffer@me.com).

Two 6.5”x8” (with seam allowances) blocks.

Tutorial: Scrappy Mountain Majesties by Bonnie Hunter  - this tute is exactly what you need to follow for fun, easy block making. 

Please use bright flower colors (prints or solids) for one 8” beginning square and ‘low volume’ light background print (white, cream, gray background - it’s all good:) for the other 8” square. Sew the ‘uphill’ and ‘downhill’ blocks together to make a "Thistle" flower. 

I am partial to 'warm' colors (red, orange, yellow, hot pink and so on:) but intense, saturated 'cool' colors (blue, teal, purple, etc) will work fine. I have a weakness for 'science' prints, text prints and 'math' prints for the background but any nice texture will work fine, too. I'm easy - and I will enjoy anything you send me! 

I will use these squares to make the border of a very green quilt I have in progress using three Elizabeth Hartmann designs - you can see the components I've already made here:

LeafyLeafy pattern by Elizabeth Hartmann

Thistle:Thistle pattern by Elizabeth Hartmann

Banana Leaves:


I am really looking forward to finishing this quilt!! Thank you for your work toward my happy goal.

:) Linda


Tuesday, September 1, 2020

Hive 3 September Tutorial: Summer Pinwheels


Hive 3: September Block - Summer Pinwheels


 Hello to Hive Three from Robyn!

This is my first year to do Stash Bee.  My daughter (Megan Vaughn, also of this hive!) participated last year and had such fun I decided to join her.  What a year to start!  I truly have had to shop my stash, as our favorite local fabric store did not last through the COVID-19 quarantines.  I miss being able to drive just a couple miles to pick up a fat quarter or two.
Anyway, my choice for September is a simple pinwheel block, in cheerful summery colors.  I like to change out small quilts on a wall in my dining room, and I don't have a fun summer quilt. So you all get to help me remedy that situation!  My pinwheels will be set on point, surrounded by white.
 

This block is 5" finished, 5 1/2" with seam allowances. Because it uses half-square triangles, you will have enough squares to make two blocks for me.

Fabrics:

Background is white.  You can use solid white or white on whites, but please don't use creams or multi-color prints.

The colors are clear, summer picnic colors:
    * perky yellow            *cherry red
    * guacamole green    * royal blue

    * aqua/turquoise blue 


Cutting:

Pick 4 colors, plus your white (I show two colorways I selected)

From white, cut 4 - 3 1/2" squares
From each of 4 colors, cut 1 - 3 1/2" square

8 squares total


Construction:

Make Half Square Triangle squares - 
Using your preferred method, mark the back of each white square at a diagonal. I like to use the handy little tool in photo on right to  mark the center and the stitching lines.  Some people mark just the center, or press the square in half and use the fold line.  
Stitch 1/4" to side of center mark, cut in half, and press open. (I would prefer if you press the seams open, but if you are a die hard side presser that's okay too.)


You should have 8 half square triangle blocks. 
Trim each block to 3" square.


Make Pinwheel blocks - 
Lay out your Half Square Triangle blocks into 4 Pinwheels.  Please notice the direction of the pinwheel vanes in the photo below.  I would like all my pinwheels to be spinning the same direction!


After your pinwheels are arranged, sew two squares together in pairs, pressing seams open. 


Then sew your pairs into quads, matching the center points.  Press open again and voila!  A pair of cheery pinwheels!  


Trim your blocks to 5 1/2" square if needed.

Thanks so much!  I look forward to collecting your blocks! 


Hive 1 September Tutorial: Sunflower Block

 Hi everyone and Happy September!

My name is Liz Horgan. I live in northern New Jersey. This is my 6th year doing stash bee blocks!

I am a school nurse at a school for students with special needs. In fact, Joan, our June queen also worked at our school and has since retired.

Like most other schools, we have been closed since March due to COVID-19. We are scheduled to reopen today for staff, students will start remotely on Thursday and then come in person next Tuesday. I have spend the last 4 months working on our reopening plan, so that's where my focus has been, and I haven't been getting much sewing done.

For my block this year, I'm going to ask for the same block that I requested last year, the link is below. I'll combine both year's blocks to make a large quilt! It is a sunflower block and you'll read why it's my favorite flower there! Here's a picture of our sunflowers from a couple of weeks ago. Most of the petals have fallen off now, and we're letting them dry out and then collect the seeds for next year. 


Here is the link to my post from last year for directions- http://stashbee.blogspot.com/2019/10/hive-3-october-tutorial.html 

And here is a picture of the different blocks I received last year.


I hope you enjoy making these blocks and that they bring a smile your face! Let me know if you have any questions.

I hope everyone stays safe and healthy--keep washing your hands and wearing your mask! And have a Happy Labor Day!

Liz Horgan

Hive 2 September Tutorial - Disappearing 9 Patch


Happy September!


I’ve decided to do a mini disappearing 9 patch.  It uses 2 ½” squares so I’m hoping you can use scraps!  I’ve used blue/green(teal) and yellow/orange.  You can use any colors that you want!  I’m going scrappy!  I would like to have the lighter colors be the center squares in the finished block.  It would be great if you can do 2 or 4 blocks.

 I started with the basic 9 patch:


 I pressed seams in opposite directions:


 Now cut the block in half in both directions:


Take two of the opposing corners and turn them 180 degrees so that it looks like this:


Once sewn, you should have a 6" square (no need to trim/square it up) and it should look like this:


Thank you!!

Let me know if you have any questions!


Debbie Deal

ddealca@comcast.net