Hi everyone! Thanks so much for being flexible and allowing me to be the Queen Bee a few months early while I recover from surgery.
A few months back I purchased this Mardi Gras Fat Quarter Bundle and knew the only way to properly use it was to do the state block.


Fabric Selection
I am looking for greens, purples and yellows. You can use any shade you like and they can be textures, blenders, batiks, grunges, etc.


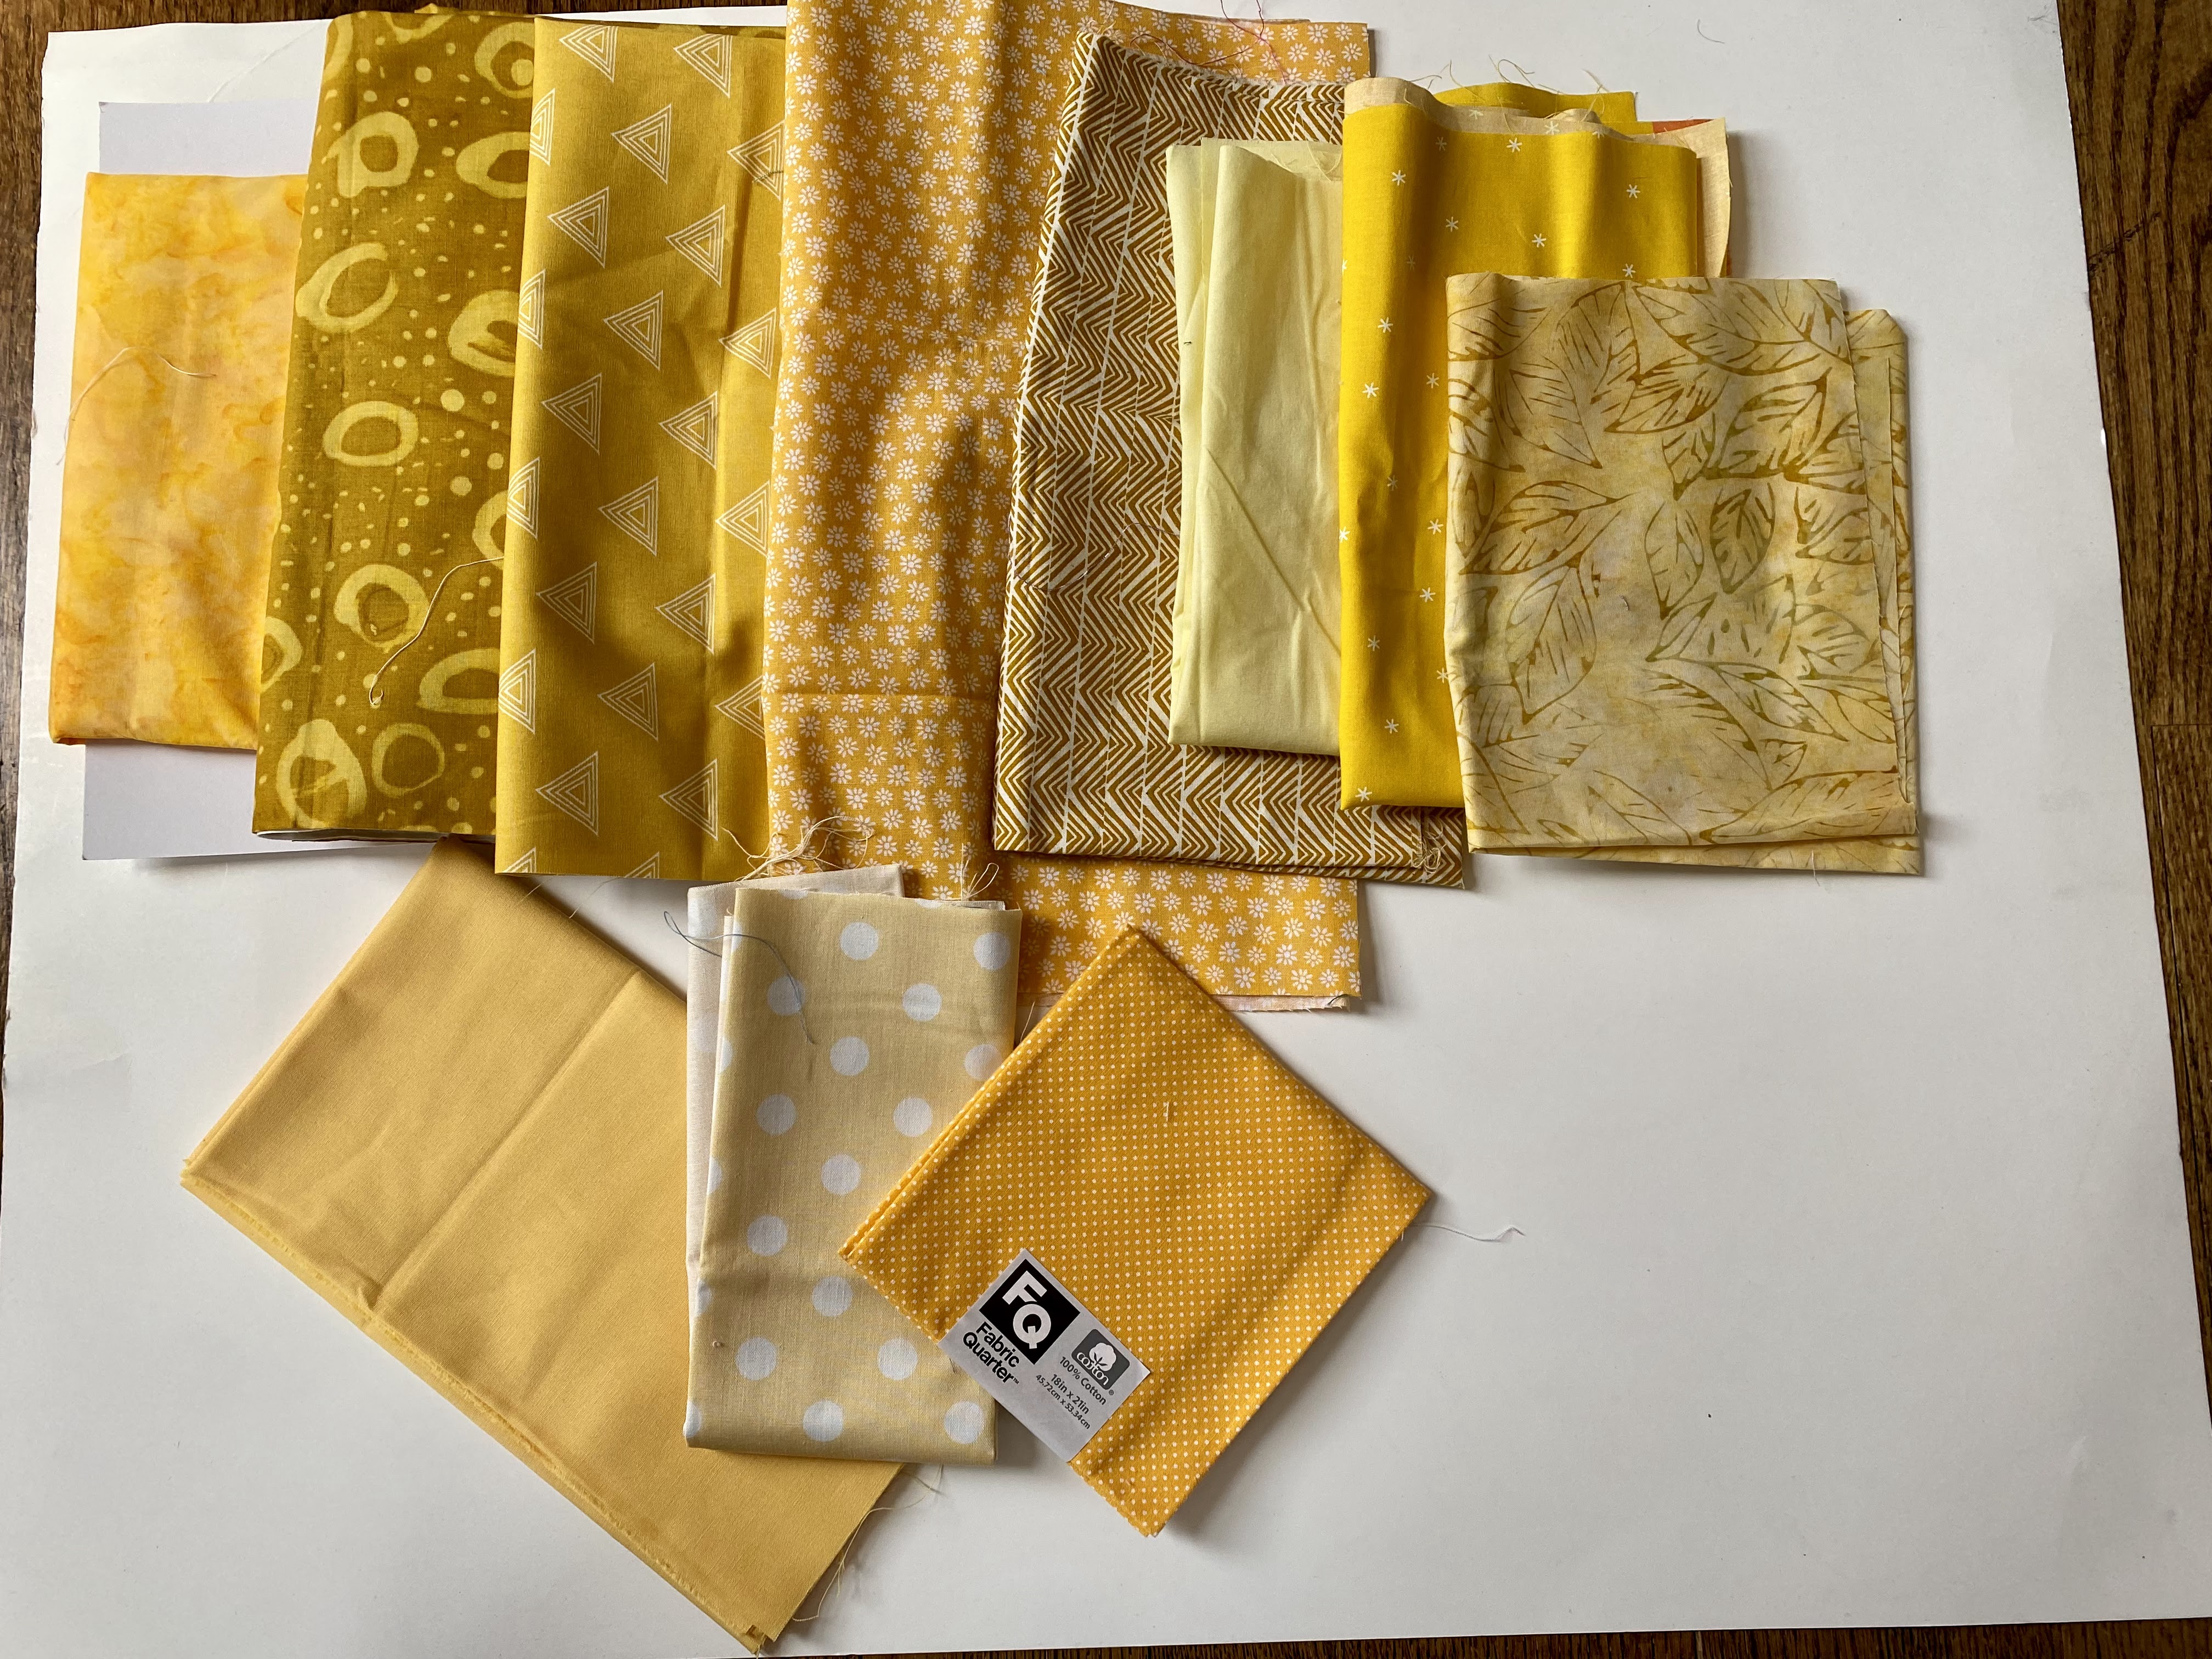
You can also use white, but I'd prefer it to be white on white or a white that has one or more of the other colors in it. Solids are okay too, as long as the whole block isn't solid.


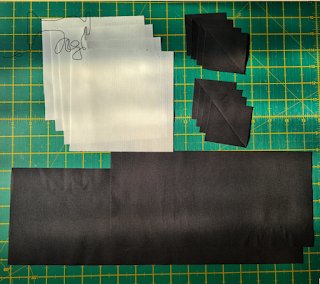
Cut in half along the drawn line.


Place a 3 7/8 inch square in the corner of each unit, right sides together, with the drawn lines going up and down. Pin in place.

Cutting List
For one block you will need:
One - 7 1/4 inch square
Four - 3 1/2 x 6 1/2 rectangles
Four - 3 7/8 inch squares

Instructions
You can assemble your flying geese using whatever method you'd like, but I prefer the no waste method. I know these are supposed to be "no waste" but you will have to trim the finished geese a tiny bit.
Draw a diagonal line on the wrong side of each 3 7/8 in square.

Place one of the 3 7/8 inch squares in the corner of the 7 1/4 inch square right sides together and then layer another 3 7/8 inch square on top so that the diagonals line up. Pin the smaller squares in place.

Sew a scant 1/4 inch seam on each side of the line.

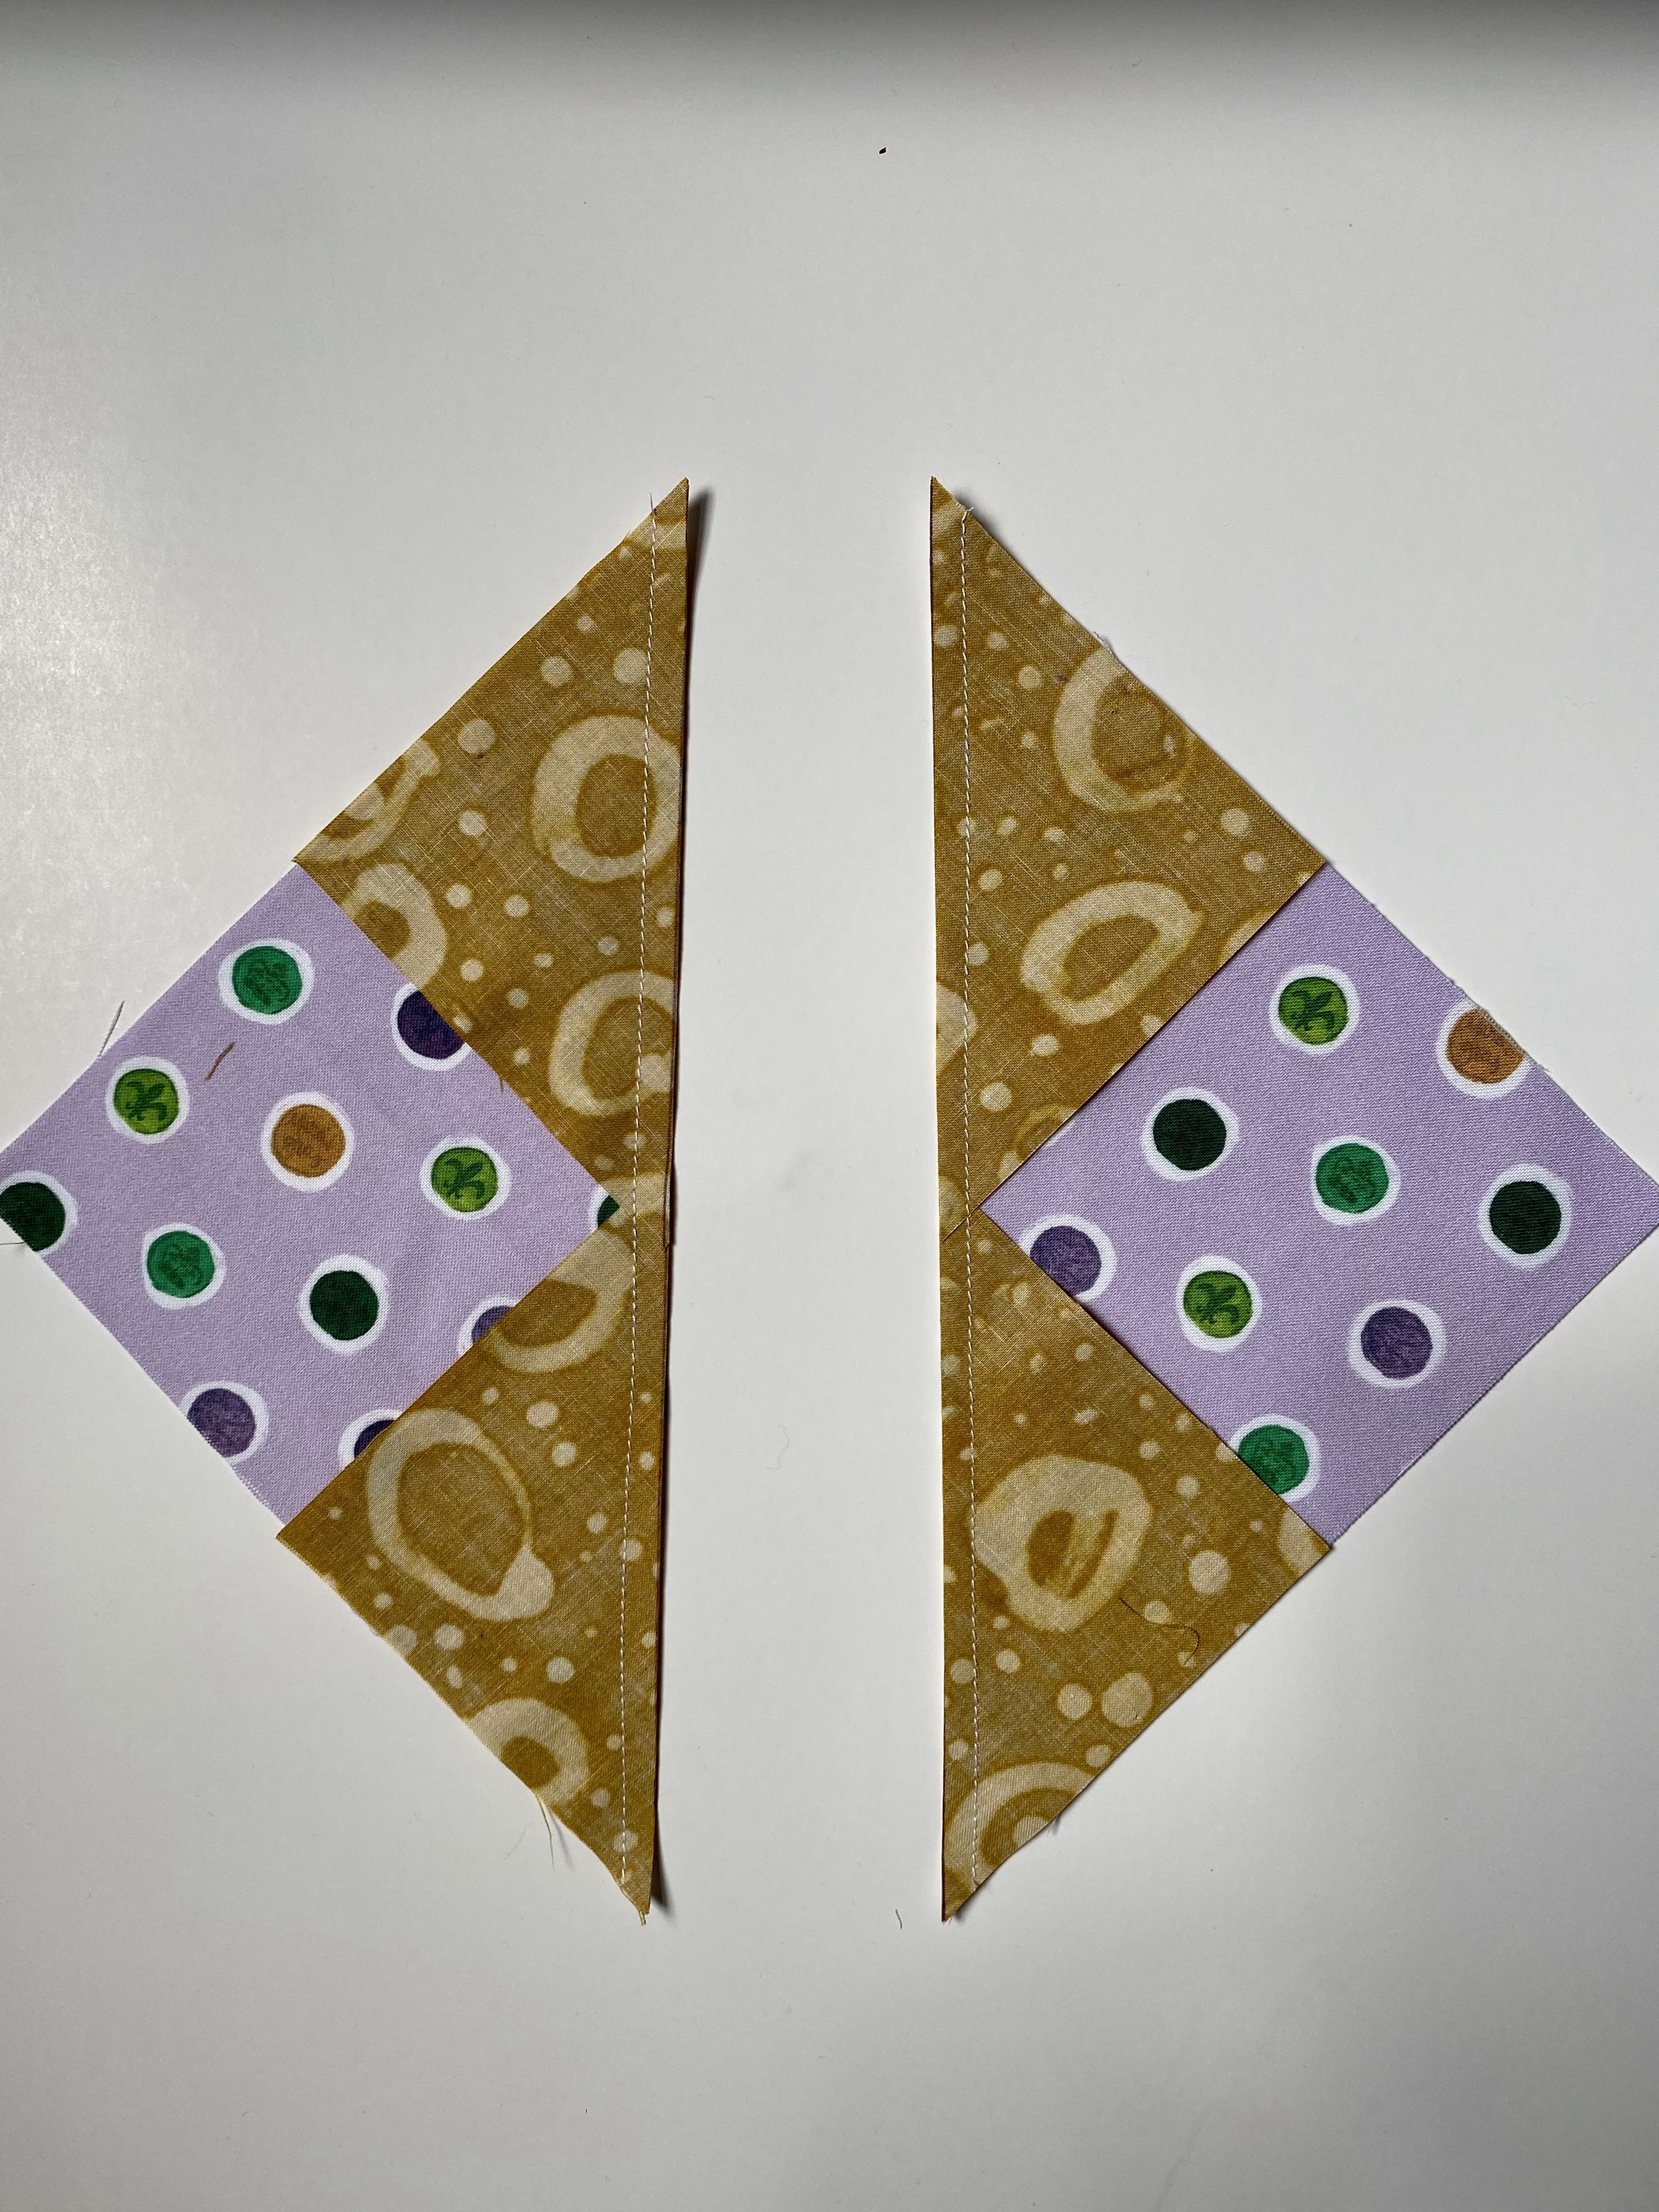
Press the triangles open with the small triangles away from the large one.
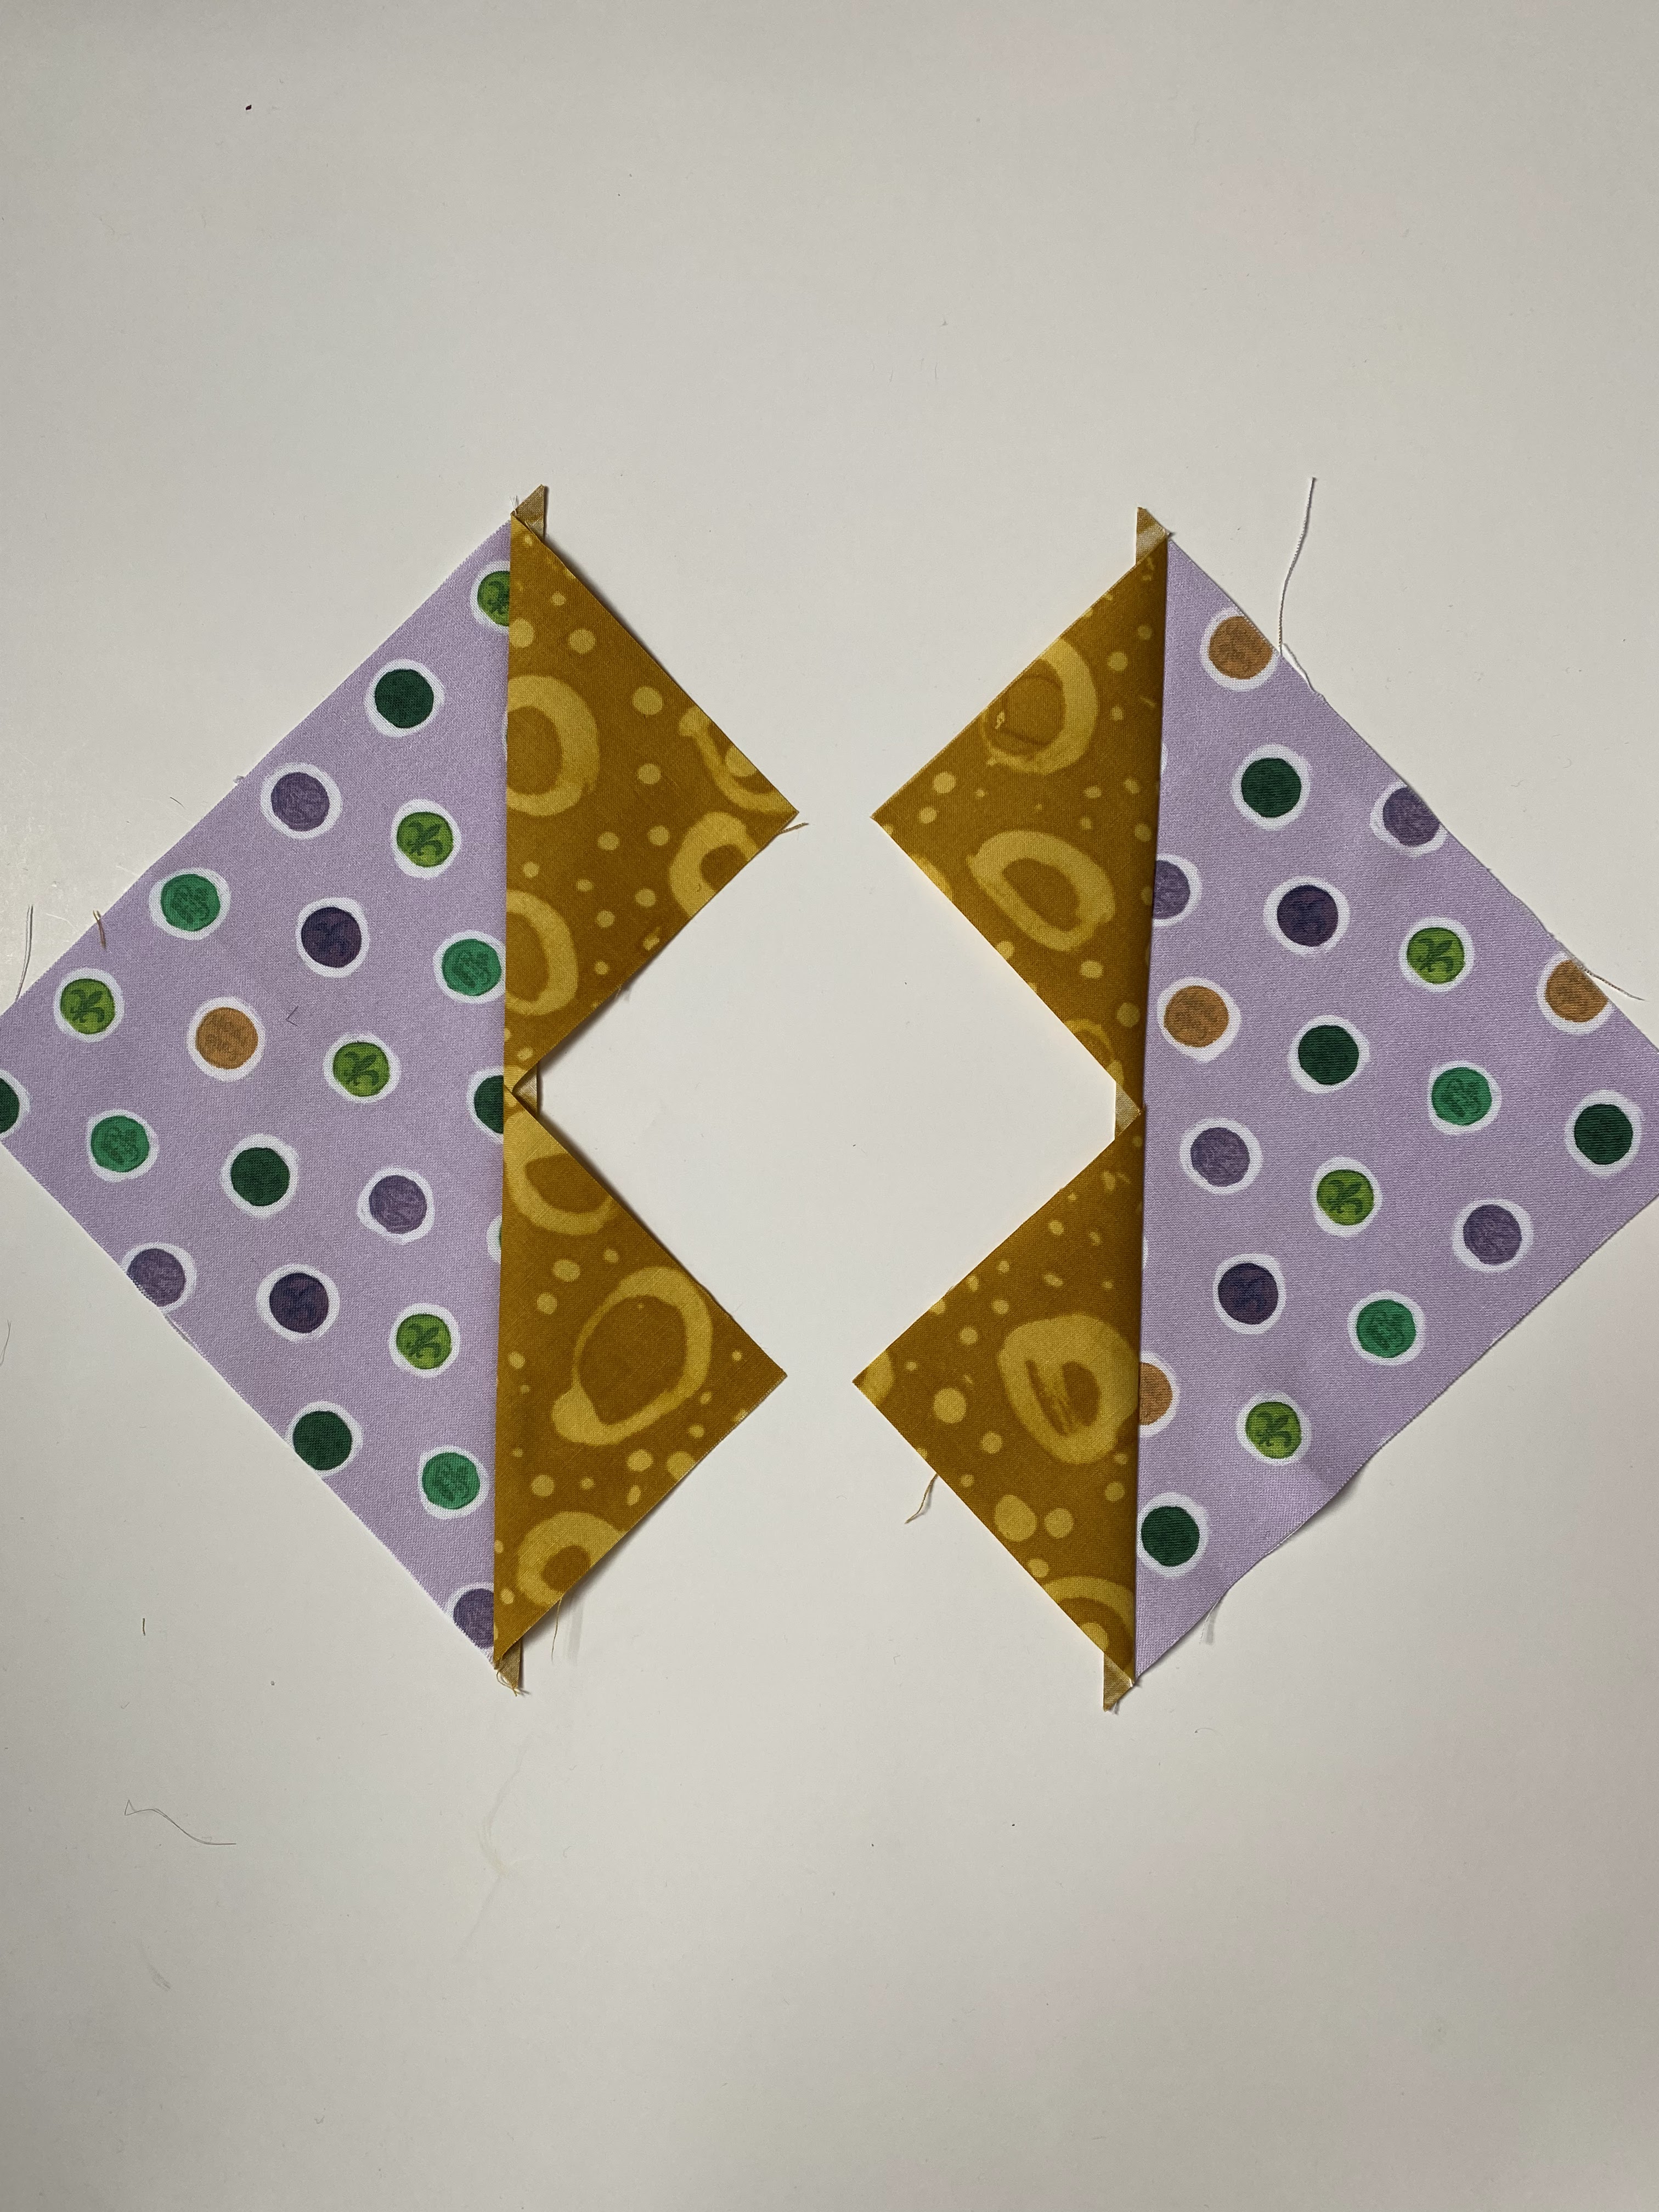


Cut in half along the drawn line.

Press the small triangles away from the large ones. You now have a small gaggle of geese.
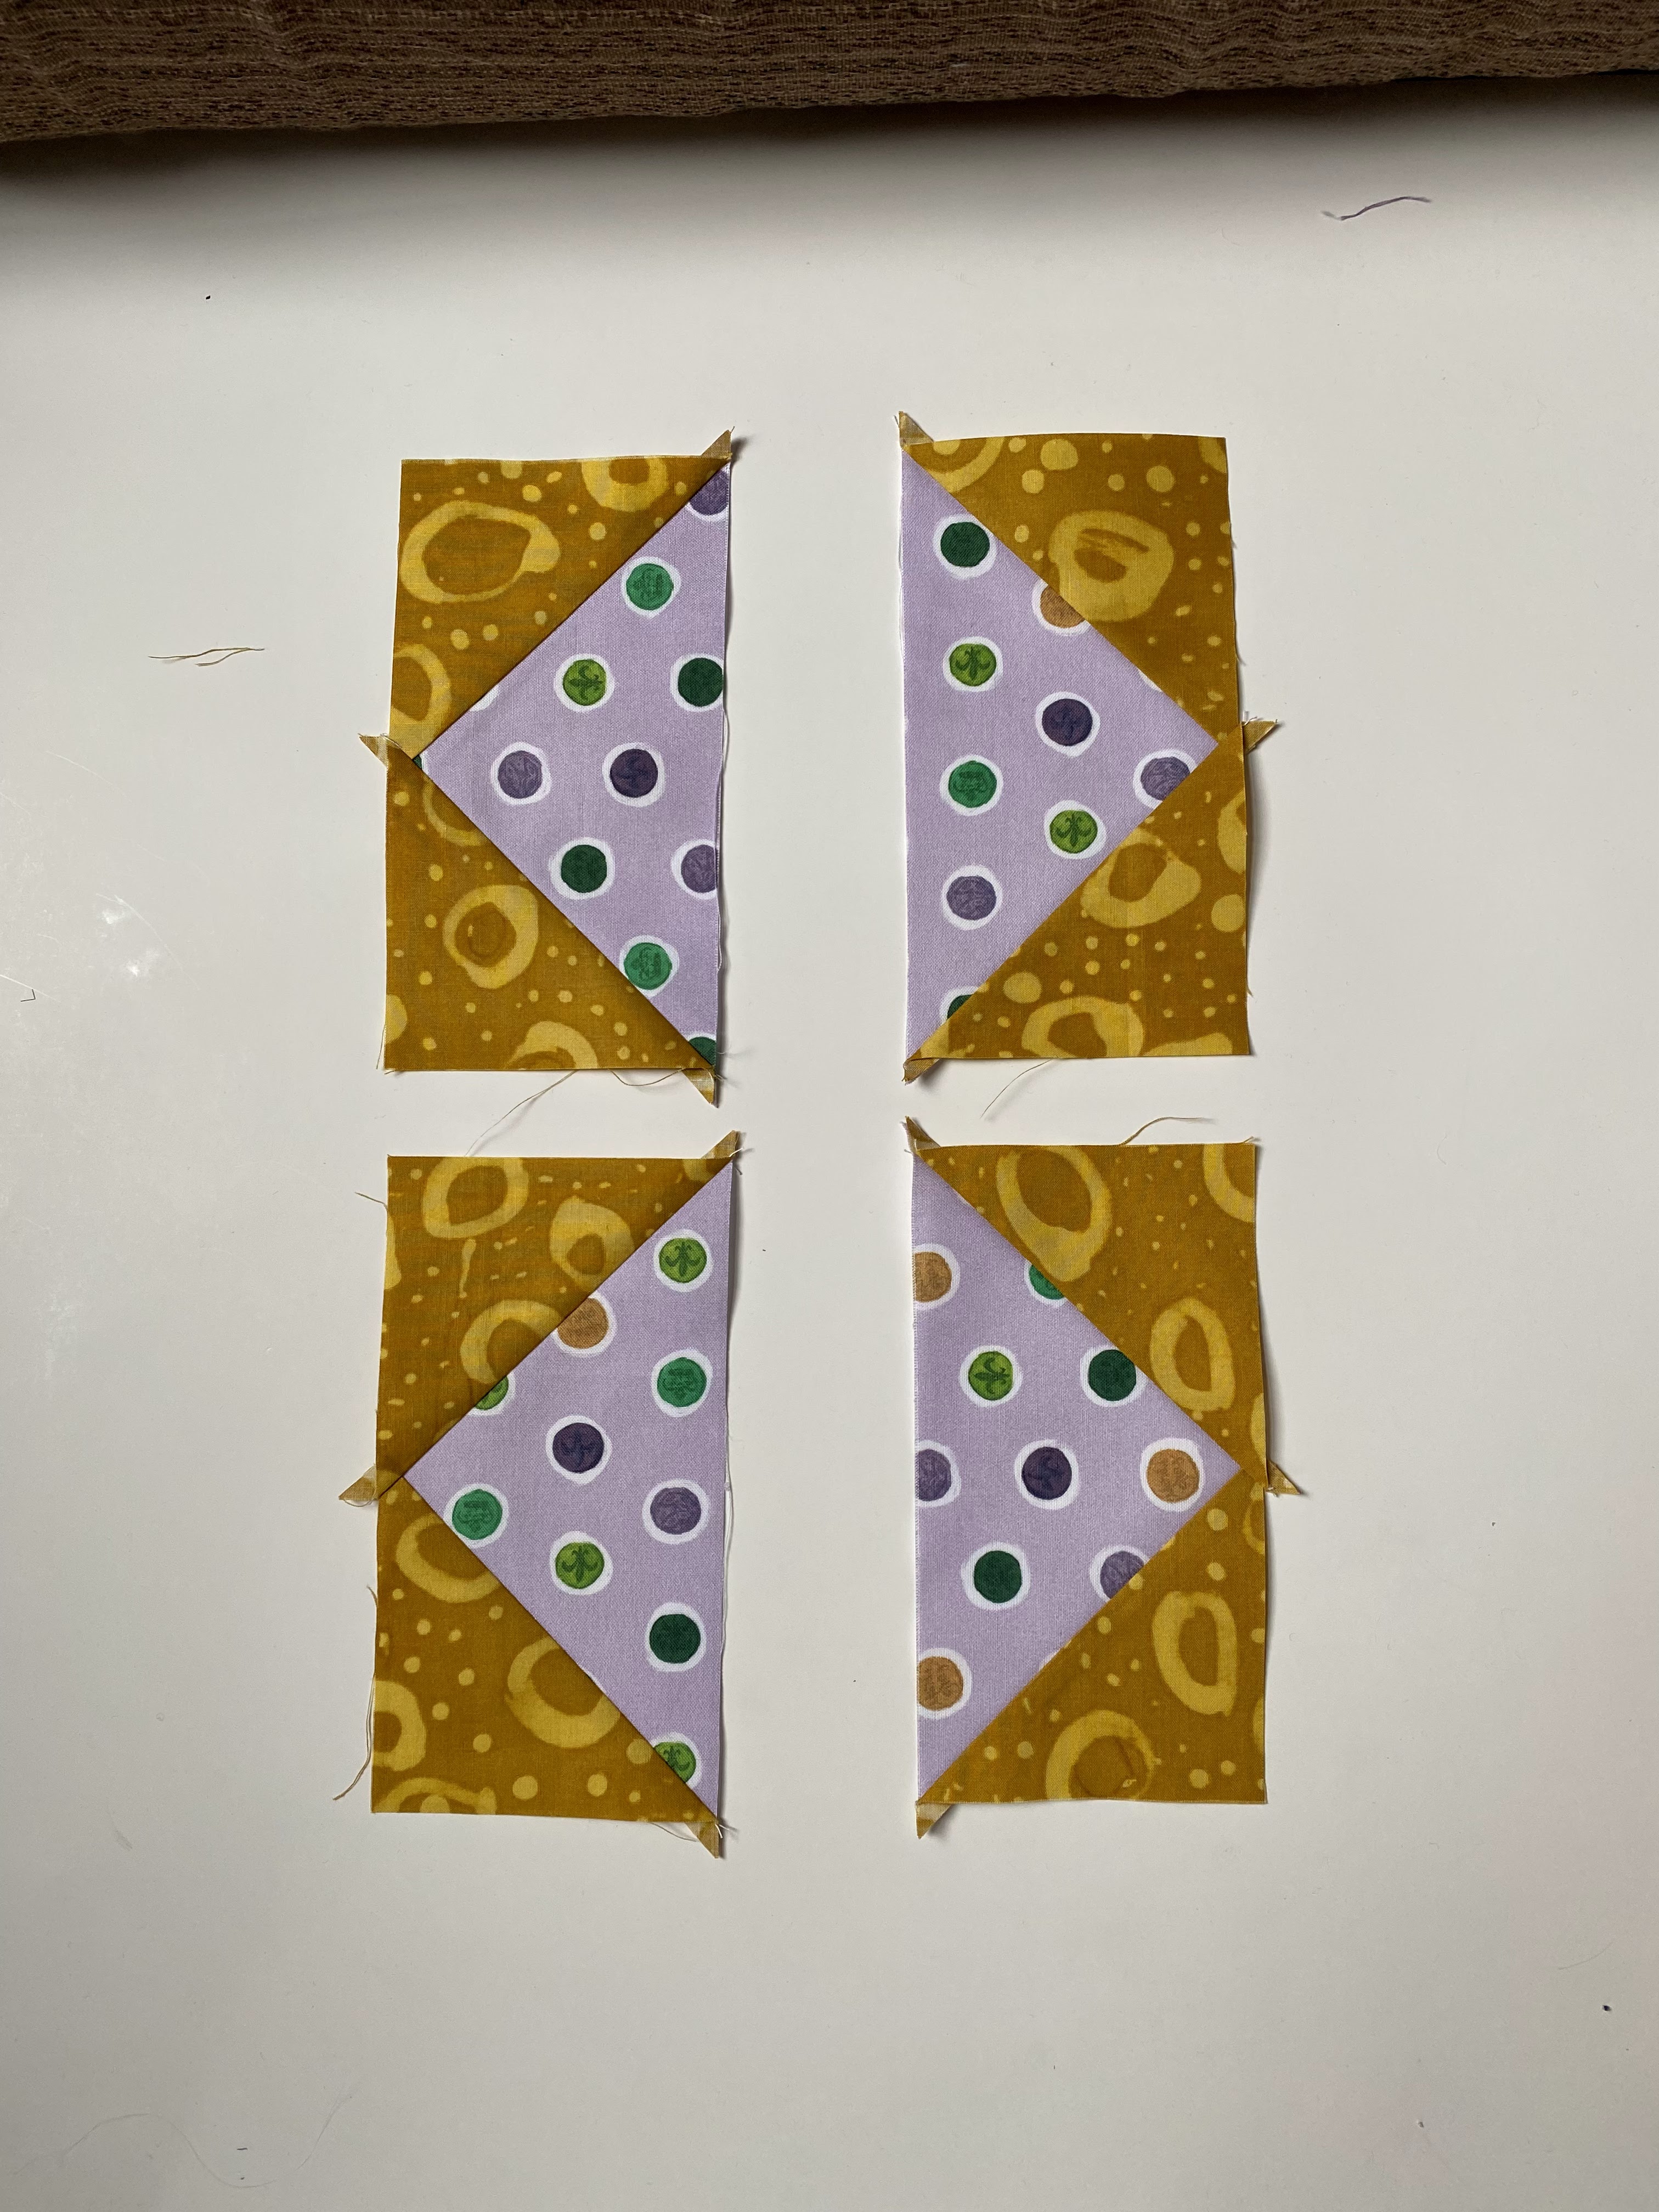
Trim the geese to 3 1/2 inches x 6 1/2 inches. Leave a 1/4 inch seam at the top of the geese. If they end up being a little off, it's okay.


Pin the first row together and sew a 1/4 inch seam. Repeat with the second row.


Don't worry about pressing the final seam because I'm not sure how I want to join the blocks yet.

Here are some examples of blocks I've already made:

Laissez Le Bon Temps Rouler! (Let The Good Times Roll!)
Happy Sewing!