Happy New Year, Hive 1!
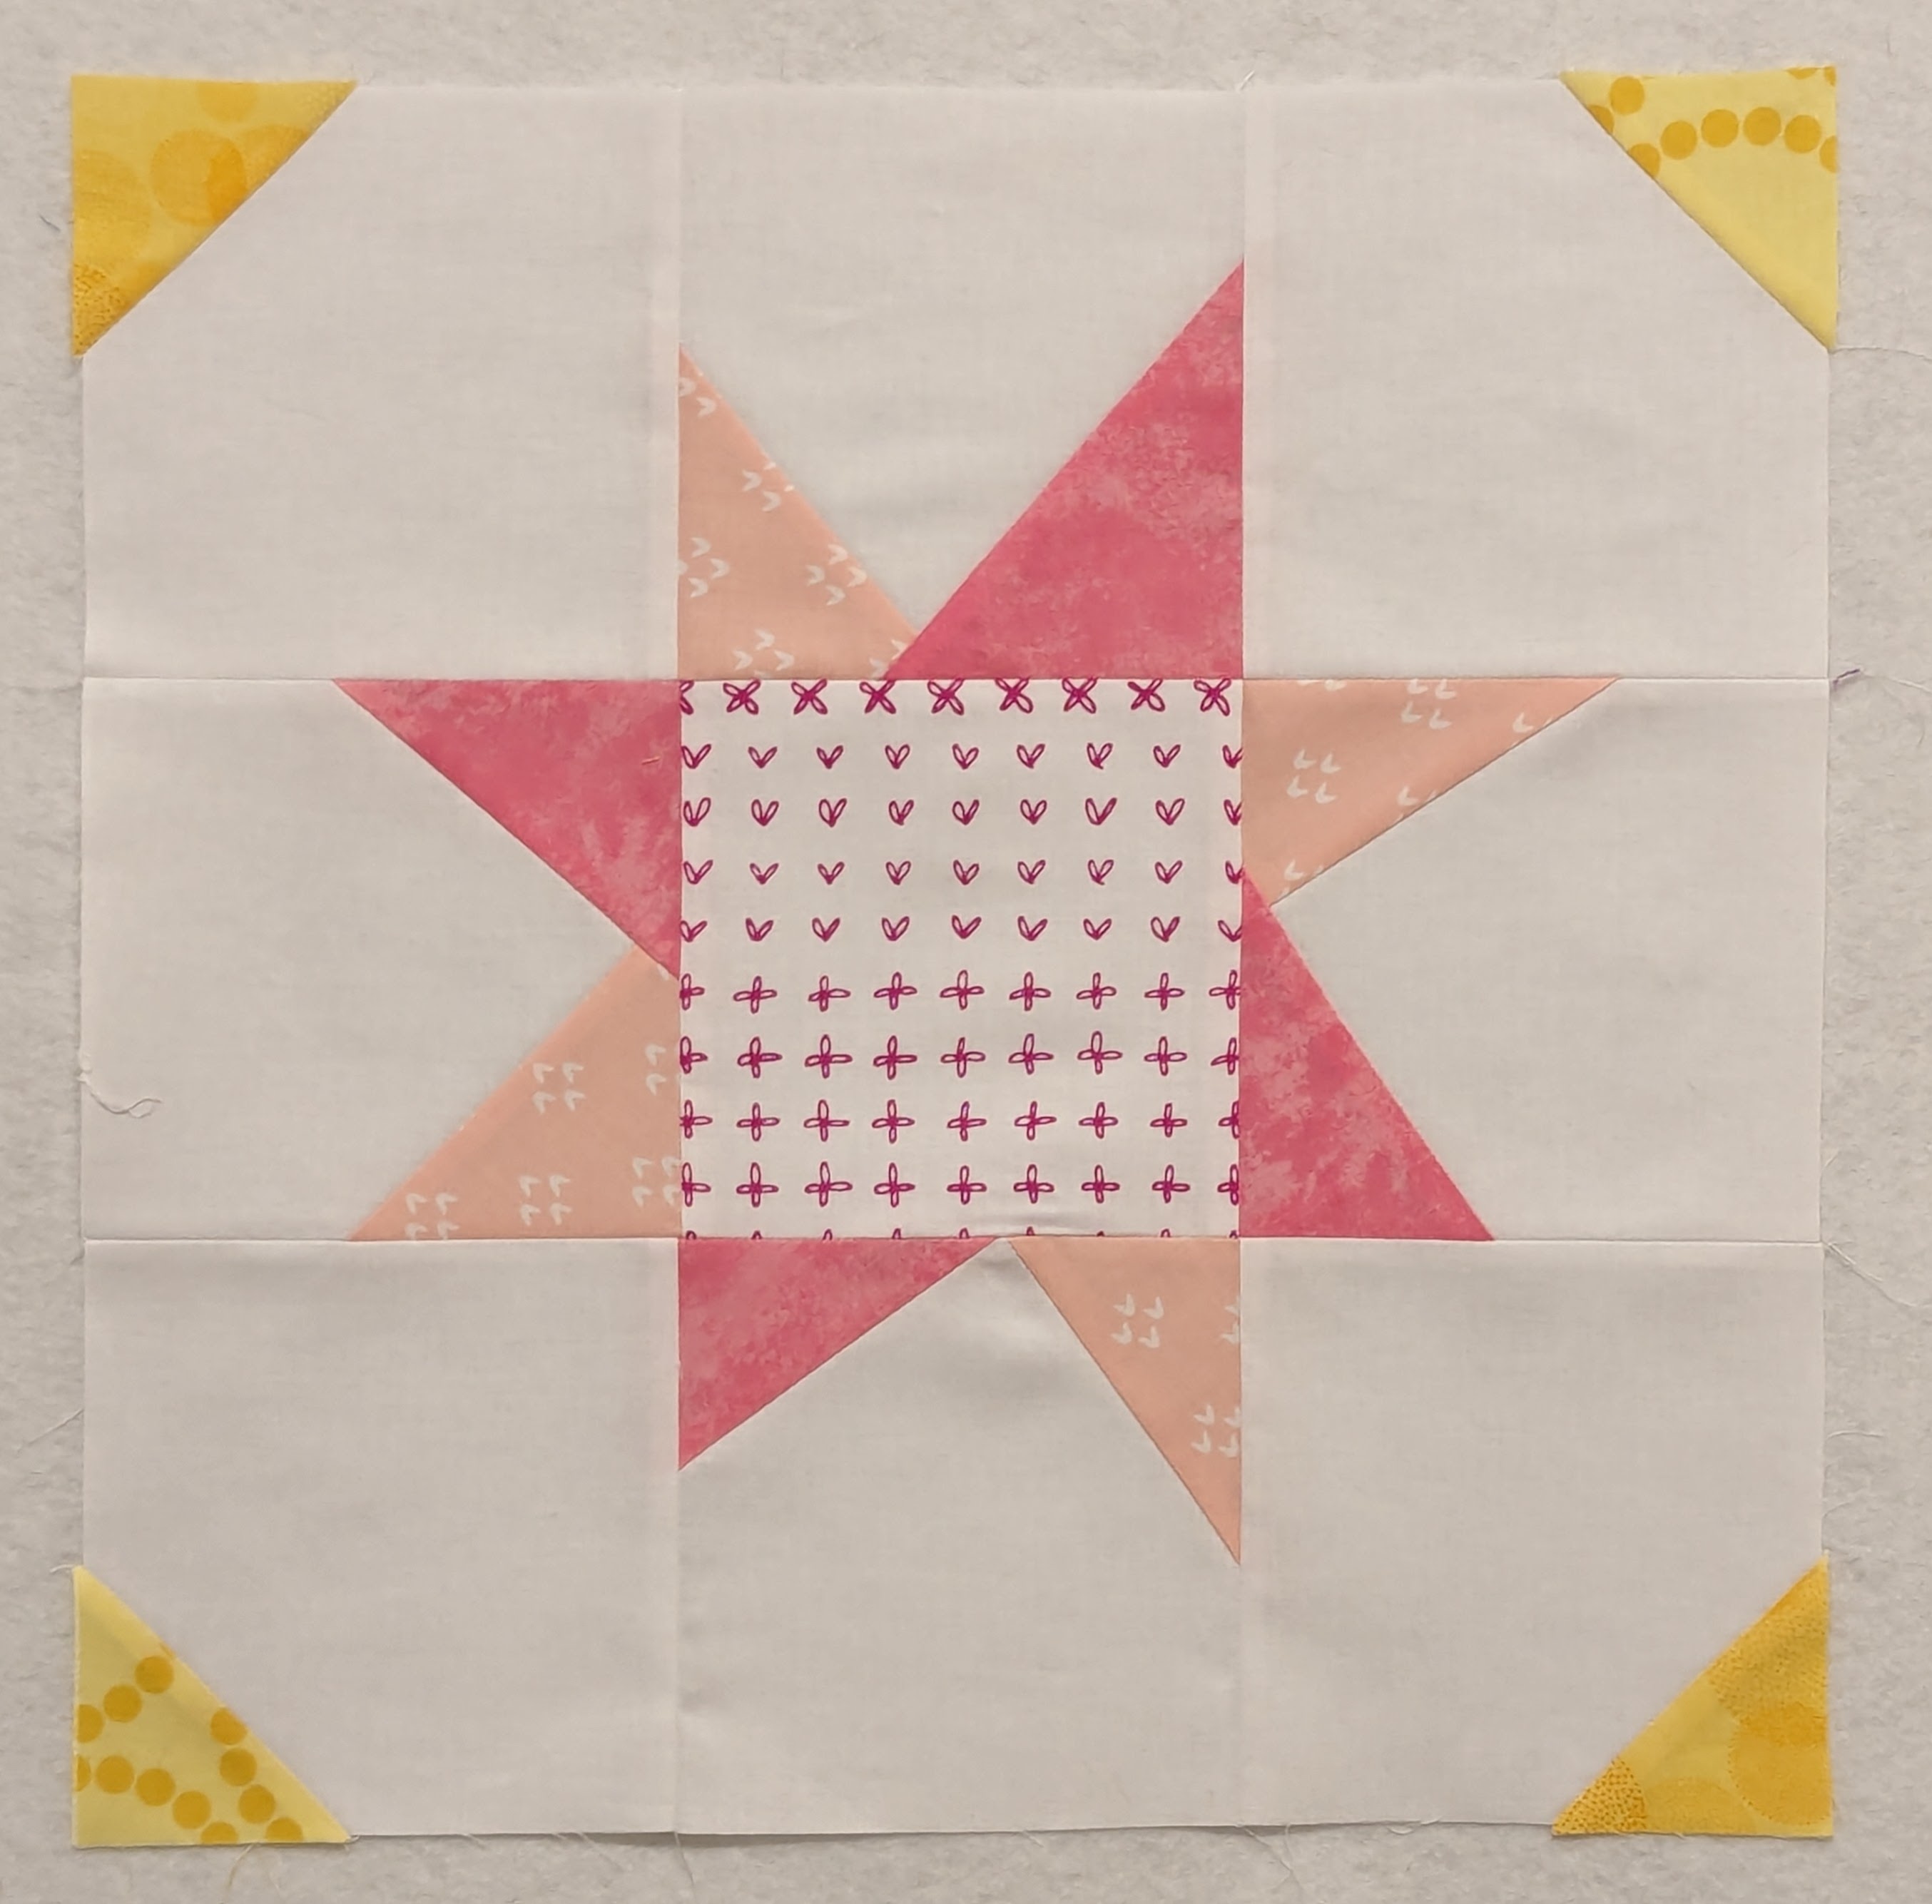
Normally, I opt to make a charity quilt with the help of my hive mates but this year is going to be different. A dear friend of mine, quite unexpectedly found out that she was pregnant. This was after years of being told that she would never have kids. Imagine her surprise! She's already halfway through her pregnancy and is having a little girl. She's decorating the nursery in pink and yellow stars and moons so I decided to use The Wonky Star Quilt Block Pattern, designed by Maria, at Scissortail Quilting. We will be making the 15.5" block.
The pink points on this block are improv piecing so the measurements listed below are just a guideline. If you click on the link above, you'll see Maria's instructions that are very detailed.
Seams
Just a quick note about seams. All seams should be sewn with a true 1/4-inch seam allowance. This is to ensure that all blocks measure correctly. One person's scant 1/4-inch will not measure the same as someone else's, so please measure/test your allowance for accuracy. Stitch length should be fairly small - I prefer 2.0mm so that seams don't pop when I put the finished top on my long arm. Feel free to press your seams however you prefer.
Fabric Requests
Points -- I'd like these to be 2 different shades of pink, preferably a medium and a light shade.
Center block -- You can get a bit creative with this center square, as long as it fits in with the overall color scheme. It can be a subtle novelty print with some pink or yellow in it. It can be a blender with either of those colors, it can be white if you choose. You can fussy cut something in the center if you'd like, especially if it's a busier print. In my example below, you'll see that I took a charm square that I trimmed down and outlined in white.
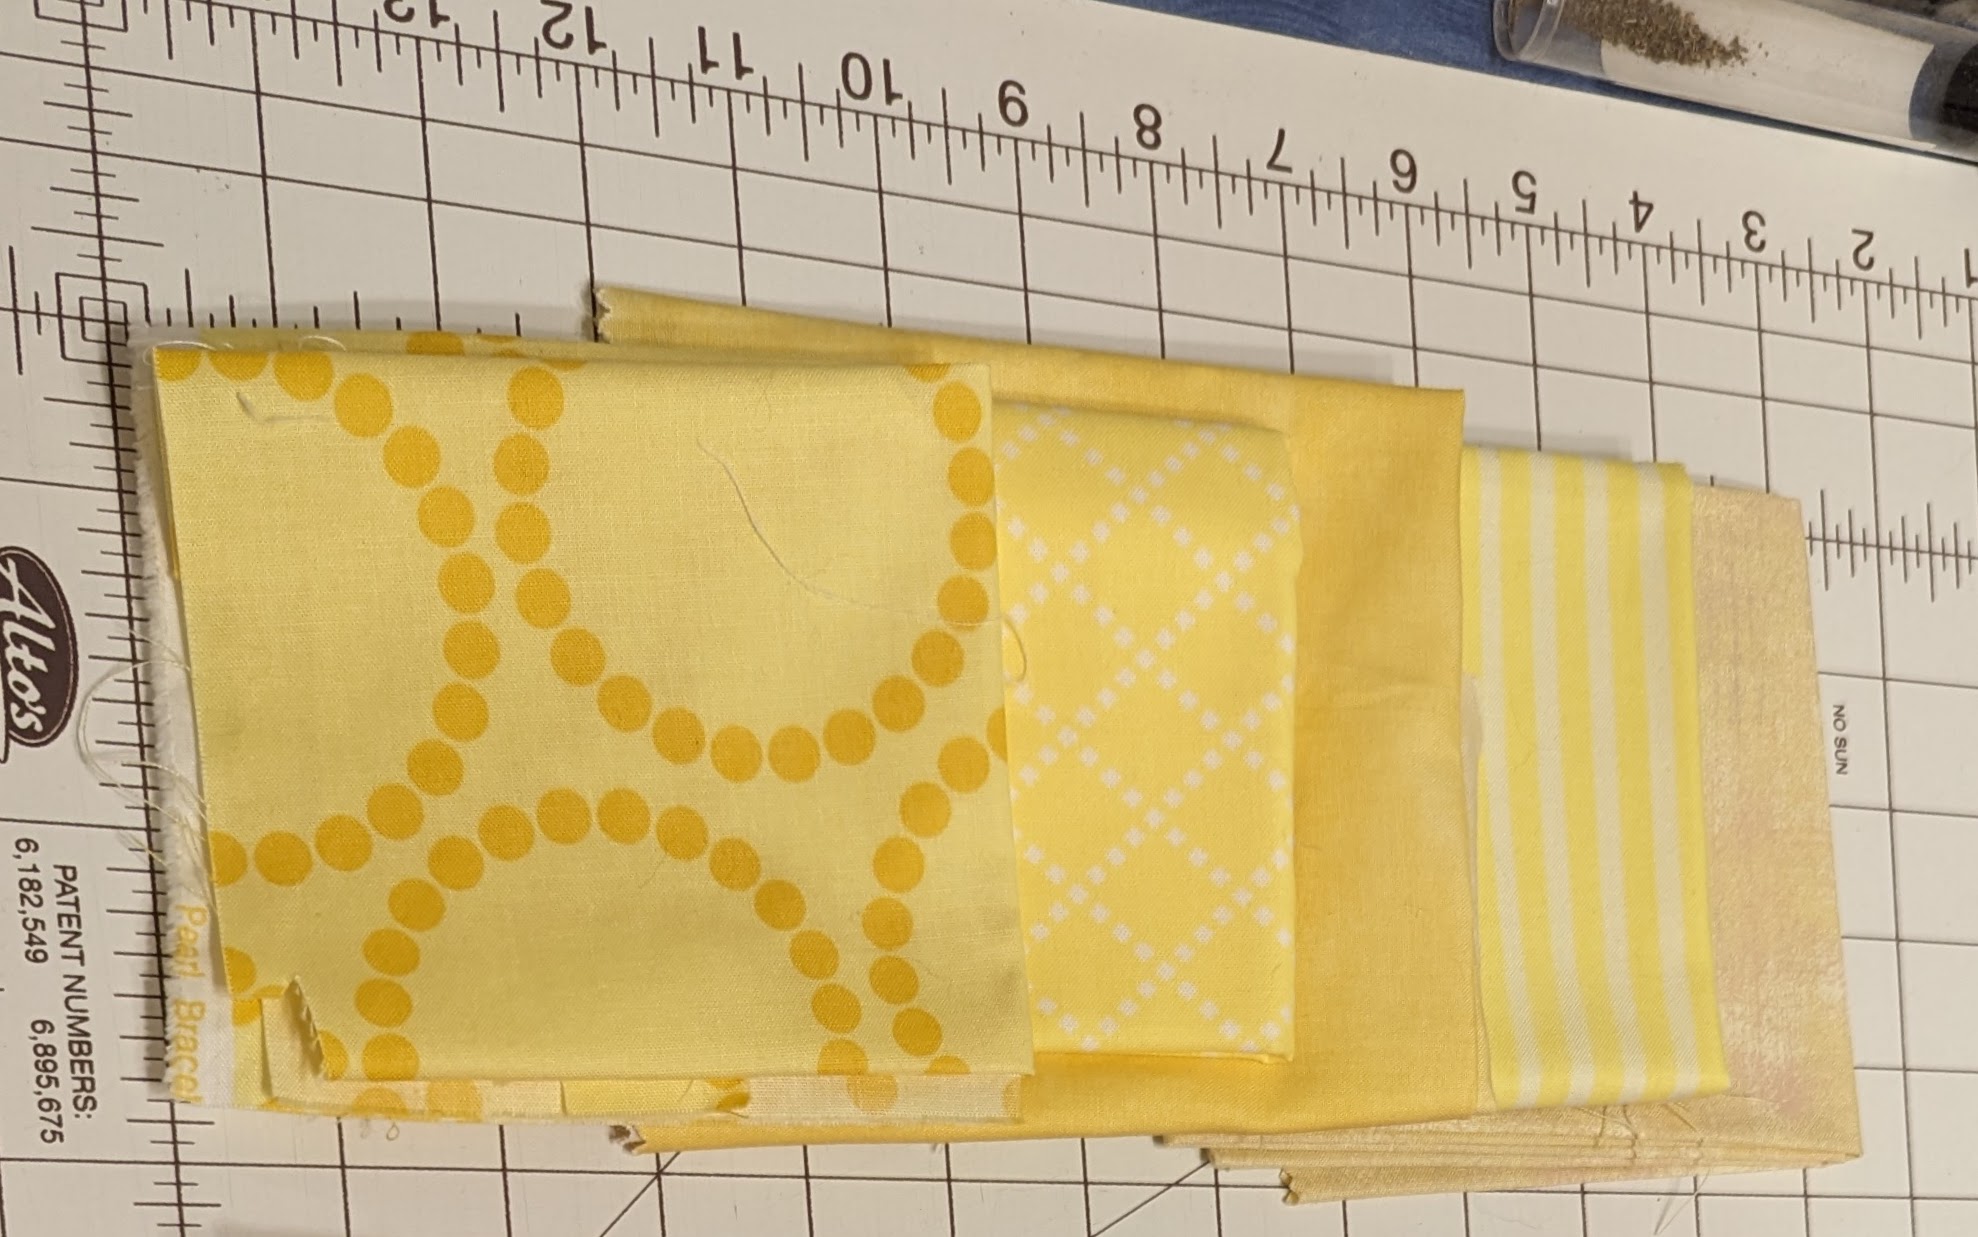
Corner blocks -- These can be any shade of yellow that you have. Think sunny yellow. Please avoid mustard or drab yellows.
Background Fabric -- white, as white as you have! I prefer solids but if you only have tone-on-tone, I will make that work. Remember, this is Stash Bee, so I don't want anyone to have to go out and purchase fabric unless the want to.
Cutting Instructions
Background White - cut (8) 5.5" squares
Center Block - cut (1) 5.5" square
Light Pink - cut (4) rectangles approximately 4x6 (can be larger depending on how you want it to look)
Medium Pink - cut (4) rectangles approximately 4x6 (can be larger depending on how you want it to look)
Yellow - cut (4) 2.5" squares, can be the same fabric or all different.

Piecing Instructions
1. Take a light pink rectangle and lay it on top of a white square, right sides of the fabric together. Angle the rectangle, making sure that the ends go beyond the white square as shown --
2. Sew a 1/4-inch from the edge of the pink fabric and press back. Use the white fabric as a guide to trim down the pink so that the block is at the original 5.5"
3. To reduce bulk, trim off white triangle along the seam allowance.
4. Next, add the medium pink rectangle onto the top of the block. Place it at an angle where it is overlapping some of the light pink --
5. Like before, sew a 1/4-inch away from the edge of the medium pink fabric and press back.
6. Flip the block to the wrong side and use the white as a guide to trim off the pink overlap, to get the block back to 5.5" square.
7. Turn the block back to right side up, fold back the pink and trim away the excess white triangle from the back to reduce bulk.
8. Repeat these steps for 3 more white blocks. Please note the placement of the light pink and the medium pink. They should be the same for all 4 blocks.
Assembling the Block
1. Combine the blocks you just made with your center block and the remaining 4 white squares and arrange them into a 9-patch like so:
2. Sew each row together, then sew the rows together to get your completed block.
Adding the Yellow Snowball Corners
The final step is to snowball all 4 corners with the 2.5" yellow squares.
1. On the wrong side of the fabric, make a diagonal mark through each of the 4 yellow squares.
2. Pin a square in each of the corners of your block and sew directly on the line.
3. Trim 1/4-inch away from the sewn line, press open, and you're done!
Thanks in advance for helping me with this project!
~ Diana @ Red Delicious Life


No comments:
Post a Comment