
Hi, Everyone!
This is my first year with Stash Bee. I am loving it and am so excited for my turn as Queen Bee. This month we will be working on a hot air balloon baby quilt using raw edge appliqué, but before I get into the tutorial I want to tell you a bit about the recipients of this quilt.
There is a church in my area that runs a program for unwed mothers. These women have little to no support system. They have no village to help raise their children, so to speak. This program seeks to fix that. They help to provide healthcare, food, education, and other needs. Twice a year they throw a baby shower for the expectant mothers, making sure they have things like diapers, cribs, and clothing for the impending arrivals.
When I first heard about this program through the organist at my church, the Stash Bee had just started. I was in the process of brainstorming what I would do come my month, and a lightbulb just went off. I quickly volunteered to make a baby quilt for them to raffle off to the moms as a sort of door prize. If I could make a quilt for every mom in the program, I would, but alas I can't. I decided on hot air balloons because they're bright and fun, but can be made gender neutral since we don't know which baby will get this. I hope you have fun helping me with this quilt, and that it will become a treasured possession for a family in need.

Fabric Dos and Don'ts:
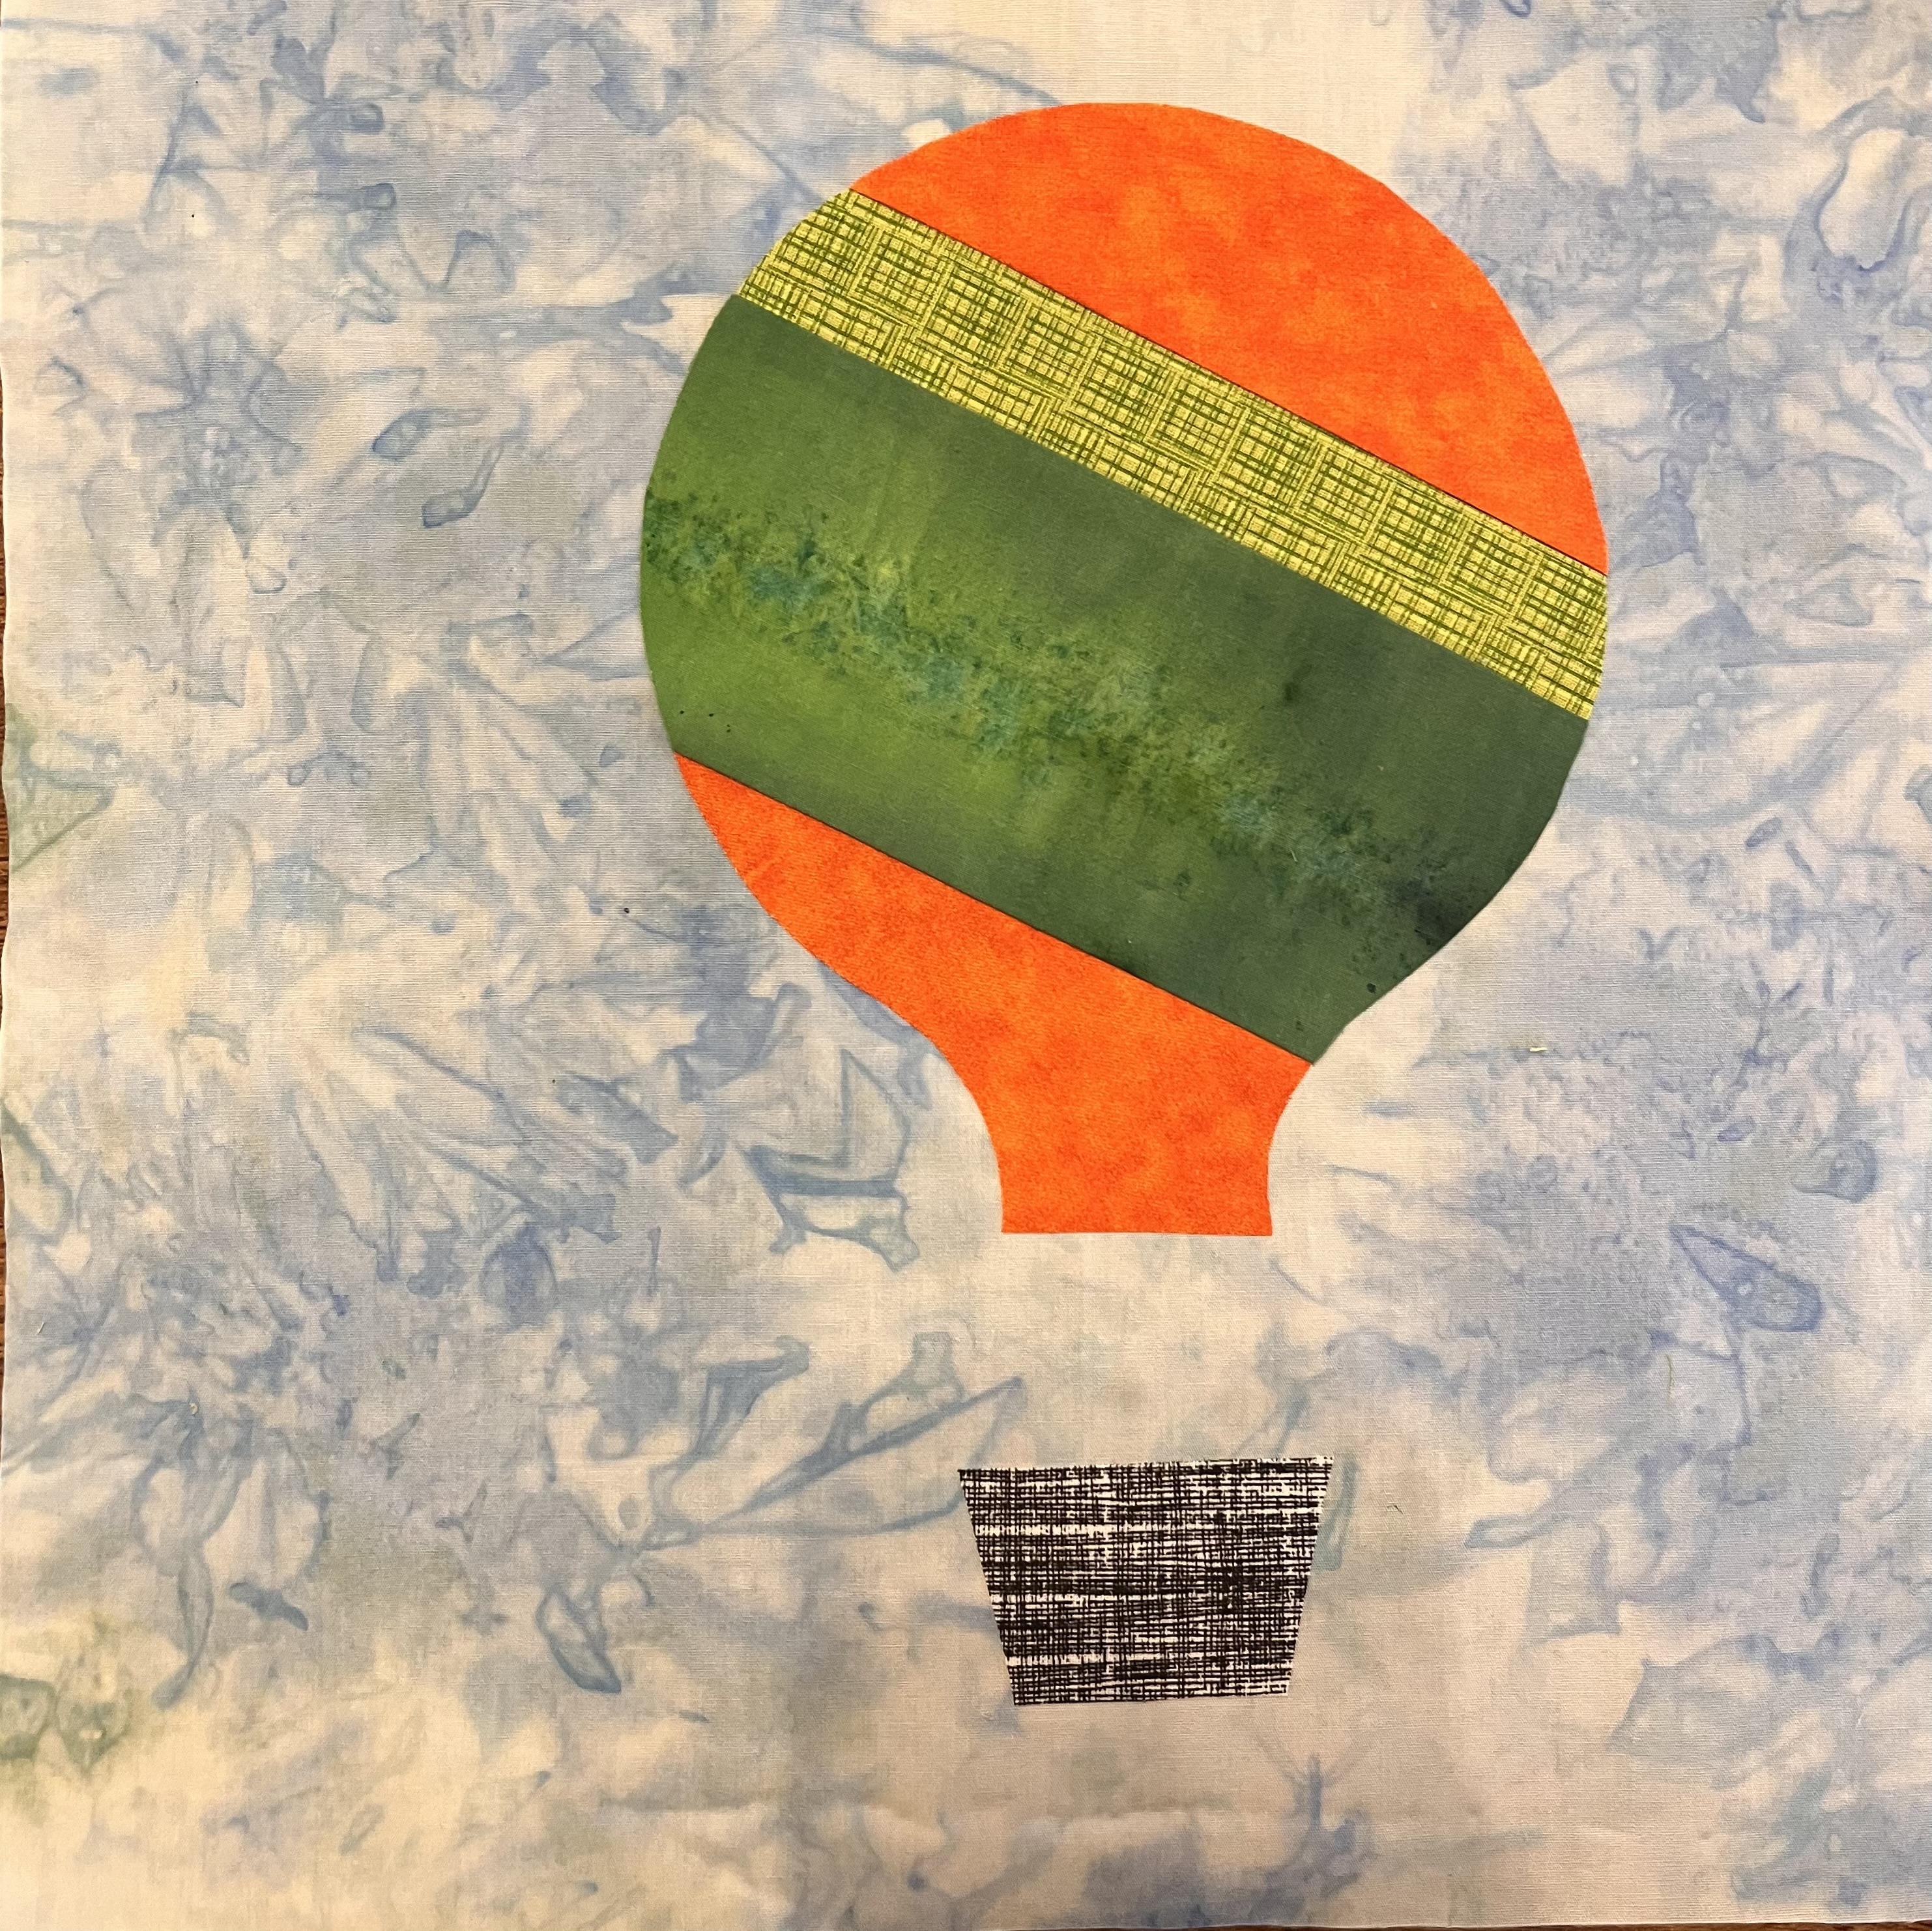
For the background, I'd like light blue solids or blenders. You can use tone-on-tone as well, or even a pretty ice-dyed fabric like the one in one of my examples. As long as it looks like the sky on a beautiful day, I'm happy.
For the balloon itself, there are a few options. You can use a single piece of fabric with a bold pattern, a crumb block, stripes, or pretty much anything you can think of. Whichever method you choose, I want bright, saturated colors in order to stimulate the baby as he or she grows.
The basket should be made out of neutral colors, so black, white, brown, tan or cream. It can be solid, tone on tone, a soft pattern, or a textured print like the black one in my example. Don't be afraid to make this too plain. I will be adding extra details when quilting. You only need a small piece, so raid your scrap bin for this.
You will also need a lightweight fusible interfacing. I prefer Pellon Heat and Bond Light, but you can use any equivalent product you want as long as it's intended to sew through. Alternatively, you could pin the appliqués to the background fabric, but I think the interfacing holds better when sewing.


I really just have one don't for this quilt. Do not choose fabrics with patterns or colors that are traditionally gendered. I personally have no issue with giving a girl dinosaurs and a boy pink, but many people do. It's important that this quilt be something most people would like. With that said, if you're putting together scraps, you can use these fabrics if you won't be able to make out the pattern, or if there's a tiny splash of pink that gets lost when you look at the bigger picture.
Cutting Instructions:
1 - 11 1/2" square of background fabric (You can leave this larger if you want and I'll trim down.)
1 - 6" x 7" piece of interfacing
1 - 1 1/2" x 2 1/2" piece of interfacing
1 - 1 1/2" x 2 1/2" piece of basket fabric
Scraps for balloon, or a single piece of 6" x 7" fabric
Appliqué patterns: Hot Air Balloon Appliqué Pattern
Tutorial:
Step 1: Download, print, and cut out the appliqué patterns.Step 2: If you're using scraps for your balloon, sew them together into a piece big enough to cover the balloon appliqué, about 6" x 7".

Step 3: Iron interfacing to wrong side of balloon and basket fabric. Leave paper backing on.


No comments:
Post a Comment