
Hi all! It's been lovely quilting with you so far this year!
I've been interested in disappearing blocks since my first one (my very first month in Stashbee - last January!), so I knew I wanted to pick one for my block this year. In this block, I love how the hourglass turns into something totally different. There are some free tutorials online for this block, in case you would like extra guidance. Here is a great one for reference.

Fabrics/Colors:
Black: Solid black preferred - or the closest to solid black that you have.
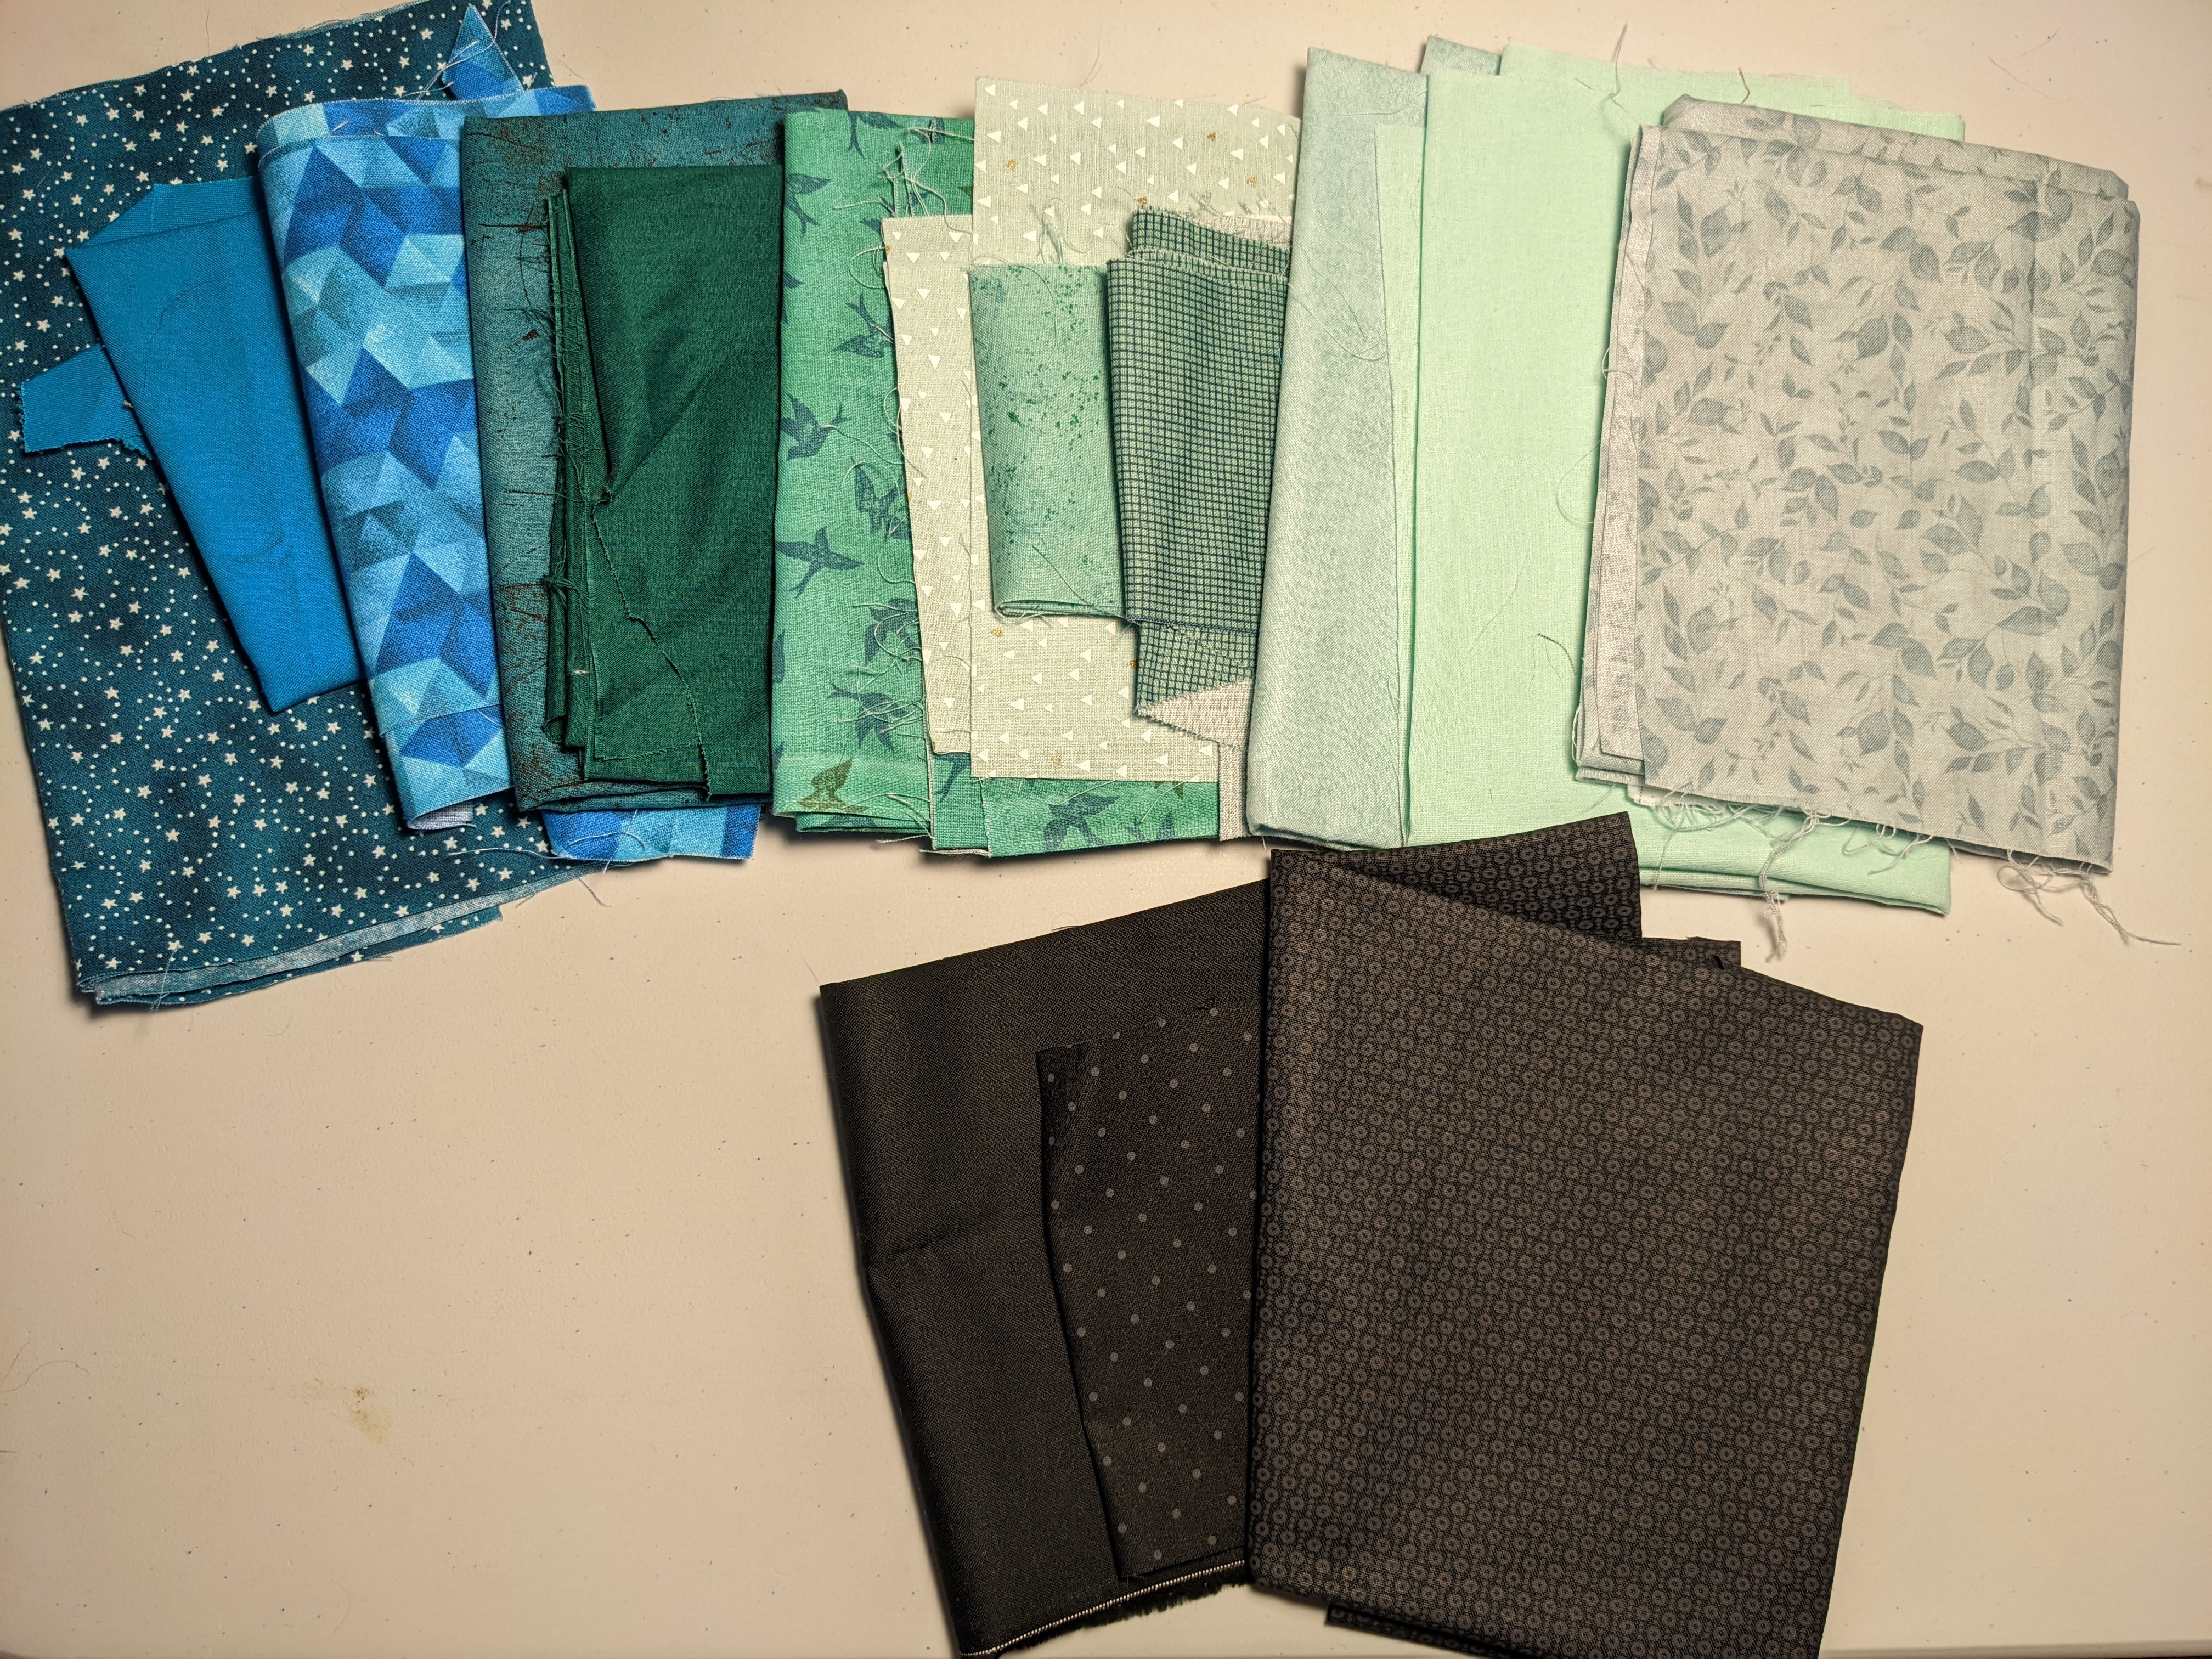
Blue-Greens/Teals: Scrappy preferred, optimally at least four different fabrics. Any prints are fine by me, as long as the color reads blue-green. (I used one fabric for each hourglass triangle, but you could go even scrappier if you like!)
Here are some fabrics from my stash that would work for this block. (I used fabrics from the "lighter" end of this spectrum for my tutorial block, but I'll end up using all of these.)
Cutting Instructions Pt 1:
The aim is to create a 15" hourglass block, so we need four 7.75" HSTs.
The instructions below are for making individual HSTs using bias triangles that are sewn together. This provided me with a scrappier look. Please make your HSTs any way you like (2-at-a-time is most common) just as long as they are big enough for you to trim down to 7.75". If you still want to make it scrappier and make them using the 2-at-a-time method, feel free to mail the other HST and I can make additional blocks with them.
Black: Two 8.25" x 8.25" squares, cut into four triangles
Blue-Green/Teal: The equivalent of two 8.25" x 8.25" squares; cut into four triangles (since I used four different fabrics, I didn't actually start with squares at this step, as some would have been discarded)
Here are my eight triangle pieces, cut out and in position:

Piecing Pt 1:
Sew together the four HSTs and trim them to 7.75" x 7.75"
Sew together the hourglass block; the position of black and blue-green should match the above image.
Once sewn, the hourglass block should measure 15" x 15" (easy to divide in thirds!)
Cutting Instructions Pt 2:
Cut your hourglass block into nine 5" x 5" squares. Below you can see the red lines where you would approximately cut. You can measure 5" across your block (both vertically and horizontally) or you could measure 2.5" from your center lines both vertically and horizontally to make your cuts. If you would like a bit more instruction you can reference the video link above and start watching at 6:45.

My nine squares are shown below:


Piecing Pt 2:
Assemble the nine pieces as shown. The four-patch should be in the middle, and a star should emerge around it. I fiddled with the placement of my pieces to find the "scrappiest" final look.

Finally, sew together this nine-patch block using your preferred method.
The finished square will measure somewhere around 13.5" x 13.5." Don't worry about getting it perfect - I can trim when I put the top together!

Thank you very much in advance!
-Julia H.
No comments:
Post a Comment