
Hello bee mates - I have chosen an improv block for this month. If you have never done improv piecing before, don't worry - it is fun and easy. I found a very well written free tutorial that will guide you through the process and I will share my tips and photos of my block below.
Improv Birch Tutorial Link
3rd Story Workshop Improv Birch Tree Tutorial

Block Size
I would like finished blocks that are at least 12.5 inches high and at least 12.5 inches wide. When making an improv block like this, it is best to start with a larger piece of background fabric so that you can trim it down to size - you may be cutting the background at an angle and when you sew it back together, sometimes you need to trim it square and it starts to get smaller. I am thinking about making finished blocks in different widths, so if your block ends up wider than 12.5 inches, you don't have to trim it - you can just send it to me and I may use it as wide as it is, or maybe I'll trim it to 12.5 inches. Likewise, you don't need to trim the length to 12.5 inches, just make sure it is at least 12.5 inches wide and tall.
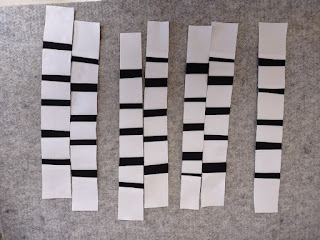
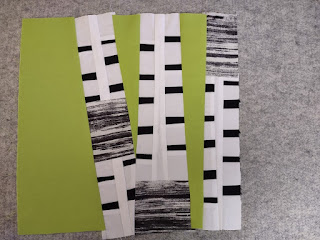
Please make a minimum of 2 birches in your block - you can make as many as you want if you want to make more than 2 birches. Your birches can be as skinny or wide as you like. They can be straight or set in the block at an angle - just like trees in a real forest.
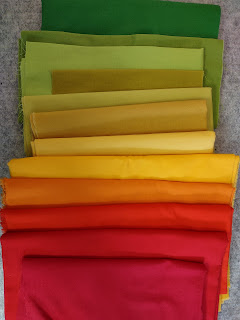
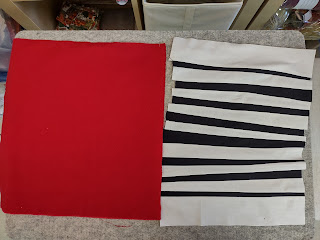
In the example of the red birch block at the top of the page, I started with a piece of background fabric that was 14 x 14 inches. The finished block is about 18 inches wide. Depending on how many birches you put in the block and how wide your birches are, you could start with a narrower piece of background fabric. You can also use strips of background fabric that are 14 inches long instead of cutting a larger piece to insert the birches.
Inspiration
My inspiration for the blocks is based on photos of birch forests. Here are a few.


Fabric Parameters
You will need 1 background color fabric and scraps of white and black fabric for the birches.
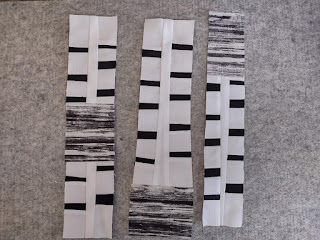
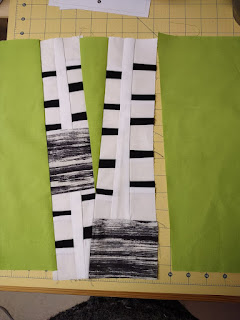
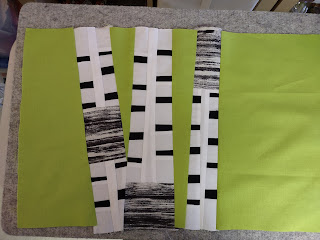
I am requesting solids or low volume prints that read as solids for the background, and white and black scraps. For the birch accents, use black and white stripes or prints that will look birch-like. If you don't have any black and white prints for accents, it is perfectly fine to use black and white scraps only for the birches. The red birch block at the top of this post doesn't use accent fabrics. The green birch block farther down does use accent fabrics.
The background fabric should be about 14 inches tall. You will be inserting the birches vertically into the background fabric, so you can use one big piece of fabric, or several pieces shorter in width and insert the birches between the shorter width pieces. It is okay to piece together scraps for the background if you don't have a large piece of fabric.
For the background color, please use solids or low volume prints that read as solids - colors for background can be any shade of red, orange, yellow, or green. Here is an example of solid colors you might use and one showing some grunge or low volume prints that would work. I am looking for colors you might find in a birch forest, so the golden yellows and greens work well. Please don't use greens or reds that have blue in them.


About Improv

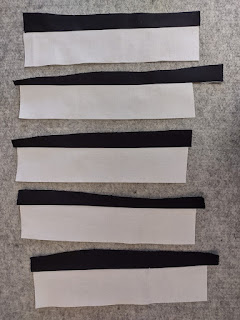
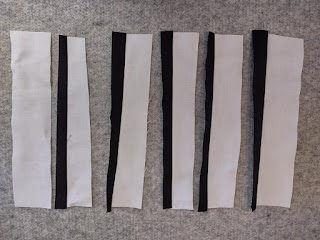
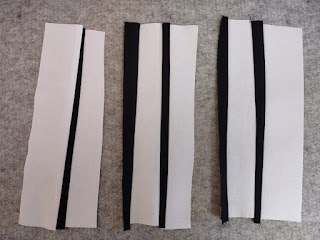
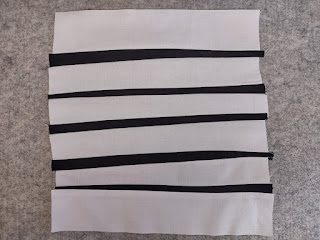
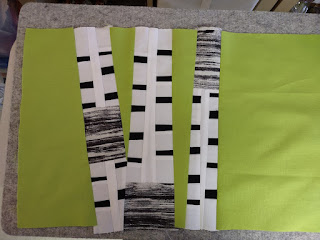
I forgot to take a photo of the first steps of inserting the birches. You can see that on the left, I cut the background fabric at an angle and inserted a leaning birch tree. For the second birch tree, I cut through the bottom of the first birch tree so that when I sewed the second tree, it looks like it is in front of the first one. You can overlap trees if you want, but it isn't necessary - you can have each tree separated by background fabric if you want.

I hope you enjoy making this block. I am looking forward to seeing all of the birches this hive will be making!
Rebecca @spockie_
No comments:
Post a Comment