
Hi guys and happy May! I am nervous to post my tutorial but excited to see what everyone comes up with for my block! I have never made a quilt that I kept before, so I am also excited to hog the finished quilt all for myself.
I am a school psychologist, and May is typically the busiest (and worst) month of the school year for psychologists. It will be a nice distraction to have blocks coming in the mail this month. It will be even better to have the summer off to put them all together.
I think this pattern is called Dutchman's Puzzle? But perhaps I'm wrong and someone can set me straight! Here's the finished block that I made.

Fabric requests
White fabric: any kind of solid white, please. The sample block I did was an unbleached muslin so it wasn't bright white, but bright white is fine too.
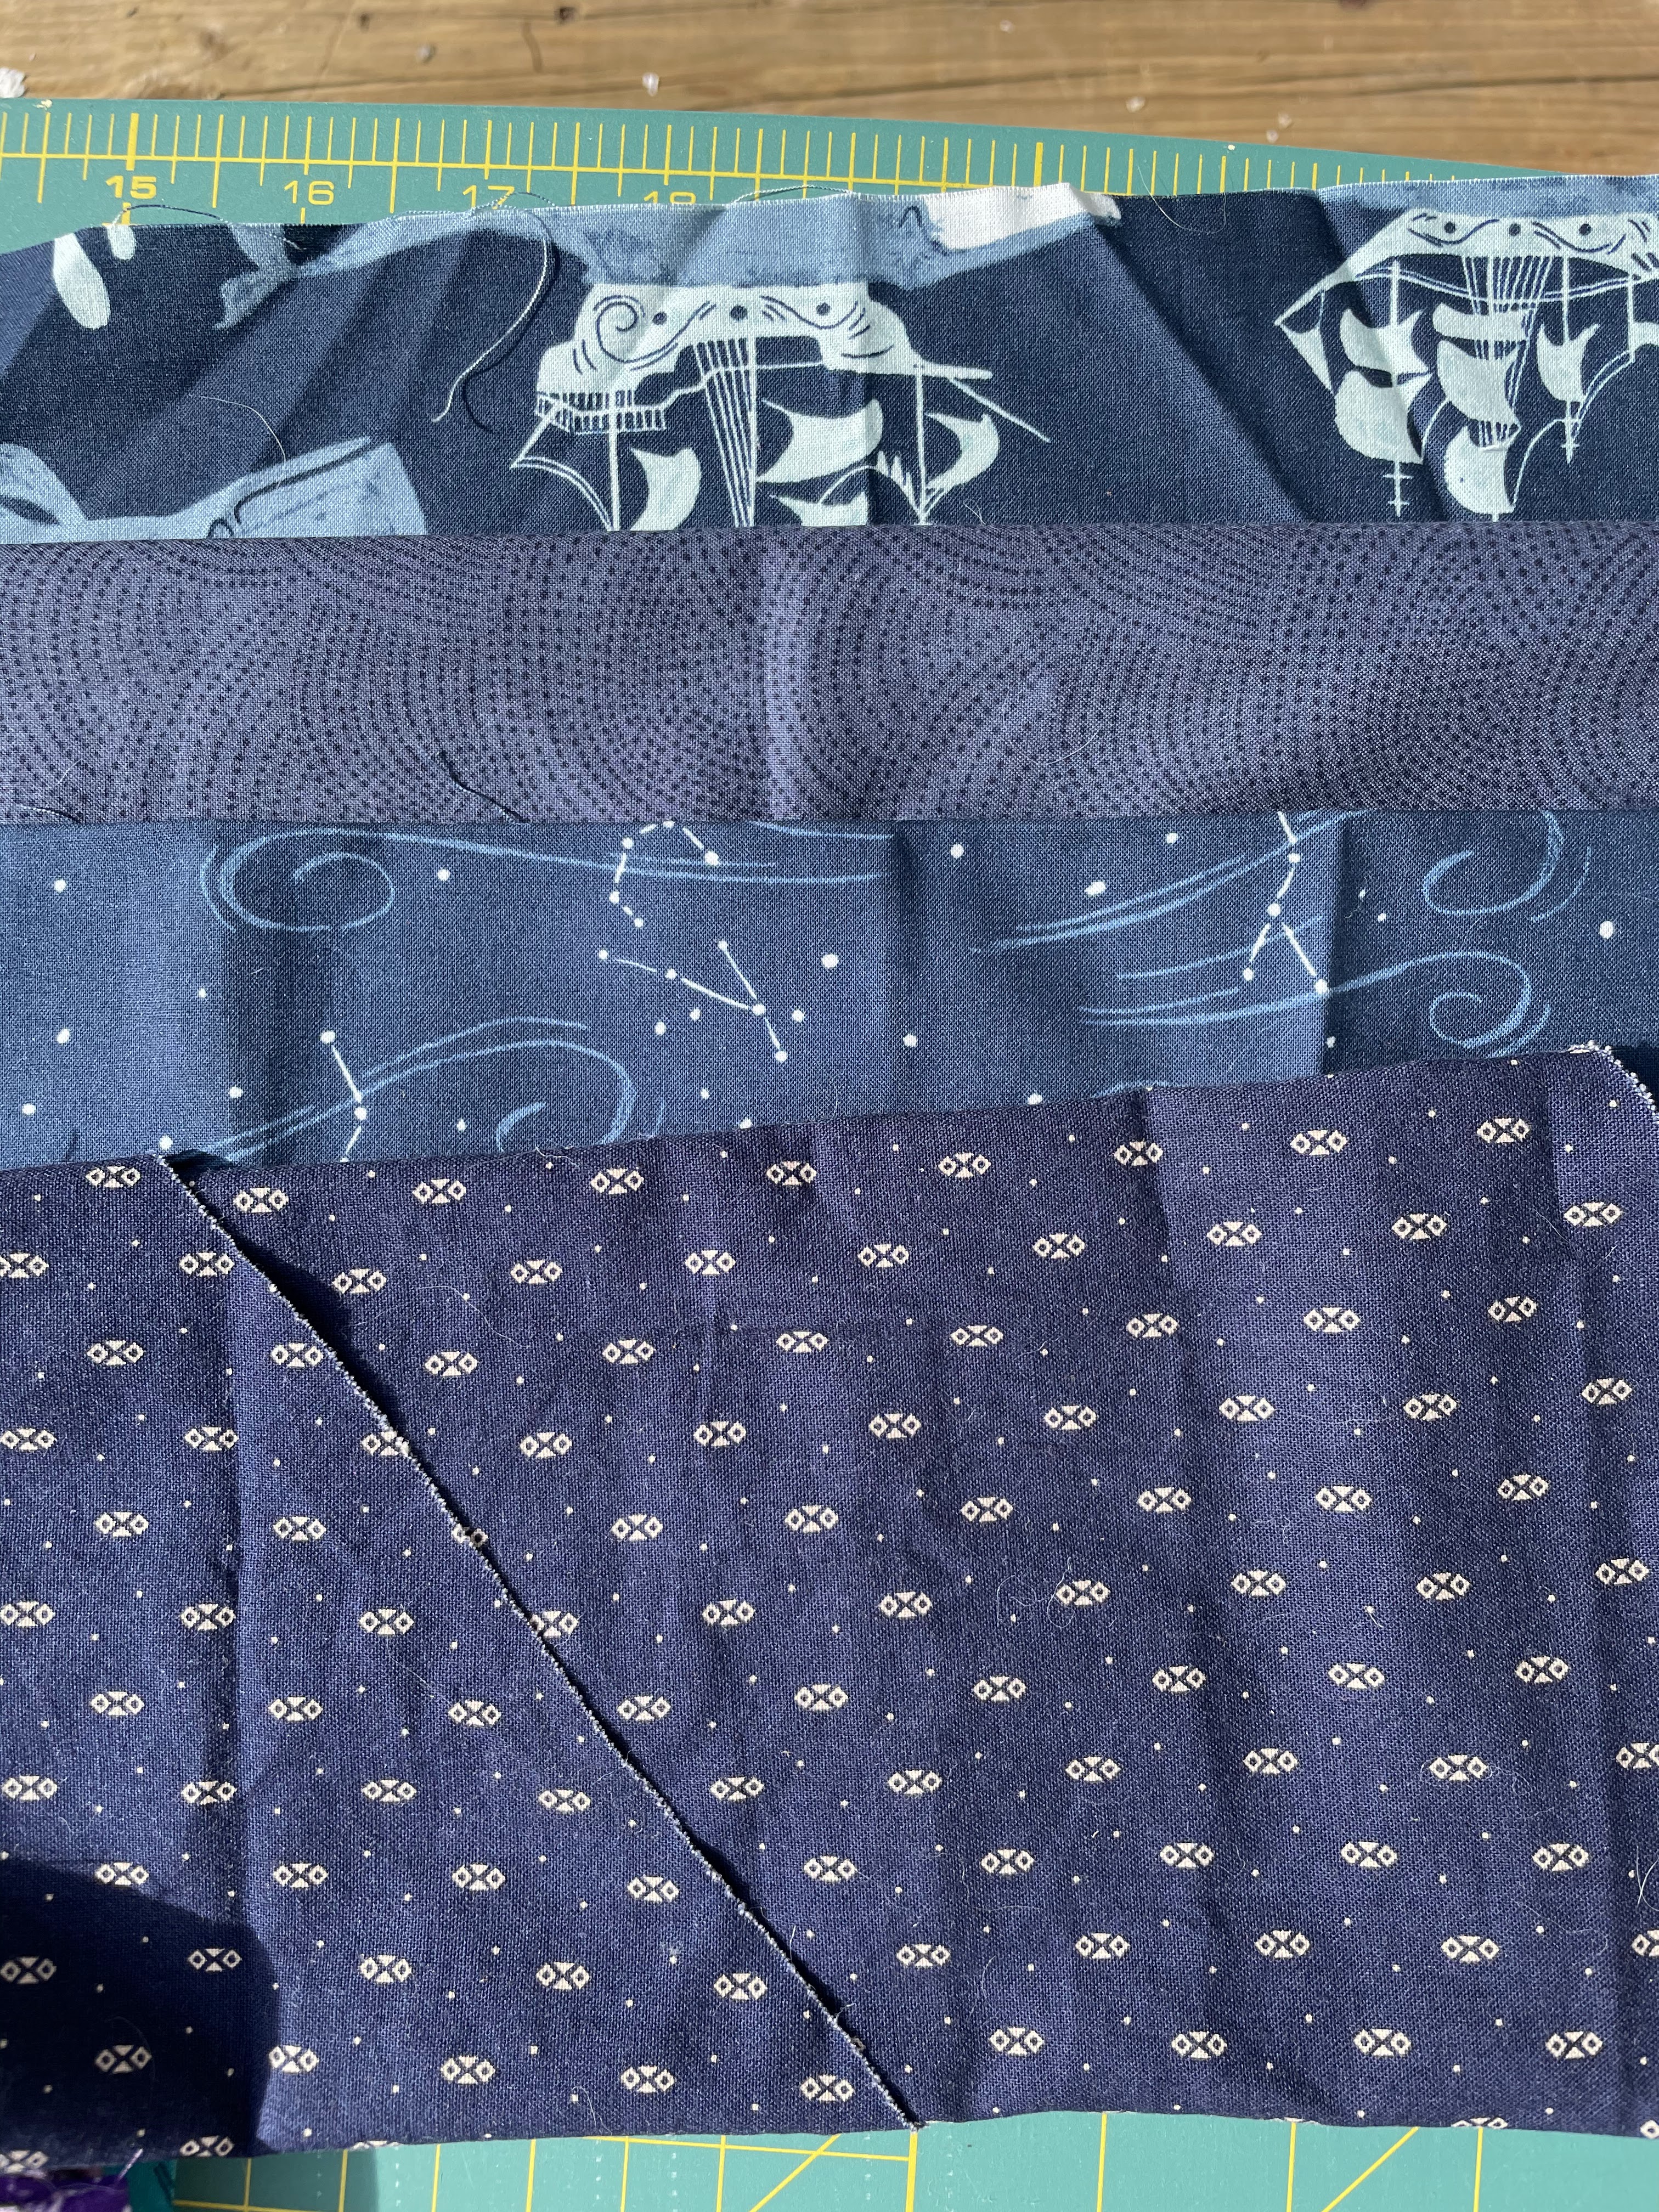
Color fabric: Either a single fabric or a group of multiple fabrics that reads about the same color. Funky prints are welcome. Large scale florals, animals, vehicles, robots; whatever you have that is fun and bright. I would like the block to be all the same color though (so all close blues or reds or whatever color you pick). If you have yellows or oranges those are especially welcome, because my stash includes almost none of those colors for some reason! I'd prefer reds, oranges, yellows, greens, blues, or purples. No pastels or neons please. No browns or tans or blacks. I did my block with four different purples, but you could do it with only two different fabrics or with 8 different fabrics or any number you desire.
Here are some inspiration pictures from the fabrics that I pulled for my blocks.


Cutting instructions
The flying geese units will finish 4.5 inches by 8.5 inches. I used the standard wasteful cut off a half of the square method--if you have a method your cutting sizes might vary.
White fabric: cut (16) 4.5 inch squares
Color fabric: cut (8) 4.5 by 8.5 inch rectangles. If you have a directional fabric, they should be 4.5 inches tall and 8.5 inches wide.
Sewing instructions
1. Construct 8 flying geese units by whatever method you like. Here's what I did:- I chain pieced all of these, which made the construction go really quickly.
- First, I drew a diagonal line down the center of each of my white squares.

- I squared up the square with the right corner of one of my rectangles and sewed along the pencil line.

- I repeated that with all 8 rectangles.


- Then I used a ruler to trim a 1/4 inch seam allowance off from the seam. (whoops I didn't take a picture of trimming the purples...) I pressed all of the seams open.


- For each rectangle, I added a second square to the other side, sewed along the seam, trimmed back to a 1/4 inch seam allowance, and pressed the seams open again.


- That gave me 8 separate flying geese units.


No comments:
Post a Comment