
Hive 2 Tutorial – Waving Flag
Hi All
I ran into some technical difficulties and my apologies for
getting this posted so late. We will be
doing an improvisational Bargello style block that is traditional yet a modern
take on the American Flag. Here is the
finished block. I loved learning this
new technique!

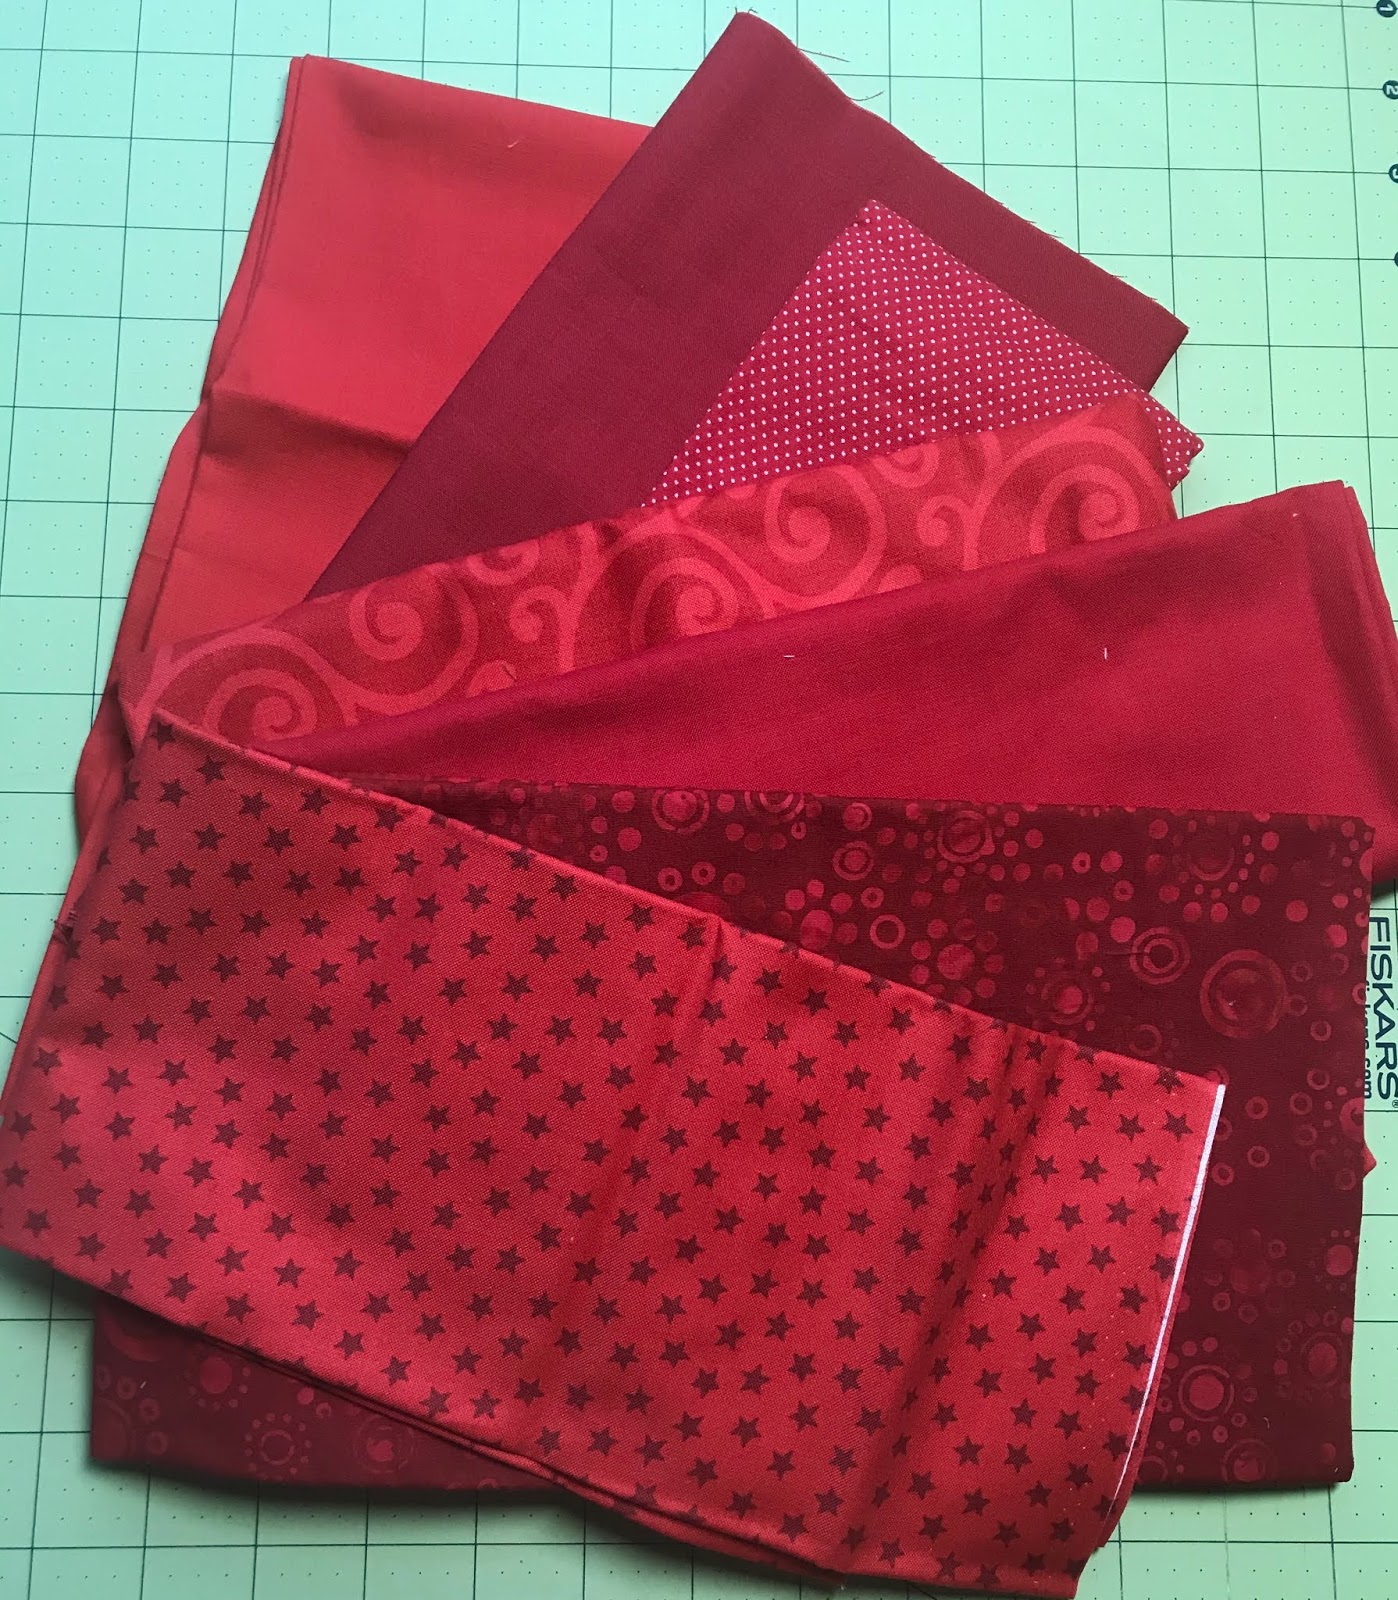
Fabrics – Think American Flag traditional Red/White/Blue
I prefer the fabrics to be prints if you have them that
still read as the main color. Solids can
also be used. Here are pics of my fabric
pulls.


Here is the link to learn the method for how to put this
block together. You may want to watch it
to get the idea then read my instructions for the specifics of how it applies
to this block.
Blue Strip Set
Use 4-5 strips that are about 20-21’ long – Strip widths can
vary between 1.25” and 2” depending on what you have. The top strip of blue needs to be 3-3.5”
wide.
Sew the strips together into a strip unit with the top strip
being 3 – 3.5” wide. Press the strips
all the same direction away from the top strip and towards the
red/white strip set.


Red/White Strip Set
4 Red Strips and 3 white strips – Strips are 20-21” long and
vary between 1.25” – 2” with the bottom red strip at 3 – 3.5” width. Press all
strips down towards the bottom of the block or wide red strip

Sew Blue strip set together with red/white strip set. Trim
right and left edges of the block which should now be about 20-21” wide and
17-18” long.
In the video she used scissors to cut the strips but I don’t recommend that..
using your rotary cutter and a ruler is much more accurate and keeps your block
square. You will cut strips from the
left side of the block and sew them back on to the right side of the block in a
“bargello” style. Strips are cut at 1.5
– 2’ with a couple at 1 or 1.25”. Those
skinnier strips are what help to make it look wavy.
First cut from the left then when sewing to the right shift
it up about ¼” to offset the horizontal stripes.

Continue making cuts and sewing to the right side shifting
up for the first 3 strips then shifting down and then back up – refer to the
pic of the final block. Your up and down
does not have to be exactly like mine just make sure the colors still connect
across for at least part of the stripe or you lose the effect. (white touches
white, red touches red, etc.) This shifting up and down is why the top blue
stripe and the bottom red stripe need to be bigger to allow enough space to
make a stripe after the top and bottom are trimmed.

The last cut needs to be at least 1.75” wide to move to the
right side and still leave at least 1.75” on the left side. This will give
enough room to trim if needed. The blue
stripes should be about 4-5” at the top of the block.
Even off the top and bottom of the block and check the
size. It should be more than 15”
square. If you want to then trim down to
15” square or send to me untrimmed, either way is fine.
Have a wonderful July 4th Holiday!
Lisa...
No comments:
Post a Comment