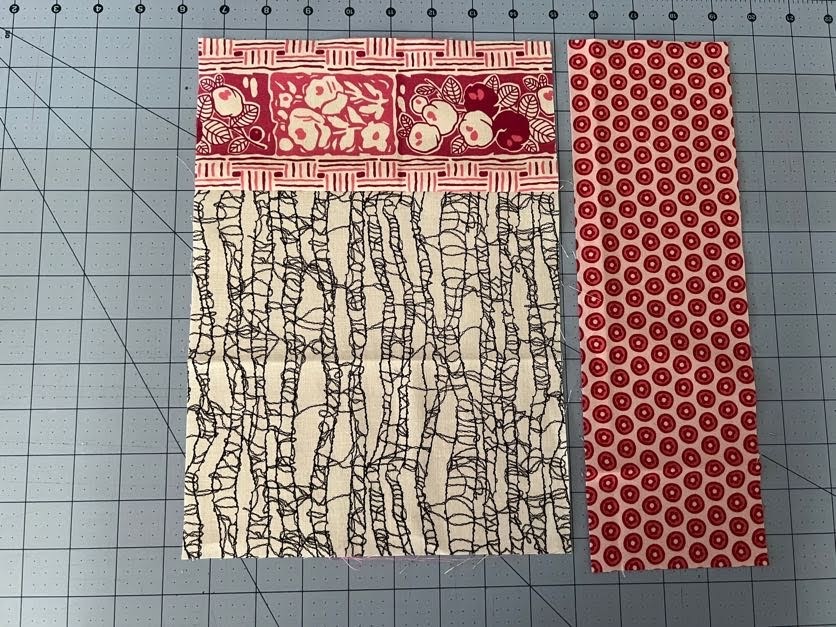
Hi Trishia,
Love your Colour Combo!
This block will start it's journey to you in the next couple of days.
Happy Quilting,
Rita

Hi Trishia,
Love your Colour Combo!
This block will start it's journey to you in the next couple of days.
Happy Quilting,
Rita
Dear Hive Mates,
Happy October! I am reaching out this month for a quick and easy block. This block is so easy that this tutorial may not even be necessary for most of you, as the assembly will come intuitively. I am hoping to have a variety of blocks that are not identical in the center size/placement. So, no stress, have fun!
With your help, I’ll be able to quickly prepare a lap size quilt for a friend.
Block: 10”x10” square block, with a square or rectangular center.
Fabric: The colors I have in mind are nothing inspired by the new Fall season! Instead, I am looking for a palette composed of lavender/dusty purple, raspberry/pink, aqua/turquoise, sage green and coral/red.
Inspired by this Kaffe Fassett fabric:


Please, *no* yellow, *no* bright orange.
Select two fabrics out of this palette, either solids, read solid or small flower prints (I love flowers). Batiks are fine. We will call one fabric “accent”, and one will be called “main”.
Cutting: I don’t have specific cutting instructions. You may even know intuitively how to prepare the block. If you want to use a larger center and make it fit in a 10”x10” block, go ahead! I am not looking for identical blocks, a little variety is nice, so you really cannot go wrong in making this block!
Should you need more precise directives, you may look at the Hive 1-April 2026 tutorial, available here
or you can follow along “a-b-c-d-e-f”:
a) One 3”-4” square or rectangular center using the accent fabric,
b) One 10.5” strip of the main fabric, as wide as what you selected in a),
c) Two 10.5” x 4” strips of the main fabric,
d) Cut the strip prepared in b) in two,
e) Sew each two sections prepared in d) on each side of the square/rectangular center prepared in a), and
f) Sew each strip prepared in c) along the strip assembled in e).


Press however you prefer. The square/rectangular center does not need to be centered! No need to trim down to a perfect 10”x10”.
Thank you all for your generous contribution to my project!
I’m so excited for another year with Stash Bee and I'm asking to add to my blocks from last year as I fell in love with each and every one!
BUT this year You can choose any color you want for the strips.
The Haphazard block is bright, it's scrappy, it's creative, it's versatile!!
I'm using My Poppy Makes for inspiration. You can find the quilt here: MY POPPET MAKES
I changed up the dimensions so we will end up with a 15” block.


Fabric:
Let’s keep this Bright!


Center Square: Black and white, typeset, tone on tone, white on white
Strips: Pick one favorite color from your stash, then select four different fabrics to use. If you like Pink, feel free to use that again!


Instructions:
Cut (1) 8.5” square from your center fabric.
Pick out your 4 different fabrics in your color line and cut strips.
(1) 4" by 8.5"
(2) 4" by 12.5"
(1) 4" by 16.5"
Sew the strips around the center square using a 1/4” seam and trim each strip after you sew it. The measurements I gave for the strips are oversized so you will need to trim down a bit after sewing. This is expected.
Your block should now measure around 15.5” but don't worry if it doesn't. This block isn't one that has to be exact and a little wonkiness is fine with me. Press seams as you like.

Now comes the fun part! Cut the block in half twice
(7 3/4” for those who want measurements)


Then turn each piece so that the center square is in each corner. It makes a plus sign pattern in the middle of the block. (it's ok for one strip fabric to end up in a row/column but if you want to move blocks around go right ahead and play around with the layout)

Sew the 4 pieces together. Your block should be around 15"
Press the seams as you like. Don't worry about trimming as I can do that later when assembling the quilt.

Hope you have fun with this quick and easy block!
Thanks, Laurie


Hi! I’m Nancy, the September QB. I’ve been wanting to make a throw for my father-in-law who is perpetually cold, and another for my husband’s cousin who will earn her PhD next year in pediatric cardiology nursing. This scrappy block will be just the thing for them. This website was my inspiration. https://agilejack1.com/2023/10/03/those-aboriginal-scraps-kept-calling-my-name/
Colors: Think organic colors more than glow-in-the-dark bright—plum, purple, blue, gold, teal, rose, rust, olive, russet, brown, burgundy, red, tan, blue, taupe, green, grey, black. Prints of any scale are great, including florals. Stripes and plaids will work; don’t obsess over getting the seams lined up with the print fabric. Please, no seasonal, religious, or juvenile prints. Batiks are good. A bit of metallic is okay. Mix it up, and be creative, but don’t waste too much time agonizing over your choices.
Pick four fabrics that work together without being matchy-matchy, with two darker and two lighter, cutting one 6.5" square from each. The two darks barely interact, as do the two lights, so NONE of them have to "relate" colorwise . Having at least one big-scale print works well, and makes the block more interesting. At the end of this tutorial I have included a photograph of some of the other blocks I’ve made so you can get a better idea of where these projects are going.
Note: All seam allowances are .25" wide.
If you’re unsure of how the values relate to each other, take a photo of the choices and display the photo in black and white on your phone.
Next, cut 2” away from the center
seams on either side in both directions without moving any of the pieces—four cuts in all. If you’re careful, you can simply rotate your
mat 90 degrees at a time to cut, being careful not to move the pieces out of
place. (I screwed this up the first time
by accidentally cutting 2.5” from the center seam, instead of the correct side of
my ruler. I then used a sticky note to
make sure I got the correct side of my ruler, since it was too easy for me to
get this wrong.)


Next, spin the four side pieces 180 degrees. Everything stays as is.


Thanks for playing! I’m looking forward to seeing your amazing blocks and incorporating them into these two gifts. Sam and Genna are looking forward to staying warm this winter.
And as promised, the blocks I’ve made so far.


Hi Ruth,
Hope you're settling in nicely in your new home! These blocks are going on the way to you today or the latest tomorrow.
Happy quilting,
Rita


Hi Pam,
These were so much fun! Thank you for asking for this Hashtag this month! Hope you like them, they'll be in the post to you this evening.
Happy quilting,
Rita


I've wanted to make a hashtag quilt for a while, but wasn't feeling the measuring and seam-matching, so I decided to make a slightly wonky and easier, faster version. I love the look of a quilt where the blocks are all a bit different, even if the concept is the same for all of them.
Here are the directions for my version of the hashtag block:
Fabrics: One 12.5 inch square of dark grey or black fabric, either solid or print, for the background.
Four 1.25 inch strips of bright (print or solid) fabrics, at least 14 inches long
Assembly: Using a ruler and rotary cutter, make a cut off one side of the background square. No rules for where to make the cut, and it can be parallel to the edge or slightly at an angle as I did with my sample blocks.