This is my 8th year taking part in Stash Bee, and for the first time, I’m repeating myself on a tutorial. Last year I created my tutorial for Scrappy Stripes blocks, and received a dozen or so beautiful blocks, some of which are pictured above. I made three blocks myself for the tutorial, so I have a nice pile of blocks already. I'm re-sharing the tutorial for my July 2025 turn as Queen Bee of Hive 4, so I'll end up with an even bigger and more beautiful quilt, thanks to all my talented Hivemates.
HOW TO MAKE THE
SCRAPPY STRIPES BLOCK:
The block will end up a bit more than 12-1/2 inches square,
but because it’s improvisationally pieced, it won’t be exact, and the edges won’t
be straight. That’s fine! When you’re finished with the sewing, don’t
bother trimming the ragged edges or squaring up the sides. These blocks are going to be all slightly
different sizes, so I’ll take a look at them all before deciding what size to
trim them down before sewing them into the quilt top.
FABRIC SELECTION:
- · For the background square, one 13” or slightly larger square of any very light solid or low volume print will work.
- · For the scrappy stripes, two strips of any bright solid or print fabric, about 1-1/2" to 2-1/2" wide and at least an inch longer than the height of the background square. Note that the strips do not have to be an even width, they can be wider at one end and narrower at the other.
- · Small scraps of various prints or solids to make the pieced stripe.
Background of the block:
To get the approximately 13” size of background I wanted, I
laid my 12-1/2" square ruler over a piece of fabric, then roughly cut
around about 1/2' from the sides of the ruler. Don't worry if the edges
aren't straight!
Inserting the stripes:
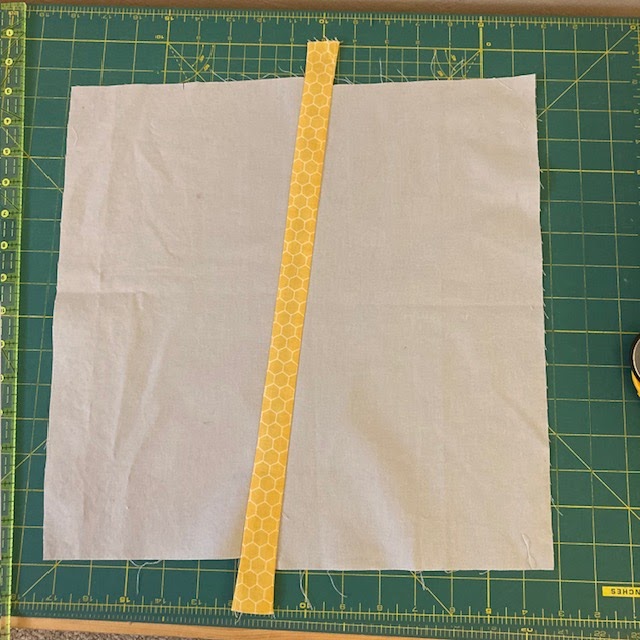
Cut across the background square, either vertical or
slightly diagonal--just eyeball it.
Next repeat to add another stripe to the block.
Adding the scrappy stripe:
To make the scrappy stripe, take the small fabric scraps
that you like and sew them together into a piece long enough to go across the
background square, then cut a strip from that long piece.


Sew the scrappy stripe into the block same as before. For the pieced stripe, it was easier to press the seams toward the background, because of all the seams on the stripe.


No comments:
Post a Comment