
Hello Hive 6!
Since there is snow on the ground, and January is kind of dreary after the holidays, I hope this Tulip blocks brings some cheer as we dream about Spring.
This is the same block I had my Hive mates make for me last year. I was going to make a baby quilt for my little girl who was born in April 2022, but I haven't finished it so my plan is to make a bigger quilt for her instead.
In principle, I don't believe in gendered colours or imagery (my son can wear clothes that are pink and have flowers too), but the reality is I have been really excited by all the "girlie" stuff since she was born, especially all things floral!
So for this month's block, I am requesting a Pink or Yellow Tulip block!
Pattern Credits:I have written up the tutorial for 1 tulip block, based on a combination of two very similar free patterns:
Missouri star quilt co’s “Totally Tulip” quilt pattern.
Here is their video tutorial - she makes 1 block but the cutting information is based on making the whole quilt so I adjusted the cutting instructions for 1 block.
2) Cloud 9’s “Amsterdam” quilt pattern.
https://cloud9fabrics.com/wp-content/uploads/2013/12/AmsterdamQuilt.pdf
Fabric:
For this block you will need 6 different fabrics- 3 for the tulip "petals"; 2 for the stem and leaves; and a background. See the table for the colours needed.
Please choose modern, bright fabrics. No muted tones
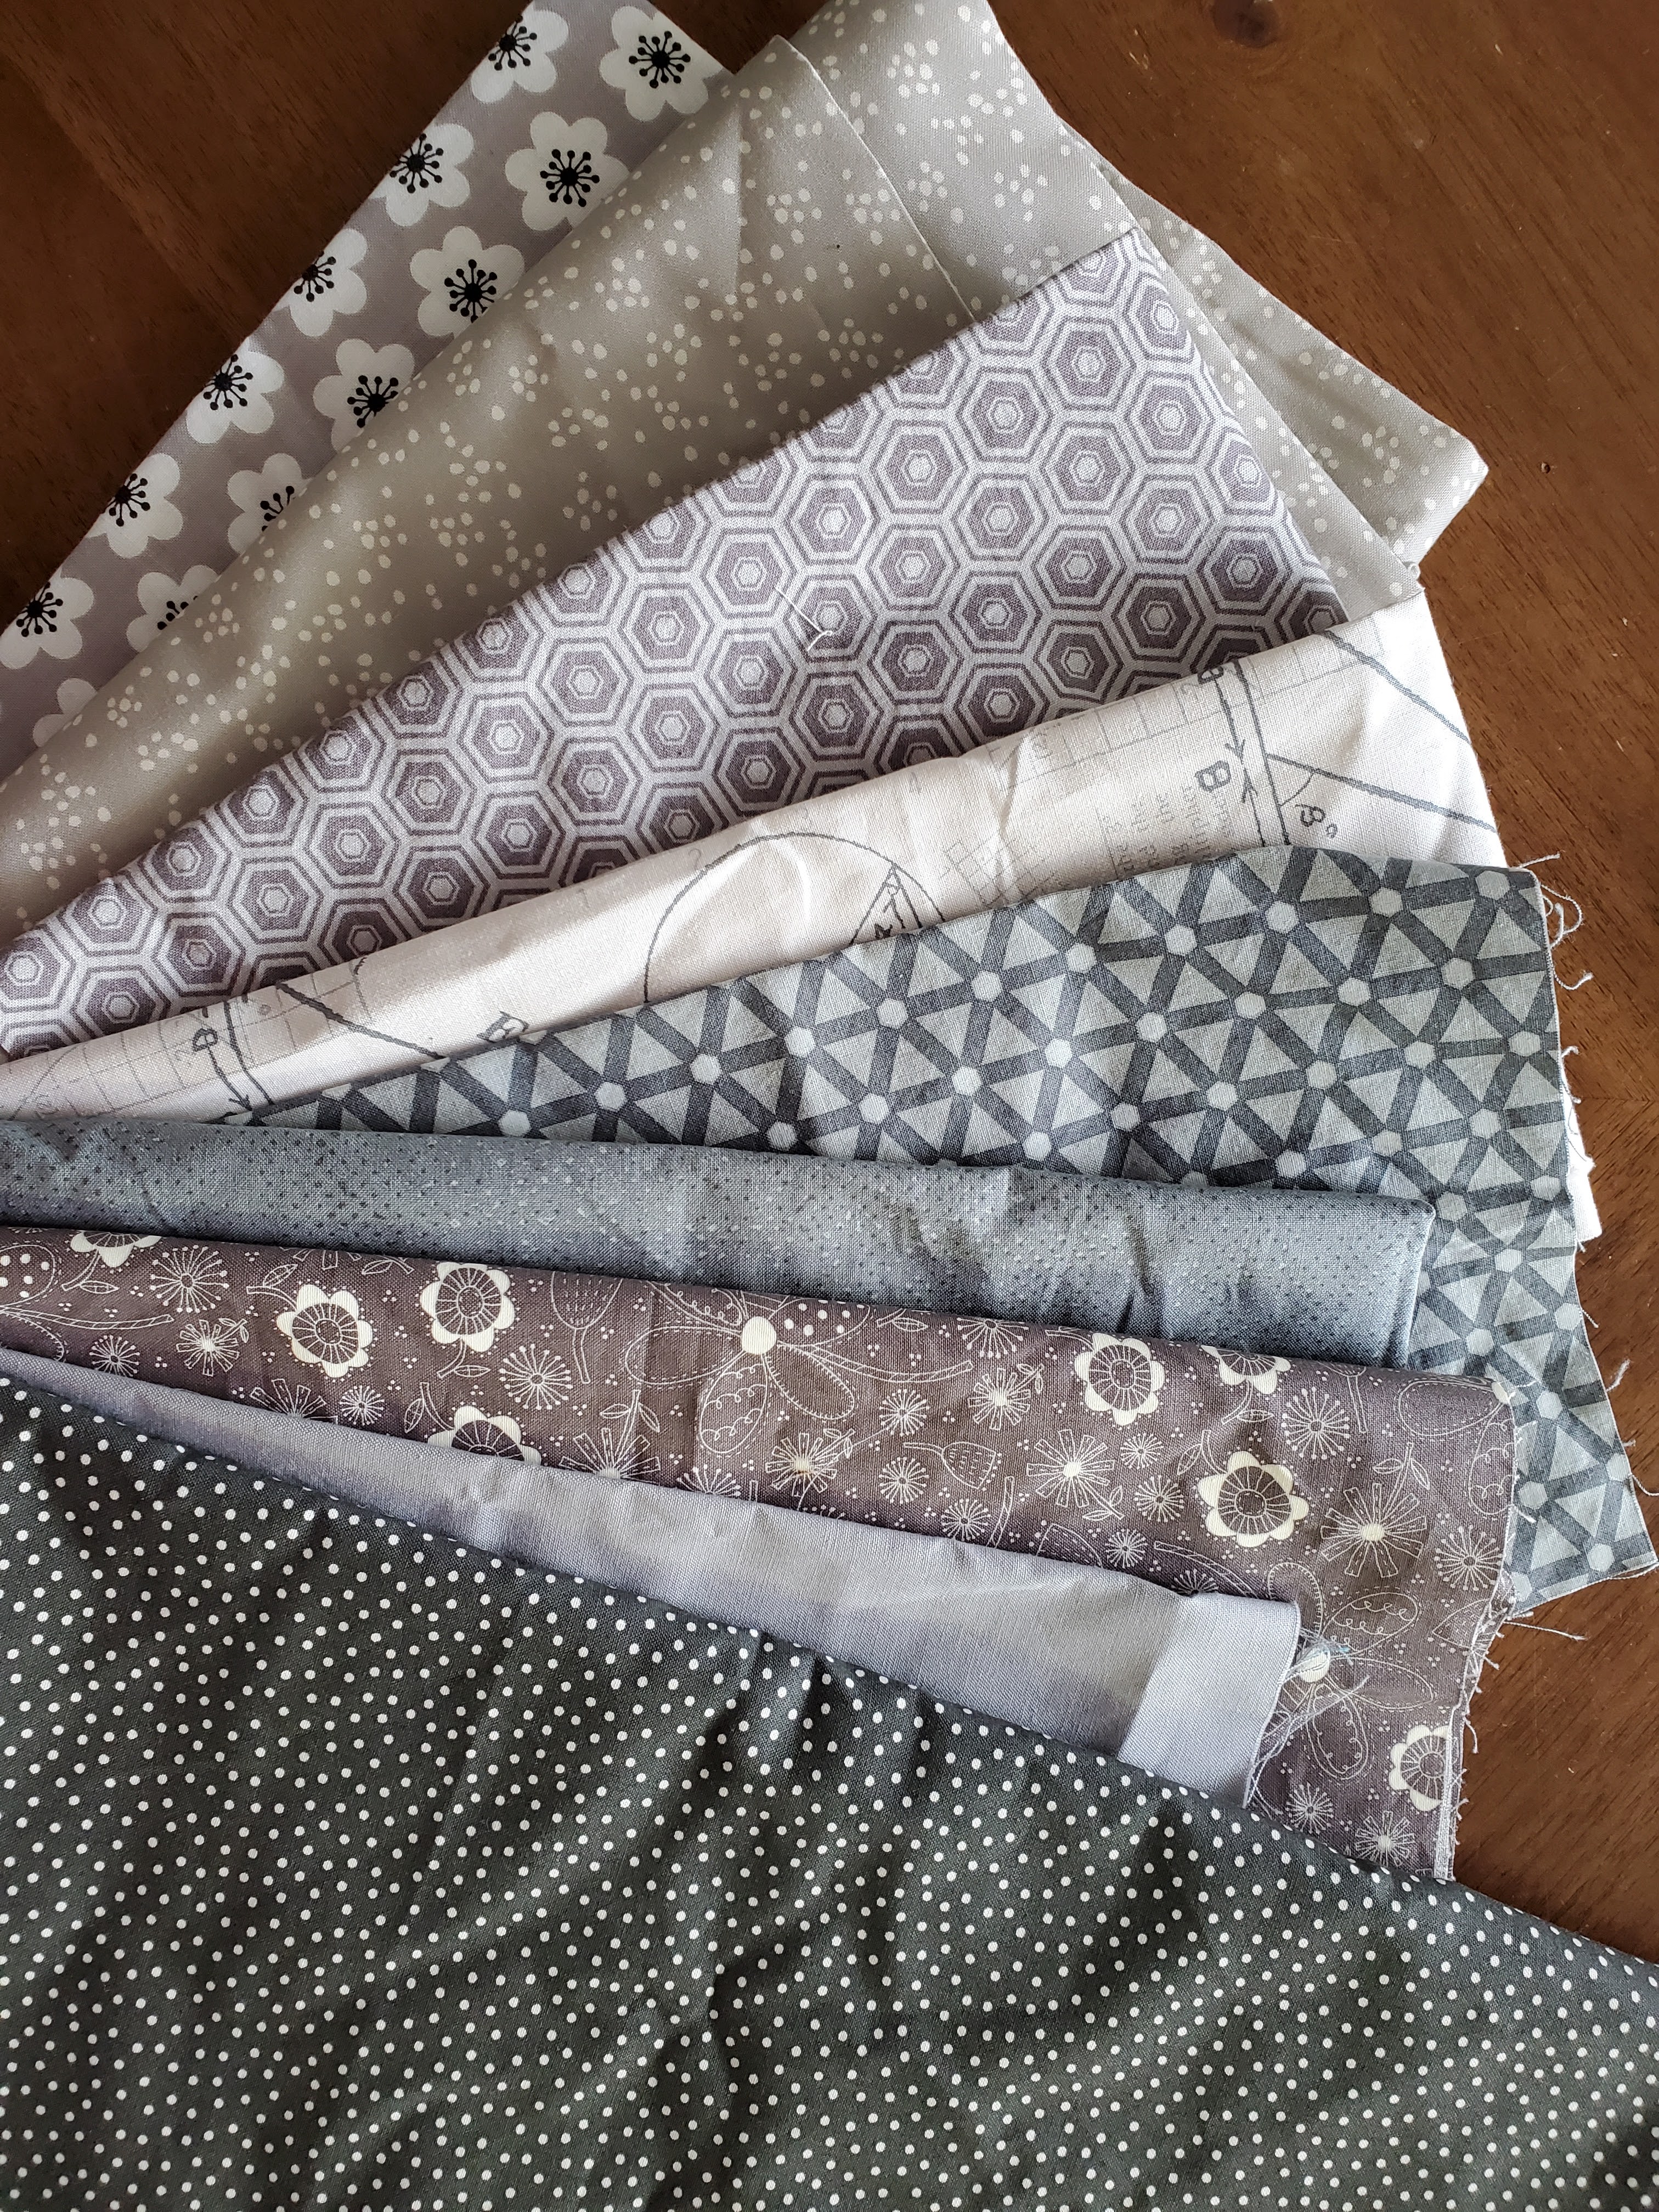
Here are some photos of my fabric pull from my own stash:


Cutting:
Note, I have provided cutting instructions for the leaves based on the 2 at a time HST method. You will have to adjust the cutting dimensions if you want to do the 4 at a time method (if you make two blocks, you could also do the 8 at a time method).

Sewing:
Tulip petal portion:
Sew a “snowball” corner to each of the two 5” pink/yellow squares:
Finger press your 2.5” background squares on the diagonal.
Place the 2.5” background square right sides together in the corner of the pink/yellow square
Sew along the finger-pressed diagonal line going
Trim ¼” from the sewn line
Press towards the pink/yellow
Note: If you are using directional fabric, pay attention to which corner you are “snow-balling”, based on the arrangement in which you intend to sew two yellow/pink squares together


Sew two “snowball” corners to the bottom of the pink/yellow rectangle
Finger press your 2.5” background squares on the diagonal.
Place the 2.5” background square right sides together on each of the bottom corners of the pink/yellow rectangle
Sew along the finger-pressed diagonal line going
Trim ¼” from the sewn line
Press towards the pink/yellow

Assemble the tulip, and sew together
Sew together the top two squares so the snowball corners touch together on the inside; press open
Sew the top unit to the bottom rectangle
Press the last seam open, or towards the rectangle

Once sewn together, this unit should measure 9.5" x 9.5"
Lead & Stem portion:
Make 4 HSTs using the Traditional (2 HSTs at a time) method:
Draw a diagonal line on the wrong side of each of the 5” background squares
Place one 5” background square on top of one 5” green square, right sides together
Sew ¼” away from either side of the diagonal line
Cut along the drawn diagonal line
Open up the HST units and press towards the green
Trim the HSTs to 4.5” square
Repeat with the other set to make four green/white HSTs total


Assemble and sew the leaves together
Sew two HSTs together so the leaf points to the left, and sew two HSTs together so the leaf points to the right
Press open
Each unit should measure 4.5" x 8.5"
Add the stem between the leaves
Sew the gray stem in between the two leaf units
Press towards the stem
The combined unit should measure 9.5" wide x 8.5" tall

Combine tulip petals with stem and leaves
Line up the center of the gray stem with the center of the tulip unit, and sew together
Press open

The finished block will be rectangular, and measure 17.5” tall x 9.5” wide
Thank you!
~Alanna
2 comments:
I finished a test block and once again I'm my own worst enemy with seam allowances. They are all too generous ;-( But the pattern is easy to follow and I love the bright colors. I didn't have any gray, so I will be picking some up before making the official block. If I can figure out how, I will post a pic.
I had the same issues with my seams!
Post a Comment