2 squares 5 ½” x 5 ½” (blank squares - these can be the same or different from the tree backgrounds)
2 rectangles 5” x 6” (background for trees and gnomes; these should be the same fabric)
2 rectangles 1 ½” x 6” (background for tree trunk/gnome legs, should match the fabric above)
Trees:
1 or 2 green rectangles, 3 ½” x 4.5-5”
1 or 2 brown rectangles about 1” x 1 ½” or 2"
Gnomes (if making any):
1 rectangle, 3 ½” x 4.5-5”
1 skin-colored scrap, about 3 ½” x 1” or 1 ½”
2 brown or black rectangles, about 1” x 2” (if doing really angled legs, you may need 2 ½")
Piecing:
Here are some additional pics to clarify some of the process:
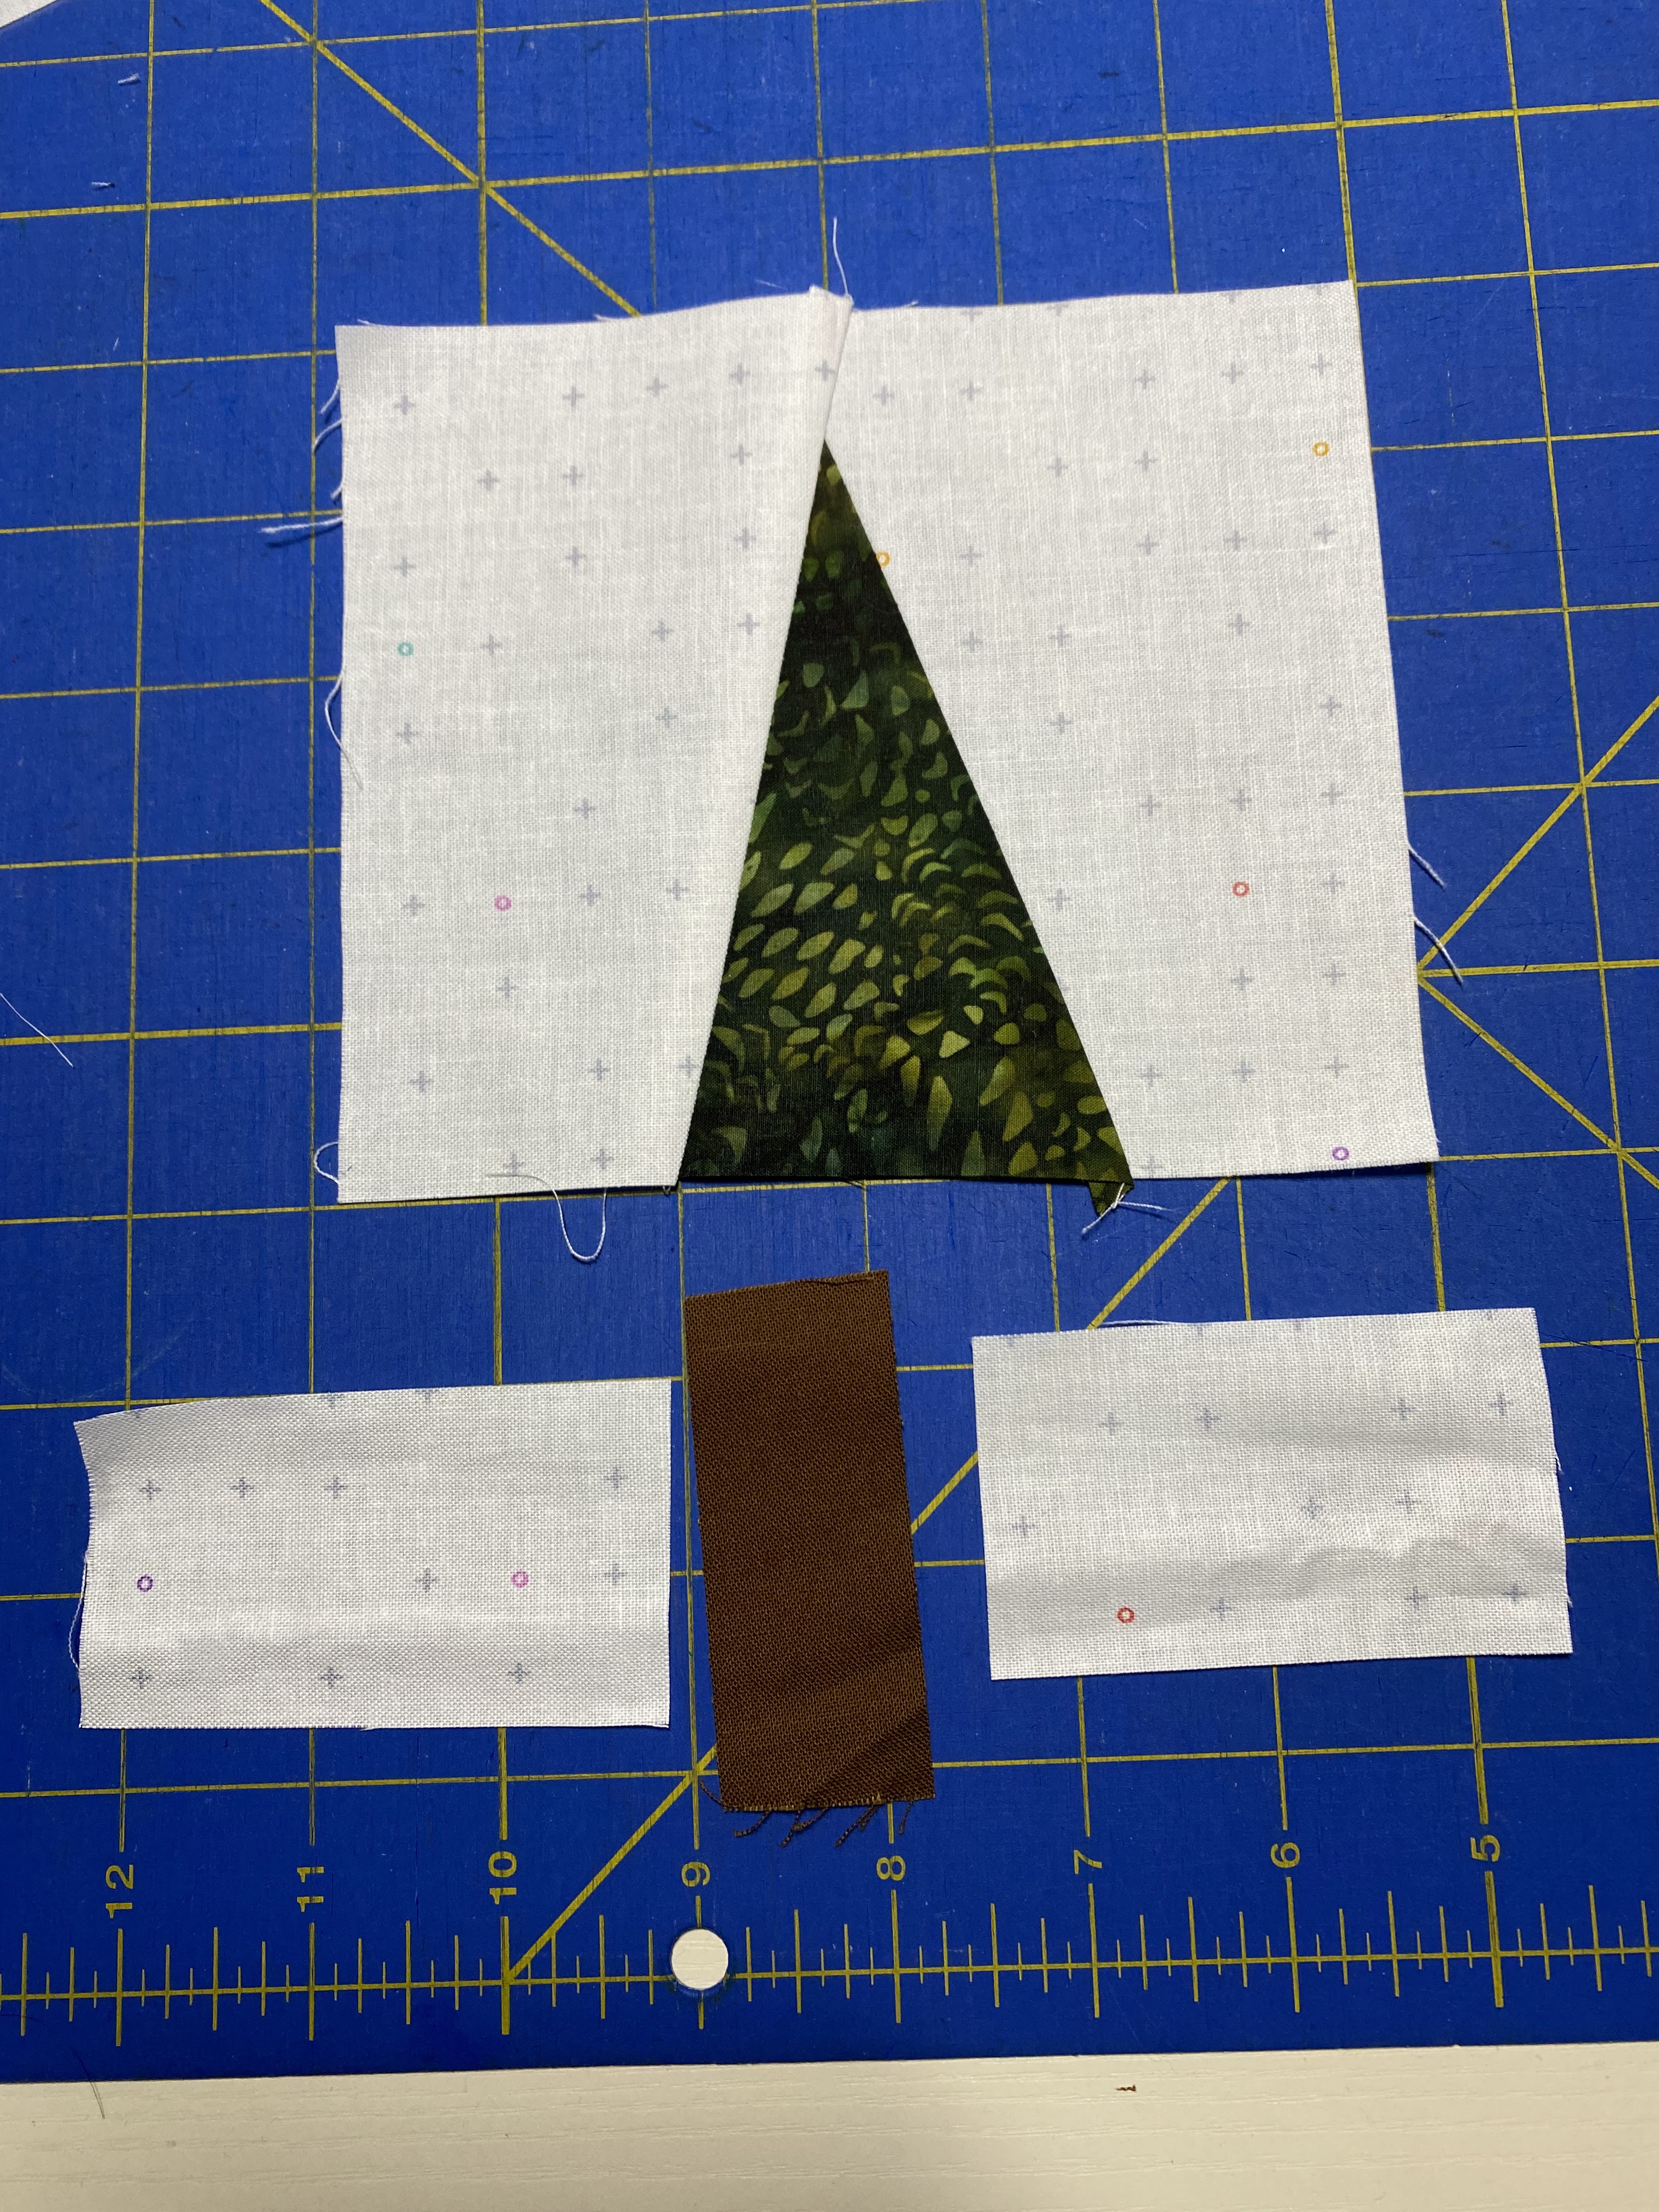
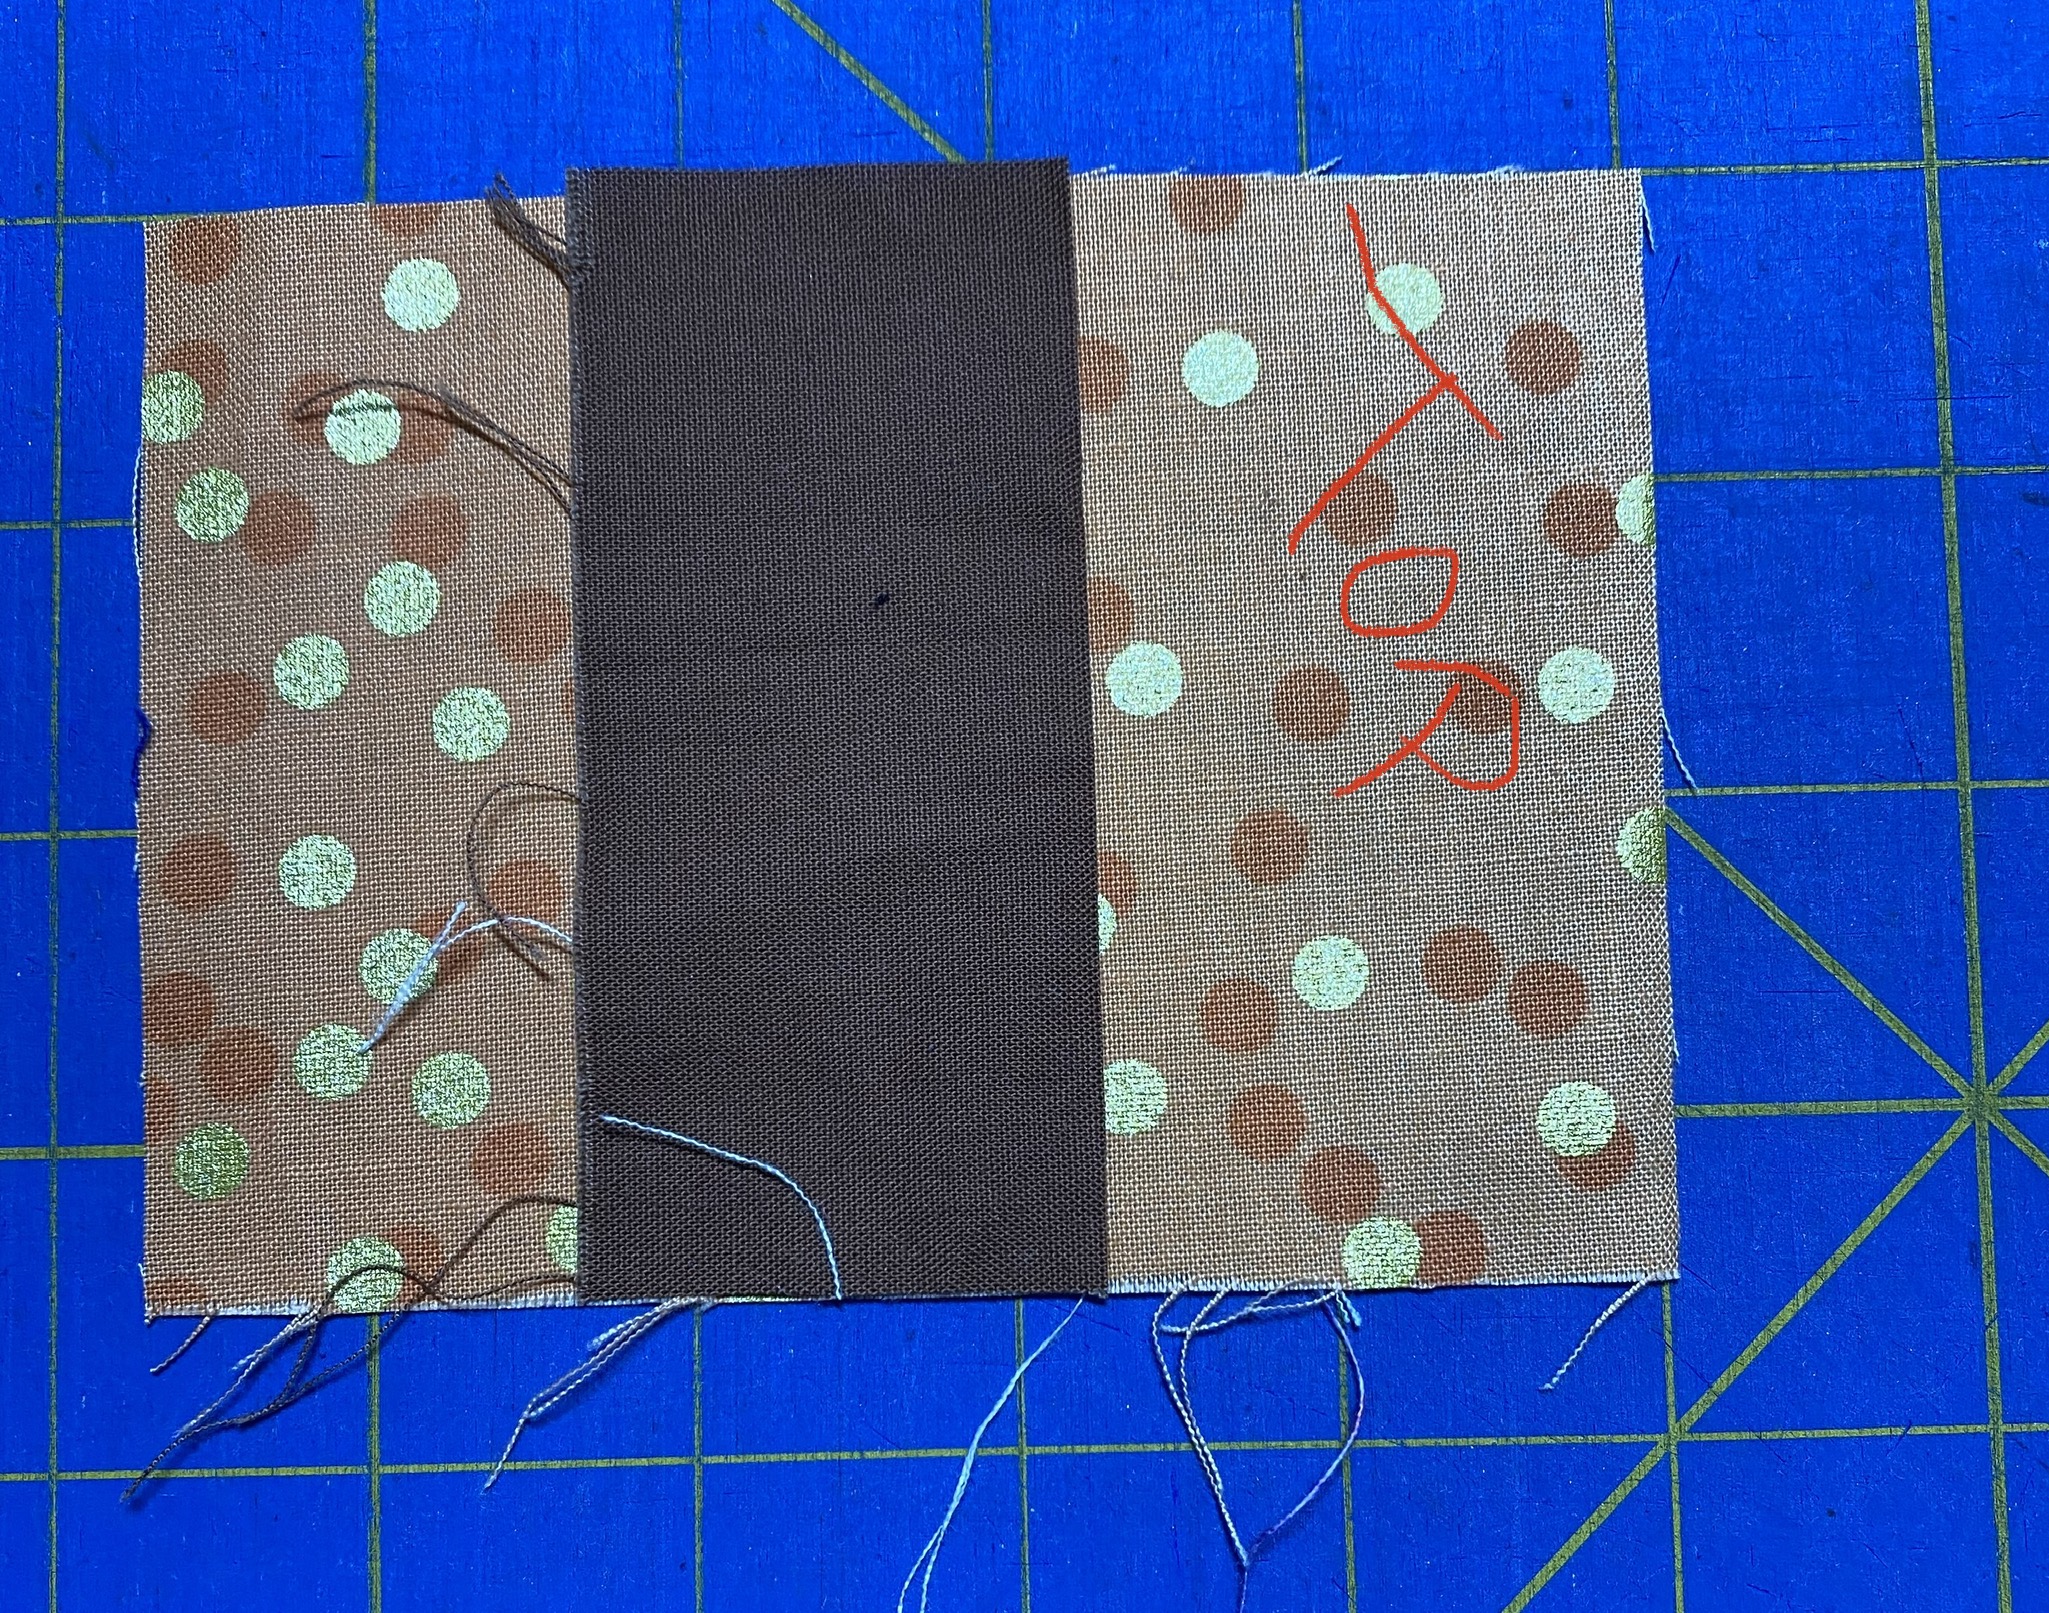
Each rectangular background piece is used for 2 tree/gnome squares - the angled cut divides the piece roughly in half while also cutting the side of the tree.
If your tree fabric is shorter than your background fabric, align it with the top when cutting.
Place the ruler at any angle across the tree fabric, with the bottom corner of the tree fabric aligned with the ruler.
The background piece on the right (labeled 1) is used for the first tree. The background piece that is under the tree (labeled 2) is used for the second tree (or the gnome).
Layer the tree with the right background piece. Set aside the other piece for later.
Overlap at the bottom edge so that the edges meet where the seam will be, and sew. (The overlap doesn't have to be exact, but helps to keep enough space at the top for the seam allowance.)
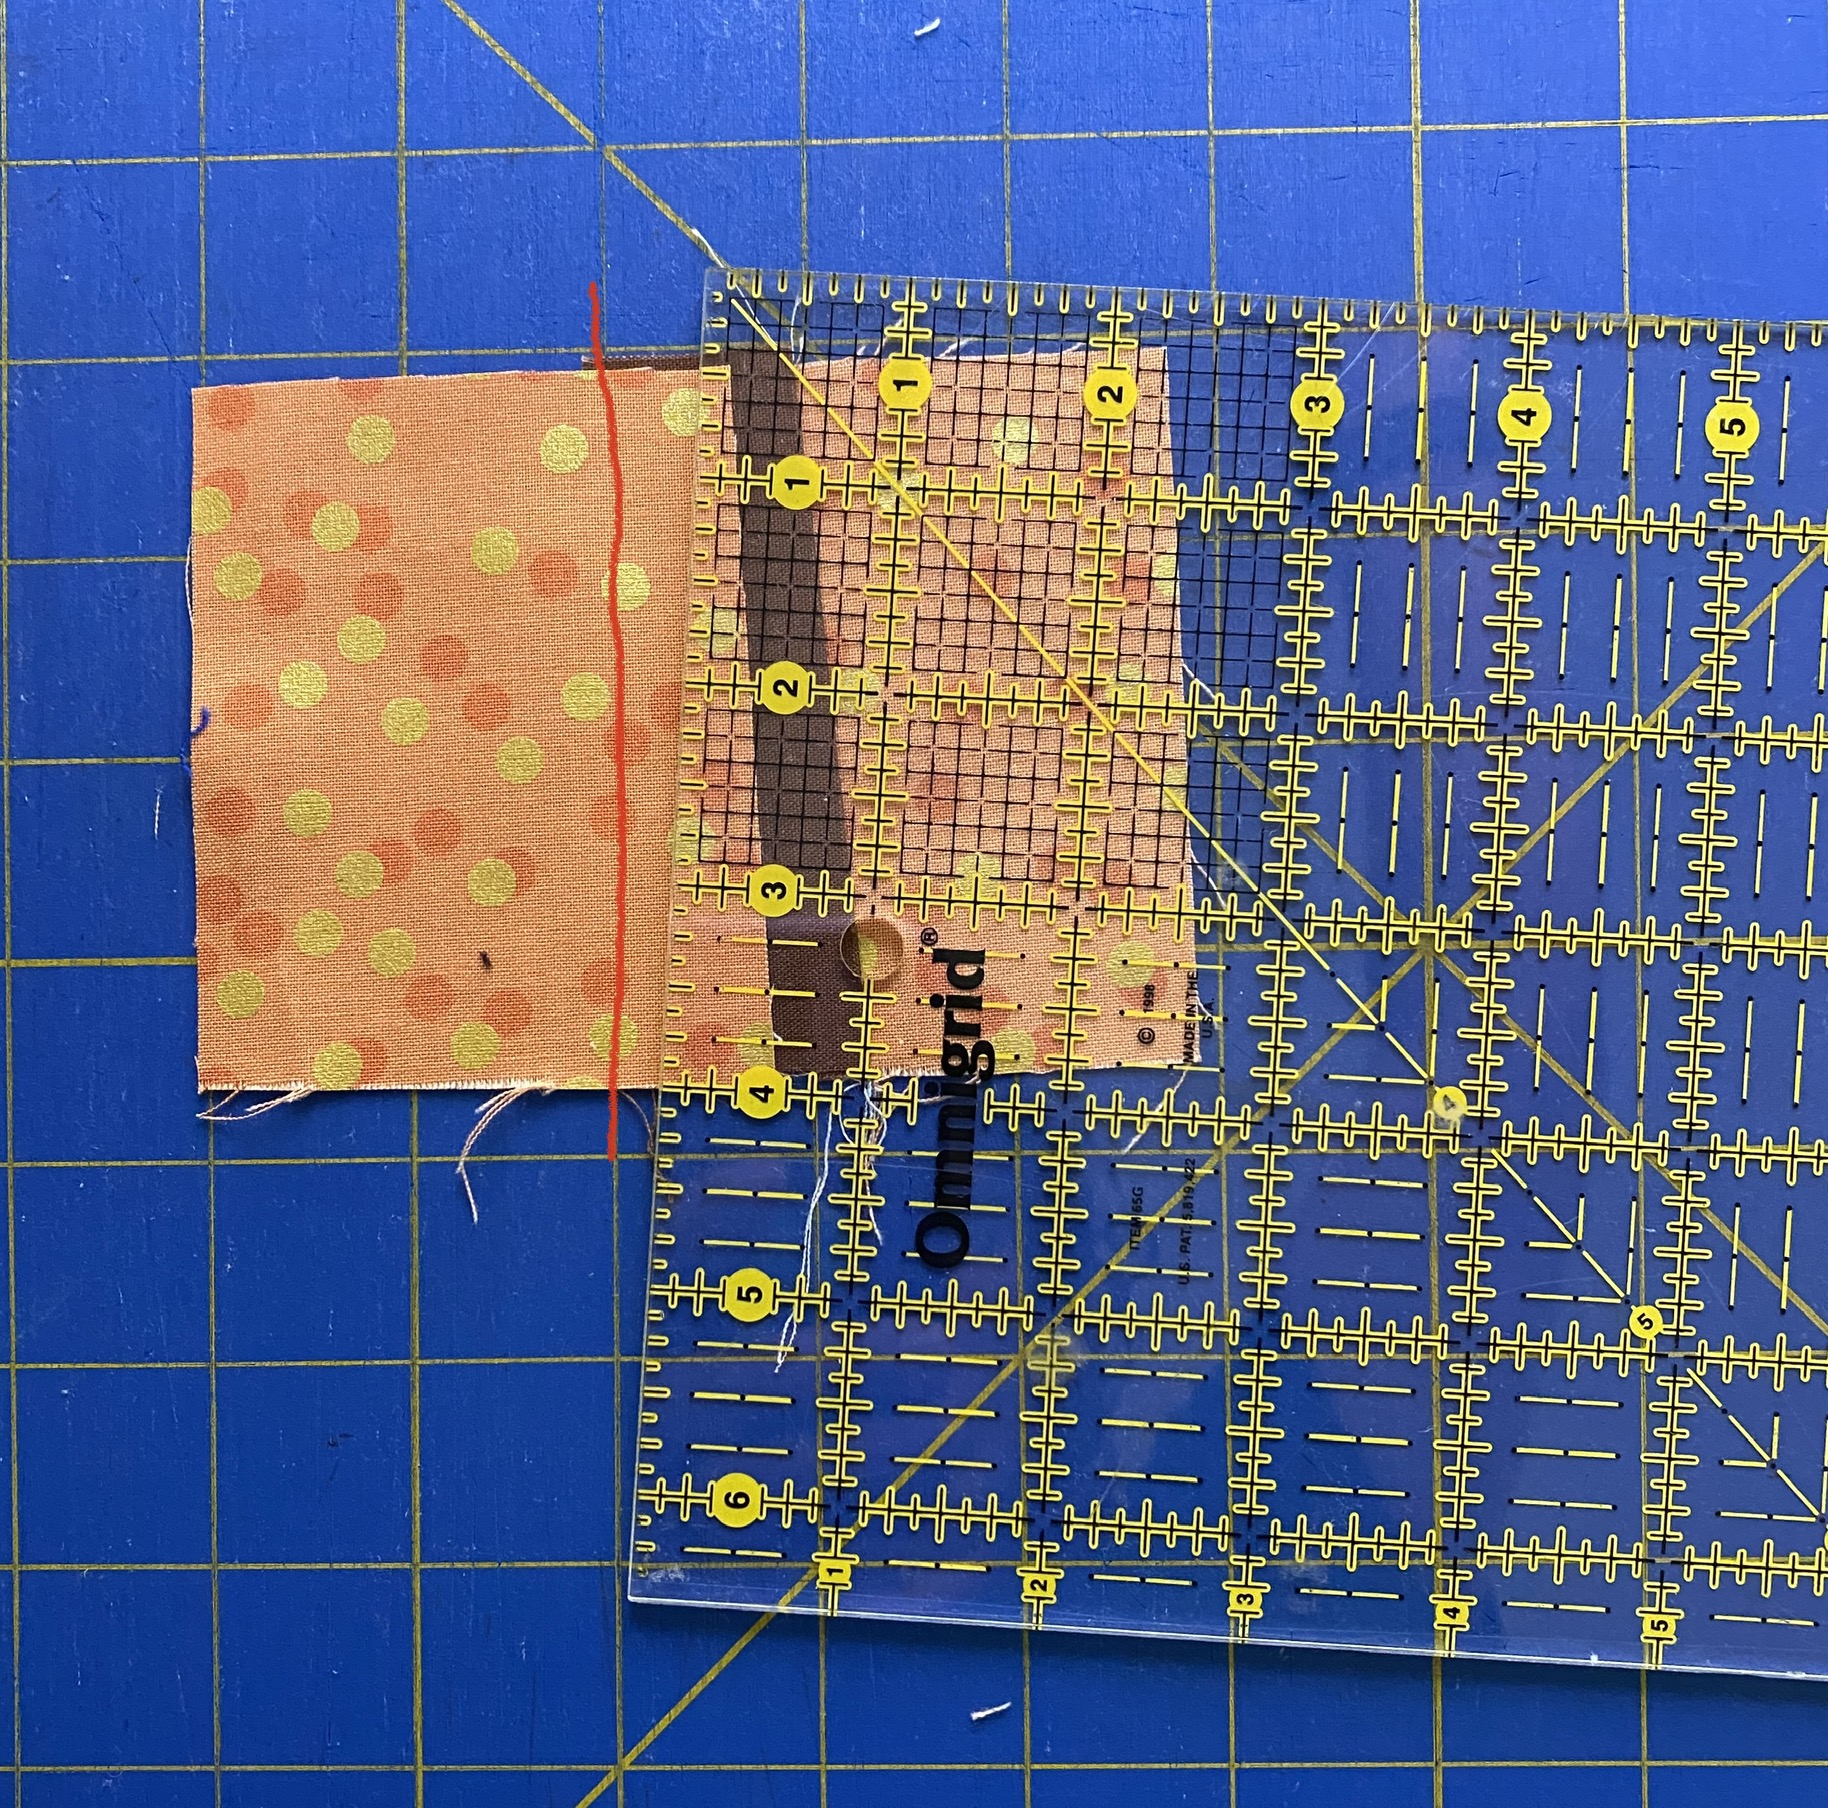
Press your tree and cut the second side. Layer the tree piece on top of the second rectangle. You're aiming for 2-2.5 inches on the left of the tree. line up the ruler with the top of the tree, and cut. Choose whatever angle makes you happy.
The angled piece on the left is used for this tree; the one under the tree is used for the second tree.
Flip over your tree so it's layered with the piece on the left, right sides together. Set aside the piece labeled 2.
This time overlap your pieces at the top and sew.
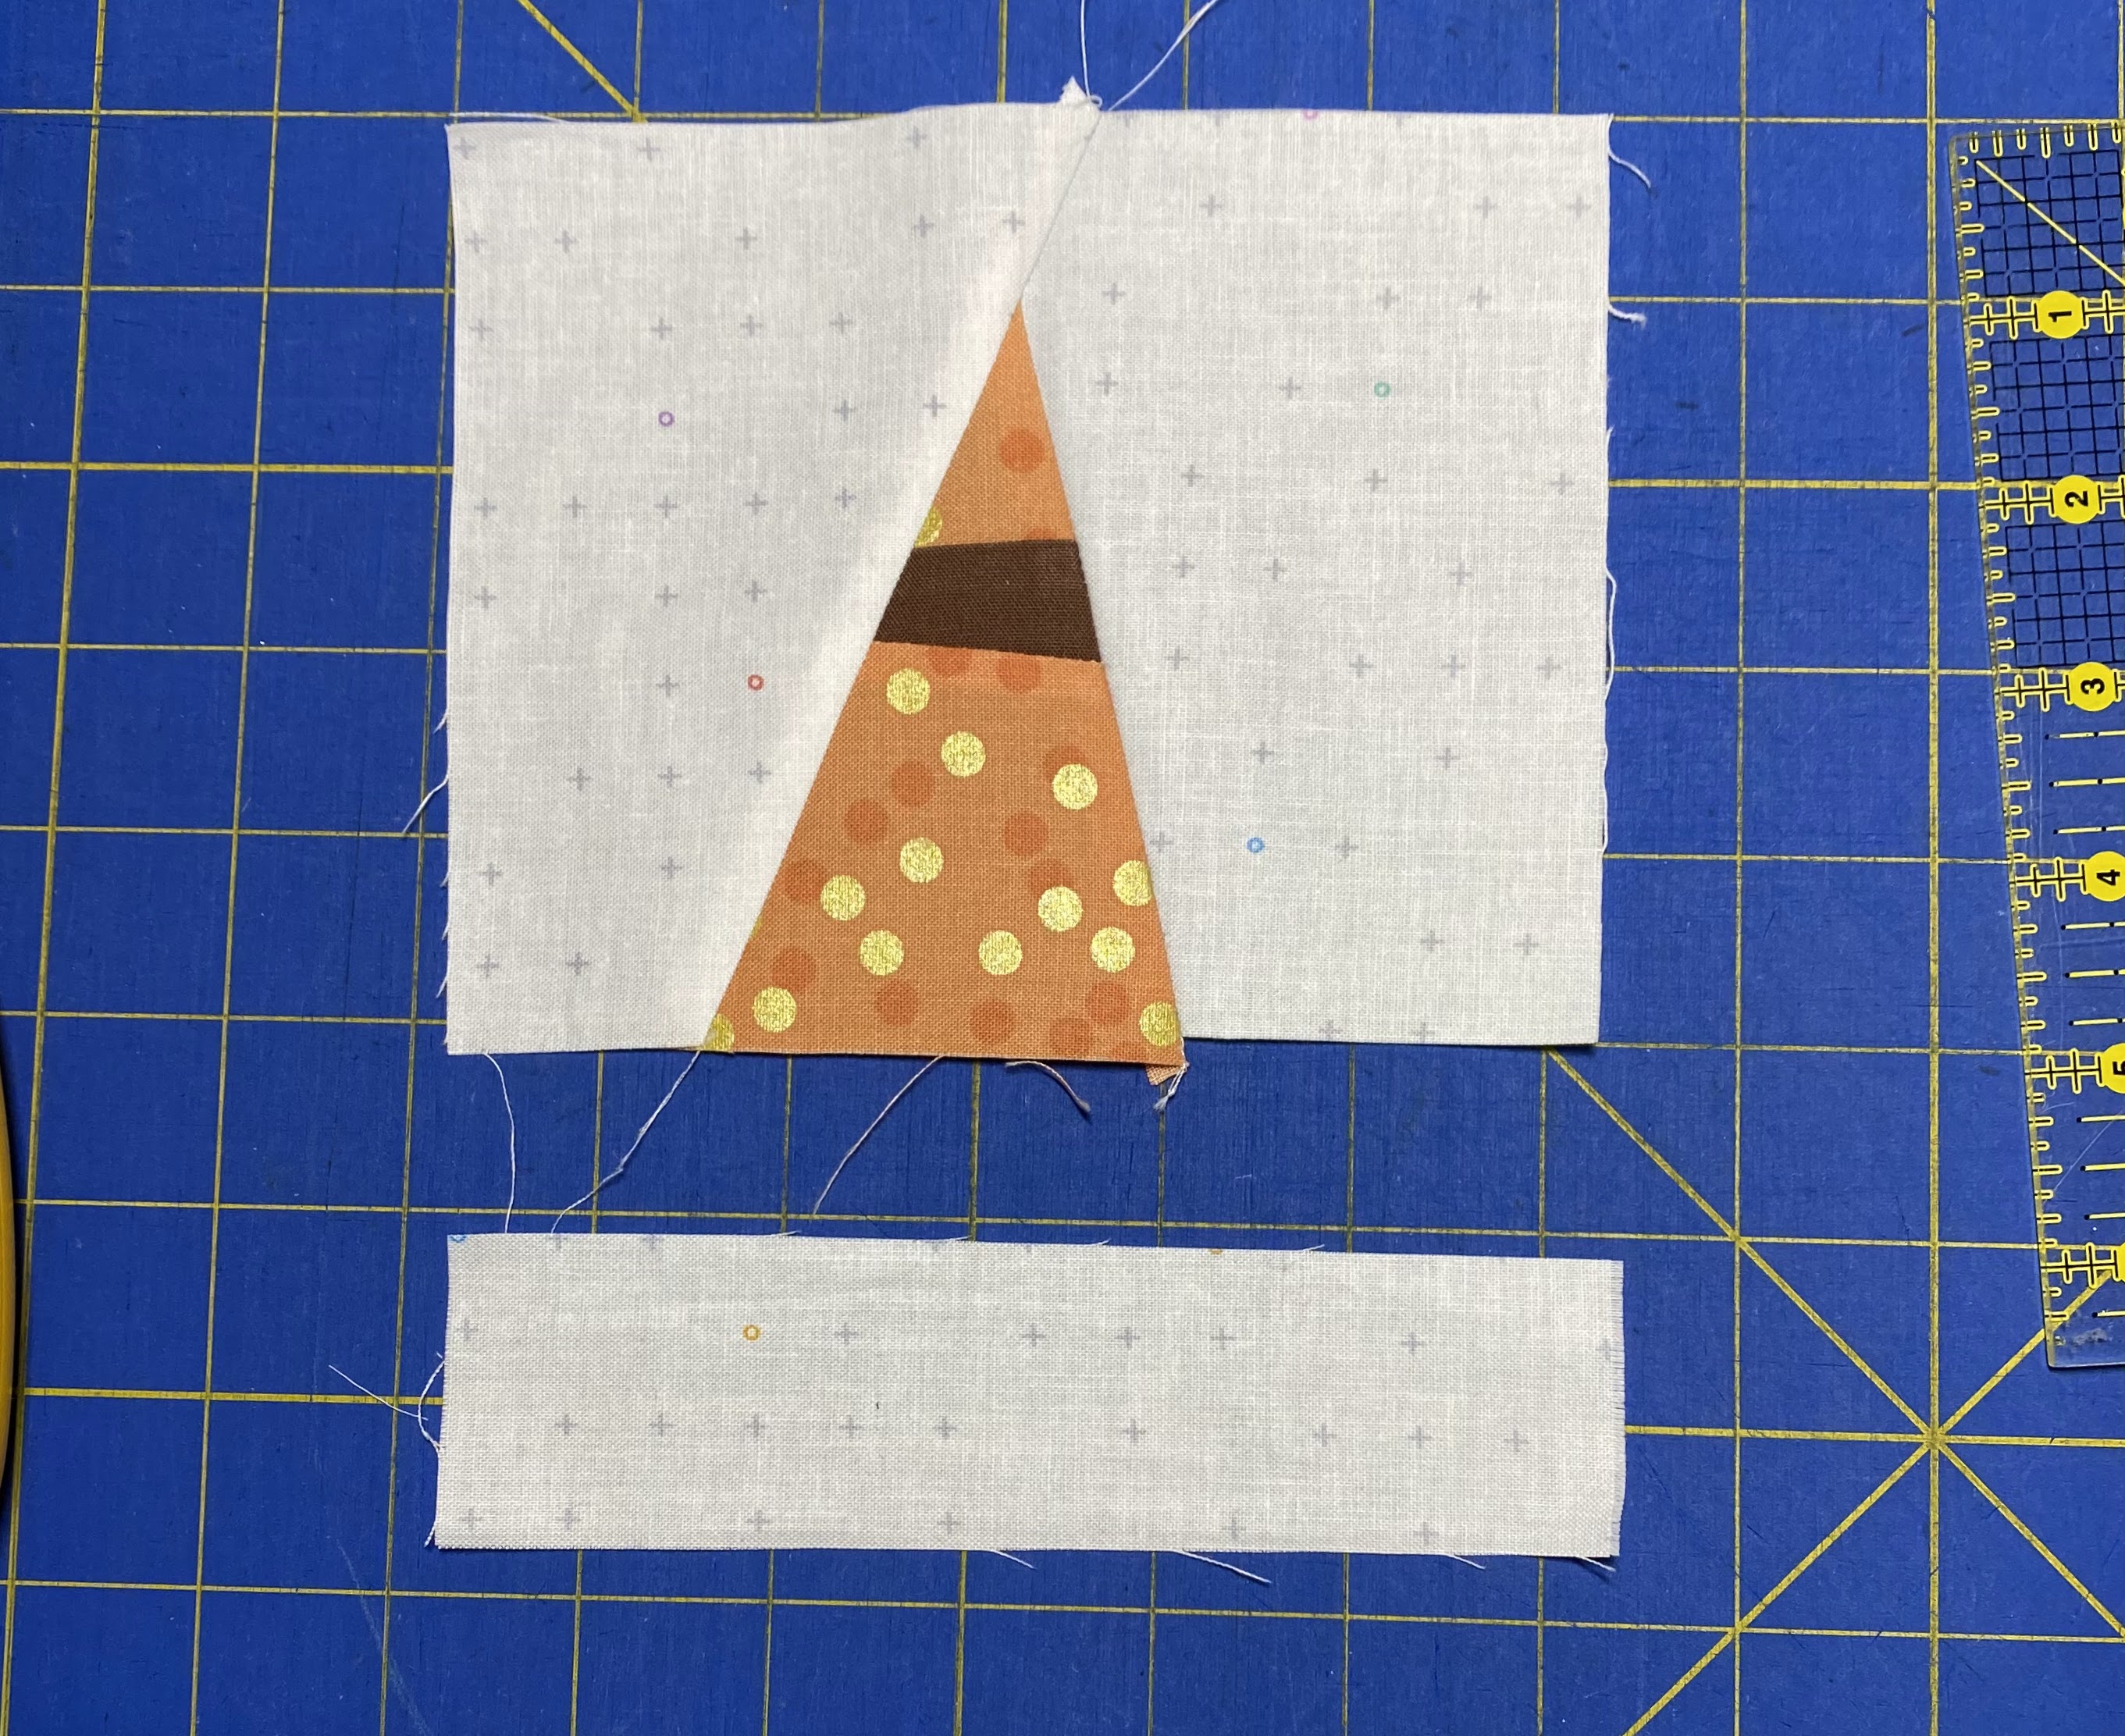
Press, and admire your tree progress!
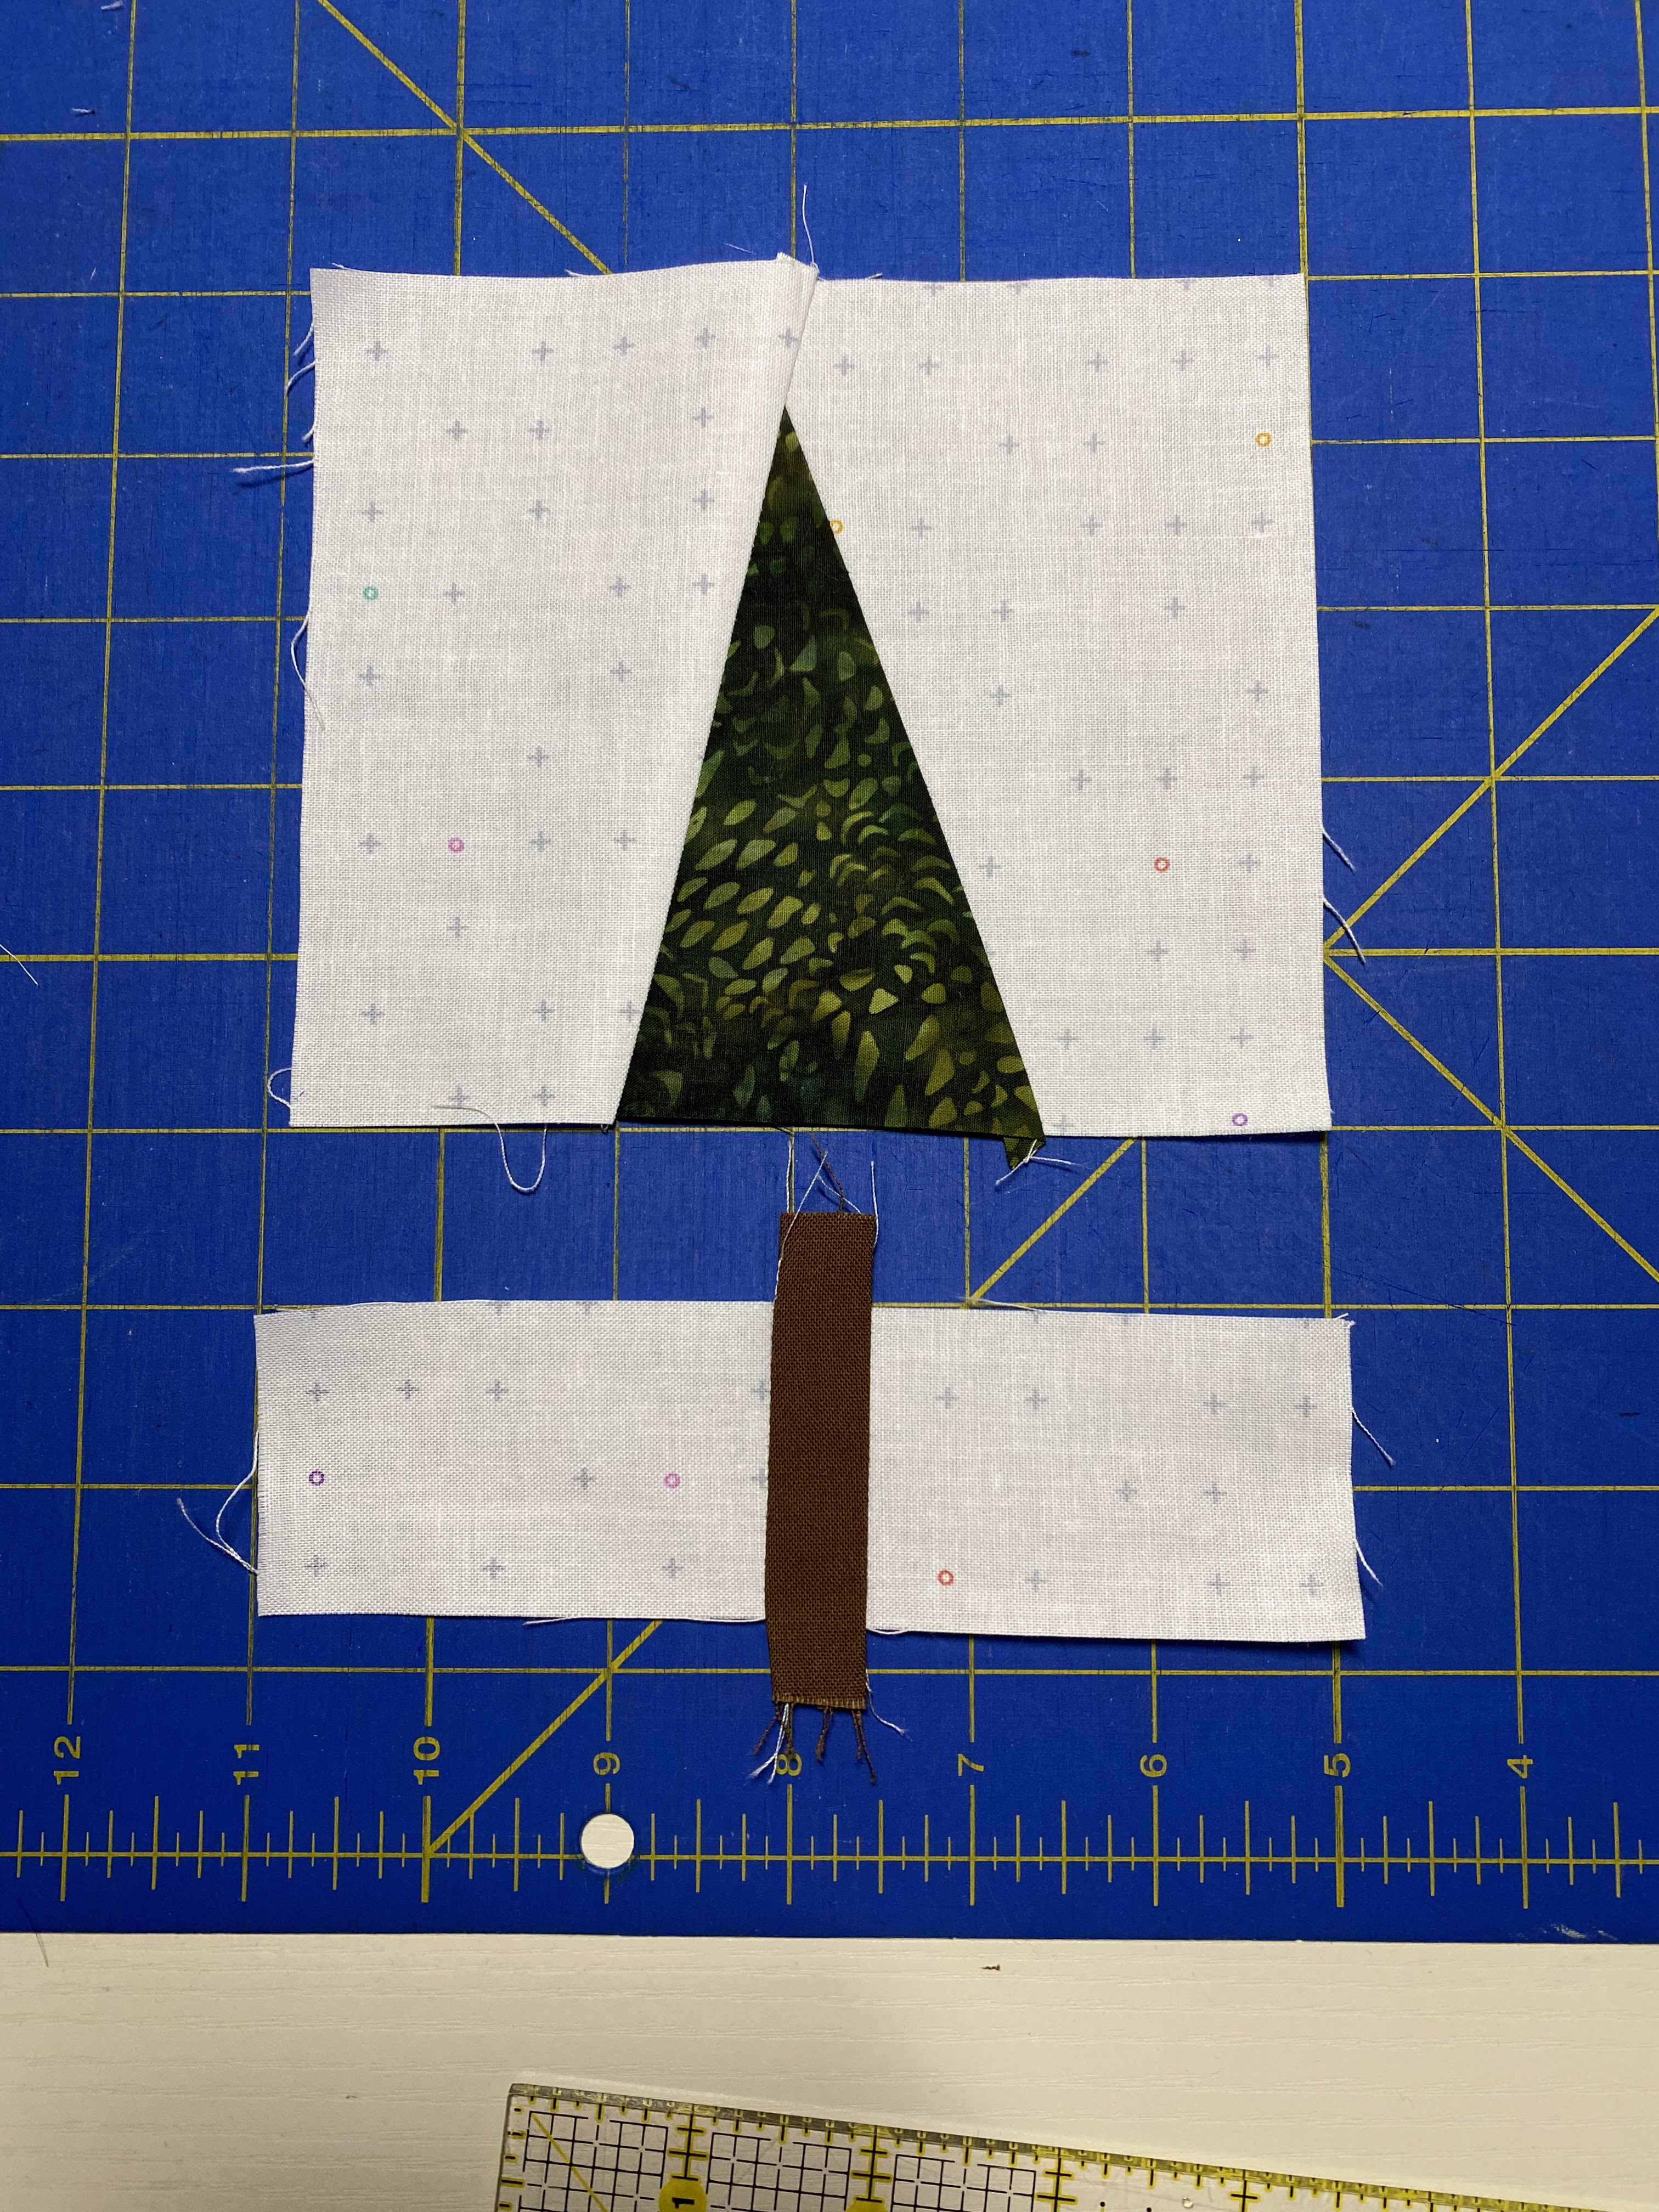
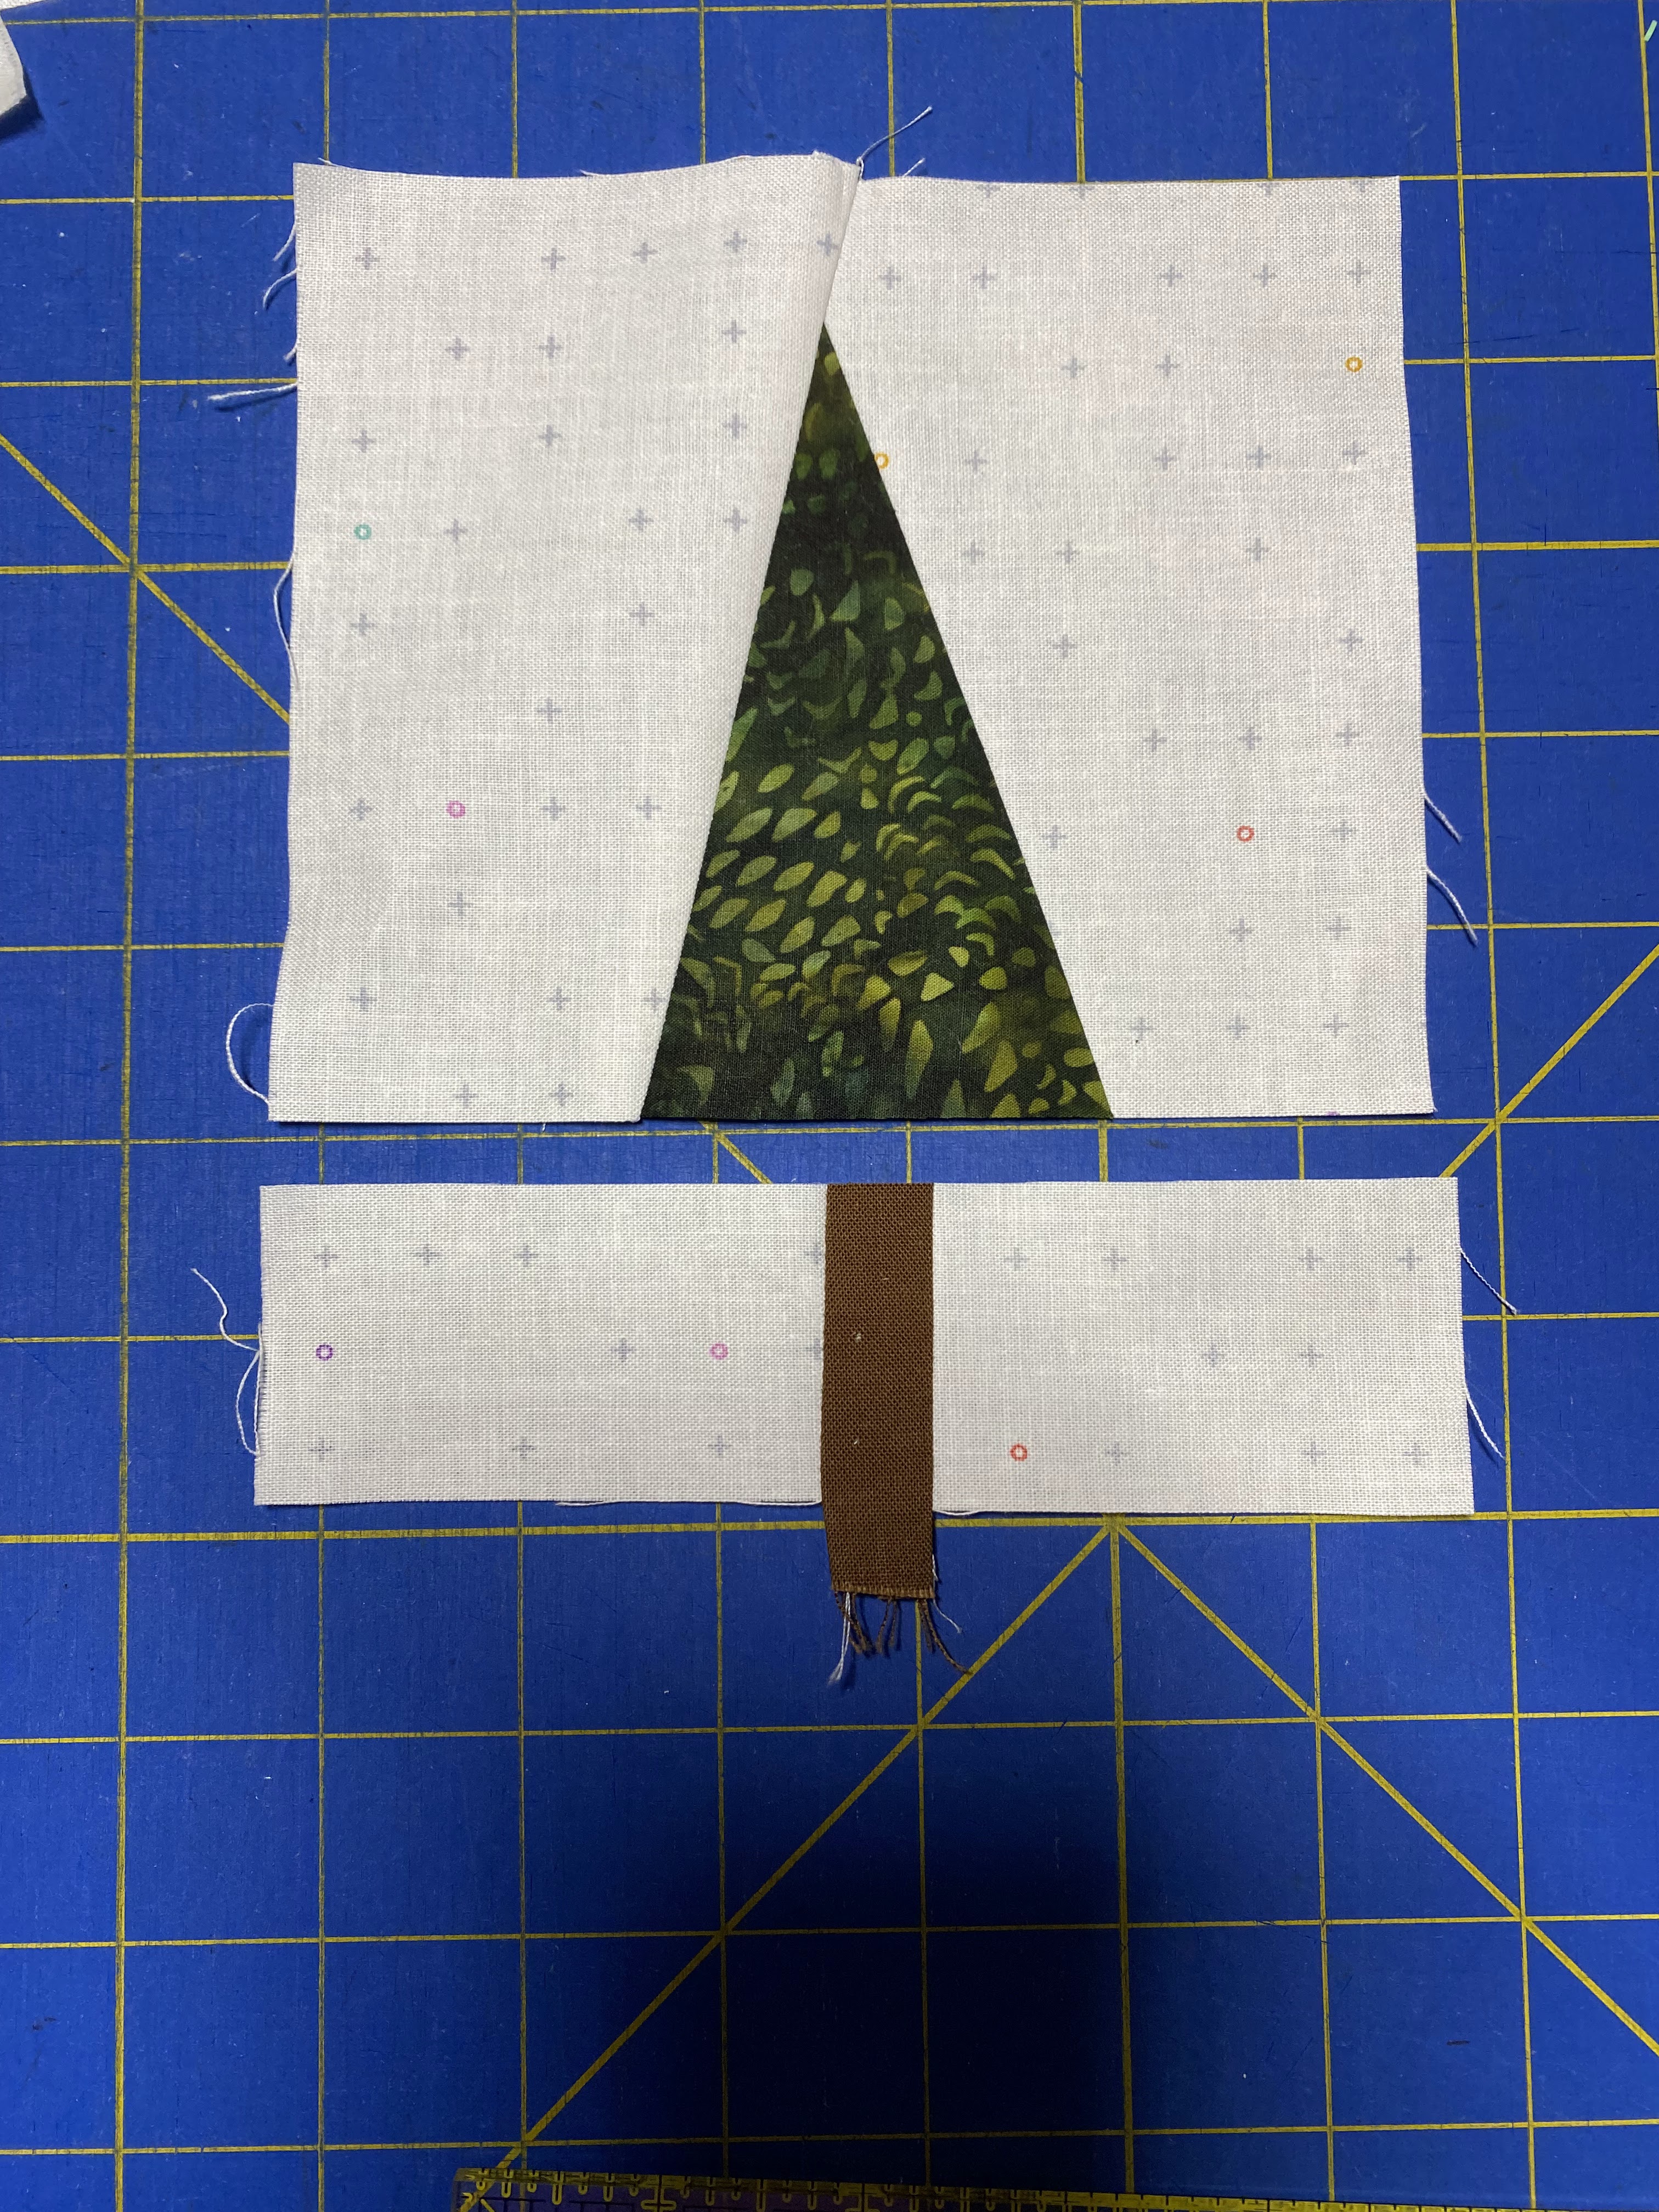
Cut your trunk. This can be angled or straight. You'll want to aim for roughly the middle of the narrow background rectangle.
Sew the trunk into the background pieces.
Square the top of the trunk and the bottom of the tree. If your tree or trunk ends up being on the narrow end (just around 5.5"), you'll want to be careful to cut the bottom at right angles to one of the sides, so that you don't end up with a too narrow tree section. This one is 5.75", but you can see I'm lining up the lines on the ruler with the side of the block (bottom of the picture) rather than the bottom of the block to make sure it's not too angled.
Admire your lovely tree.
These are the pieces for the second tree/gnome:
If making a gnome, you'll want to insert the face fabric in the body. The blog has great instructions for this, but I tend to place my face a little lower down on the body - about 1 3/4". I like big hats.
Here are additional pics of the process for a gnome face - this is with two angled cuts. straight cuts are also great; sometimes I do one straight and one angled for variety.
slightly angled ruler:
layer face with top (right side) and sew:
align bottom of face with a line on the cutting mat to make it easier to tell where the face piece ends:
layer bottom piece over face piece:
place your ruler so that it is cutting on the right side of the line on the cutting mat (marked in red here) and cut the second angled side of the face (if doing angles):
remove extra pieces
layer and sew:
admire your gnome's face:
Repeat the process for the second tree/gnome. When making your cuts, you can either follow the cuts from the background piece (just cut the tree/gnome fabric) or change the angle of your cut.
Line up the top of the tree/gnome with the top of the background fabric. I use the line on the cutting mat to know where my gnome/tree rectangle ends, so that I know where I need to position the ruler:

Different angle for the tree/background - green line is where tree fabric ends; keep ruler to left of line to make sure it's a straight cut all the way across fabrics
Same angle for tree - line up ruler with background:
Sew and do the second side (again, you can do the same angle or a different one). Make sure you're leaving as much room as possible at the top of the gnome head so that your hat doesn't get too small.
Admire your gnome/tree top:
If doing a trunk, repeat the same process as before.
Legs:
For the background between the legs, I aim to have the top section measure 1/2"-3/4". That keeps the legs from being too far apart and ensures that even if I use wider leg pieces, or have a narrow gnome, that they'll still fit under the body.
When piecing the legs, I find I have to be careful in my placement, so that the leg piece doesn't dip too low:
You can see here that the leg piece is dipping down below the top of the background piece
Leg piece shifted up higher:
When your legs are sewn into the background, trim the top of the legs and the bottom of the gnome and sew together.
On this gnome, I wanted my legs more to the left - I use the ruler to make sure that when sewn, I'll still be able to trim to 5.5":
Press and admire your finished work. You can trim your blocks to 5.5" or send them untrimmed.
Short Gnomes:
I wanted a shorter gnome, so I moved the triangle down when sewing the first background piece:
For the second background piece, align your fabrics at the top when sewing:
finished short gnome:
I've been getting a little carried away with making gnomes and trees - I even gave some super-skinny trees a friend! But you can see there's no need for them to be centered, or symmetrical, or perfect, or anything like that. I hope it's fun!


No comments:
Post a Comment