
Hi again,
Sorry for the confusion this month. I got really excited about the new technique is found in the twirly cathedral block and didn't consider the fabric. Ironically, that was actually my backup block - the first one I'd thought of involved squares inset in circles and I just couldn't explain it when I tried to write it up, so this is sort of take three. Anyway, the new block is flowers based off a hollyhock quilt I saw on Pinterest some time ago. I hope you guys enjoy it.

Fabric selections : for all fabrics please choose solids/blenders/small pattern/tone on tone. Something that reads as the color of choice.
Pinks: Cut 4 [5.5"x5.5"] squares. The final piece will have dark, medium and light. Please pick one of the following options for your 4 squares. (I'm trying to stay in true pinks/mulberry rather than edging into red.)
- All dark
- Dark/medium
- All medium
- Medium/light
- All light
 |
| Some possible pinks I found |
- 2 [3.5x3.5"] square
- 1 [4.5x10.5"] rectangle
- 1 [1.5x10.5"] rectangle
Light blue:
- 2 [3.5x3.5"] squares
- 2 [4.5x4.5"] squares
- 2 [2.5x2.5"] squares
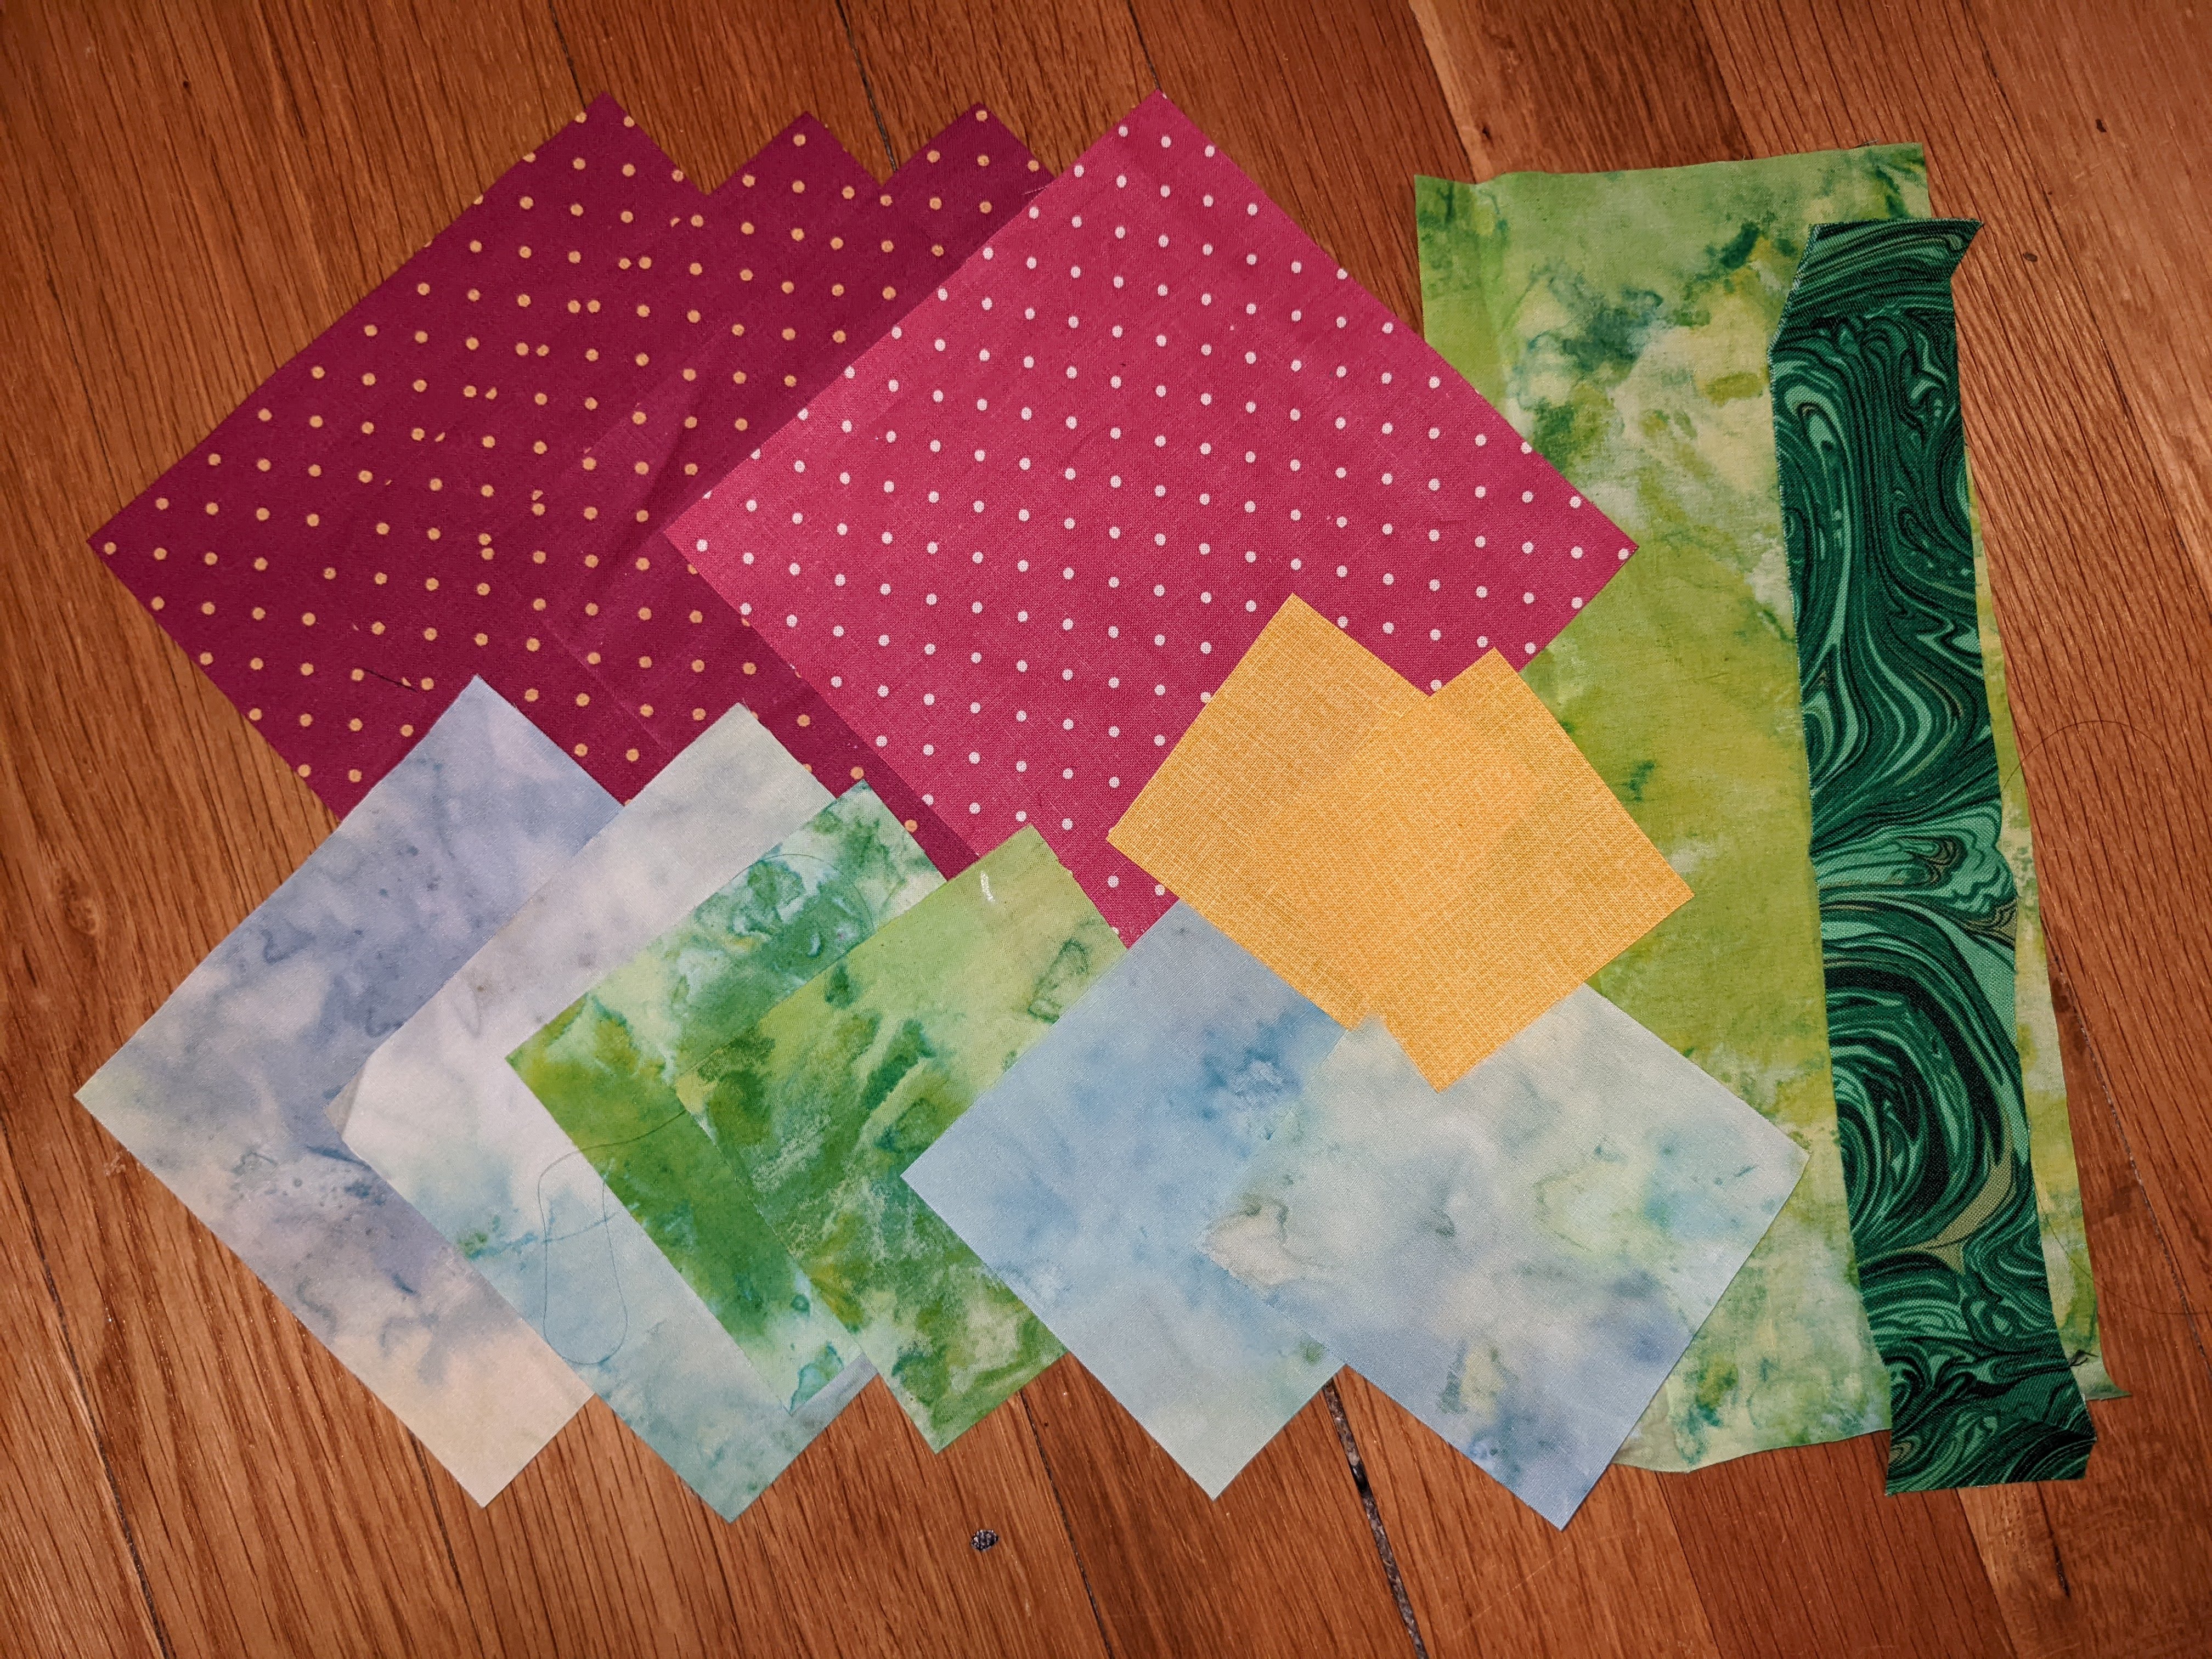 |
| Cut fabric |
Putting the flower together:
Most of this block is just snowballing corners. We'll start with the pinks. On each pink square line up one 3.5*3.5" square (you'll have two blue and two green). Stich along the diagonal, them trim 1/4" from the seam and press back.


Next up is yellow. We'll be adding yellow to I've pink/blue square and one pink/green square. Line the yellow block up on the opposite point from the green/blue. Sew across the diagonal, trim 1/4", press back.

Putting the flower together: sew together the two squares with blue corners, keeping the yellow to the inside of the block. Press away from the yellow.

Repeat with the two pink/green squares. Before stitching, ensure that the yellow triangle will end up kitty corner to the yellow triangle in the blue set (see above).

Sew together the pink squares with the yellows in the center.

This section should finish at 10.5x10.5".
Making the leaf:
Line the blue 4.5" squares up on top of the 10.5x4.5 green rectangle.
Sew diagonally across the blue squares ensuring that your stich lines are parallel. It's up to you which diagonal to sew (upwards towards the left or upwards to the right, see picture for clarification). Trim 1/4" from the seam and press back.
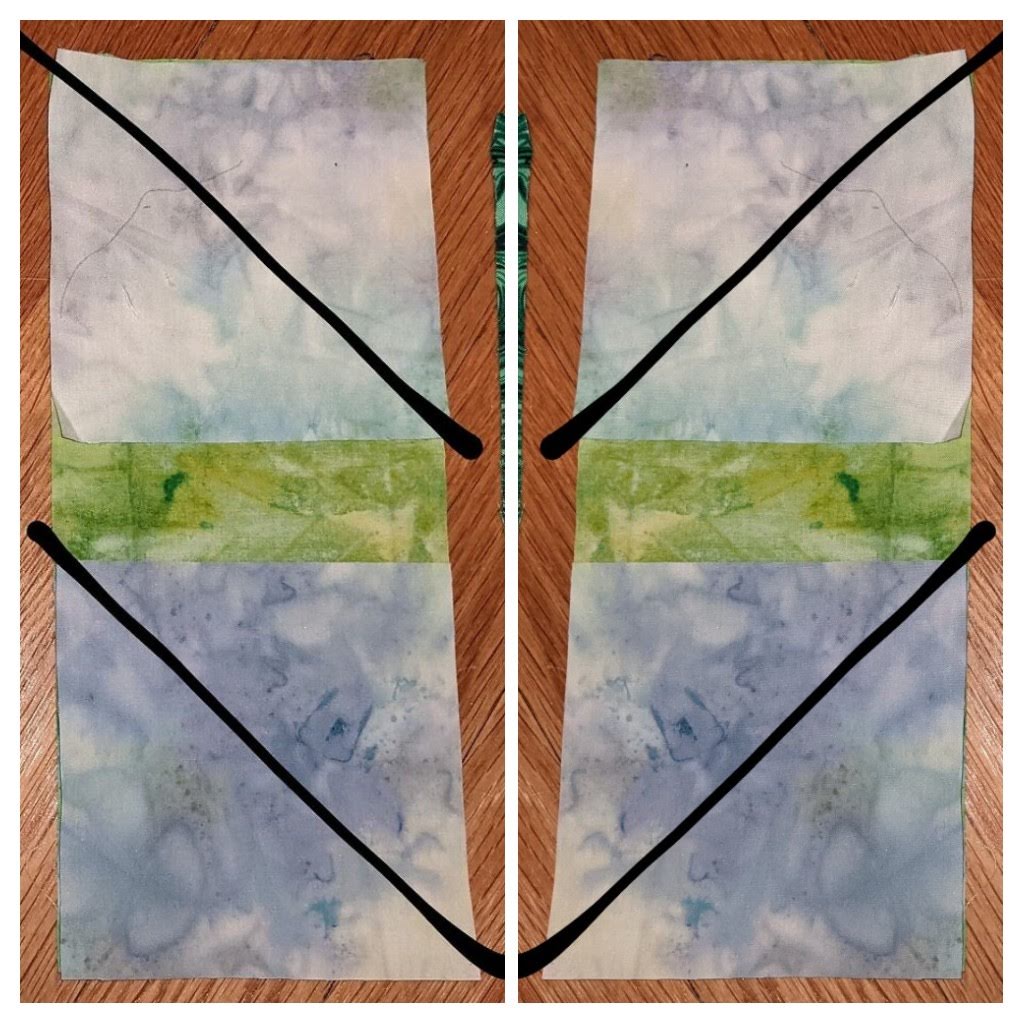 |
| Stitching options for leaf. |
 |
| Stitched leaf, pressed open. |
Add the dark green strip to one long side. Stich and press. This section should finish at 10.5x5.5"  |
| Leaf options with stem added on. |
I'm not going to have you attach the flower to the leaf because I'd like to mix up the greens once I have them. So finished you'll have one flower with an unattached leaf.


Sorry again about the confusion this month. Since the pattern is up late, don't stress about having it out by the end of the month - there'll be a time extension. I am going to leave the other tutorial up - I really do love the technique and the final block there. If you ever decide to try it please post a picture!
No comments:
Post a Comment