
On principle, I don't believe in gendered colours or imagery (my son can wear clothes that are pink and have flowers too), but the reality is I am so excited by all the "girlie" stuff, especially all things floral!
My sister is also due with a baby girl in May. And apparently it's also spring time (though it is hard to tell up here in Northern British Columbia- we had fresh snow this week!). So I was inspired to make a bright, girlie, spring-time, floral quilt.
So for this month's block, I am requesting a Pink or Yellow Tulip block!
Pattern Credits:I have written up the tutorial for 1 tulip block, based on a combination of two very similar free patterns:
Missouri star quilt co’s “Totally Tulip” quilt pattern.
Here is their video tutorial - she makes 1 block but the cutting information is based on making the whole quilt so I adjusted the cutting instructions for 1 block.
2) Cloud 9’s “Amsterdam” quilt pattern.
https://cloud9fabrics.com/wp-content/uploads/2013/12/AmsterdamQuilt.pdf
Fabric:
For this block you will need 6 different fabrics- 3 for the tulip "petals"; 2 for the stem and leaves; and a background. See the table for the colours needed.
Please choose modern, bright fabrics. No muted tones
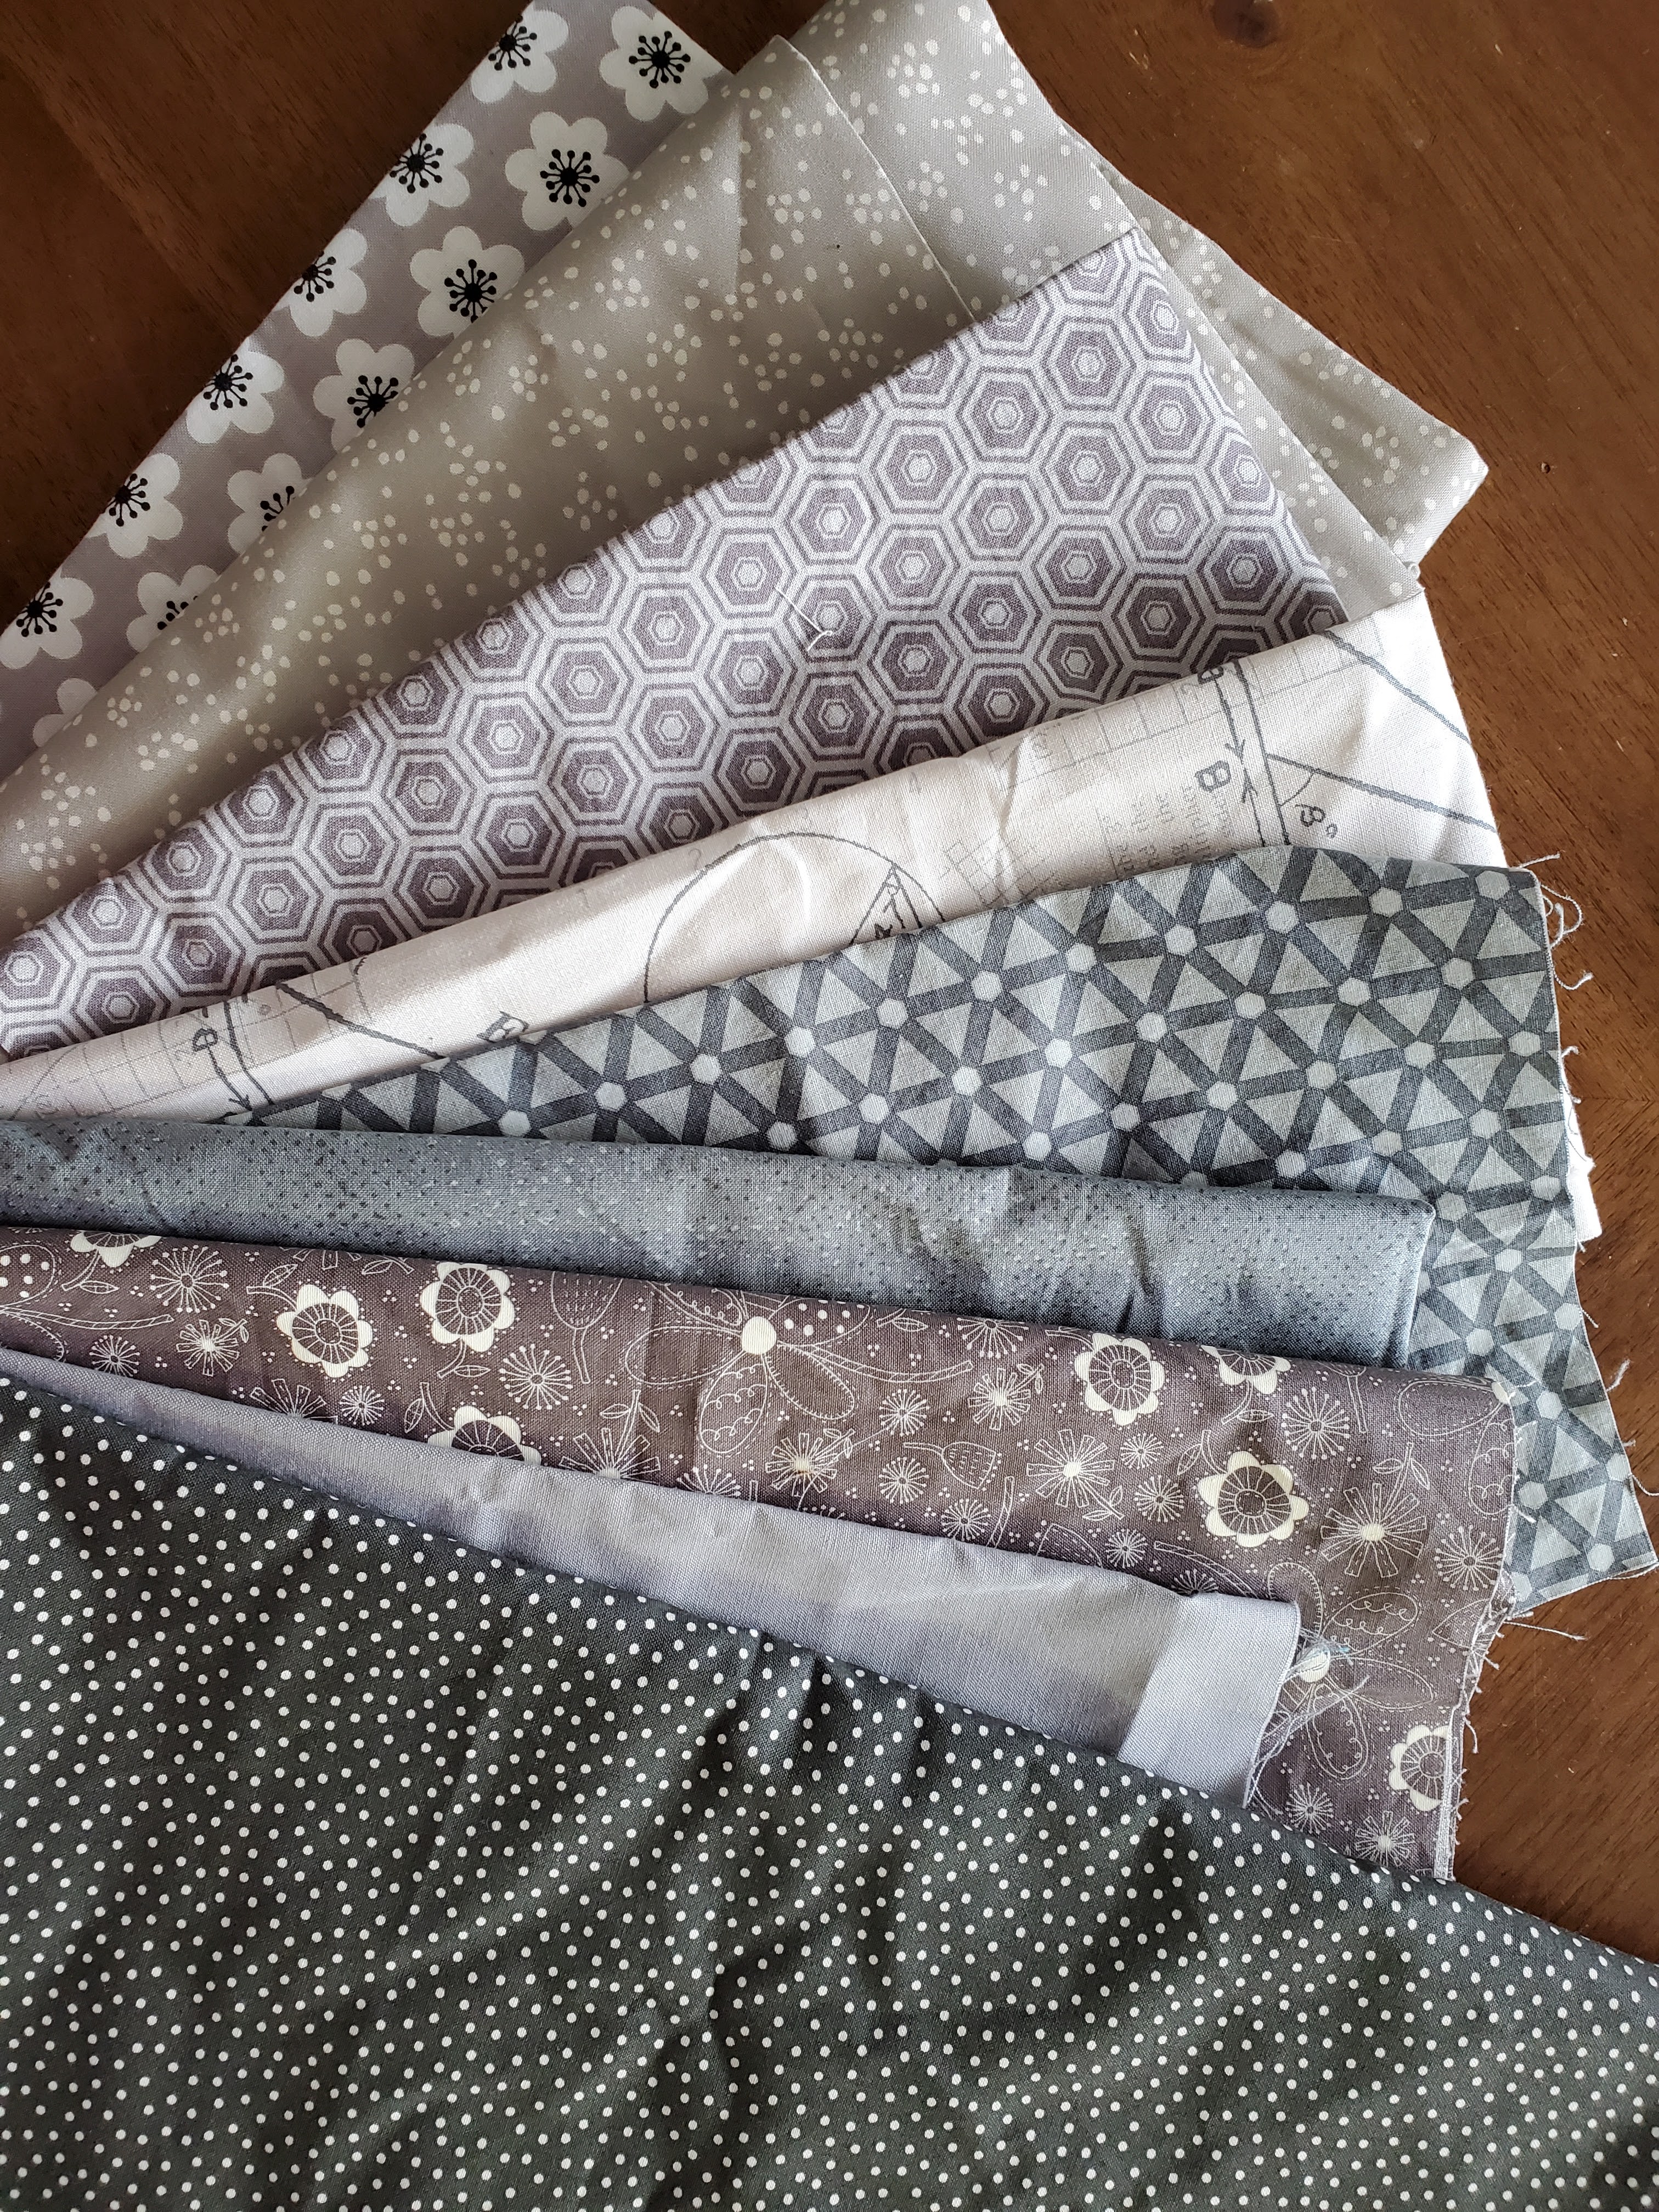
Here are some photos of my fabric pull from my own stash:


Cutting:
Note, I have provided cutting instructions for the leaves based on the 2 at a time HST method. You will have to adjust the cutting dimensions if you want to do the 4 at a time method (if you make two blocks, you could also do the 8 at a time method).

Sewing:
Tulip petal portion:
Sew a “snowball” corner to each of the two 5” pink/yellow squares:
Finger press your 2.5” background squares on the diagonal.
Place the 2.5” background square right sides together in the corner of the pink/yellow square
Sew along the finger-pressed diagonal line going
Trim ¼” from the sewn line
Press towards the pink/yellow
Note: If you are using directional fabric, pay attention to which corner you are “snow-balling”, based on the arrangement in which you intend to sew two yellow/pink squares together


Sew two “snowball” corners to the bottom of the pink/yellow rectangle
Finger press your 2.5” background squares on the diagonal.
Place the 2.5” background square right sides together on each of the bottom corners of the pink/yellow rectangle
Sew along the finger-pressed diagonal line going
Trim ¼” from the sewn line
Press towards the pink/yellow

Assemble the tulip, and sew together
Sew together the top two squares so the snowball corners touch together on the inside; press open
Sew the top unit to the bottom rectangle
Press the last seam open, or towards the rectangle

Lead & Stem portion:
Make 4 HSTs using the Traditional (2 HSTs at a time) method:
Draw a diagonal line on the wrong side of each of the 5” background squares
Place one 5” background square on top of one 5” green square, right sides together
Sew ¼” away from either side of the diagonal line
Cut along the drawn diagonal line
Open up the HST units and press towards the green
Trim the HSTs to 4.5” square
Repeat with the other set to make four green/white HSTs total


Assemble and sew the leaves together
Sew two HSTs together so the leaf points to the left, and sew two HSTs together so the leaf points to the right
Press open
Add the stem between the leaves
Sew the gray stem in between the two leaf units
Press towards the stem

Combine tulip petals with stem and leaves
Line up the center of the gray stem with the center of the tulip unit, and sew together
Press open

The finished block will be rectangular, and measure 17.5” x 9.5”
Thank you!
~Alanna
No comments:
Post a Comment