I’m Rita and this is my fifth year with StashBee.
I was thinking hard to come up with a block for this year.
Initially, I wanted to make a block, based on one of the pretty cards I received with my blocks last year. I tried it out (and it is a finished quilt by now), but decided, that would be too tricky.
So, I looked for something along that line on the web and
found this tutorial by ‘elm street quilts’:
Stacked Improv Curves Tutorial | Elm Street Quilts
I am intending to incorporate these blocks into an improv quilt for my BFF, for her upcoming round Birthday (I'm not telling you which one it is... suffice to say, the number before the zero sounds way too big...).
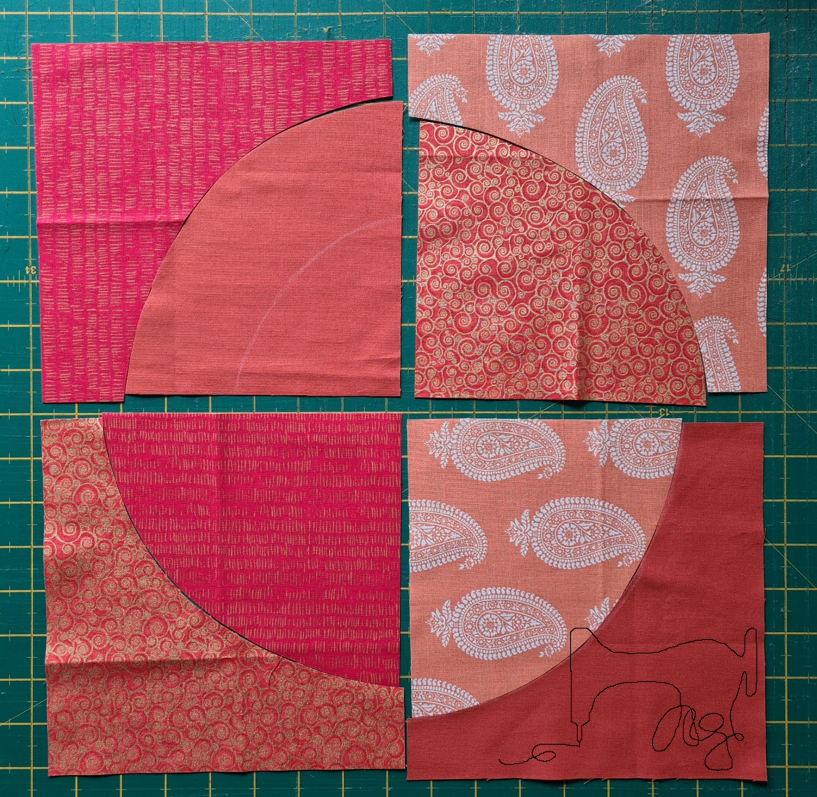
The finished curve pieced sections should end up (very wonky, very roughly) approximately 7” x 7” (incl. seam allowance). Do not worry about the size, nor the wonkiness of your blocks! This is improv! They'll fit somewhere, trust me 😋.
Deviating from the linked Tutorial:
- Please do not sew the four curved sections together.
- Please do not trim the four curved sections.
I want to shuffle them round for a scrappier look. Thank you.
Fabric Colour Choices:
- Slightly muted colours please,
- in the colour families of yellow, through orange, to red.
- Please use either solids or blenders that read the colour.
- Think cozy hearth fire.
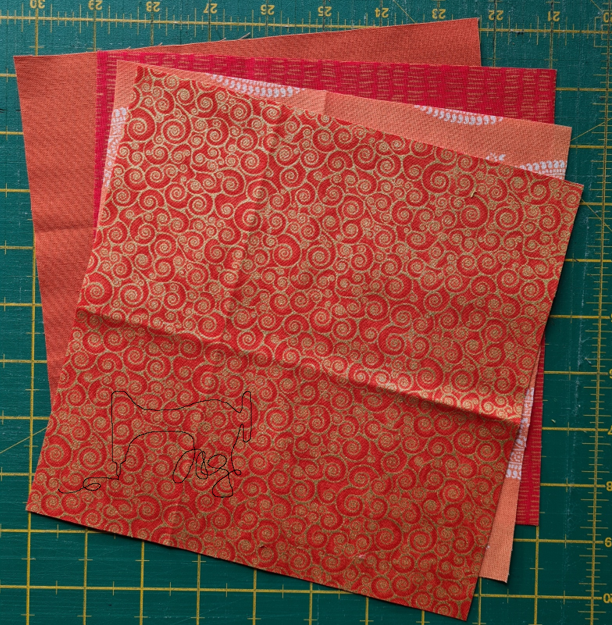
Here is my fabric pull:
Cutting Instructions:
4 different fabrics (either matching colour in different values or a mix between the spectrum – up to you!)
From each an 8” x 8” square.
Sewing Instructions Overview:
- Please follow the tutorial up to the point, where the second set of cuts are sewn together on the four pieces.
- Please do not trim the four pieces
- Please do not sew the four pieces together.
I want to shuffle them. Thanks.
Here is the overview:
Step 1:
Stack the four Fabric pieces, Right Sides up, lining up the edges, on your cutting mat.
Cut an improv curve – similar to a drunkard’s path block, but free-hand. Just make sure you have plenty of seam allowance on the edges of the fabric pieces. (Keep in mind, that there will be a second cut made later.)
If you are very uncomfortable cutting freehand, you can mark the curves freehand with chalk before cutting. (Remember: this is improv - so: wonky is good!)
Step 2:
Match each outer piece with a different coloured inside piece.
Find the center of the outside and inside pieces by folding them in half diagonally and finger pressing a small crease.
Align the respective outside and inside pieces along the cut line, Right Sides together, pin at least in a few places, working from the creased middle outward, with the convex piece on the bottom.
Step 3:
Sew with a smaller stitch length (I used 1.5 on my machine), with a 1/4” seam allowance.
Press the resulting piece. I pressed my seam allowances to the concave side, which seems the easiest way.
Step 4:
Repeat for all 4 pieces.
Step 5:
Then stack those four pieces, right sides up, lining up the corner of the convex sections.
Make a second freehand curved cut. You decide, where you have more space to do so, either inside or outside the previous seam. Just ensure, you have enough seam allowance to work with.
Step 6:
With these cut pieces repeat Steps 2 to 4.
And that’s a finish!
Thank you so much for sewing for me!
See below a picture of my finished test blocks.
Happy sewing,
Rita


No comments:
Post a Comment