
What is your name?
Tiffany Bohland
Where do you live?
Green Bay, WI, USA - Home of the Green Bay Packers and delicious fried cheese curds!
Tell us about your family:
I'm happily married to my best friend since Jan 2006. I have a lovely stepdaughter who is 17, and son who is going to be 5 mid June!
Tell us about how you got interested in quilting.
My SIL (sister in law) came to visit and I helped her make a quilt, and I've been off and running ever since! I love it!
How do you organize your fabric stash?
I put them in small see through plastic containers, labeled by color/project, etc. It's a mess at the moment, but it's mine. <3


Who is/are your favorite fabric designers?
I love Amy Butler and Bonnie and Camille. But really, I love all fabrics - there is so much to drool over that it's hard to pick a couple favorites. I am not a fan of civil war prints, but everything else is pretty much game for me :D
What is one thing you have learned that you wish you knew when you first started quilting?
How important a good iron can be.
What is your favorite sewing/quilting tool and why should we all go out and buy it?
Seriously - my rotary cutter! I can NOT imagine cutting everything by scissors. I also have one of those cool swivel cutting mats, and love it for small projects - so I don't have to monkey around moving my fabrics and losing my rulers spot.
Who is your favorite fictional character and why?
My favorite movie is Meet Joe Black - I love Brad Pitt in that movie! He really makes you think about life and death and love in a different light.
Now for the fun stuff, the tutorial!!
I am making the same block as hive 10 from February - Here. Great tutorial, but I made my own and have pictures to show along the way, so it's a merging of that tutorial and mine. Follow the instructions the best you can, and if need be, ask away and I'll help if I can! And FYI - I am a terrible picture taker. So please bare with me as you look at my pictures! :D
For fabrics, I'm choosing a "fire" theme - white or white on white for the neutral, a true red and a bright yellow for my colors. If you have enough fabric to make this less scrappy, you can - but if you only truly have scraps, as long as the colors read white, red and yellow, I will gladly accept it. Please don't buy fabric just for me. Each block will be unique and I will love it for that!
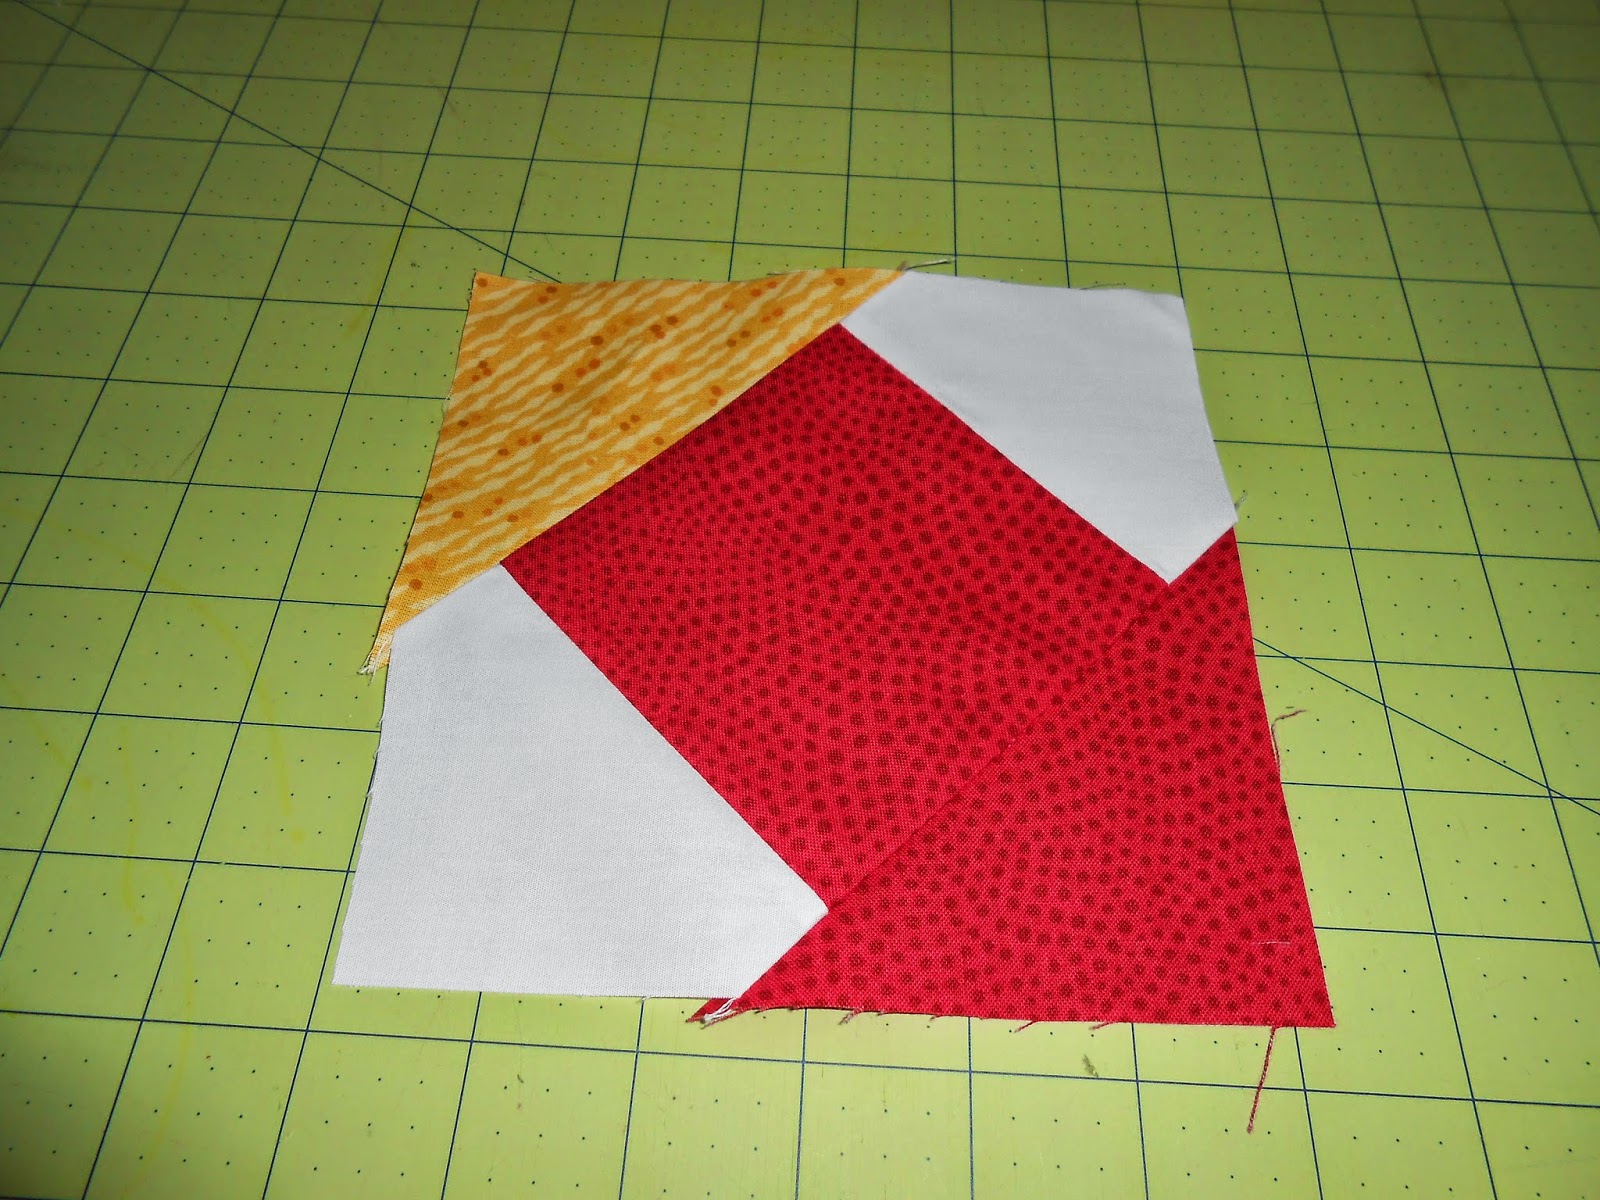
Here is a picture of my finished block:

Cut from your white:
1 - 5.5" square
4 - 4" squares
1 - 3"x22.5" strip or 2 - 3"x11.5" strips (if you have a FQ)
Cut from the red:
1 - 3"x22.5" strip or 2 - 3"x11.5" strips (if you have a FQ)
6 - 4"squares
Cut from the yellow:
2 - 4" squares
 |
| All Cut Out |
 |
| Front and Back of Strips Pieced |
 |
| Strips cut into units |
 |
| All Ready for the next steps |
 |
| Red square finger pressed |
 |
| Whites sewn on |
 |
| Seams to the dark side of the fabric |
 |
| Squaring up |
 |
| Adding another triangle |
 |
| Look it's starting to look pretty! |
 |
| Ruler placement for trimming |
 |
| Ready to trim |
 |
| All trimmed up. |
 |
| Blocks all laid out and ready to sew! |
Here is, again, what the block will look like all finished up:

Tada!!
Your block should be 15.5" inches now - and ready for me to admire and love! :) Thanks again everyone for making me a block!
No comments:
Post a Comment