
Dear Bees,
This month, we are going for a walk in a forest of colorful trees.
We will follow the tutorial called “How I Make a “Tree” Quilty Block” by Louisa Enright
What I love about this block is that we will prepare the tree trunks using our scraps, and that we will be able to sew with as many “branches” as we want. I am pretty sure that these two reasons will be an inspiration for you.
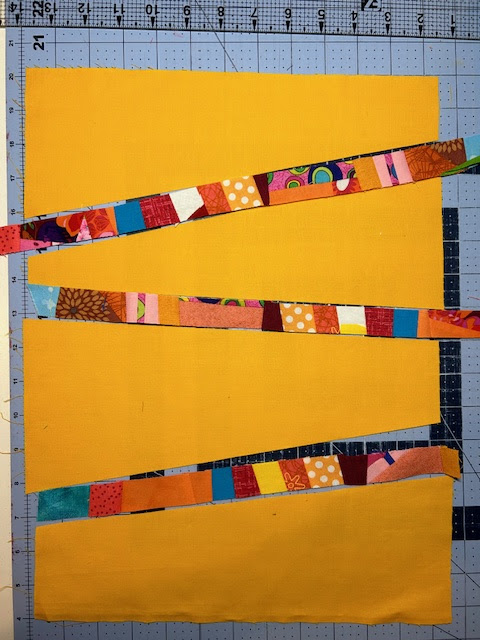
For the block background, I recommend starting with a 12”x12” square of a vibrant solid color (the colors shown on the blogger’s design wall in the tutorial are great!) and making three diagonal ruler cuts from the bottom to the top. As suggested in the tutorial, you may want to mark the four resulting pieces, so you don’t mix them up at the assembly step.

Let’s now work on the “tree trunks”. You may want to follow the tutorial and prepare a block of 1 to 1 ½ in wide strips of swatch of fabrics. You may also want to reach out to your scrap bin and randomly make yourself a nice crumb fabric. That is what I did

From your newly prepared block of scrappy fabric, you need to cut at least three ruler stripes. If you cut more, you may use them as additional "branches" (more about his possibility below). So how wide should these stripes be? This is for you to decide. Do you want to make skinny or wide trunks? Will you want to add skinny or large “branches”?

Assembly:
Sew the strips to the background block, keeping the order as labelled on your pieces. This step will result in a block made of 4 background pieces and three “tree trunks”.
Do you want to add “branches”? Then make more cuts, smaller this time, and insert your leftover scrappy fabric.

Here is my final block!

The block should be a little larger than 12”x12”, depending on if you went skinny or not for the tree trunks/branches. Please send me what you have, and I will adjust your block to the size I need at the time of the quilt top assembly.
Thank you so much for your contribution!
Marie
No comments:
Post a Comment