
Love a tree block, and it was fun to do some crumb piecing! -Julia

Marie, I truly enjoyed making this block! Thanks for sharing it with us. I’ll mail it tomorrow.
Chris


As someone who works in conservation, this made me feel good to see trees and use scraps and/or orphan binding already sewn in strips. Will drop it in the mail this week.
-Tasha


This one was an easy one to do and I think I got carried away.
But I am sending three squares.
Hope you like them!
Beth


Hey all! Happy March, spring is almost here. I love spring and all of the azaleas blooming in the neighborhood. Flowers are so pretty and colorful, the sunflower is my favorite.
I moved into a new shop in September. When we were finished homeschooling the boys, the school room became a dedicated sewing studio. I was able to grow in there, but when we decided to get a longarm, we quickly learned the space was not big enough. While it fit, it was a major muscle movement whenever I wanted to use the big machine. My husband promised to build me a studio along the back of the our property, but due to the pandemic, it was put off for a bit. Last year it became a reality. All of this to say, I have a quilt that hangs above my ironing board. It's Elizabeth Hartman's lightening bug quilt. I decided it was time to change it out to a sunflower. In my research I came across this block pattern. While I didn't use the pattern in the quilt, I fell in love with this block. It's called a traditional sunflower block.
This is the tutorial I stumbled across in my research. It is a fantastic tutorial, easy to follow and thorough.
Having found Fabric 406, I think it is a great resource for free block patterns and tutorials.
While I like this tutorial, my process is a bit of a different approach. I like getting my sewing done in groups of like techniques, and my tutorial will follow that train of thought.
Fabric choices: think flowers and make it your own. I'd prefer blenders or low volume prints, or fabrics with flowers. I used a charm pack of bright colors as well as some of my stash to come up with some examples. (The first two I messed up when I squared the smaller blocks.) I'd like the dark fabric to be green to mimic leaves and the background to be a light blue or aqua to mimic the sky. I also used three mediums while the above tutorial used two. Honestly, make it your flower. I'm interested in seeing your color creativity.


Cut sheet:
Background:
A. (2) 5.5 x 5.5
B. (2) 3 x 3
C. (8) 2.5 x 2.5 draw a diagonal line on 4 of the 2.5 squares
Med 1:
D. (4) 5 x 5
Med 2:
E. (4) 2.5 x 4.5
Med 3:
F (1) 4.5 x 4.5
Dark (Green, 2 shades): draw a diagonal line on all of the green squares
G. (2) 3 x 3 lighter green
H. (2) 5.5 x 5.5 darker green
Steps:
1.

Take pieces C & E and place them right sides together with the diagonal line running from the top right corner to the bottom left corner of the C block. Sew along the line, iron back, and trim to 1/4 in seam allowance. Make 4 CE units, set aside.

2. Half square triangles:
B & G: make 4, cut, iron, trim to 2.5 and set aside

A & H: make 4, iron, draw a diagonal line perpendicular to the seam, sew AH to D making 8 quarter square triangles.


You will have two sets of quarter square triangles. You only need one set of 4. The other is a bonus set.

Hard to describe, but place both triangles with the background up and choose the one with the left facing D triangle, the diagonal seam running from the top left corner to the bottom right corner.
Square the quarter square triangles to 4.5.


Half and quarter square triangles are finished.
3.

4.


And you're finished! The blocks measure 12.5 inches.
Dear Bees,
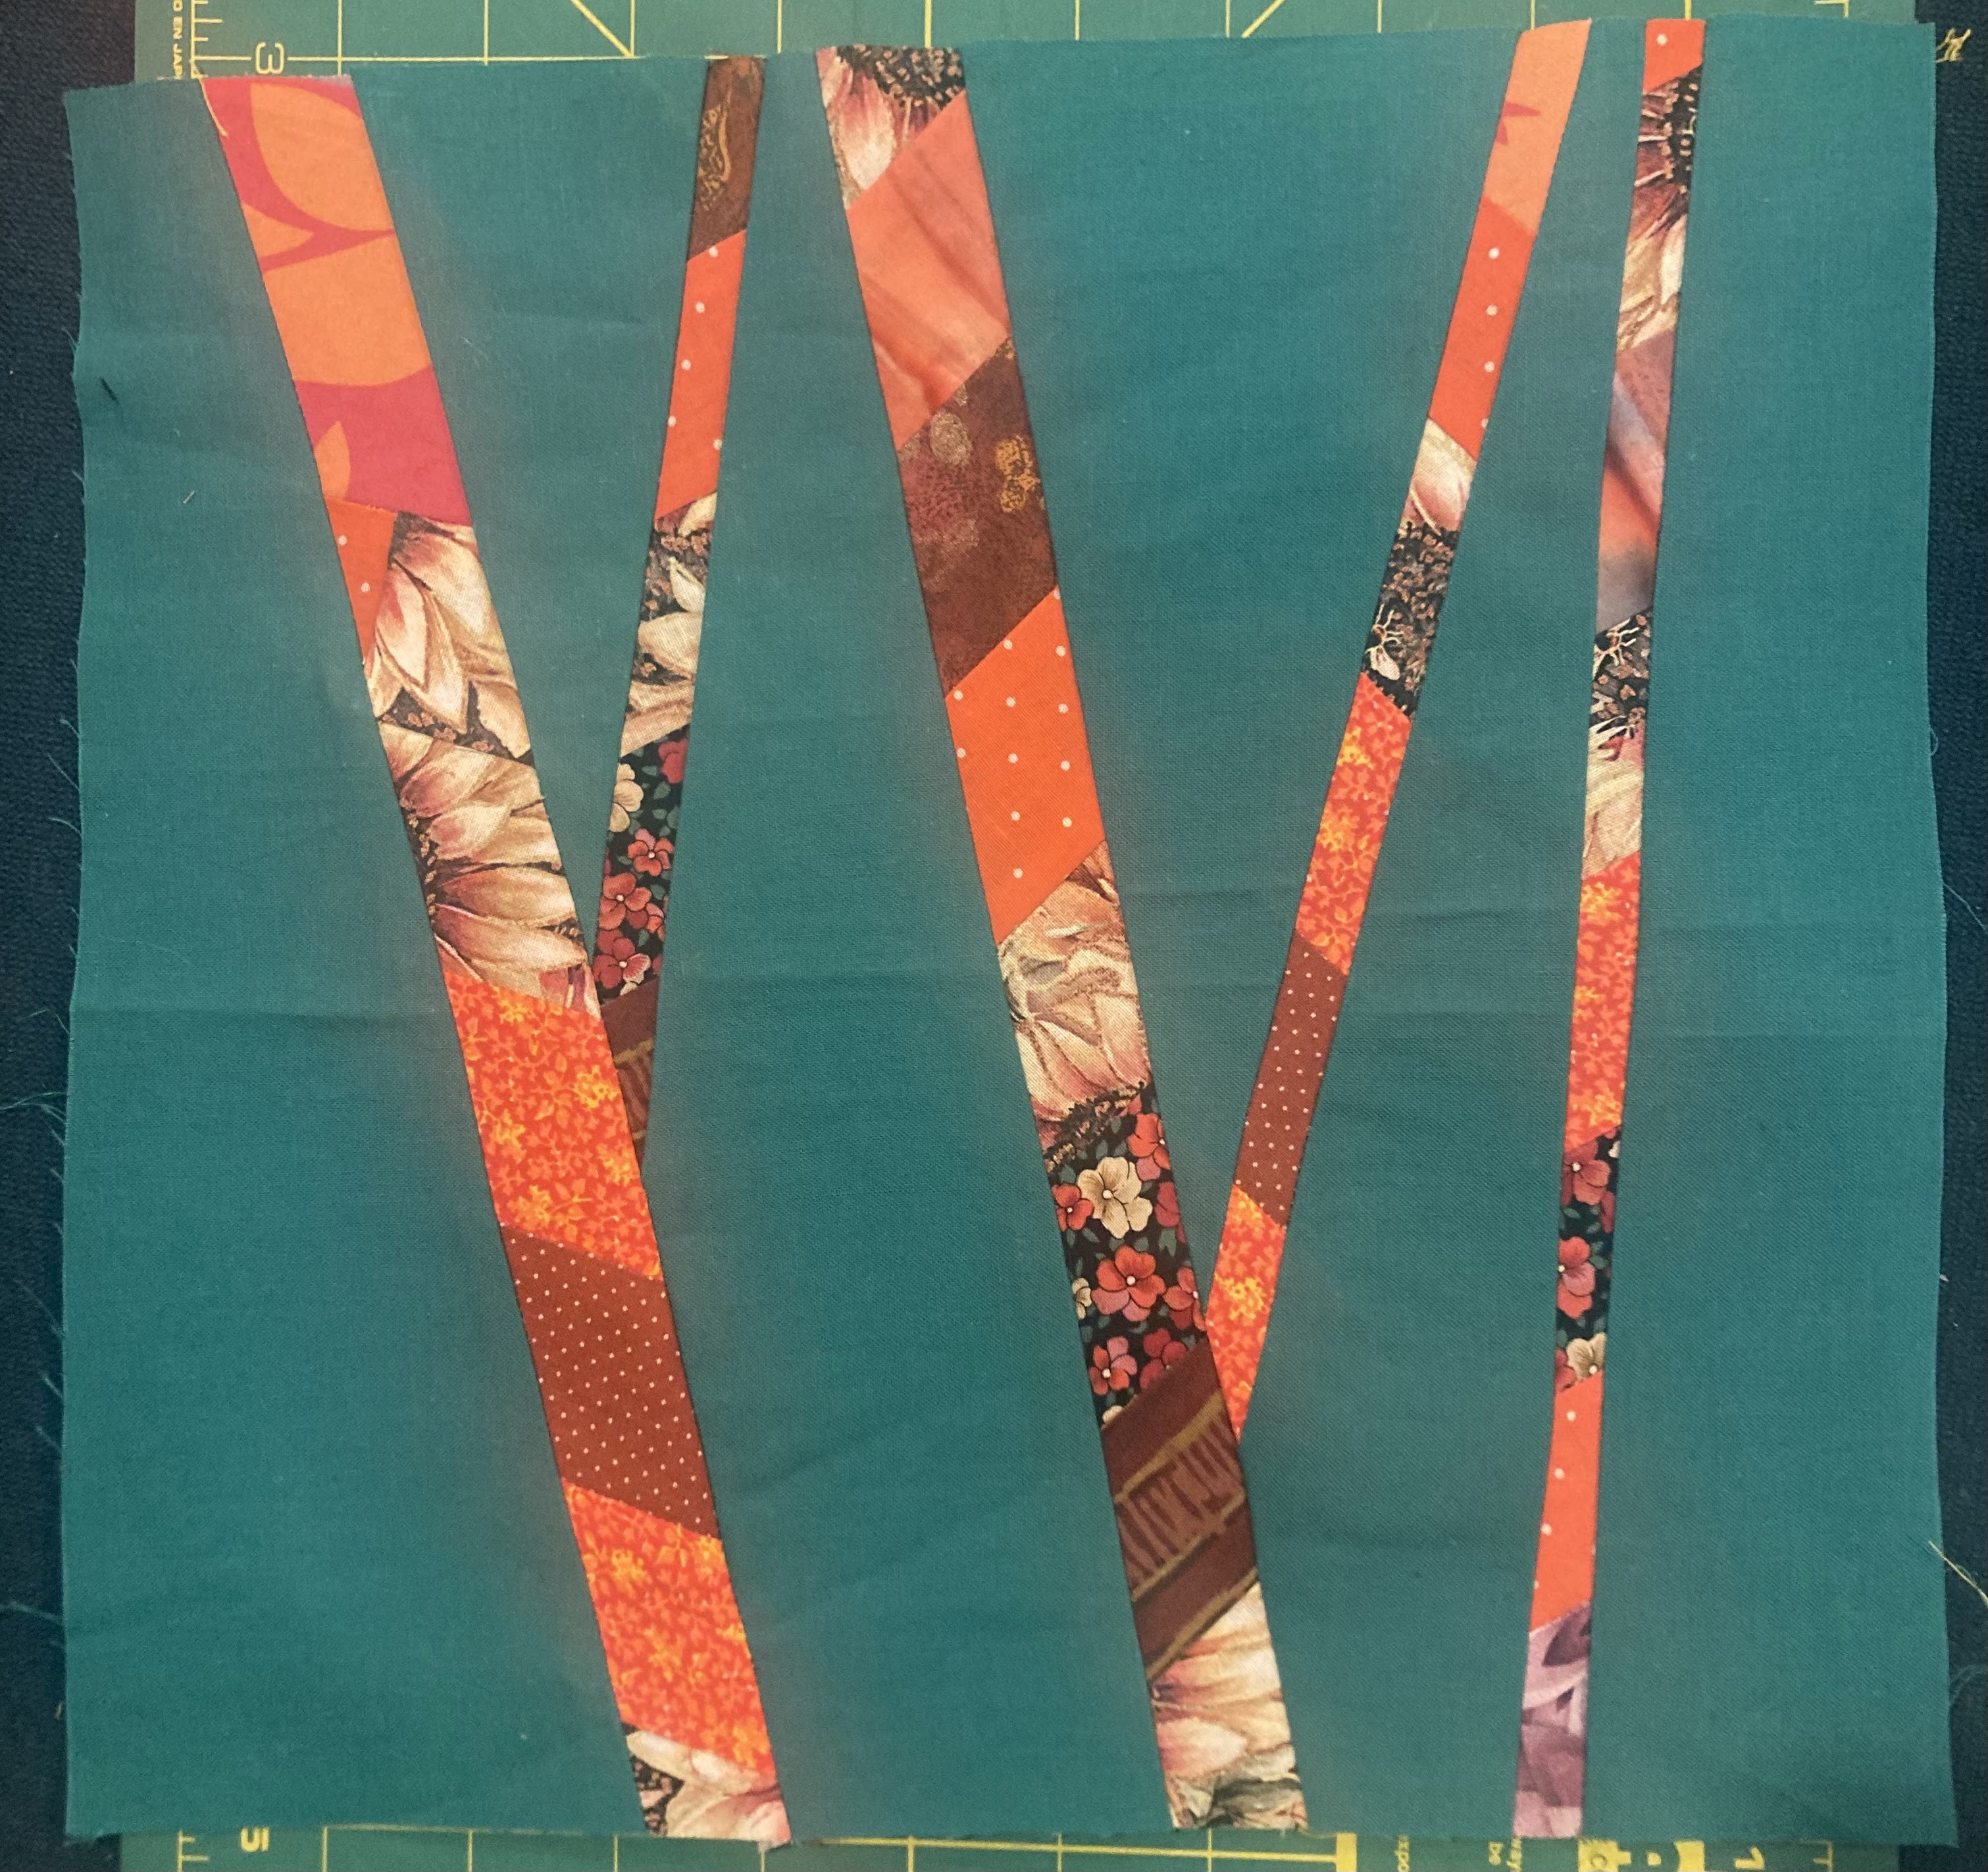
This month, we are going for a walk in a forest of colorful trees.
We will follow the tutorial called “How I Make a “Tree” Quilty Block” by Louisa Enright
What I love about this block is that we will prepare the tree trunks using our scraps, and that we will be able to sew with as many “branches” as we want. I am pretty sure that these two reasons will be an inspiration for you.
For the block background, I recommend starting with a 12”x12” square of a vibrant solid color (the colors shown on the blogger’s design wall in the tutorial are great!) and making three diagonal ruler cuts from the bottom to the top. As suggested in the tutorial, you may want to mark the four resulting pieces, so you don’t mix them up at the assembly step.

Let’s now work on the “tree trunks”. You may want to follow the tutorial and prepare a block of 1 to 1 ½ in wide strips of swatch of fabrics. You may also want to reach out to your scrap bin and randomly make yourself a nice crumb fabric. That is what I did

From your newly prepared block of scrappy fabric, you need to cut at least three ruler stripes. If you cut more, you may use them as additional "branches" (more about his possibility below). So how wide should these stripes be? This is for you to decide. Do you want to make skinny or wide trunks? Will you want to add skinny or large “branches”?

Assembly:
Sew the strips to the background block, keeping the order as labelled on your pieces. This step will result in a block made of 4 background pieces and three “tree trunks”.
Do you want to add “branches”? Then make more cuts, smaller this time, and insert your leftover scrappy fabric.

Here is my final block!

The block should be a little larger than 12”x12”, depending on if you went skinny or not for the tree trunks/branches. Please send me what you have, and I will adjust your block to the size I need at the time of the quilt top assembly.
Thank you so much for your contribution!
Marie
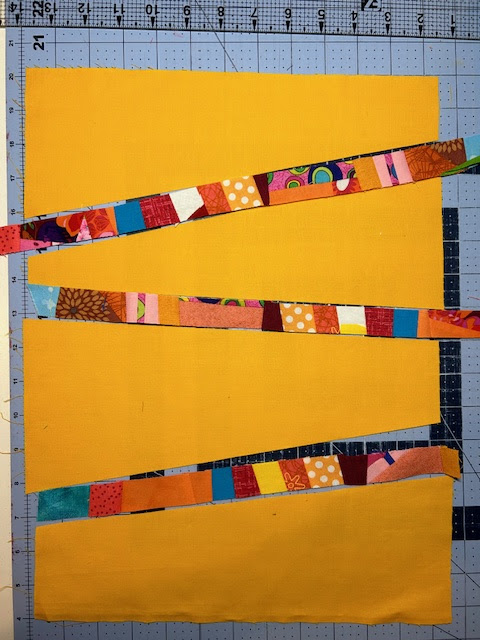
One of the things that I find difficult about putting together a quilt is "creating" a random look - somehow I always over-think placement of color and design and it takes me forever to make decisions. So you all can help me with this by doing some of that spontaneous creativity for me! This month's request is an exercise in a sort of "enforced randomization" - the block is a simple strip pieced 12.5" square, but there are a couple of rules and options to satisfy those rules.


 |
| Auditioning fabric/deciding strip order |


 |
| Red square sewn to the shorter end of a blue strip |
 |
| Preparing to add the remaining blue cut strip |
 |
| Ready to sew longer blue strip onto left edge of red square |
 |
| Trim to 12.5" |
 |
| One pair of strips ready to sew together |
 |
| Strips sewn into pairs. Two more seams to go! |

Here are a few completed blocks:


