Wednesday, May 1, 2024

Hive 2: May Tutorial- Picnic Block for Hannah

Hive #2  - May Tutorial - Picnic Block for Hannah

Intro:

This is my first year doing Stashbee and I am very thankful to be involved. You all are so talented and creative! I chose this block because I am terrible at playing with value and would like to learn how to do it better. I plan to take the finished quilt to see The Mountain Goats play at Wolftrap this summer which is an outdoor picnic venue!

Pattern/Tutorial Credit:

This block is from Ruby Star Society's Perfect Picnic Quilt.

Fabric Selection:

For this block you will need 9 different fabrics. 

*1 5x5" dark - for the center

*4 5x5" medium - for the cross

*4 5x5" light - for the corners 

I chose spring/summer fabrics in mostly bright, happy colors. Since value is what is important in this quilt, I care less about colors and more about value contrast. I cut out a bunch of likely candidates, arranged them in order of value, and then confirmed and tweaked that by taking a picture with my phone and making that pic black and white. 

Anything goes for fabric as long as it is not completely off the summer/spring picnic theme. I don't want any snowflakes or pumpkins. I have a slight preference for navy in the center square, but am happy with any dark fabric you have.

How to ID Values with your iPhone:


I have an iPhone and this is how I made my pictures black and white. The process is probably similar on other phones. 1. take the picture 2. navigate to saturation 3. turn the saturation alllllll the way down.

Cutting:

Once you have selected your fabrics you will need 1 5x5" dark - for the center, 4 5x5" medium - for the cross, 4 5x5" light - for the corners.

Sewing Instructions:

Use your favorite 1/4" seam 9 block method. I am fairly new to sewing, but I chose to sew the block in rows. I sewed block 1 and 2 together. Then I sewed 1/2 to 3. I repeated with each row  until I had three blocks: 1/2/3, 4/5/6, and 7/8/9. Then I sewed 1/2/3 to 4/5/6. Then 1/2/3/4/5/6 to 7/8/9. I ironed all seams open, but am not worried about bulk so you can iron your seams however it makes sense to you.


Your completed block should measure: 14 x14"

Bonus round: 

I actually made this block smaller than the original Ruby Star Society tutorial to keep in line with the expectations of Stashbee. And you are not even a little bit obligated to expand on your block, BUT if you are feeling extra generous with your time, fabric and postage, a full block would be greatly appreciated. here is what the full block looks like:


As you can see, instead of 1 dark, 4 medium, and 4 light blocks, the full block has 4 dark, 8 medium, and 4 light blocks. I would assemble the larger blocks in the same way, sewing blocks together in rows and then sewing those rows to each other.

Thank you!

Hannah

Hive 6 - May Tutorial - Woven Hearts for Sarah

Hive 6 - May Tutorial - Woven Hearts for Sarah

Hi! My name is Sarah, and this is my second year participating in StashBee. I've had the best time getting to know everyone in my hive this year and last year! This month I'm requesting a heart block - Valentine's Day is one of my daughter's favorite holidays and she's been begging for a quilt with a ton of hearts.  When I spotted this Woven Hearts pattern by Sew Can She, I thought it was the perfect inspiration. I did not follow it exactly, and have alternative options if the woven design isn't speaking to you which are written out at the bottom, so please use the steps below.  Here's a picture of my woven heart:


Fabric Selection:

Think Valentine's Day - reds, pinks, whites, creams.  Prints, solids, batiks are all fine, I'd just request no novelty, children's, or holiday fabrics (other than Valentine's Day).  Here's a picture of my fabric pull:


You will need to pick 3 fabrics to create the woven heart.  One will be your background and the other 2 will make the heart.  Please try to make sure there is a clear difference between the background and heart fabrics - a white and pink heart with red background, a cream background with a red and dark pink heart.  

Cutting:

From your background fabric, please cut:

  • 1 - 2.5 inch x 10.5 inch rectangle (border)
  • 2 - 2.5 inch x 12.5 inch rectangles (border)
  • 1 - 2.5 inch x 14.5 inch rectangle (border)
  • 1 - 4.5 inch square
  • 4 - 2.5 inch squares
From each of your heart fabrics, please cut:
  • 1 - 4.5 inch x 6.5 inch rectangle
  • 4 or 5 - 2.5 inch squares (4 squares from one fabric, 5 from the other fabric)
Here's a picture of my fabrics laid out:


Sewing:

1. Arrange the 2.5 inch squares into a nine patch and sew it together. I prefer to press my seams to the darker color so I can nest them, but do whatever you'd like and feel most comfortable with!


2. Draw a line from corner to corner on the wrong side of the 2.5 inch square background fabric squares.  You will use these to snowball the corners of the 4.5 inch x 6.5 inch heart fabric rectangles.  Pin 2 squares to the top corners of each 4.5 inch x 6.5 inch heart fabric rectangle and sew directly on the marked lines.  Trim the excess fabric 1/4 inch from the seams. Fold the background fabric back and press.


3. Arrange the nine-patch, the rectangles with snowball corners, and the 4.5 inch square of background fabric as shown below and sew together. Again, I like to press to one side so I can nest my seams, but if you prefer to press open, go for it!  This part of the heart block, before the borders are added, should measure 10.5 inches square.


4. Add a border around the heart. Sew the 2.5 inch x 10.5 inch rectangle of background fabric to one side of the heart and press. Then, sew the two 2.5 inch x 12.5 inch rectangles of background fabric to two other sides of the heart and press. Finally, finish the border by sewing the 2.5 inch x 14.5 inch rectangle of background fabric to the last side of the heart and press.  Your final block should measure 14.5 inches square, but you do not need to trim it! I'm happy to do that when they all arrive.


Here's a picture of a few heart blocks laid out together.


If you have any questions, please let me know - I would love to chat about this! I can't wait to see the hearts you all create!

Sarah 💕

Alternative Options:

Don't love the woven part of the heart? Here are two other options!

Simple Heart - select 1 background fabric and 1 heart fabric, and use a square from your heart fabric instead of the nine patch:

Cutting:

From your background fabric, please cut:

  • 1 - 2.5 inch x 10.5 inch rectangle (border)
  • 2 - 2.5 inch x 12.5 inch rectangles (border)
  • 1 - 2.5 inch x 14.5 inch rectangle (border)
  • 1 - 4.5 inch square
  • 4 - 2.5 inch squares
From your heart fabric, please cut:
  • 2 - 4.5 inch x 6.5 inch rectangles
  • 1 - 6.5 inch square
Here's a picture of my fabrics laid out:


Sewing - follow sewing instructions above, starting at step 2, and using the 6.5 inch square of your heart fabric in place of the nine-patch. 


Scrappy Heart:

You can create your own heart fabric by sewing together strips, squares, rectangles, or random shapes of various pink, red, white, or cream fabrics and then following the cutting and sewing instructions above. 


Tuesday, April 30, 2024

Improv Curves for Rita

 I have always been intimidated by the very idea of curves, and have avoided trying them by doing applique. Thank you, Rita for this tutorial to ease those of us like me into it. I've still got a long way to go if I want to do a nice, neat curve, but at least I've gotten rid of my fear. Here's what I sent your way.


Sunday, April 28, 2024

Stacked Improv Curve blocks for Rita

 Whew, I did it! This month flew by for me and I was worried I wouldn't get my block done in time. It didn't help that the OCD in me kept wanting to pin these curves like they were precisely cut drunkard's path pieces (so it kept coming out wonky, and not in a good way!). But I did it.

I hope you like the colors. Looking forward to seeing your final project.

~ Diana 

Tuesday, April 23, 2024

Hive 5 - May Tutorial- Pick Up Sticks block for Jacqueline

 Hello there ladies!!

I'm Jacque and have returned this year to stash bee, but in the early years I was in Stash Bee for a few years and loved it! I am a nurse in Western Wisconsin living the full life on a dairy farm with my hubby and we are parents to 3 kiddos, and 5 grandbabies 8 and under. 


For our block this month I thought we could all do a little improv creativity and use some of our stash and scraps. This block was made all from scraps and stash so I think it is appropriate and fun! All seams are a 1/4 inch.


This pattern I call either chop sticks or pickup sticks. Here is what we will need: 

For the background please use black and dark grey colors. You can see mine is very scrappy and all the backgrounds read in my preferred colorways.

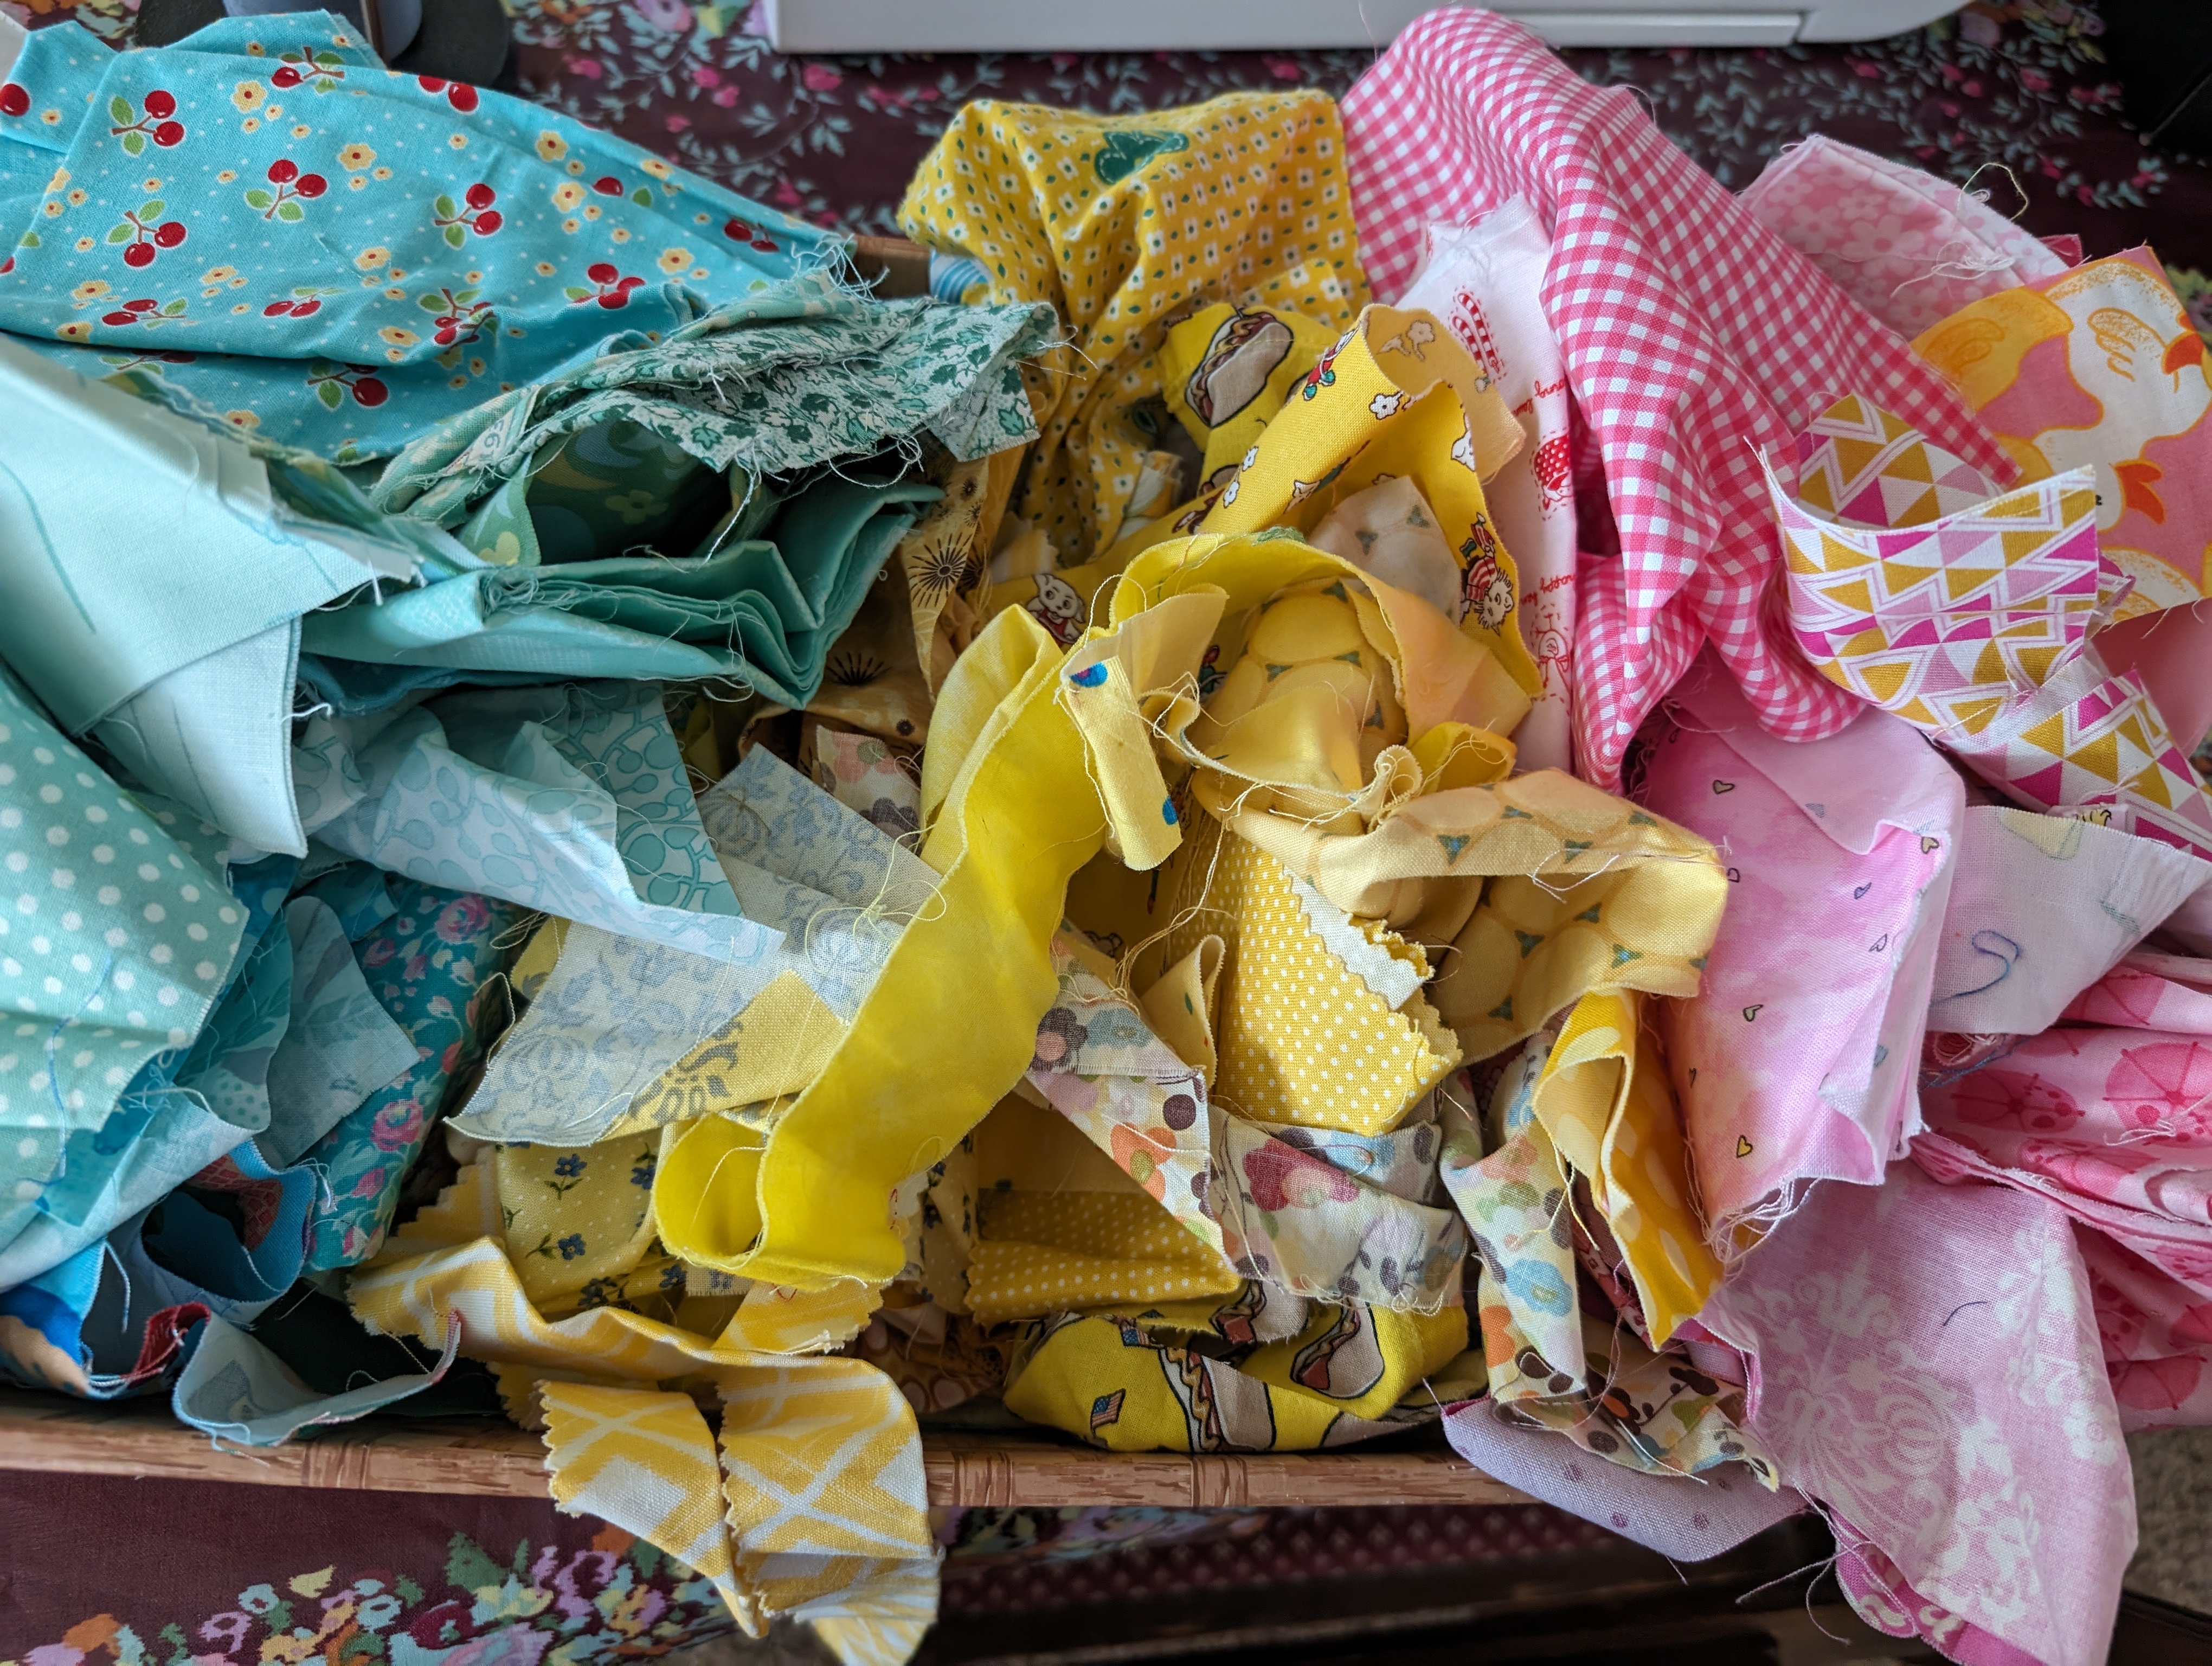
For the pickup sticks I would prefer brighter pinks, aqua/turquoise and yellows.  


Background: 

Cut 9 - 5 1/2 inch squares in blacks and dark greys. 


 Chopsticks: In colors Aqua/turquoise, brighter pinks and yellows:

Cut several 1 inch wide strips about 7 1/2 - 8 inches long so that they are long enough to place on the slant or angle of the blocks. You will trim them up anyway. 


Here are my background blocks and some pickup stick strips ready to go. 


**** There is a tutorial I found on YouTube from Jordan Fabrics called Chopsticks which gives great tips especially on matching up the strips and how best to press the seams allowances depending on which seam you are sewing to decrease seam bulk. I would encourage you to view it:https://www.youtube.com/watch?v=m0AMpWXnMxY

 It even helped me when I went back and reviewed it again, so then I had to go back and fix a few blocks. I always say every day I learn something new it's a good day. 

Take a 5 1/2 inch square and just take a ruler and just cut the fabric in half  how ever you like. 


Now take a 1 inch wide strip of your choosing and sew it to one side of the angle you just cut and sew with a straight 1/4 inch seam allowance. With this strip press seam allowance towards the background. and be sure to press it with a hot iron, but try not to tug so the blocks don't stretch.


Once the first strips are sewn they will look like this. The pickup sticks strips should be 1/2 inch wide. Press these first strips towards the black fabric. 


Now take your ruler and randomly cut the square again at what ever angle you prefer. 


Sew a strip on the one side like this. Press the seam now towards the strip. 


Now this is the tricky part. This is where the tutorial I linked up above to the Jordan Fabrics tutorial will explain about halfway through how to line up the strips so they match up by the way you pin the pieces back together and I have to say it was very successful for me to get the strips looking straight. Again, please take time to view it. 

Once the second half is pinned as shown in the linked tutorial sew the second side back on the strip. Be sure to press the seam towards the center. and it should look like this. 


Now I just had to give this one a third strip, two to 3 strips are preferred per block. Again, cut at an angle, add the strip on the one side, follow the pinning directions to add on the second side and sew your block back together. 


I had us cut the blocks generously as sometimes seams are lined up not perfectly so now, once you have all your strips sewn into the block, figure out how you want things to look and square each 5 1/2 inch block down to 5 inches square. 


                                                 Here' the trimmed up block at 5 inches square. 


Now, lay out your 9 blocks into a 3 by 3 layout. Twist and turn your strips around to where you are happy with how they look and line up and sew them together, alternating the direction of the seams in each row so that they but up nicely to each other and decrease the bulk on the back of the block.  


Once you are happy with the layout, sew them all together and tada!! You have a scrappy 9-patch pick up sticks block! 

This is a very easy block to make and shouldn't take long. I can't wait to see how much fun you all having making these fun and simple blocks. Any questions or concerns please reach out to me. Thank you again for making this block for me and I hope you enjoyed the process. 

Jacque

Monday, April 22, 2024

Improv Curves for Rita

Rita, when you said "Do not worry about the size, nor the wonkiness of your blocks," I certainly hope you meant it!

This was my first time ever sewing a curve for a quilt block, so thank you for pushing me out of my comfort zone. I learned a lot, and I hope you can put these to good use.


Friday, April 19, 2024

Hive 1: April Curves Block for Rita

This was only my second time piecing curves (after trying them out thinking about what I’d like to do as queen bee—you read my mind, Rita!) but I think it went pretty well considering my inexperience. I enjoyed it, at least. I hope you like them!


Sunday, April 14, 2024

Hive 1: Stacked Improv Curves 💢 for Rita

Hi, Rita!

Wonky is HARD! Hopefully these are okay!! They're kind of...blocky. But I haven't done much with curves, so this was fun! I can't wait to see what the whole thing looks like together.

Hopefully they won't take 6 months to get to you this time!! 😅

Molli. 💃


Friday, April 12, 2024

Hive 1 April - Stacked Improv Blocks for Rita

 Well, these blocks were challenging and fun to put together!  It took everything I had to NOT square them up before sending!

Hope the colors are what you’re going for. 

Chris


Tuesday, April 9, 2024

April Block for Rita

Hi Rita,

What a nice sunny block! I did my best on these curves. No doubt that with your magic touch, this quilt will be splendid!🌅

In the mail this week!

Marie

PS The fabric is light yellow, not cream color