
Like many people, I debated about what block I wanted to ask everyone to make. But I'm feeling fall-ish right now, and I love so many of the modern maple quilts that have popped up on Instagram and Flickr over the past few years, so I'm going to ask you to make me a maple leaf block.
For colors, I'd like to use a low volume background with mustardy yellows, oranges, fuscias, or "magenta"-y purple (I know that's not really a color, but I wasn't sure how to best describe that). I'm fine with a scrappy low-volume, but I prefer the leaf to be from one fabric. Please stay away from high-contrast low-volume (no black text or black elements). Here are some ideas of what I mean:

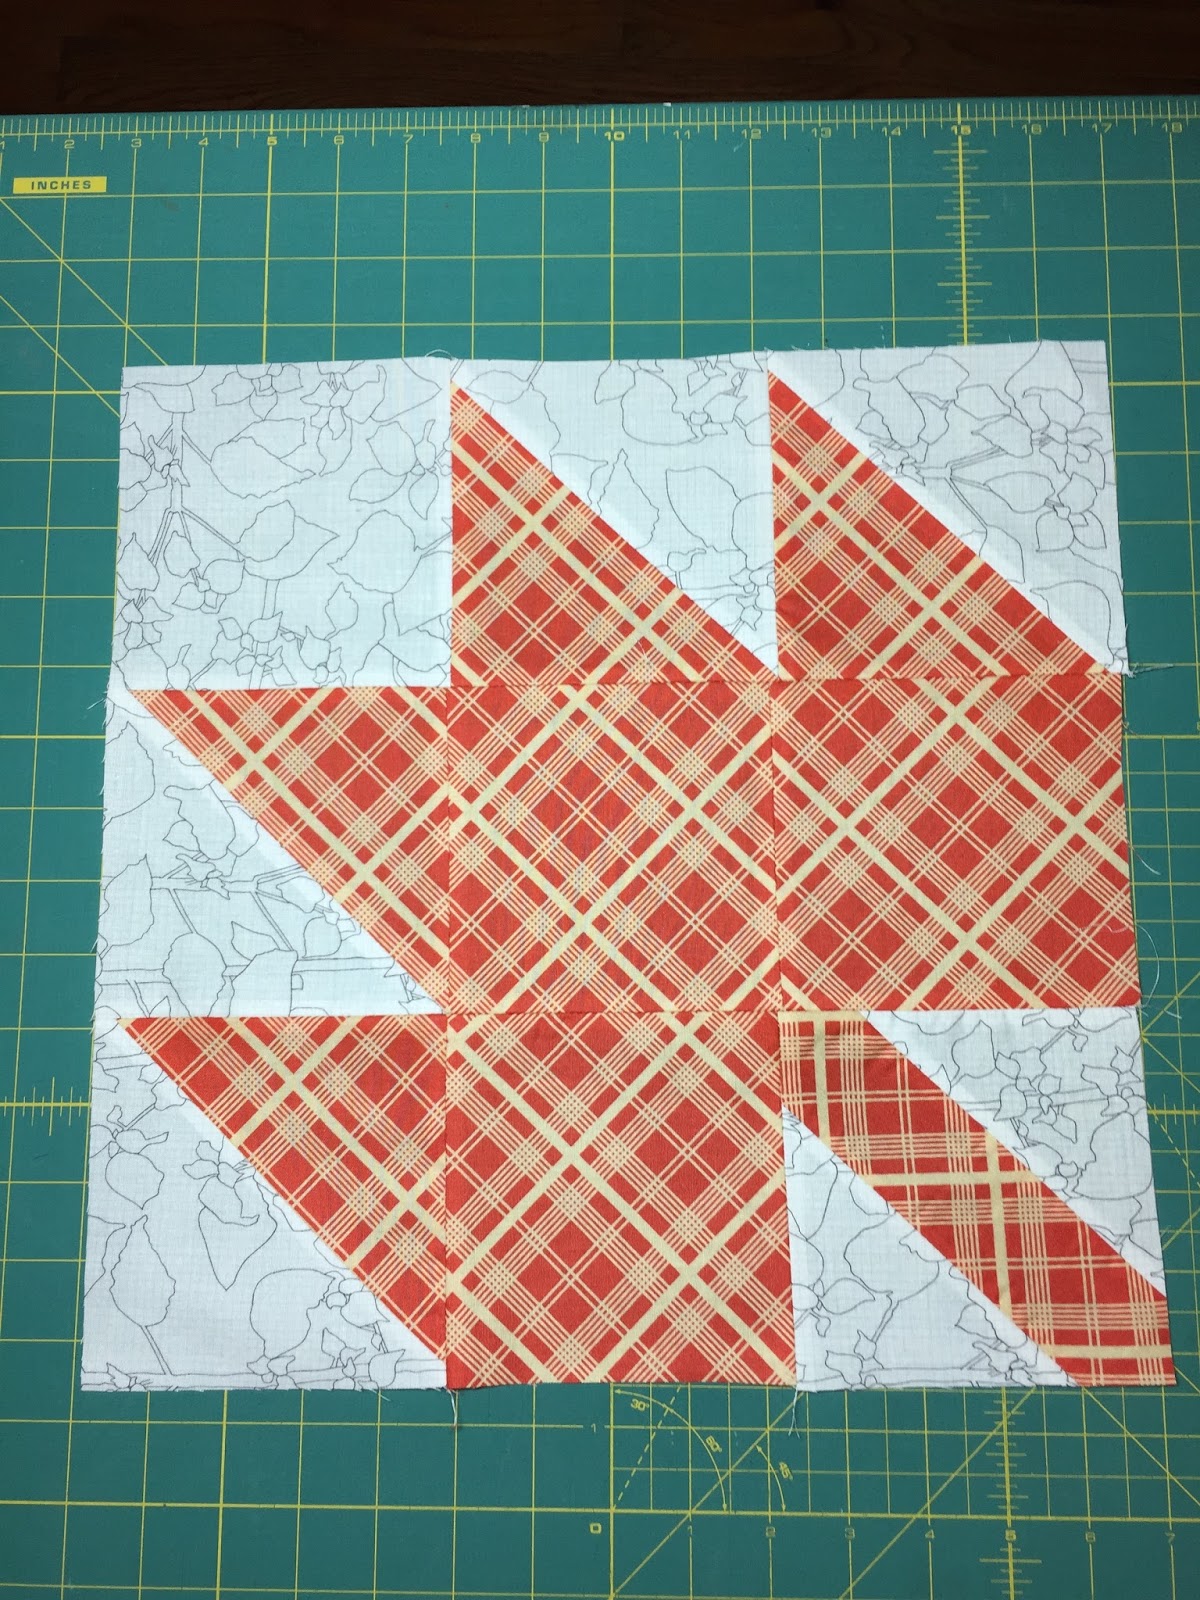
Here's an overall diagram for the block (thank you, Google draw, for being so easy to use!).

For this block, you'll need:
- (2) 5" squares of background
- (2) 5.75" squares of background (these will eventually be trimmed down to 5" HST)
- (1) 14" x 2" rectangle of background
- (1) 15.5"x 2" rectangle of background
- (3) 5" squares of leaf color
- (2) 5.75" squares of leaf color (these will eventually be trimmed down to 5" HST)
- (1) 7.5" x 2" rectangle of leaf color (stem)
1. Create your half square triangles by putting a 5.75" background square and a 5.75" leaf color square right sides together. Draw a diagonal line from bottom left to top right corner. Sew a line a quarter inch on either side of the line. Cut along the line you drew and press the squares open. Then trim to 5" squares. Repeat with the other 5.75" squares.

2. Create the stem by taking one of the 5" background squares and cut into two triangles.

Fold the triangles in half to find the middle point along the longest edge and crease it to mark the center. Then take your 7.5" x 2" rectangle in leaf color and fold in half to mark the center point. Line up center of the triangle with the center of the rectangle.

Flip one triangle right sides together on the rectangle, and sew along the entire length. Then repeat with the other triangle. Press open.


Trim the block to a 5" square. I lined up the 45-degree line on my ruler in the middle of the rectangle to guide the trimming.

Step 3: Arrange blocks into the leaf and sew rows.

Step 4: Sew the rows together. Your leaf should be a 14" square now.
Step 5: Sew the 14" x 2" background rectangle to the bottom of the leaf.


Your unfinished block should be 15.5" square, but no need to trim - I can do that when I get them. Thanks so much!

And my question for my fantastic hive, how do you quilt your quilts? Are you a free motion quilter? A straight line? Long armer? What's your favorite advice for quilting (and if you're a FMQ, for a beginner FMQer).
No comments:
Post a Comment