
It's time for the October tutorial and I'm super excited to be your Queen for this month! This month will be all about inspiration and fabric choices. I have seriously been thinking about this for months but just could not figure out what to do and was really stuck. I wanted something that was easy and would feed my creative soul after such a crazy busy September but just wasn't sure what to do. I remembered a video by my daughter, Melanie Ham, that I thought might help. I love fabric and just figuring out what works and this video really helped to get me moving forward .. you can check it out at You Don't Have to Know, Just Sew! She actually calls it something different but that's the phrase she uses that just really resonated with me.
I do a ton of baby quilts and patriotic charity quilts for Quilts of Honor and I knew I needed to do something different. I also love this video Scrappy Patchwork Quilt Tutorial that helped set the direction for this block. We will use 3.5" blocks rather than 2.5" blocks but the concept and process is the same.
Several years ago when I visited her in Hawaii, we went to a little quilt shop where she taught classes and I picked out several fabrics I really liked and they are still in my stash! So, I pulled them out and began building a color palette that I would love and it includes some Ty Penington, Impressions; Tula Pink, Eden; Amy Butler selections and a variety of other color rich and saturated selections.


Narrowing down the selections and found a great motif for the center square.
So... here is your assignment, please pick only prints from your stash or scraps that are similar to this color palette and 3.5" square. Please no solids, black or grey. I would prefer the color scheme to have similar colors that I pulled or at least a few of the same so that it all ties together. There are so many of the rich saturated colors in the fabrics I used, so if you can tie into them in some way, that would be great. I completely understand if you don't have that exact color palette but hopefully can tie into it in some way.
You will have 25 squares at 3.5" each for a 15.5" square when completed. If you can find a motif for the middle square that has some variation of yellow along with the squares that make the "X" of the overall square, that would be awesome. Yellow is a the color of friendship and I think it speaks volumes about the quilting community and the relationships that are built within bee's and guilds.
You will have 25 squares at 3.5" each for a 15.5" square when completed. If you can find a motif for the middle square that has some variation of yellow along with the squares that make the "X" of the overall square, that would be awesome. Yellow is a the color of friendship and I think it speaks volumes about the quilting community and the relationships that are built within bee's and guilds.

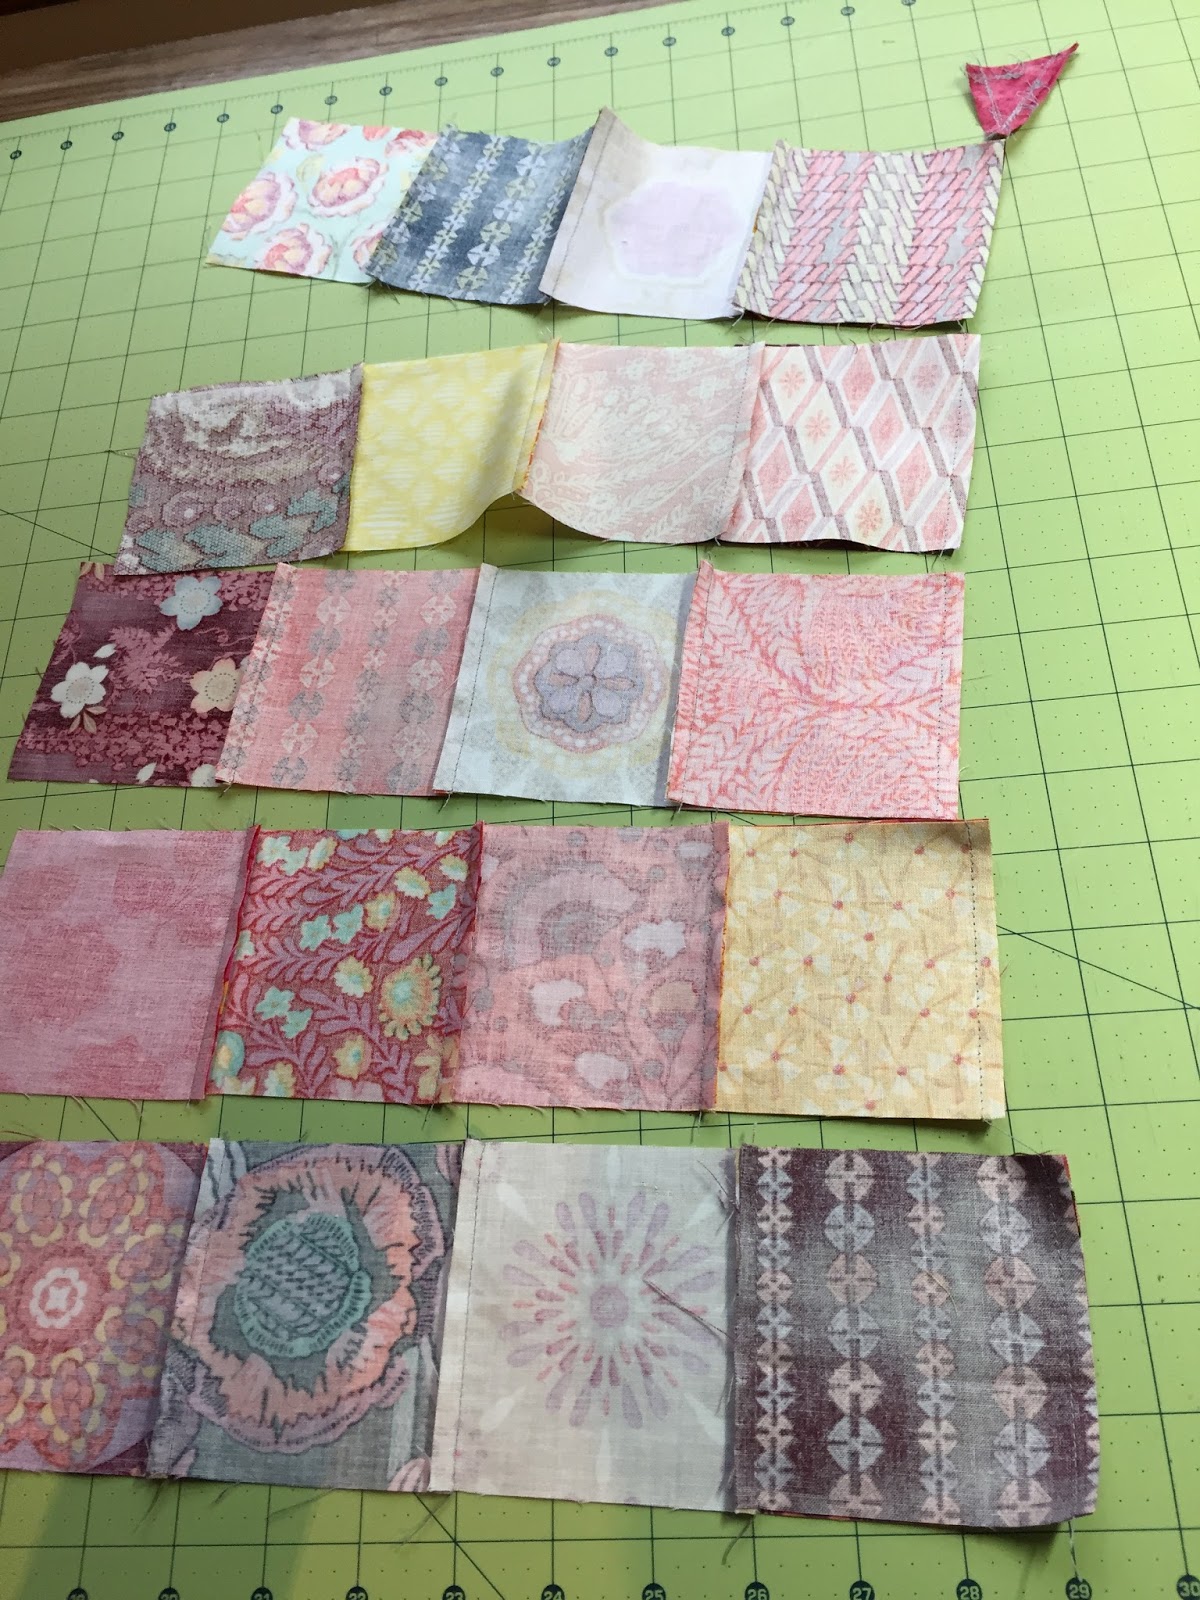
I used 25 different fabrics but if you don't have that many, please use at least 8 to 10 in order to mix them up and keep it looking scrappy. Once you have your fabrics selected, cut them into 3.5" squares. As you see below, I fussy cut a few squares but that is not required. You can rough cut a 4" piece of fabric or scrap and then square down to 3.5" square.


Be sure to line up your 90 degree angle and avoid selvedges.

Fussy cutting and centering a motif in the 3.5" square.
Once they are all cut, place them on your design board or other surface where you can see all your squares together and swap them around until you are satisfied with the balance of color, some sort of yellow for the center and the squares that make the "X" of the block. The yellow can be subtle as you see in my final block.


I start with the upper right block and place it right sides together with the 2nd column and then piece in order. You can string/speed piece by sewing one set after another through the presser foot that makes a "string" of thread between the units. Then cut the strings between the units and press seems in opposite directions by rows. Take back to the design surface and check your design and that everything is in order and repeat for the next column.


Keeping all of your squares and rows in order is easier to do if you establish a pattern for the process. Start in same place, stack the same way, check the layout after each column and row and use your picture for reference if needed.


Now join your rows together and nest your seams by feeling with your fingers or pinning to hold your intersections together.


Joining the rows

All put together on the design board

All finished and measures just a bit over 15.5" which is just fine. I hope you can see the yellow in the center and the squares that make the "X" of the block. I would like to see the variations of yellow from corner to corner to continue through all the blocks as the consistent design element connecting them all together just like the friendships in quilting!
I can't wait to receive all your fabulous blocks!
Have a wonderful time quilting!
Lisa M.
No comments:
Post a Comment