
Hello everyone!
I decided to go with the Road to Grandma's block from Patchwork square. Here is the link to the original tutorial. I wasn't a fan of how sparse the directions are, so here's my version of a tutorial to include 4 at a time flying geese! (makes it go by way faster!)
If you don't want to read through my tutorial and go with the link, please make the 12" version, which should be 12 1/2" unfinished.
Here are the two blocks I've made so far:
Here's the fabric pulls I did, which I later changed around:


Here's the colors I would like for the block, and amount of fabric needed for each one. For the pink and yellow, they can be any shade.
Black: 1- 2 1/2" x 20" strip
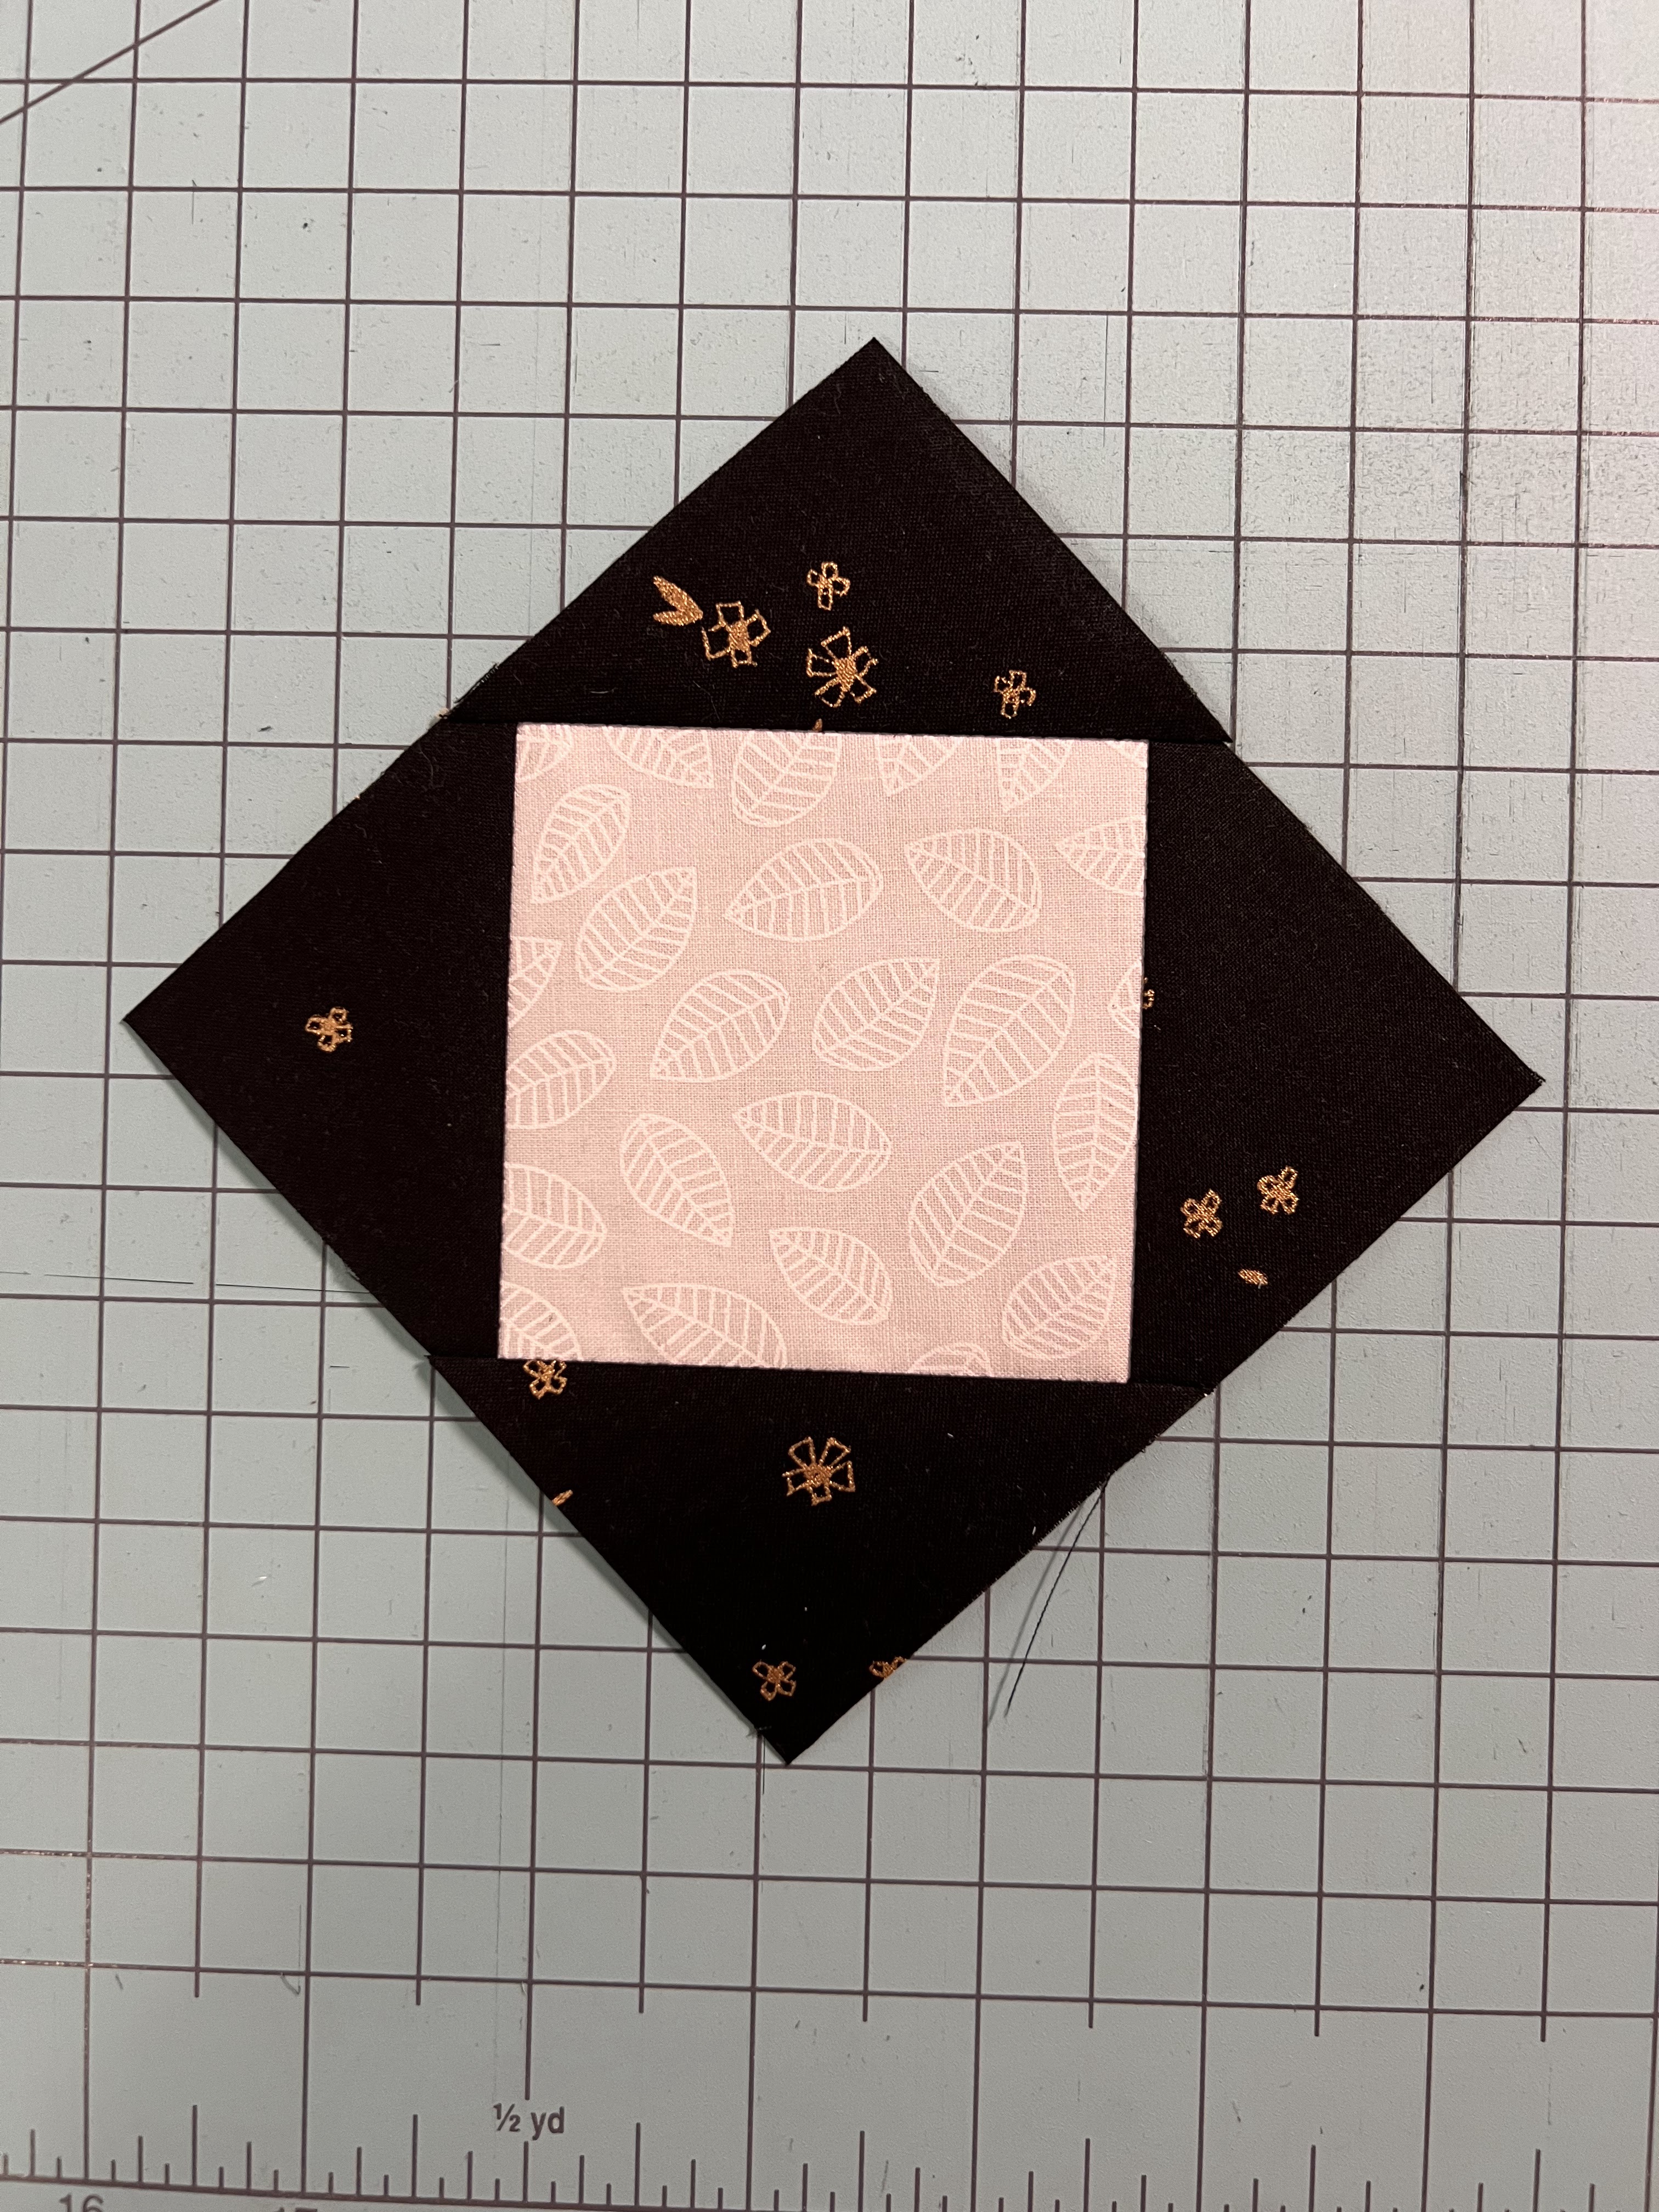
4- 3" squares
2- 2 7/8" squares, cut in half diagonally
White: 1- 5 1/2" square
1- 3 3/8" square
Yellow: 1- 2 1/2" x 20" strip
Pink: 4- 3" squares
1- 5 1/2" square
**I would like each fabric to NOT be a solid. Please no batiks or novelty fabric**
Step 1: Sew the black triangles (from the 2 7/8" squares) to the white 3 3/8" square. Use a 1/4" seam and press to the dark after. Trim to 4 1/2" square.


Step 2: Make 4 at a time flying geese! The sizes I have listed are so you can trim down to size. Overlap two of the pink 3" squares onto the white 5 1/2" square and draw a diagonal line. Sew a 1/4" out from the line on each side and then cut along the line. For the white and pink geese, press to the pink. For the pink and black geese, press to the black.


Next, add a 3" pink (or black, depending on which geese you're making) to the bottom of each of your little heart shaped pieces. Draw a line diagonally on it, and sew a 1/4" off of each side then trim. Again, press to the pink or the black.


Yay flying geese!!!!
(yes, I couldn't help myself)
Anyways, trim your unfinished flying geese to 2 1/2" by 4 1/2".You should have 8 total, 4 white and pink, and 4 pink and black.
Step 3: Sew your flying geese together like so and press the seam open-

Step 4: Sew your black and yellow 2 1/2" by 20" strips together, and press to the black. (I forgot to take a picture of this step with both blocks I made) Once pressed, cut eight 2 1/2" sections. Pair them up to make four 4 patches. Press the seam open. You should have 4 of these cuties total.


Please reach out to me if you have any questions. I hope you enjoy making this block as much as I did!
Thanks,
Liz
(here's my blocks in a bigger view)


No comments:
Post a Comment