
What is
your name? Lisa Lake-Johnson

Where
do you live? Prosper, Texas (Dallas Suburb)

Tell us
about your family. I got married in 2006
to my husband. We are both only children
and we have no children ourselves.
However, we have 2 dogs, 1 guinea pig, 2 freshwater fish tanks, and 1
salt water live reef tank. We own a
professional pet sitting company locally and take care of fur babies for a
living.

Tell us
about how you got interested in quilting.
Ever since I can remember, my mom has quilted, so I grew up around
it. She taught me how to sew and I made
my first quilt top when I was 15. As a
teenager and into my early20’s, I didn’t really pursue sewing and
quilting. However, after I got married
and settled down, I really started to get into the hobby and have learned many
techniques from the internet and books.
How do
you organize your fabric stash? As you
can see, I make mini bolts of fabric with comic book backing board. I love this method and love being able to
look at my collection instead of digging through stacks.

Who
is/are your favorite fabric designers? My favorite fabric designers are Amy
Butler, Kafe Fasset, Nancy Halvorson, Kate Spain, Tula Pink, Sue Daley and I
LOVE Liberty of London fabric!
What is
one thing you have learned that you wish you knew when you first started
quilting? That sneaky darn tricky “Scant
Quarter Inch Seam Allowance” That scanty thing was just about the death of me!
What is
your favorite sewing/quilting tool and why should we all go out and buy it?
Just one? There are so many!! Honestly, I really love to glue baste with
tiny dabs of Elmer's School Glue…is that weird?
It really enables me to achieve perfect points and nesting every time
without my fabric shifting as I stitch it.
I learned about it on Craftsy’s blog and since I have tried it, my seams
and points have never been so perfect!
If you ever struggle with perfect points and shifting nests, then Elmer's
School Glue in a bottle with a extremely thin tip is perfect for you.
Who is your favorite fictional character and
why? I am a big Steven King fan and my all-time
favorite series is The Dark Tower books.
The main character, Roland (AKA The Gunslinger) is my favorite fictional
character because of his perseverance to his goal and everything that he
sacrifices for it.
Now on to the GOOD STUFF!!
The Block that I chose for the month of April is called
“Good Vibrations” by Pat Sloan. This is
a block that she designed for Aurifil’s
BOM for December of 2013.
Her tutorial can be found here.
My inspiration for the colors comes from Tiffany and Co’s
holiday ad:

Here is my completed block and the color scheme that I would
like:

I would like the background to be a grey. It can be a grey print or solid. For the star’s points, I would like either white
or a white on white. For the outside corner four patch, I would like a nice bold red with the grey. Lastly, for the inside 16 patch, I would like
an aquamarine with the bold red. I would
like the aquamarine to be as close as you have to the Tiffany Sea Foam Green if
at all possible. Remember, all seams will be sewn using a scant ¼”
seam allowance. If the seam isn’t
scant, the block will end up being too small and unusable. Your block should
measure 12.5” x 12.5” (unfinished) when you complete it.

Cutting Instructions:
Grey Background:
Cut 4 Squares 4” x 4” for HST
Cut 8 Squares 2” x 2”
White Star Points:
Cut 4 Squares 4” x 4” for HST
For the Red Squares:
Cut 16 Squares 2” x 2”
For the Aquamarine Squares:
Cut 8 Squares 2” x 2”

Piecing Instructions:
Draw a line diagonally across the white 4” squares. (I like to do this on a sand board, as it
prevents the fabric from shifting or stretching when I draw across it)

Stack the white 4” squares on
top of the grey 4” squares. Right sides
facing each other.

Sew a scant quarter inch
alongside the line that you drew across the squares


Cut along the drawn line


Trim each of the 8 HST’s to 3.5” x 3.5”


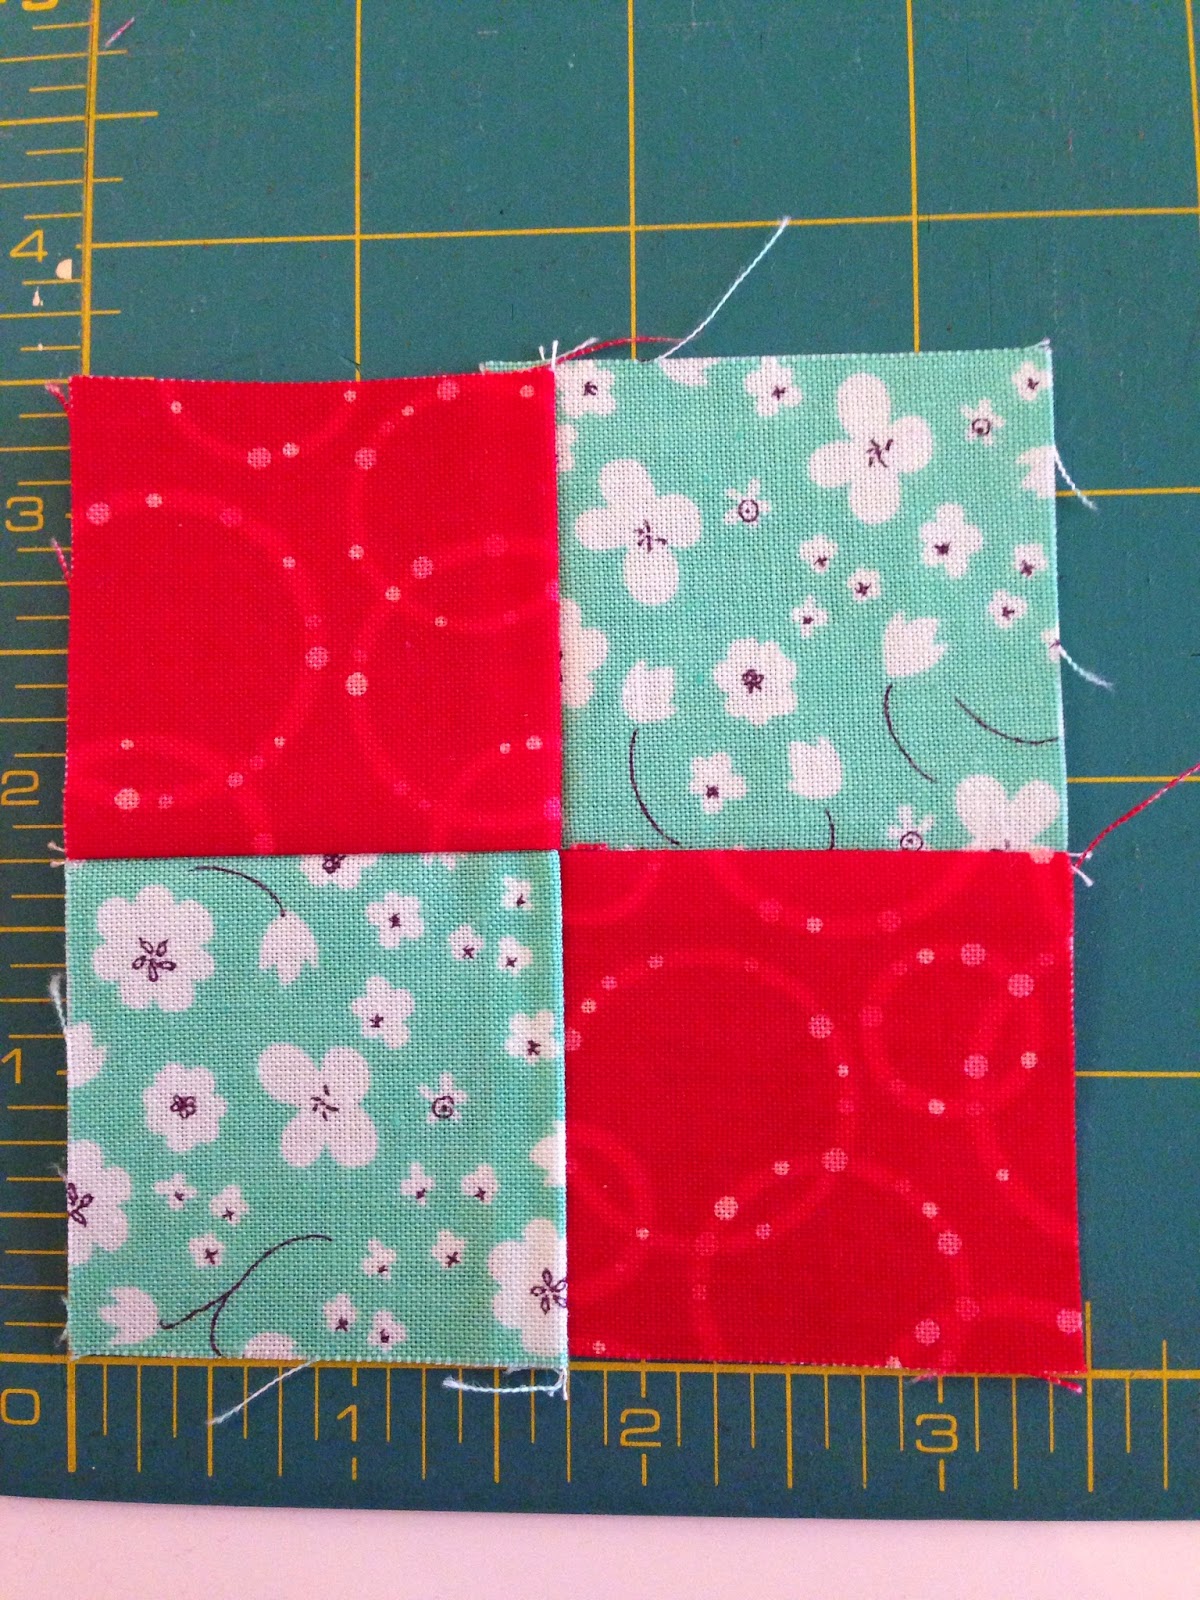
Next you will make 4 sets of 4 patches with the 8 red 2”
squares and the 8 grey 2” squares. Make
sure you use your scant seam allowance and nest your seams


Next you will make 4 four patches using the 8 2” squares of
aqua and the remaining 8 2” squares of red
Now you can lay out all your pieces like so:

You will start by joining your white and grey HST’s:

Next you will sew your four middle four patches into one 16
patch:

Next you will sew your 16 patch and the star point on each
side:

You will then sew your top and bottom rows together:

Lastly, you will sew it all together:
You did it!! Awesome
job! I hope you enjoyed making this
block and if you really love making it…..send me extras!! (I would LOVE that)
I can't wait to see what the finished product will be!!
~Lisa
No comments:
Post a Comment