Wednesday, June 26, 2019

Hive 2. . . June block. . . . finally success!

Here, finally, is the block that I was able to get done for Lynda


It is a little over 12 1/2" square but I am too afraid to trim it myself.  This is the 4th block that I made, but the first one with the Fat Quarter Shop tutorial.  I am so happy that it was able to come out to the correct size.


Lynda is also getting these three blocks

None of them came out to 12 1/2", but perhaps she can incorporate them into the backing, or another quilt, or matching pillows.

These blocks will be in the mail by Saturday.


Sherry V.

Thursday, June 20, 2019

June Block...Snail's Trail for Lynda


Hey all!

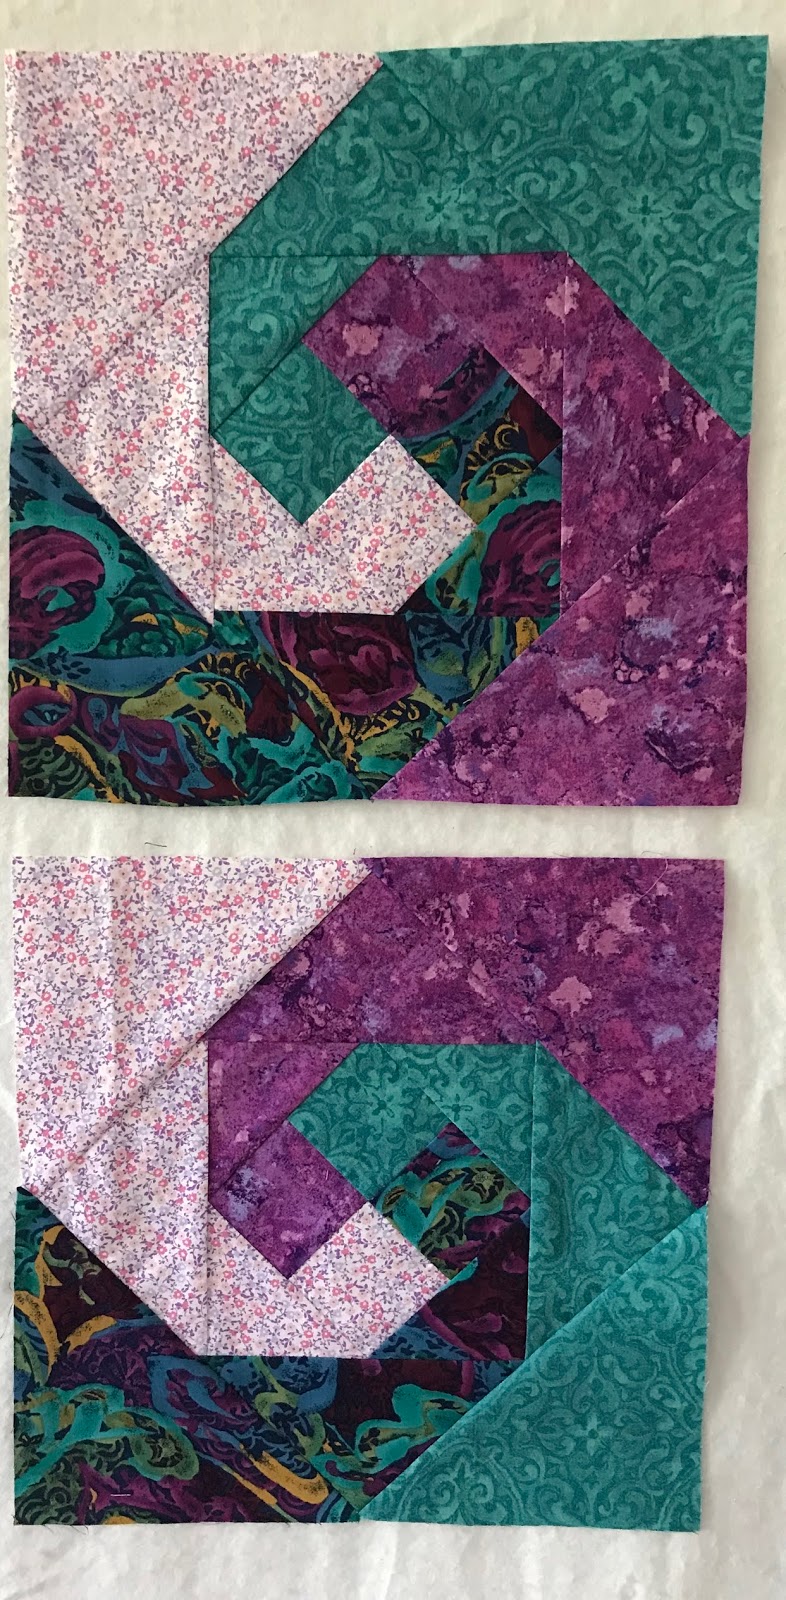
These are two blocks for Lynda for June, Hive 2. While this block is not exactly my style, I love this colorful picture and am glad I had this opportunity to try something new.

Just an FYI...I made the first block (purple one) according to the tutorial Lynda shared. I was not very happy with the finished size, as I could not square up to 12.5". I went to find another tut and used one from the Fat Quarter Shop. It was perfect!

Lynda, I hope these work for your plan...at least one of them! I also hope you will think about joining Instagram, so we can follow along on your new quilting hobby and this project! It is not required for this hive, but makes it fun and inspiring to follow other quilters.

Happy Quilting!
Valorie
@facetfully on Instagram

Monday, June 10, 2019

Hive 2 - June Snail Trail

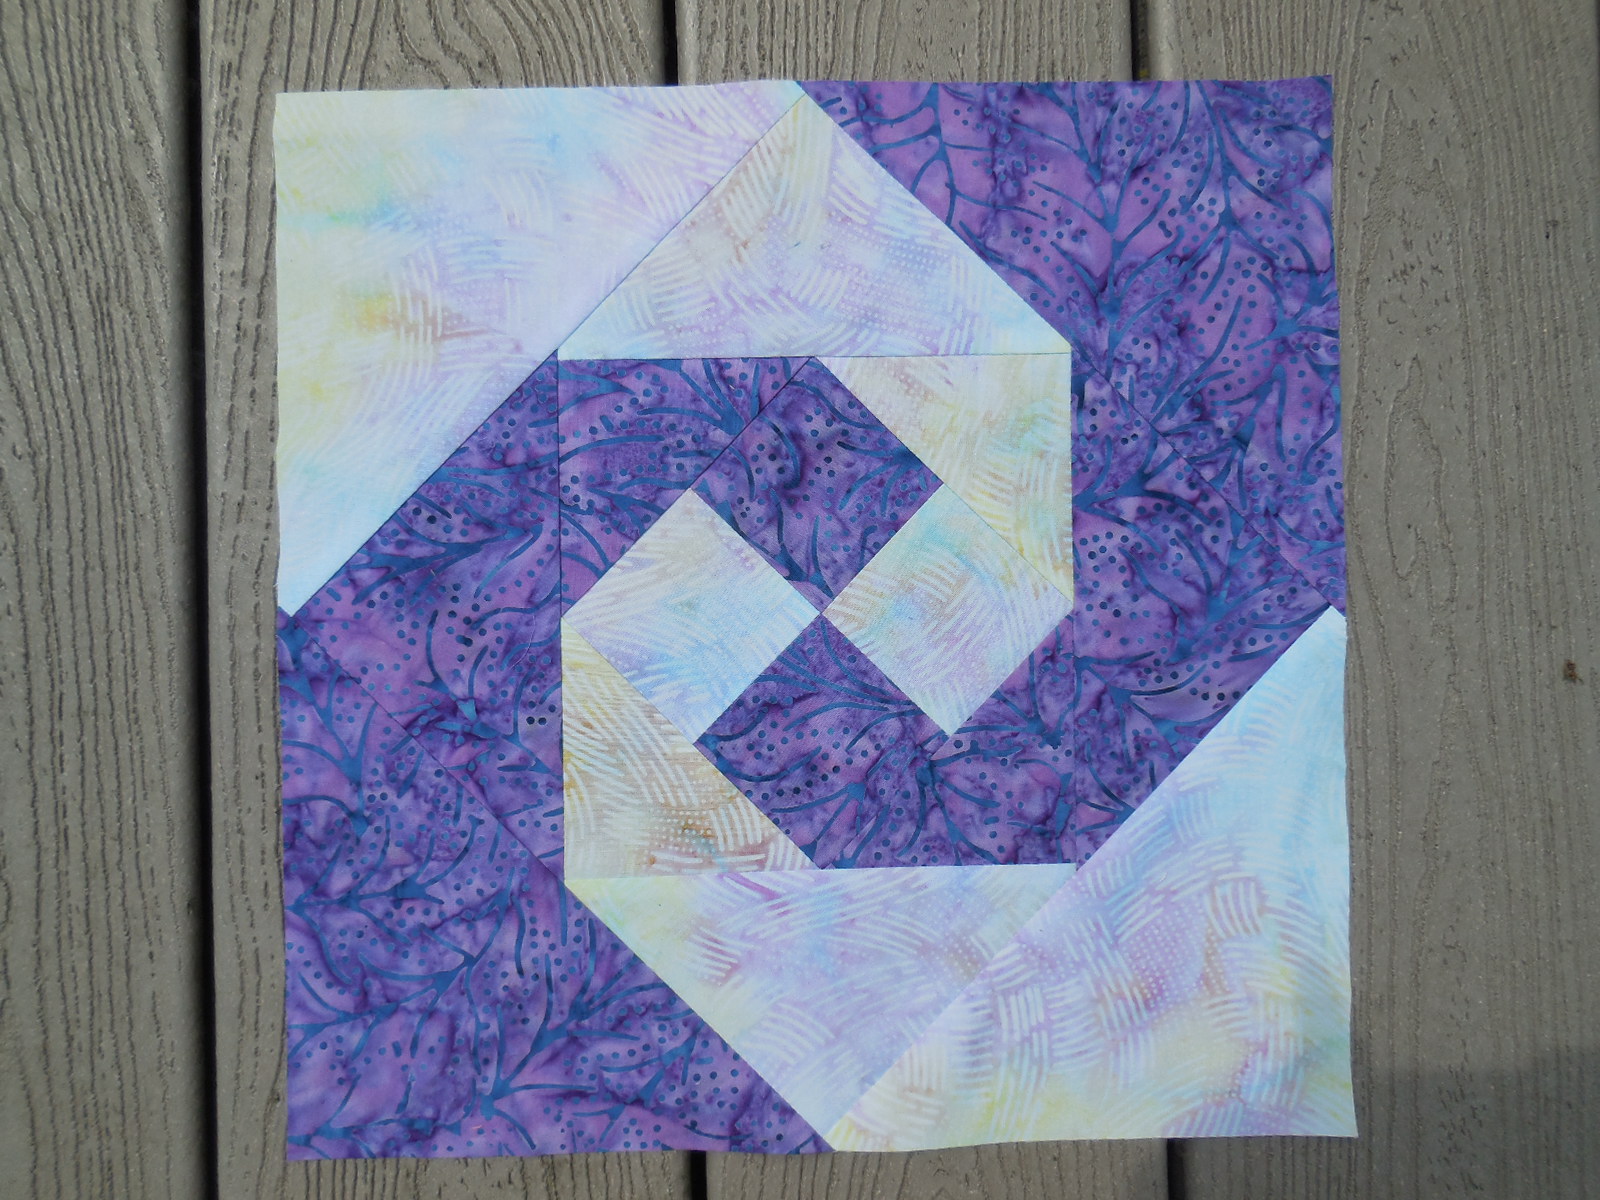
The month isn't even half over and I got my blocks finished.  :)  I needed to make a quick stop to the fabric store because I was not happy with the choices in my stash.  My daughter is drawn to batiks, and loved getting to help me pick out fabrics for this one.  Since I went with four colors instead of two, it was as easy to make 2 as 1; somehow I got the order a bit different in each.  Hope these will fit well with the others!

Jennifer


Monday, June 3, 2019

Hive 3 June Tutorial - Autumn Chain Variation Block


Hi Ladies!

The block I’ve chosen is the Autumn Chain Variation. The tutorial is found through Blossom Heart Quilts Bee Hive Tutorial Series page as the February Bonus Block.  You can find the tutorial directly at https://www.sewmamasew.com/2015/02/autumn-chain-block/

The color palette I’ve chosen is Pink Lemonade.  So think Pink! And Lemon!  But also: Bubblegum, Melon, Coral, Blush, Peony, Fuchsia, and Butter, Mustard, Yellow, Honey, Candlelight, and so on.  I love pops of green in the fabrics you choose, but not fabrics that read as “green”.  The Cotton and Steel / Rifle Paper co.  Menagerie print “Jardin de Paris” in Peony,  and Bari' J's Yuma Lemons in Glare (the two fabric pictured in the center below) are a great example -  Bright green leaves on the pink background!  White-based Low volumes for the background/center cross. The geese and the center cross do not have to match. I did a  fabric pull that should give you some ideas.


When I made my block, I changed up the cutting instructions to make no-waste flying geese.  (I loathe wasting precious fabric, and I never seem to make them straight enough constructing them one at a time!) 
But please make your block however you are most comfortable. 

Here are the different cutting directions, if you are so inclined! 

Background (Body of the Geese)
Cut 1 – 7.25” square low volume

Sky - This will be the points of the star shape
Cut 4 – 3.875” squares print. (3 and 7/8ths)

The remaining cutting instructions are the same as the tutorial:

Center Cross
Cut 2 – 2.5” squares low volume
Cut 1 – 2.5” x 6.5” low volume

HST’s
Of FOUR prints (Dark, Medium, Light, Lightest):
Cut 1 – 4” square from each print (4 total)
Cut 1 – 3” square from each print (4 total)

Construction
Make the geese using the no-waste method.  

 Draw a diagonal line on the back of all four sky squares.  You will be sewing a 1/4" away from that center line on either side.  I like to draw those lines in, and stitch right on them. Like so: 


Cut between your two sewn lines. 

Press this seam open.

Now place the remaining two sky squares on like so. Stitch on those lines, (1/4"  away from the center diagonal) 

Cut again, down the center of your two stitched lines,  above right.  Press the seams open.  You should end up with 4 almost perfect flying geese!   With no waste!!  Trim to 3.5' x 6.5".

Follow the remaining the construction instructions per the tutorial on SewMamaSew.

Next up - HST!  Pair your fabrics like so, and stitch on the lines drawn. 
( I've offset the fabric underneath just to show the pairings.  I lined them up when sewing.) 

Cut between your sewn lines, press your seams open, and trim your HST's to 2.5" for the smaller, and 3.5" for the larger. You will end up with 8 total HST units.  
Then arrange your block following the color placement and orientation shown below.  Pay attention that your HST units alternate in color and light/dark.  

Stitch together the CENTER first. Press every seam in this portion towards the LOW VOLUME.  


Then sew the units together like a 9 patch block. 

Press your seams OPEN.  

Ta Da!  Finished Block!


Thank you all so very much in advance for making my first bee an absolute blast.  I cannot wait to see which fabrics you chose to make this fun block!

Sunday, June 2, 2019

Hive 2 June block for Lynda

I've never made this block, but always admired it.  The directions were good and the block was easily made.  I hope to get it into the mail tomorrow.
Kathie L


Hive 2 Snails Trail blocks for Lynda


Both these blocks use the same 4 fabrics, I just changed up the order.  I hope they will fit into your project.  I rather enjoyed the nice big pieces.  I will mail them on Monday.  

Saturday, June 1, 2019

Snail’s Trail Block for Lynda - Hive 2

I’ve seen snail’s trail blocks before, but never gotten around to making one until now. Fun and pretty! This is why stash bee is so fun - getting to make all the new blocks I’ve never done before. The quilt will be lovely when it’s done.

Here’s my block for Lynda


June Tutorial for Hive 1 Block for Julia

Hello hive mates! It's a lovely sunny June day here in Boston. This is my fifth year in the stash bee. I really love learning and practicing different techniques each month.  I've been sewing since I was a kid (mostly costumes and clothes) and quilting for about eight years. Two fabric designers I've fallen in love with due to the stash bee are Alison Glass and Tula Pink.

For June I've chosen a 12 1/2" wonky star block.


The background color should be black or gray. Patterns or solids are fine. The background should be all one fabric.  The center star is purple. You can make it with all one fabric or go scrappy.

My fabric pull has a range of purples and a variety of background fabric options


The tutorial I selected is from The Silly BooDilly. I've made two changes.  First is that the center of the star and the points are all the same color.  Second is that the cutting instructions are slightly different from the tutorial.

Background fabric

  • Cut eight 4 1/2" squares


Star/Center fabric

  • cut one 4 1/2" square
  • cut four 5" squares


Using 5" squares for the star points allows for more angling and makes trimming the point blocks much easier.  I photographed how the blocks go together using 5" squares for star points.

Because you after the fourth picture you have so much excess purple fabric, it makes trimming the block back to 4 1/2" square much easier.  I took a pic to demo one way to trim blocks back 4 1/2" squares.  I did my trimming using a square up ruler. Basically I aligned one corner of black square with the 4 1/2" square up ruler and cut off the excess. (I added a blue line in the picture to highlight this).


and after all that shablam! A finished block.


Hive 2 June tutorial block - Snail's Trail


Hey everyone,

This is my first time being in a hive and it’s so much fun. I’m relatively new to quilting, so i’m learning A LOT!! 

This is also my first time posting anything other than just a block, so hopefully this works.

It took me months to choose this block. I wanted it to be fairly easy and still pretty customizable but also look cool. So i’ve chosen the Snail’s Trail block. The tutorial that I found is fantastic and super easy to follow…but as always, if you have any questions, please don’t hesitate to ask. 


For colours you can choose any shade and combination of purple, blue, pink or white. Please try to make them true colours… for example I don’t want the blue to get too green… teal is just fine as long as it stays on the blue side and try not to get too orange or red with the pinks. As for designs of the fabrics…batkis or batik looking fabrics, for example the Boundless collection from Blueprint is not a batik but still kinda looks like one, would be ideal. Lots of blender type fabrics would work great. And no solids, unless you choose to use white, which could be a solid.  I will attach some pictures of examples to  give you an idea.   


So the tutorial includes instructions for using 2 or 4 fabrics, either one is fine with me so feel free to choose whichever you prefer. If you do four colours, then you will end up with some extra fabric after cutting. If you want to send me the extra fabric, you are more than welcome… or you can start your own snail trail quilt with it. 


 This is the block that I did and I think it turned out great. 


I hope that all makes sense and I hope you have as much fun with this block as I did. I can’t wait to see what you come up with!