Showing posts with label 2022. Show all posts

Tuesday, October 29, 2024

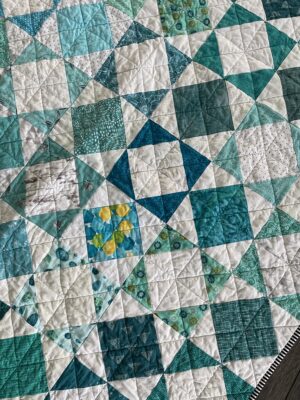
Finished Quilt, Moroccan Tiles, Hive 1, 2022


Moroccan Tiles I & II, 
43" x 65", Blocks: 16" square finished


Hi my lovely Bees,

I have finally finished the quilt(s) from the 2022 blocks. Initially I intended to use the quilt on my sofa, but, when I had the flimsy ready (Sep 2022), I realised, I was way too generous with the dimensions - it was huge!
Quite some time later, I came across the charity 'Quilts for Care Leavers', who give young people, leaving their care homes for living on their own, a quilt each. They are meant to be 'hugs', hence, the oblong shape they are looking for. 
So, I chopped the big top in half and made 2 quilts out of it, which will be delivered to the charity the week after next.

Thank you all, who contributed to these quilts! Hope you don't mind, that I will not use it/them myself!
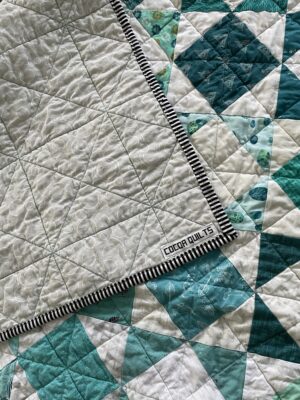
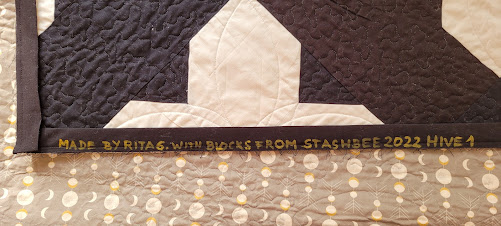
There are no labels allowed for these quilts, but I wrote a quick note on the inside of the binding.

Thank you again, and happy quilting,
Rita

Saturday, February 25, 2023

Finished quilt: Sunny Zipper Block


Finished quilt from 2022 Hive 1! I was able to get some pictures of this finished quilt while it was nice and snowy out. It turns out it snowed even more the next day--but I didn't want to do a repeat photoshoot out in the cold! 

I'll stay inside with my nice quilt instead. 


Thursday, December 15, 2022

Hive 1 (very late) block for Starla

 Hi Starla!

My sincerest apologies for not only posting but mailing your block late. It was a very cute block to make and I’m glad it’s finally on its way to you! Can’t wait to see your final product. Hope you have a wonderful holiday season :)


With love,

Nicole

Sunday, December 4, 2022

Hive 1 Block for Starla


This was such a fun block, Starla! Thanks for picking it out for us. Can't wait to see your forest of colorful trees! 

Apologies for the delay - this month got away from me! This will be in the mail tomorrow, and hopefully it finds its way to you quickly. 

Enjoy!
- Julia H.
 

Wednesday, November 30, 2022

Hive 1 November Block for Starla

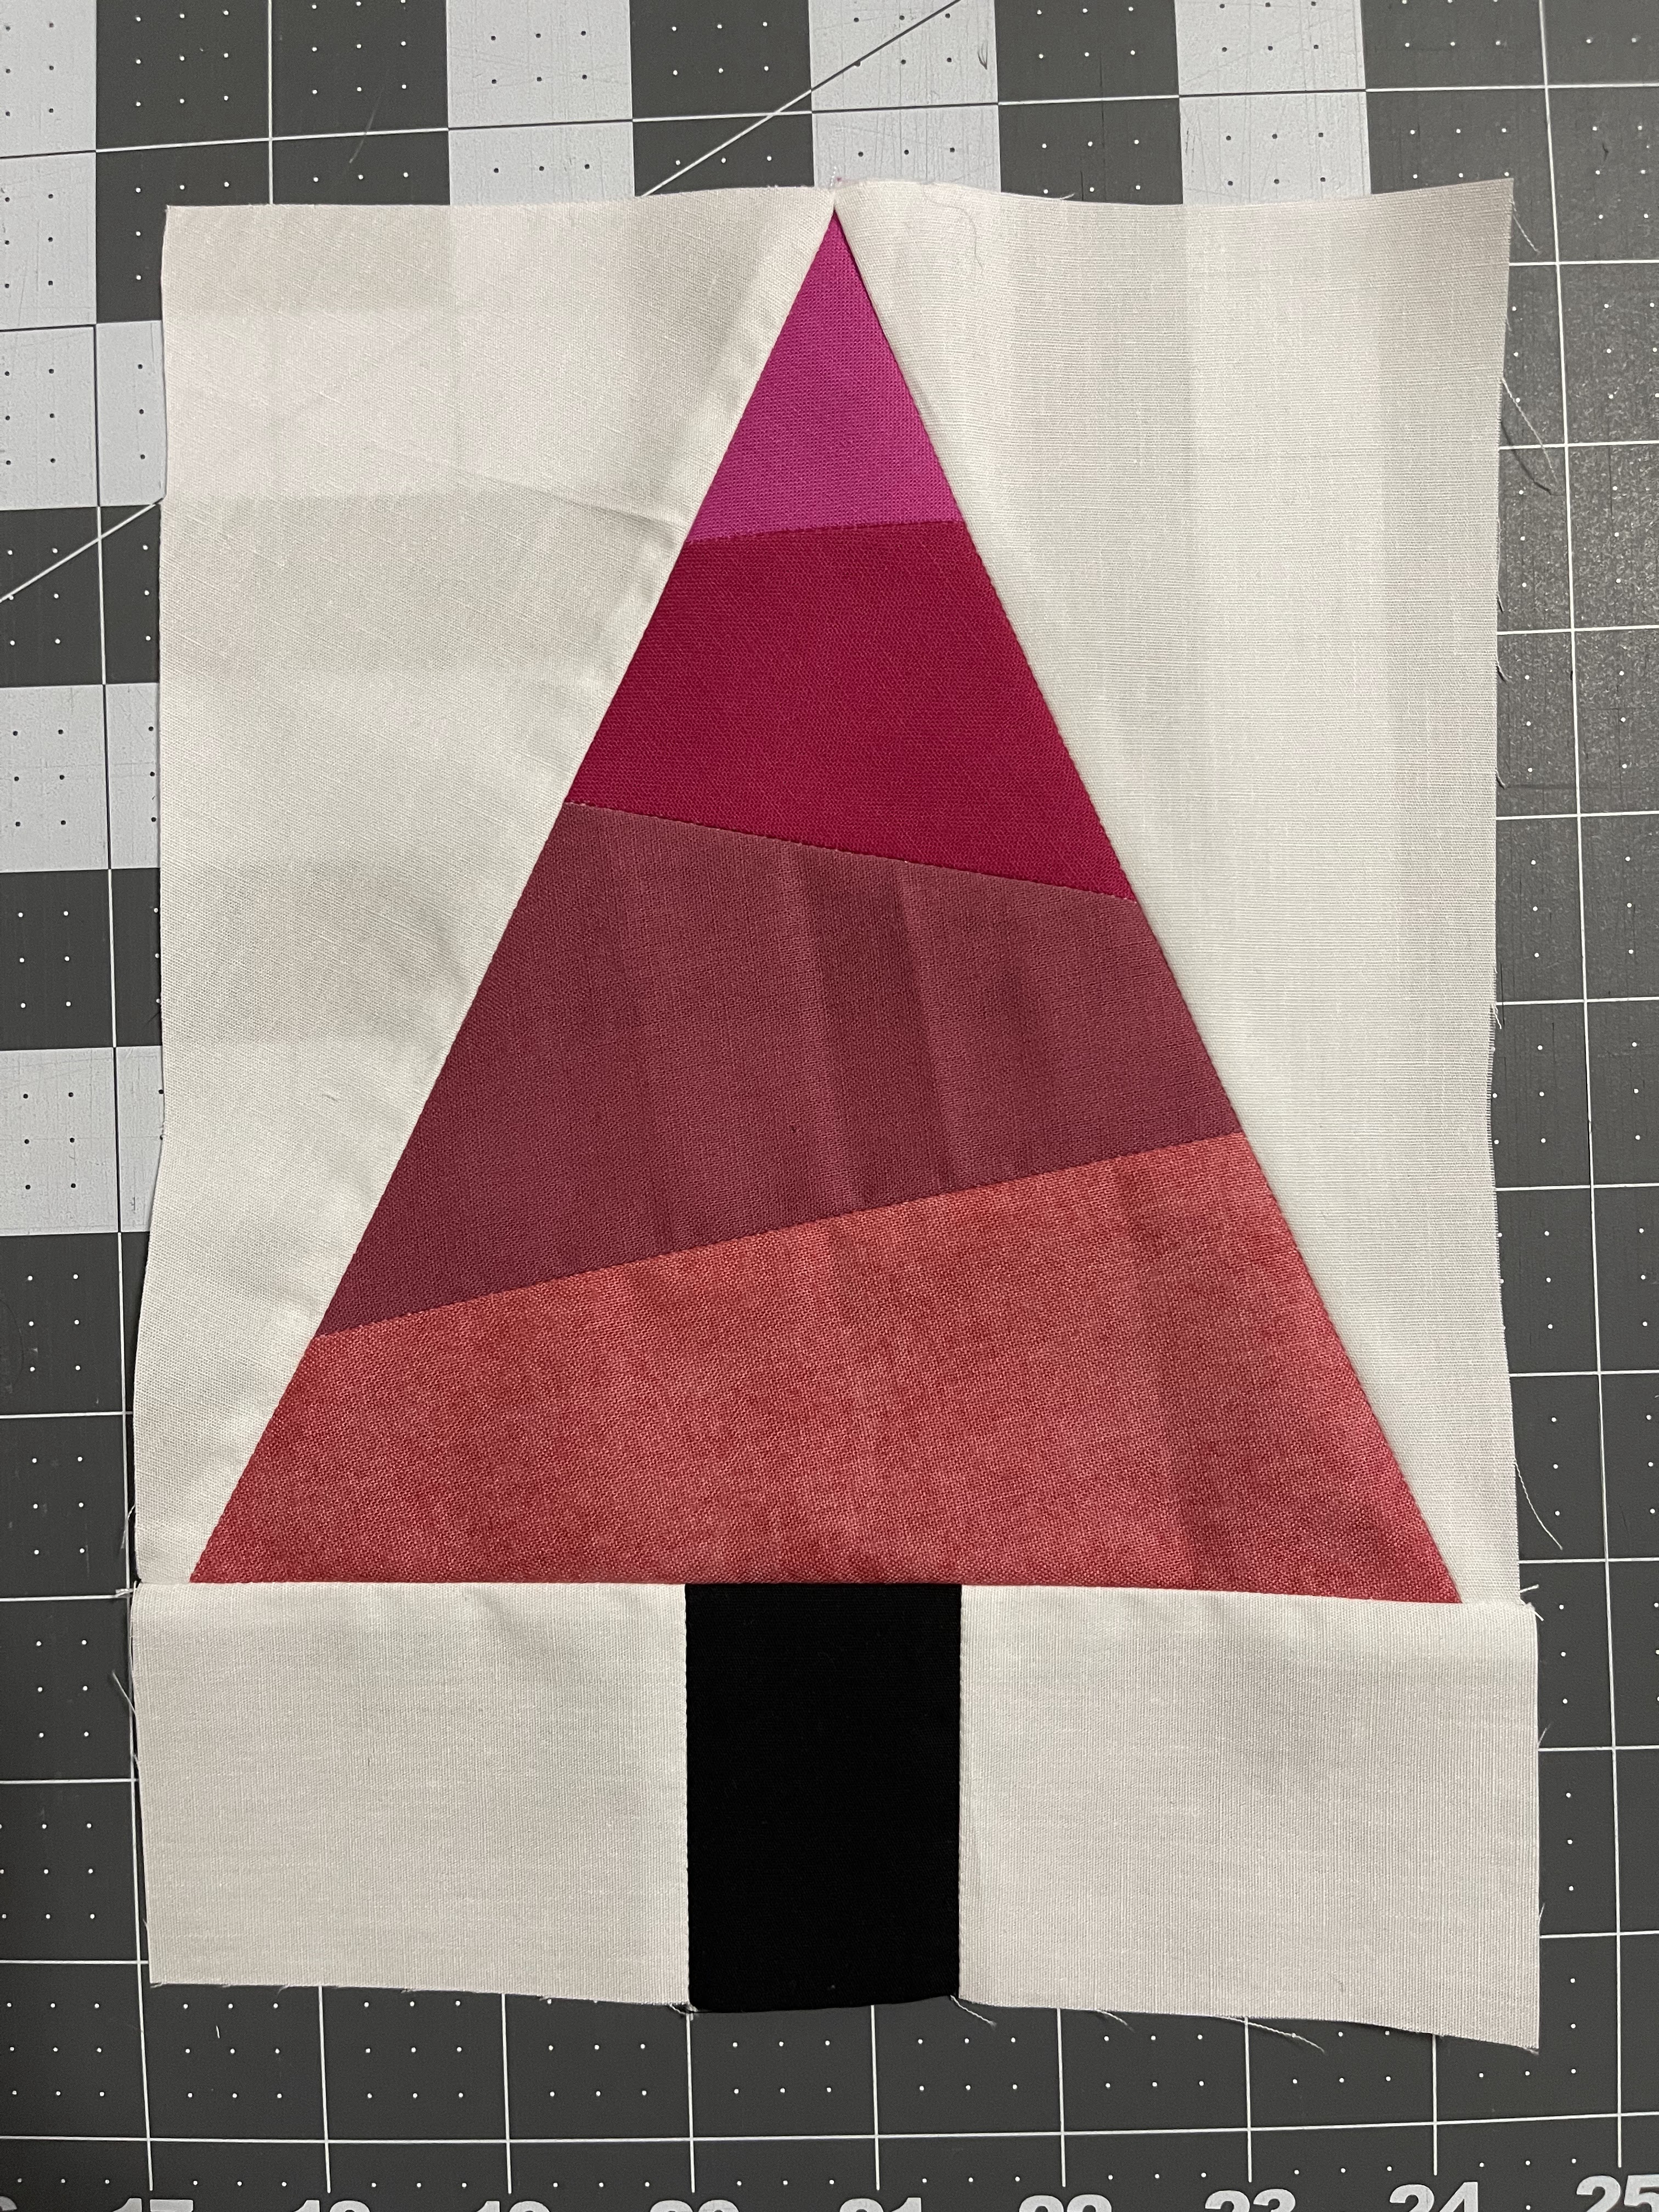
 I was able to find a bunch of pink/purple/magentas--I had fun with the combination! Thanks for the great block choice. 


Monday, November 28, 2022

Hive 1 November Block for Starla


 I really enjoyed making this block. It was a little difficult to find enough of one colour since we have more pastel or muted colours, so once I found enough I just couldnt help myself and made them all.

I hope you like the blocks and they will be on their way to you tomorrow!

Sunday, November 27, 2022

November Trees for Starla

 Here are a few more trees to add to your forest Starla!  One of them (the green one) got jammed in the sewing machine near the corner of the tree so the white fabric frayed a little bit which is why I made you a second one in red. Hoping you can still use both of them.


~ Diana @ Red Delicious Life

Thursday, November 24, 2022

November forests

 Hi Starla, 


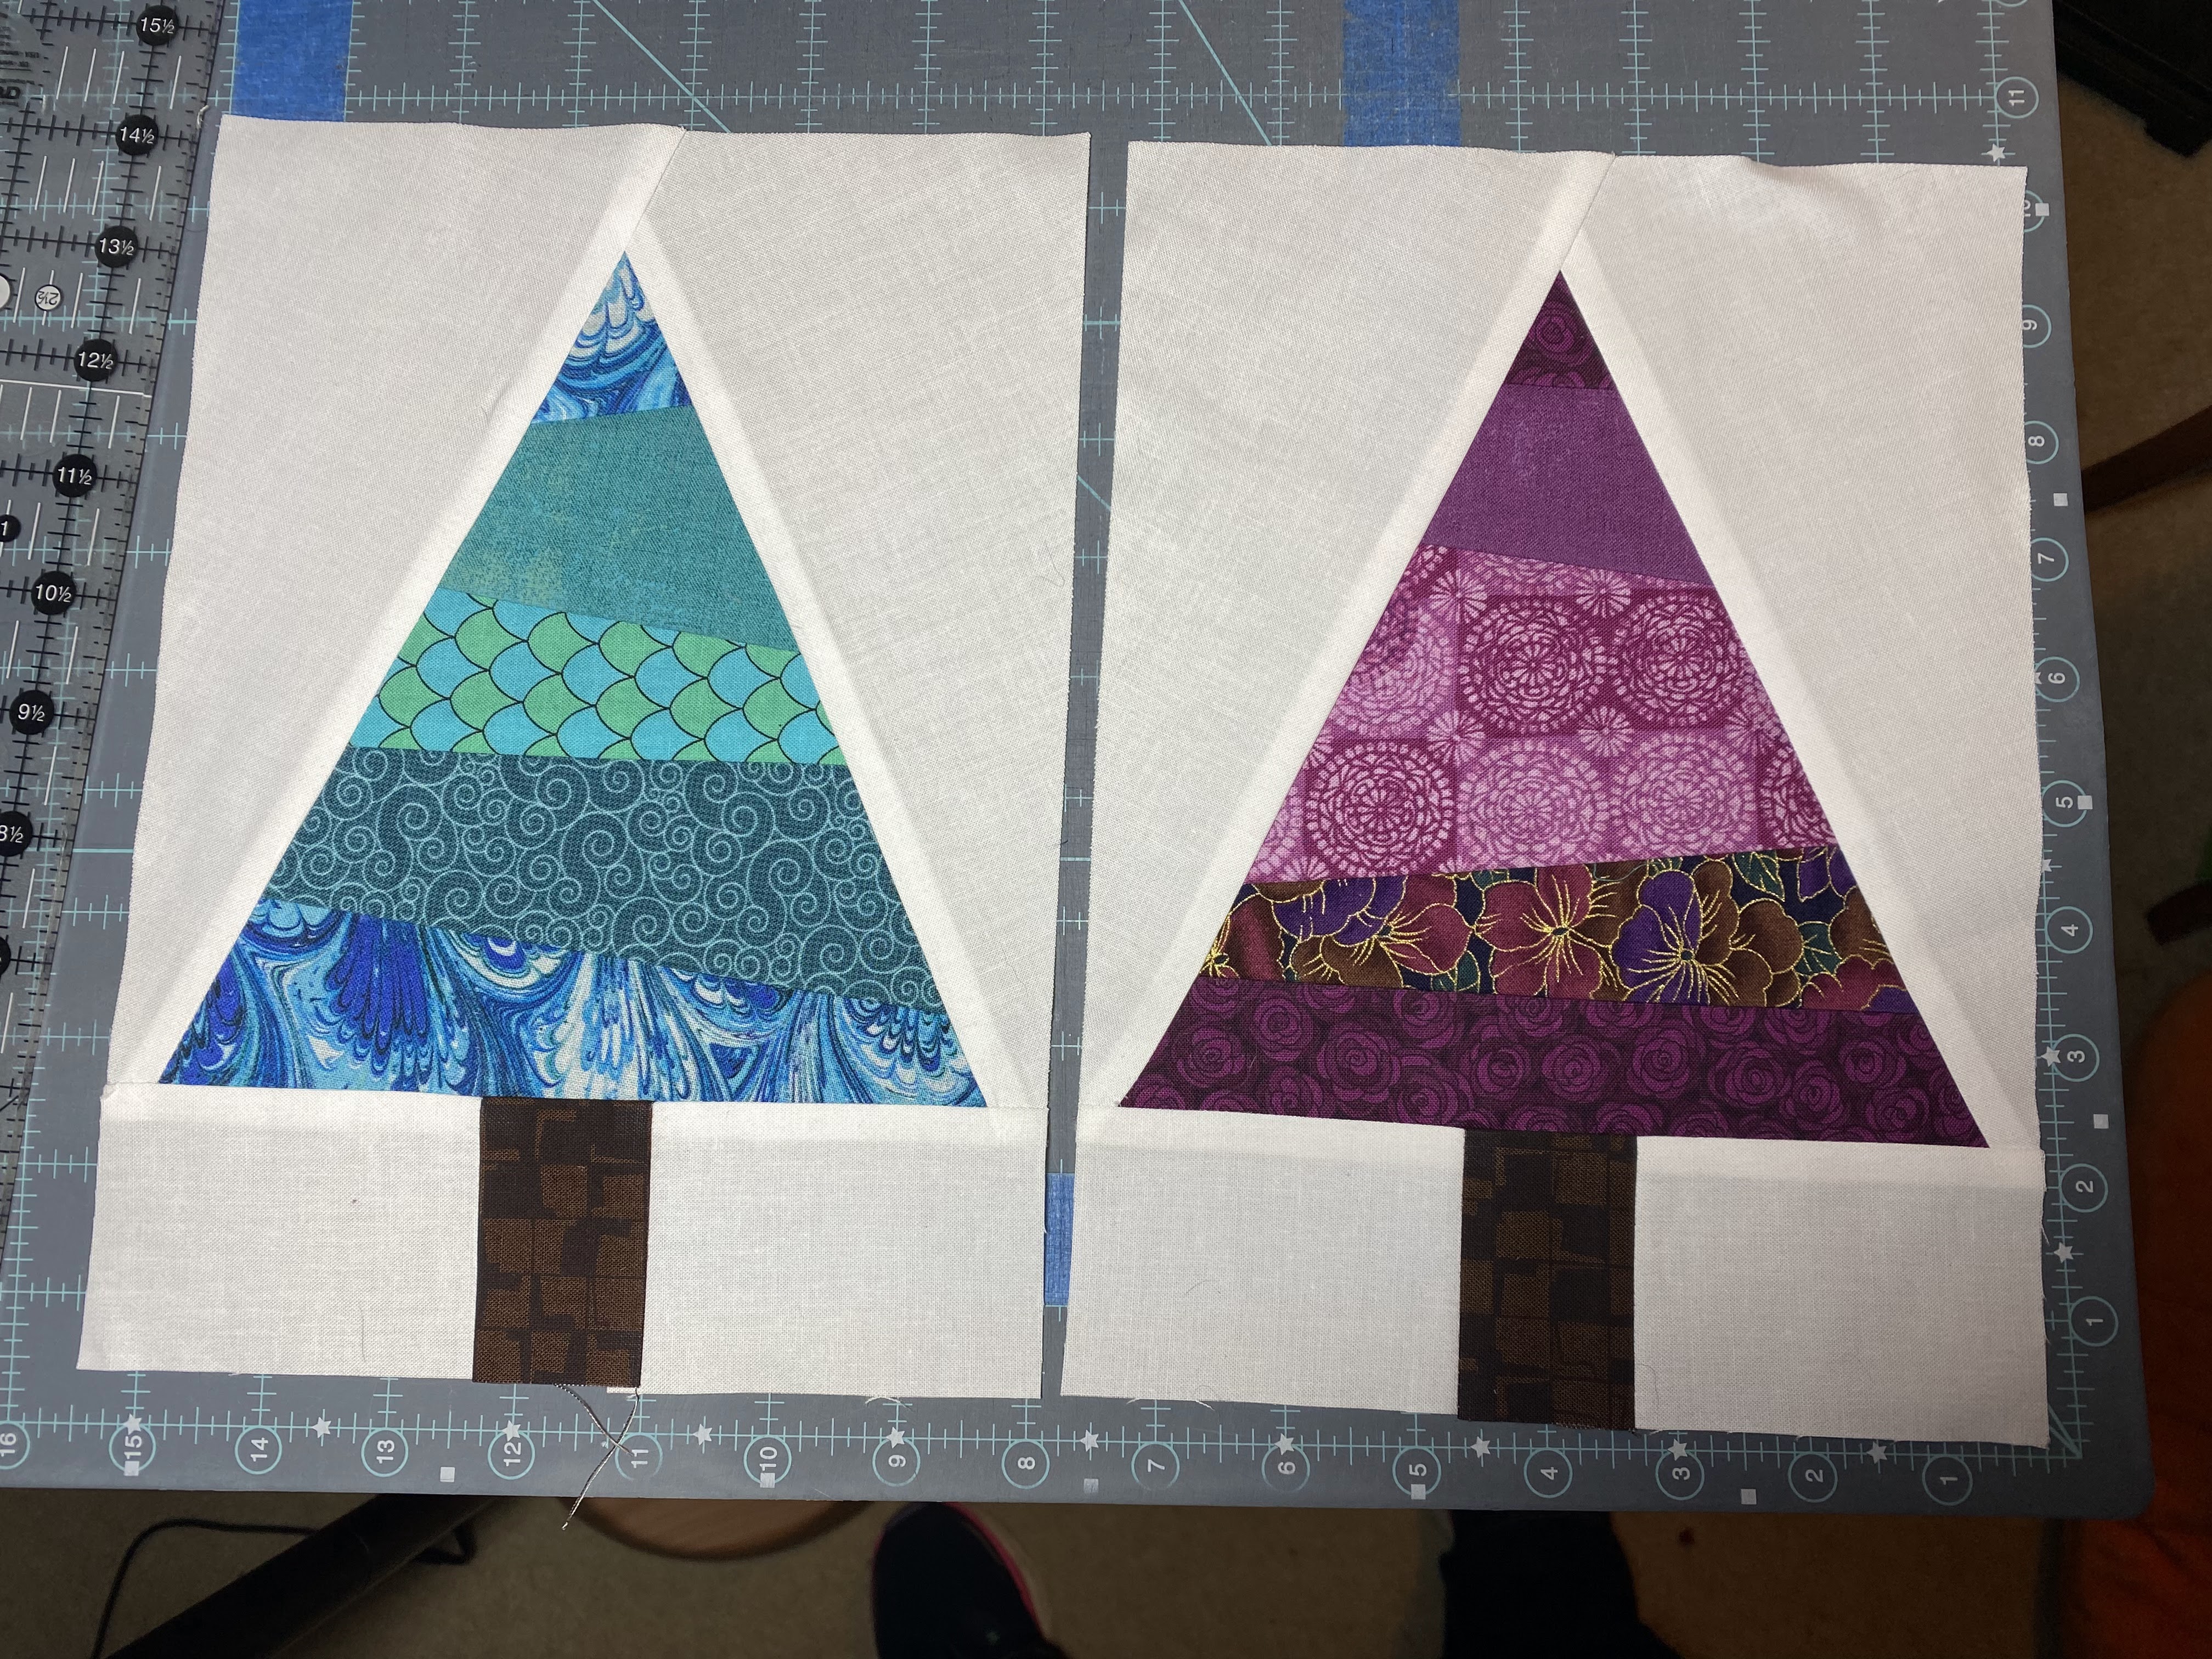
I hope you enjoy these. I did one in pinks using scraps from my month and one in blues because that's a little more me. 


I'll be able to ship them when I'm home Monday!


- Kelsey


Tuesday, November 22, 2022

Hive 1, November Block for Starla


Before the end of the month gets here before I know it, I was able to get these adorable trees done!


I might have said "You're just so cutes" out loud several times while sewing them 😆


These trees are my second attempt, turns out some the glow in the dark "white" made it into my white fabric bin.. I triple checked these to make sure there are no surprises!


I can't wait to see this quilt with all of these adorable trees!!

~Adrienne


Sunday, November 13, 2022

2022 Finished Quilt from Hive 2

 I finished my Lozenges quilt. Thanks to all who contributed blocks! I did make a lot of extras myself to make it 58 by 72 inches. I quilted with a walking foot on my home machine. Looking forward to 2023!


Wednesday, November 9, 2022

2022 Bee Hive 2 - Finished Quilt

Hive 2 - 2022   Finished Quilt

This is my fifth year participating in Stash Bees.  They have been great fun, making so many blocks.  Many times using colors that aren't my norm, but always looked good. This fall I was the queen in our bee.  I asked for a simple Square in a Square.  Instead of each person making four blocks and sewing them into one block, I asked that they just send their four blocks, then I could mix them up.

Here they are laid out and ready to become a quilt.


It took no time at all to sew them together.


Some straight line quilting finished the top off.

Giving a nice simple quilt pattern on the back.

I don't know what is so different on this quilt, but it is the softest quilt I have made in a long time.

This measures at 45 x 45 and will make a great donation quilt.  Into the stash it goes until the right need comes along.


Sunday, November 6, 2022

Hive 1 (late) block for Minnie


As I mentioned in my email, this block's send date was a little delayed--but I was so glad to see all the hive crashers, so hopefully you won't feel the effects of one missing block quite so strongly! It's on its way to you now. -Julia

Thursday, November 3, 2022

November Block for Starla


Dear Starla, 
I found the perfect fabric to match the tree you had made for your tutorial.
The forest you have in mind will be enchanting!😁
Happy Holidays and Merry Christmas! 
Marie


Wednesday, November 2, 2022

Hive 1, November Block for Starla


Hi Starla,


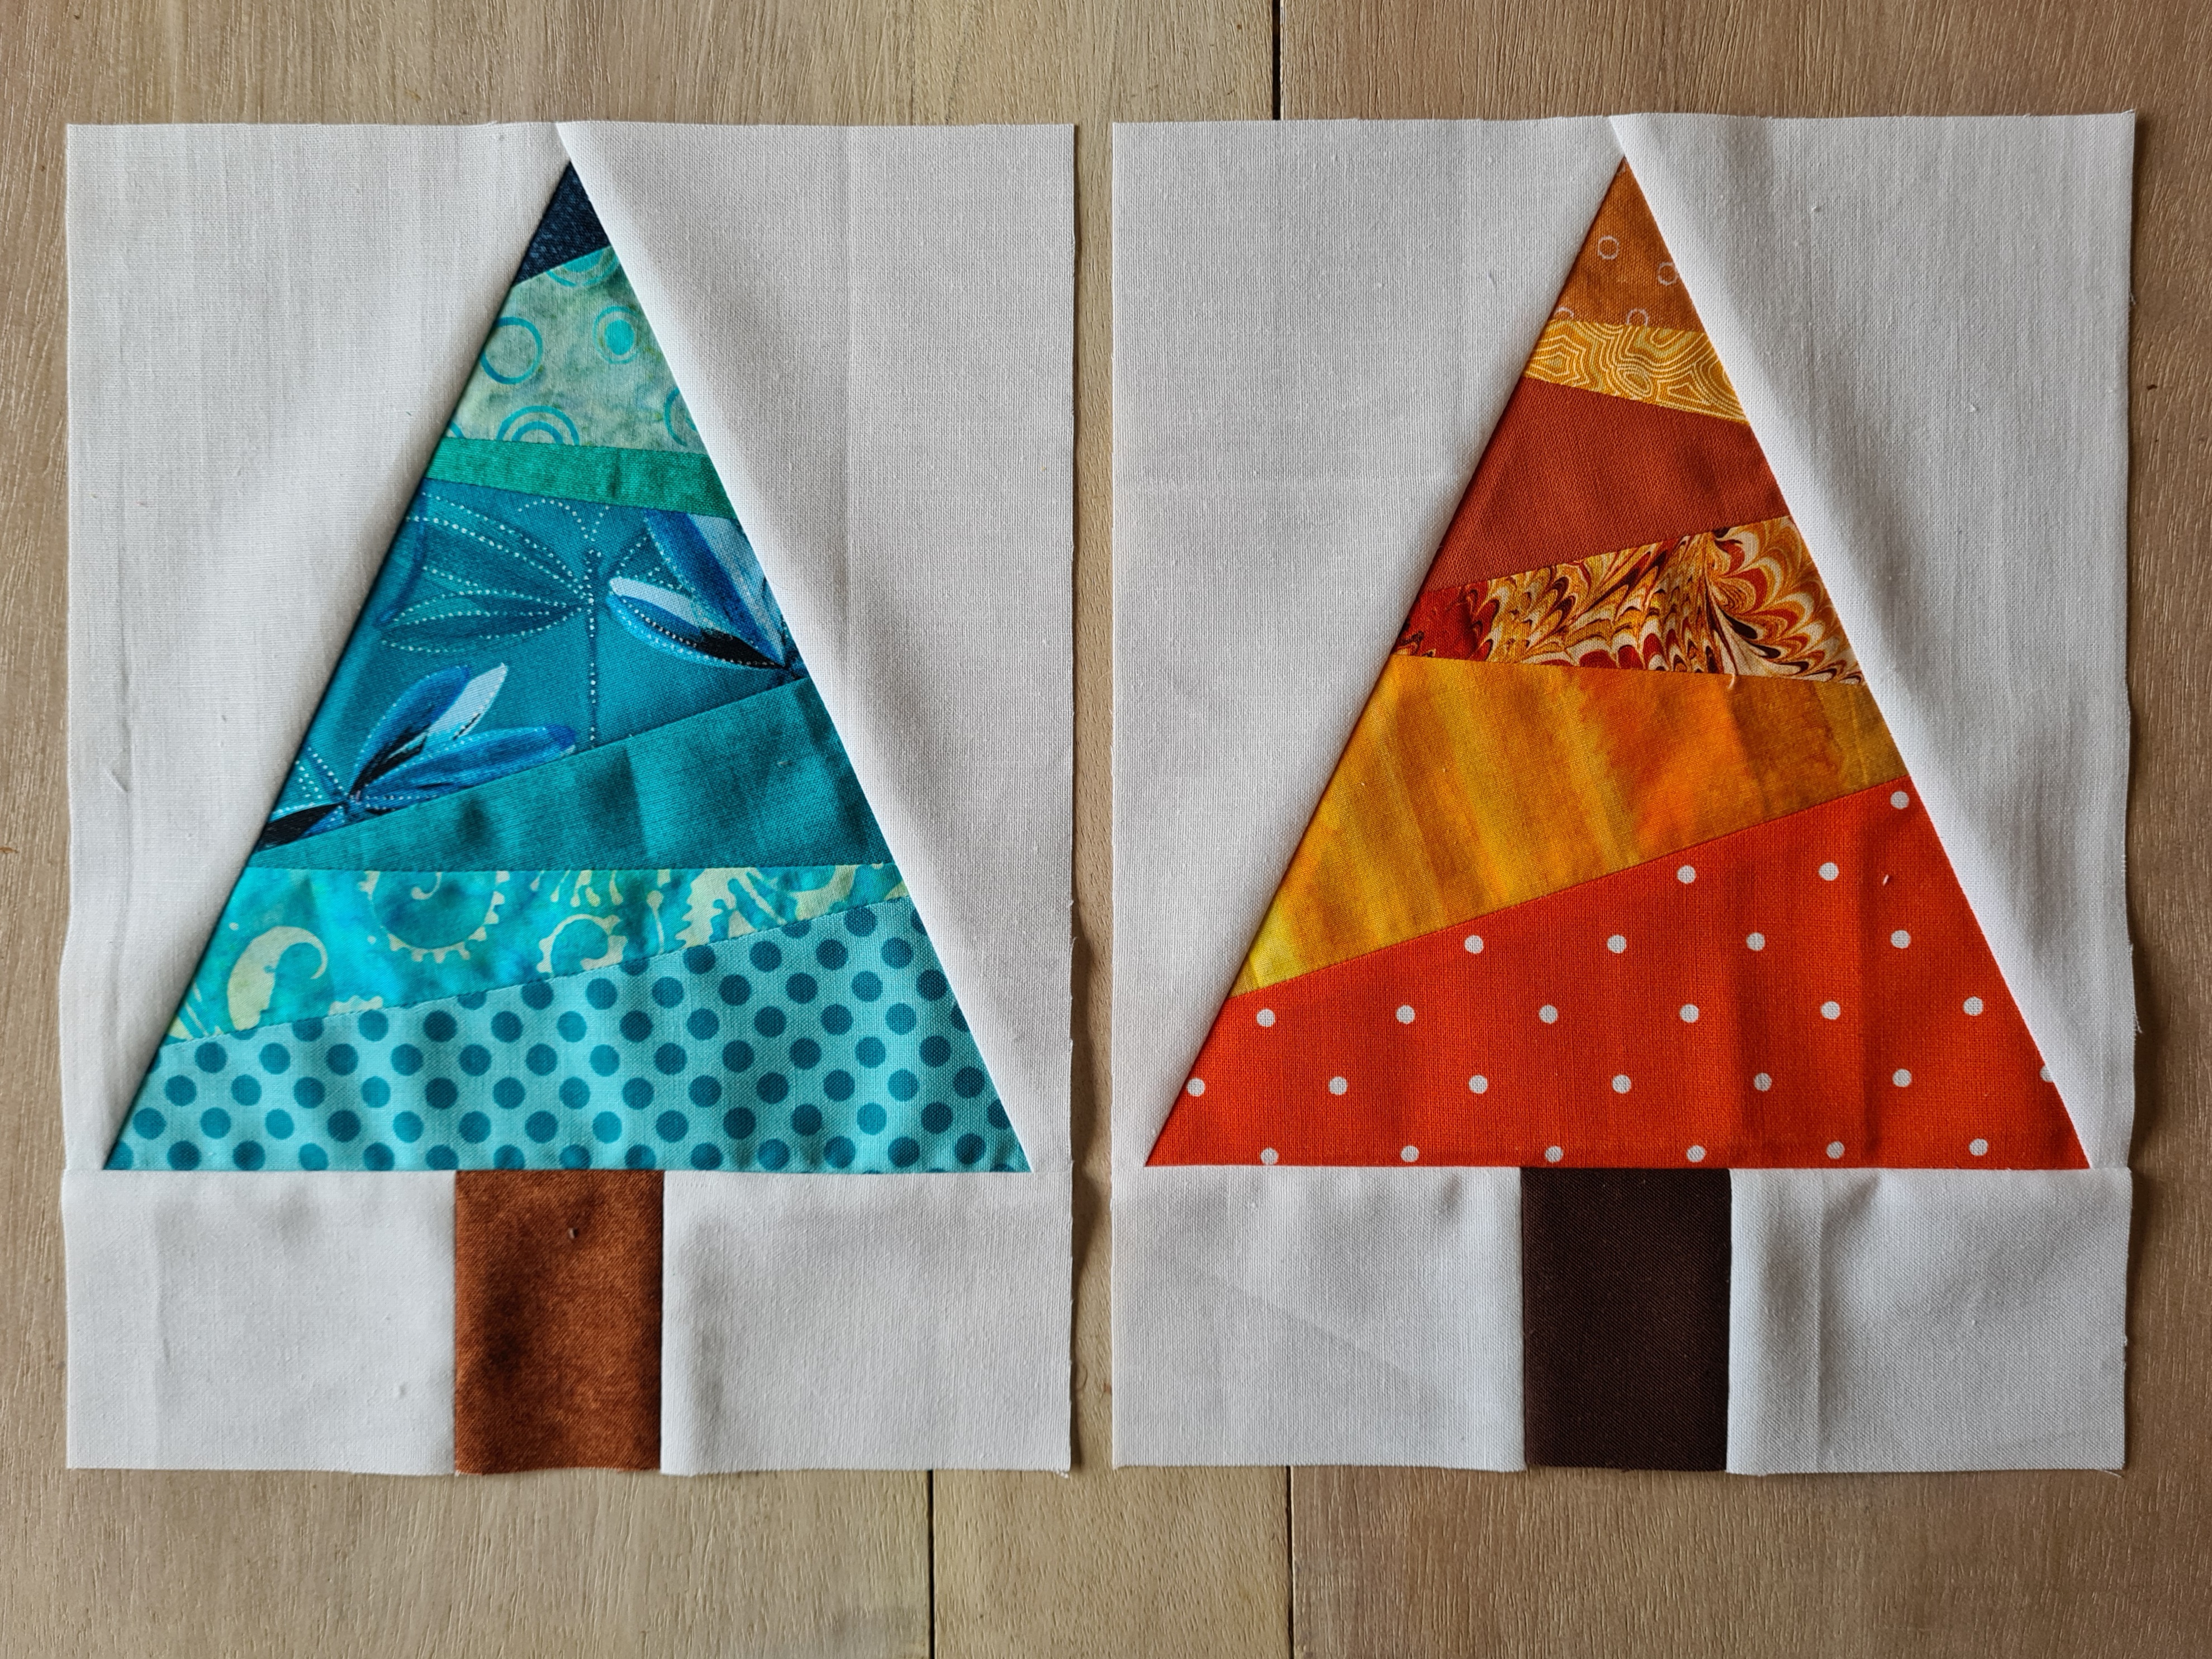
I had lots of fun going through my scrap bins for your trees, I settled on Turquoise and Amber.

These are lovely little blocks to make, hope you get a great forest full of colourful trees!

Those two blocks are going into the post on Saturday.


Happy sewing,

Rita

Tuesday, November 1, 2022

Hive 5 November Tutorial - Star of the Show for Iris


 Give me your neons! Your children's patterns! Your licensed fabrics and your novelties!

For this November block, I was inspired by Judy Newman's book, "Quilts for Life Made with Love". I love her creative take on traditional star blocks, and designed my own with this inspiration!
My idea was to create a star that had a center focus with the added fun of more star points.

Make sure your stitch width is .25 (1/4 inch) otherwise the math will be wonky. 

Well let's get started!

At the end of this tutorial you will have a 16.5 inch by 16.5 inch unfinished inch block that looks like these:


Hive 4 November Tutorial - Double Sawtooth Block for Samantha

Hello Hello Everyone!

It’s been so much fun making everyone’s blocks. I cannot believe how quickly this year went by and that it’s already my turn! There were some pros and cons to going last, and both of them were the amount of time I had to decide which block I wanted to do. I thought about it several times a month, the whole year. I finally settled on something I think y'all will find pretty easy and it’s really beautiful. With the color combination it’s probably one of my favorite blocks (so far anyway!)


For my block I chose a double sawtooth block.

If you look them up you can see a bunch of examples of different color combinations that make the star stand out in different ways. I really like the double star look that comes together when you block the colors as shown. 


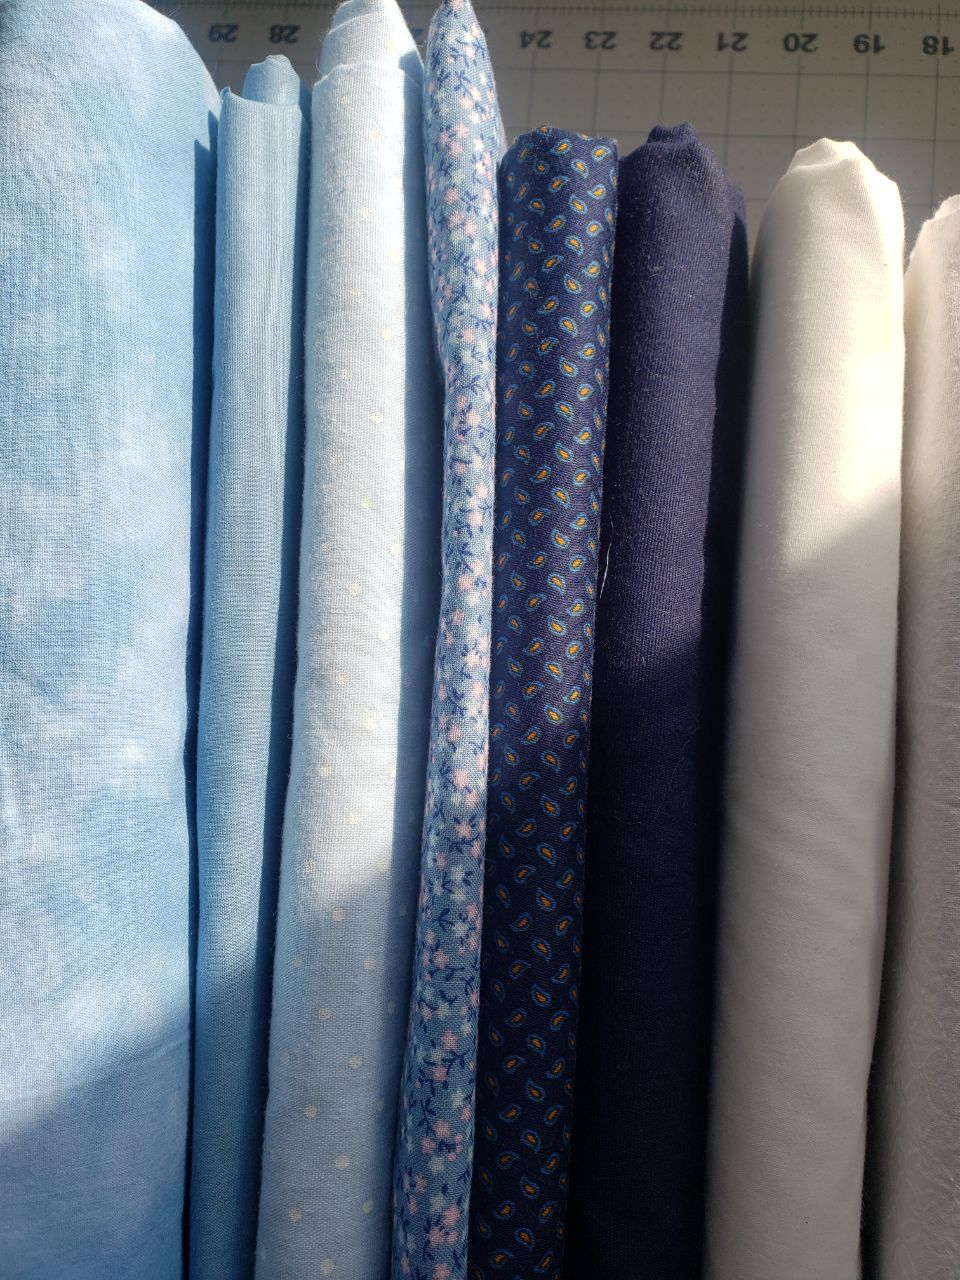
Fabric Pull

You will need three fabrics:

1) you’ll need awhite, or white on white patterned. If you don’t have a basic white or white on white the next best option would be a white with a small pattern. But my preference is a white solid or white on white pattern.


2) You’ll also need some navy, dark blue, or a navy/dark blue in either solid, or with a small pattern. For my example I choose a print that will give you an idea of what I’m looking for in terms of "small patterns" if  you don’t have solid navy or dark blue.


3) Lastly you’ll need a light blue. Again, if it has a small pattern that’s fine, or solid is a good choice. 


My big particular is that all the whites, all the navy, and all the light blues are of the same fabric so I can get that pretty double start effect I’m looking for (so please just choose one fabric for each of the three colours, rather than scrappy).


My idea for the quilt is along the winter-y blue scale and not so much vibrant rainbow blues. So think of winter wonderland while you’re digging through your stashes. 


Here are some examples of my fabrics I’m drawing inspiration from. 

(I am so sorry about the photo quality. I'm working off a phone that's pretty old and cracked. I thought they looked great until I went to upload them!)


Cutting

Alright let’s get to work! This will be pretty quick and easy for everyone I’d imagine. And I am by no means a perfectionist. I really don’t mind a point that isn’t perfect or what have you. So no stress, just enjoy the last block of the year. 


You’ll start by cutting the following:


Light blue

  • 1 square 3 ½” x 3 ½”  
  • 8 squares 2”x2” 


Navy

  • 8 squares 3 ½” x 3 ½” 
  • 4 rectangles 2” x 3 ½” 
  • 4 squares 2” x 2”


White 

  • 4 rectangles 3 ½” x 6 ½” 
  • 4 squares 3 ½” x 3 ½” 


Piecing the Block

Step1:

The first thing I did was draw diagonals on the back of my (8) 2” light blue squares, and on the back of the (8) 3 ½” squares. I just used a pencil, no need to fuss. Please also note that you’ll be stitching on this line.


I did the inside and the outside of my star at the same time. But if you like to take it a step at a time I included a link to another tutorial at the end. 


Step 2:

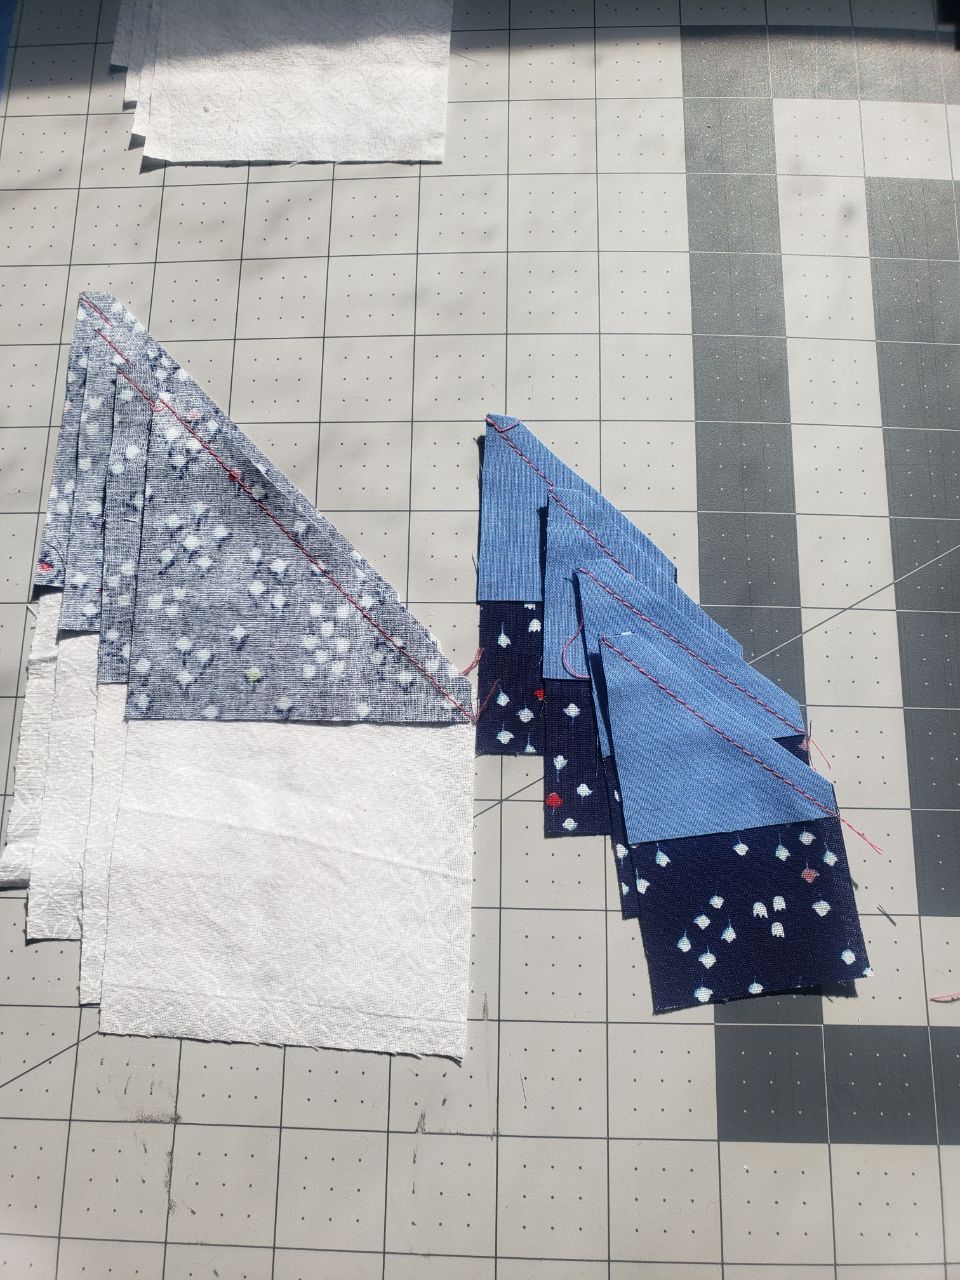
Place your marked light blue squares on the corners of navy rectangle (2” x 3 ½”) so that the diagonal runs from bottom left to top right.

Then place your marked navy squares on the corners of the white rectangles (3 ½” x 6 ½”) in the same direction (bottom left to top right)


Just do one side at a time, but chain-piecing all 4 of each star (inside and out) at the same time seems super quick to me.


After you stitch on the line, trim off ¼ inch and press to the darker side (or open if that’s your preference) 


Step 3:

Then, you’ll repeat this step with the opposite side. Make sure your diagonals run in the opposite direction- Top left to bottom right this time. (Like I'm showing in the picture, that you can't see because the potato quality of my camera!) It's going to look like a flying geese situation when you are done.


Step 4:

From here it goes super quick! 


You’ll want to start with the small star, and you’ll attach two of the star points you just made to the top and bottom of the larger light blue square. (mine in the photo is flipped so I did the sides first instead of top and bottom, makes no difference)


Take your other two star points and you’ll use the 2” x 2” navy squares and sew those to both sides of the star points. Then just sew those suckers onto the other side of your larger block.


Step 5:

To add the outside of the star, you repeat the process.

Sew two of your navy/white star points to the top and the bottom of the smaller star. Sew the 4 white squares to the other two star point. Then sew those onto the block. 


Easy breezy. But, I understand my directions may not be super clear so here is a link to the tutorial I used. It’s from McCall’s patterns. https://s31968.pcdn.co/wp-content/uploads/pdf/Double_Sawtooth_Star_Block_for_web.pdf


Thank you all so much for your time, and thank you all for picking such fun blocks. I really feel like it was a good practice to test some of my skills. I wish you all the very best and I hope to see you next year for the bee!

I took in a stray cat this year, who turned out to be pregnant! In her litter she had two polydactyl cats! This silly extra toed cat ended up finding a home with us. She is sitting her fat cat butt on the other double sawtooth star project I'm working on. 


Hive 2 - November Tutorial - Pineapple Blossom Block Amy

 It's November already!

For this month, we will be sewing a Pineapple Blossom block from Quiltville.

**please note that my address has changed since I filled out the form at the start of this swap. THE ADDRESS FORM HAS BEEN UPDATED


 Colors: I would love for this to be a bright and beautiful free for all. My only request is a solid or tone on tone navy blue for the center square and corner triangles and fun, bright prints for the strips (medium or small scale prints preferred and preferably not holiday).


The full instructions can be found here: https://quiltville.blogspot.com/2005/06/pineapple-blossom.html

I’ve got the basic instructions below:


First cut:

From Navy blue solid or tone on tone (for center and pineapple corners)

Five 4.5” squares

From Bright prints

Two 2.5" X 12.5" rectangles.

Four 2.5” X 8.5” rectangles

Two 2.5"X 4.5" rectangles


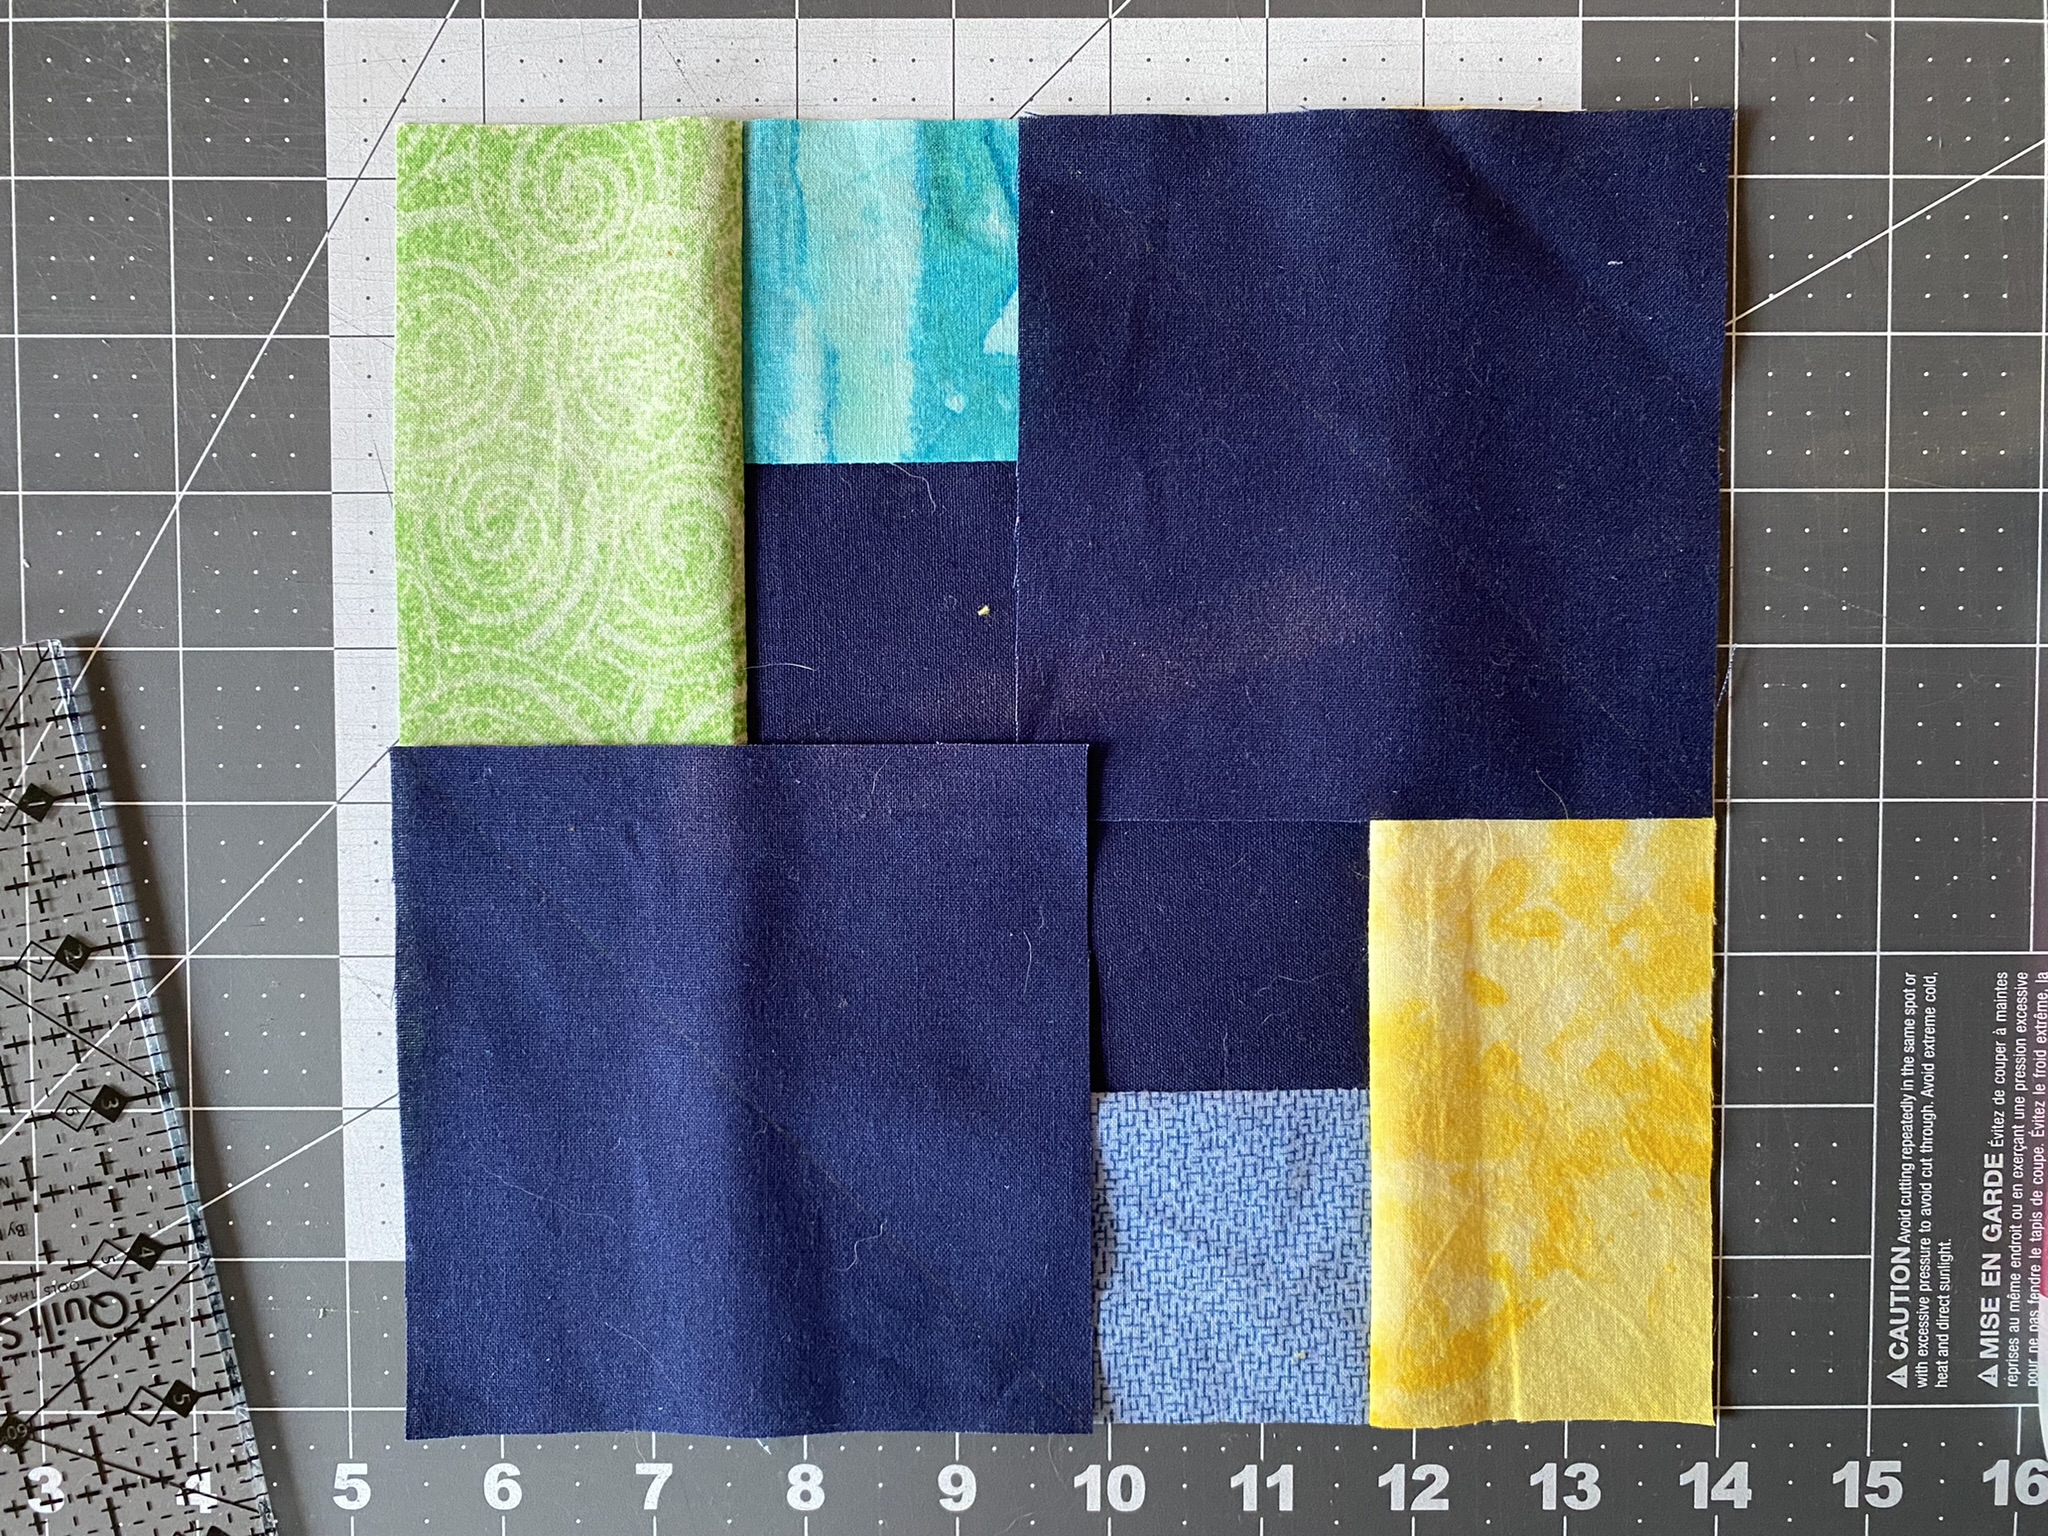
Start by attaching the 4.5” rectangles on opposite sides of the center 4.5” square.


Next attach the 8.5” strips 


Next, add a square on the upper right and lower left corners using the flip and sew method (optional step, add a second seam with about a 3/8” gap…closer to the corner so you end up with bonus half square triangle). 


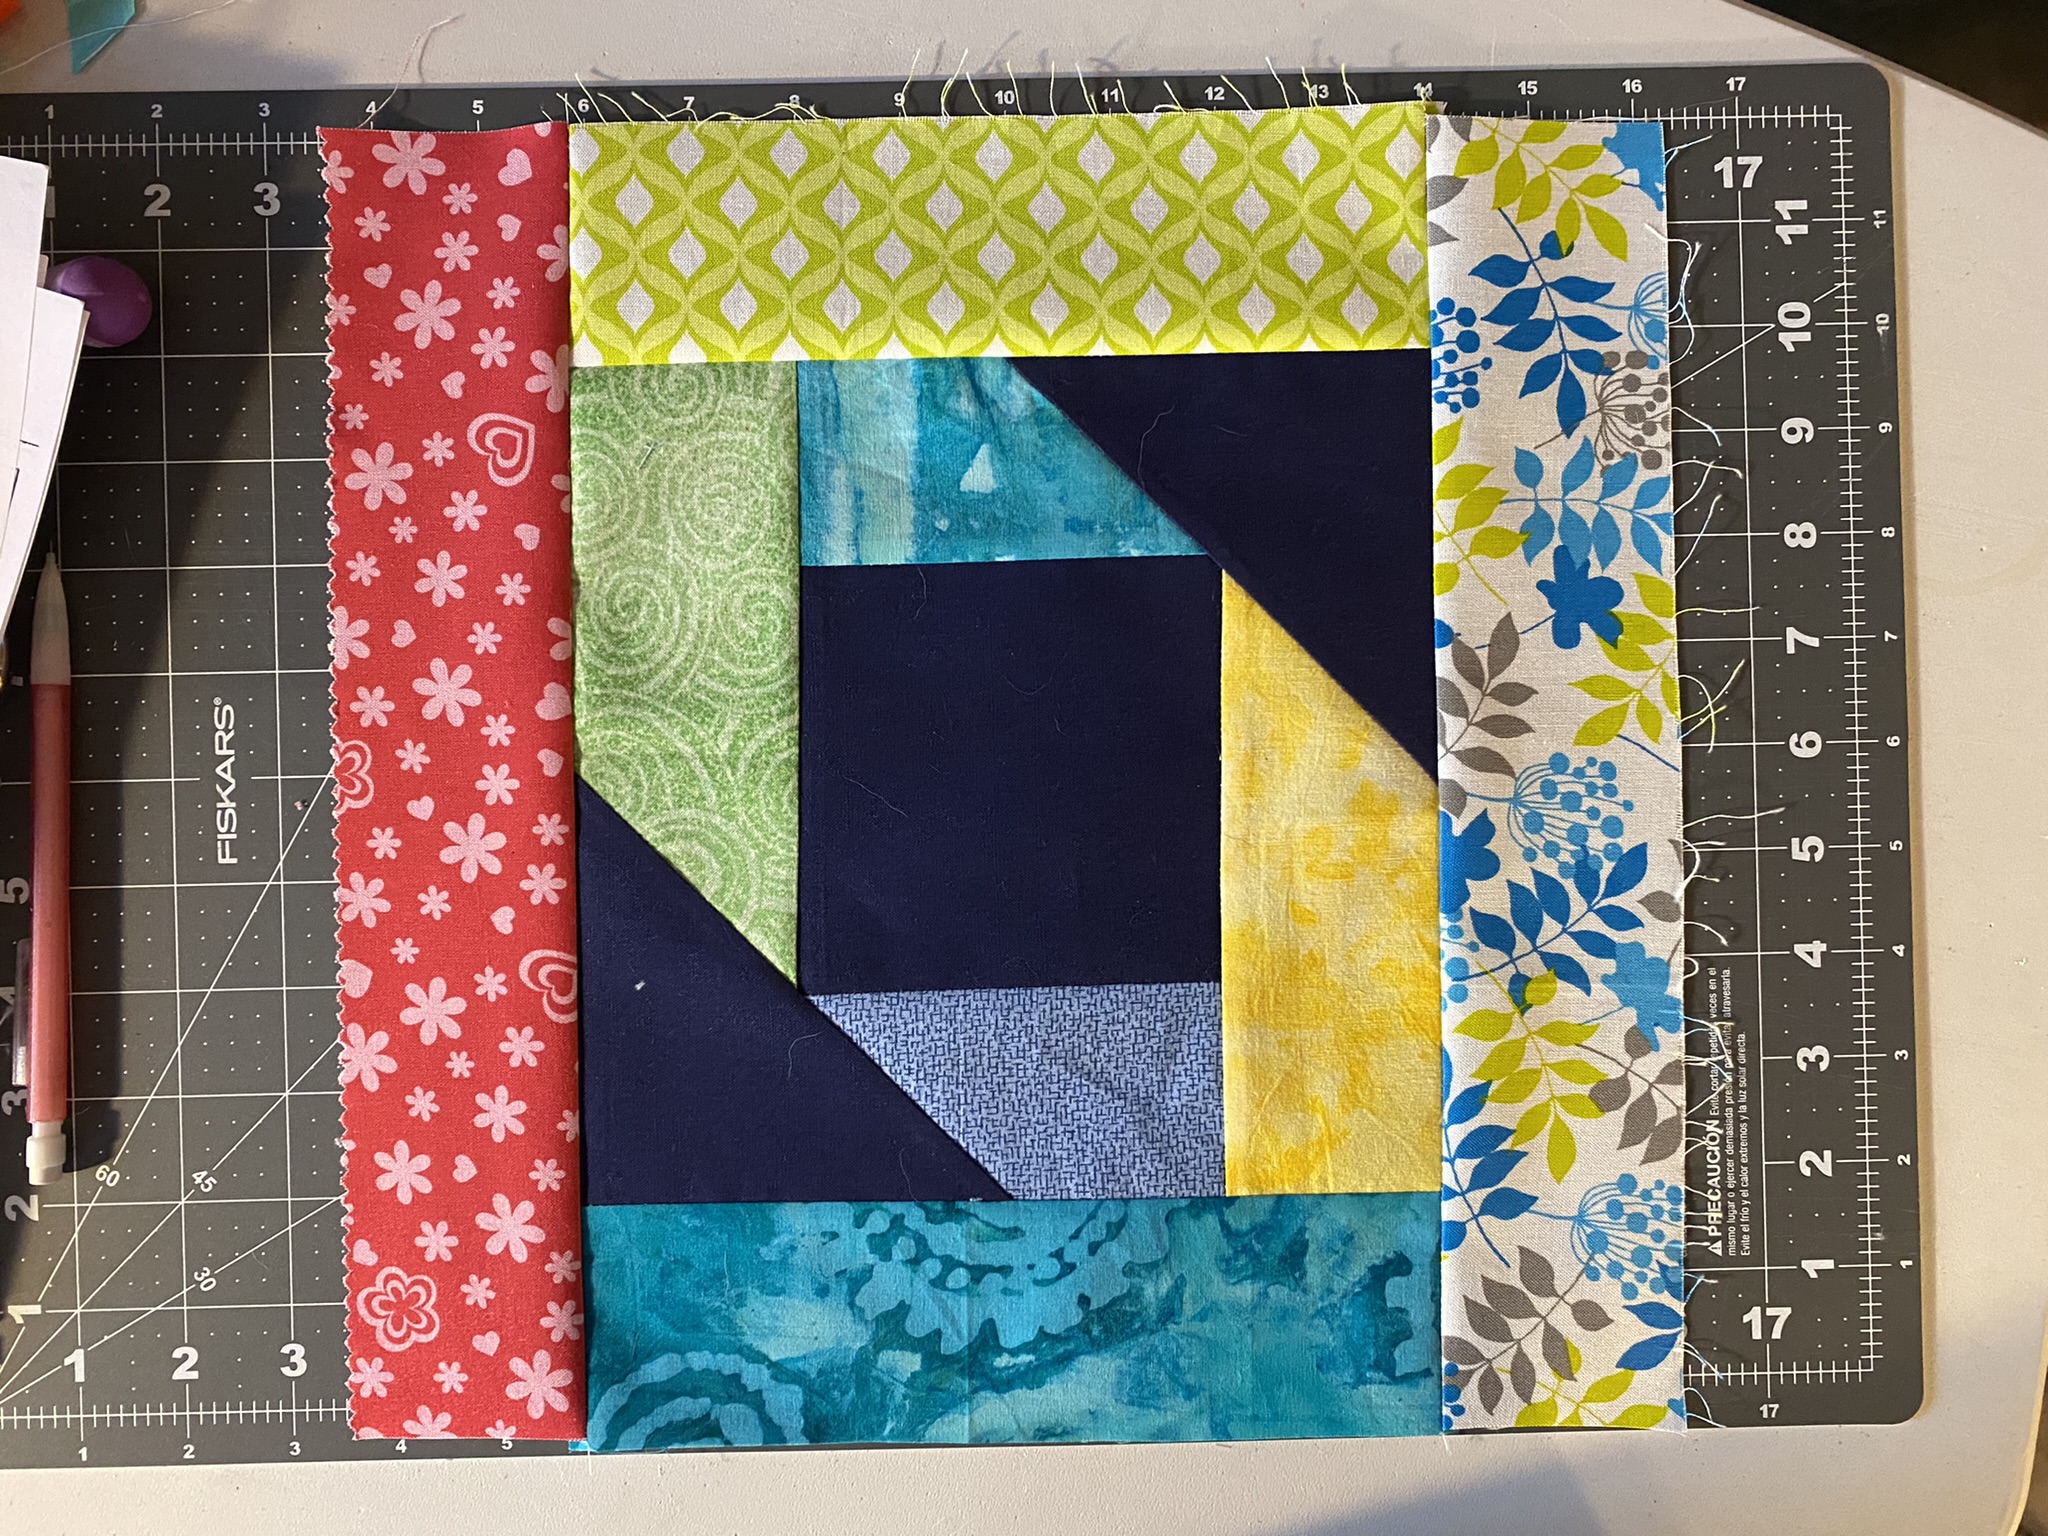
Now, add the second set of 8.5” strips to the top and bottom followed by the 12.5” strips on the sides


Next, add the final two squares to the upper right and lower left corners, again with the sew and flip and optional second seam for another pair of bonus HSTs 


TA DA!! This ended up being a really fun block to assemble. I was able to just grab from a pile of scraps and extra jelly roll strips I had laying around. I hope you all have fun with this one as well.