Happy November!
Julia has a plan in mind for a future Hive project so I did a little block exploration on her behalf. I hope these blocks work out and lead to a successful collection of blocks in 2026!
Marie


Hi Marie,
I just realised, I forgot to take pictures! I was so sure I did :(.
Well, you asked for more Tree-Blocks, so I made three 🌳🌲🌳. Hope the colours go with what you are aiming for with the quilt.
Some of the scraps come from left-over fabric I had from taking a workshop with Lorena Uriarte this September, so those came all the way from Australia! 🐨
I put the blocks in the post on Monday, so they are already on the way to you. 📮
Happy sewing,
Rita
Can you believe it's November already? Or finally?
This month I am requesting that you all make a not quite completed Scrappy Bear Paw Block. Instead of a completed traditional block like the one below, I am asking that you only make the 4 "paws". This will allow me to mix your paws with my paws and the paws of the others to get a very mixed up, scrappy look. It also saves you fabric as well as some time cutting and sewing.
I love Bear Paw blocks, they are simple in their construction, even a beginner could make them. They can look modern and cheerful when made with bright fabrics, vintage or traditional by changing the colors. They can be feminine or masculine.
This is what I am asking you to make.

Below is what the completed block will look like, As you can see, what you will be making is not quite "finished" as it's lacking the sashing and center cornerstone.

Because you are sending separate paws you can make them all the same, you can use the same fabrics just mixed up in each block, or you can make each block completely different. It's up to you.
I do ask that you not duplicate a fabric in a block and instead use 8 different fabrics, not counting the background fabric. The 4 blocks above were made from 9 different colored fabrics, not counting the background fabric.
For the fabrics I am looking for bright colors either prints or tone on tones that have good contrast against the background fabric. Please no brown, gray, white, or neon. Below is a photo of some suggested colors and fabrics to add to what is shown in the photo of the "paws" above.
.jpg)
You will be making 4 paws so in total you will need:
16 colored squares, it can be 4 each of 4 colors or any variety you choose
16 half square triangles of a background and a color, 4 each of 4 colors or any variety you choose
4 black squares
Cutting
16 2 1/2" squares from the colored fabrics
4 2 1/2" squares from the black background fabric
8 3" squares from the colored fabrics (or whatever your preferred method calls for to make 16 2 1/2" half square triangles)
8 3" squares from the black background fabric (or whatever your method calls for to make 16 2 1/2" half square triangles)
Making the 16 Half Square Triangle Blocks please use the method that works best for you. This is the method I used, it makes 2 half square triangles at a time:
Using the 3" squares of colored fabrics draw a line from one corner down the center of the square to the opposite corner. Place a colored square and a black square right sides together. Sew a 1/4" from the line on each side. Cut the block in half on the drawn line, you will now have 2 half square triangles. Open, press seam to the dark side, trim to 2 1/2". Make 16 of these.

Assemble Rows of Blocks

Row 2 will be 1 Half Square Triangle, then 2 colored squares, press seams opposite direction of Row 1
Row 3 will be 1 Half Square Triangle, then 2 colored squares, press seams in same direction of Row 1
Sew the rows together in the order listed.
Press the block, it should measure 6 1/2", make 4 of these

I hope you all enjoy making these blocks! I look forward to seeing what you all come up with!
Thank you - Bretta
Sorry I missed the deadline. I put too many things on my plate! Will mail today.

Chris
Woohoo bookshelf block! These are always fun :)
This is pretty basic, but hopefully Mom will still like it!


I've had my eye on this pattern for a while and couldn't resist making a tree and house for Ruth. These were so easy to cut and sew that I'm definitely putting it my To Do pile.
I can't wait to see your finished town Ruth!

Hello from the rainy Northwest. Winter has come to Vashon, WA, and that makes me want a little more color in my world.
This is my first block exchange, and I've really been enjoying making the blocks we've worked on this year. I look forward to seeing what each of you has done with the blocks you've received. Another thing I have loved about the process has been getting to know my own stash again and finding bits of fabric I had completely forgotten about!
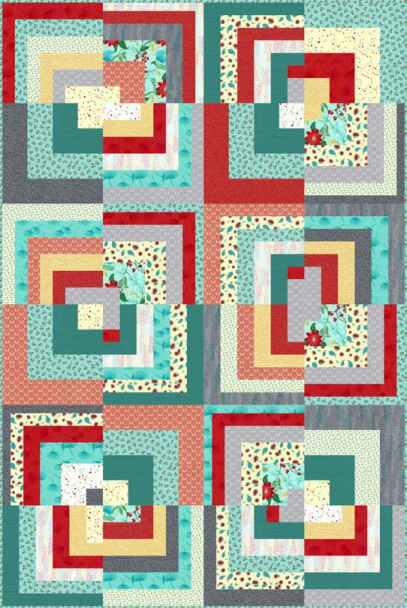
I went back and forth over which block to request, and finally decided on a 1/4 Log Cabin block. The design is based on the classic log cabin block, starting with a square and building out around it - but you only add 'logs' on two sides of your original square, so that first square ends up being in one corner of the finished block.
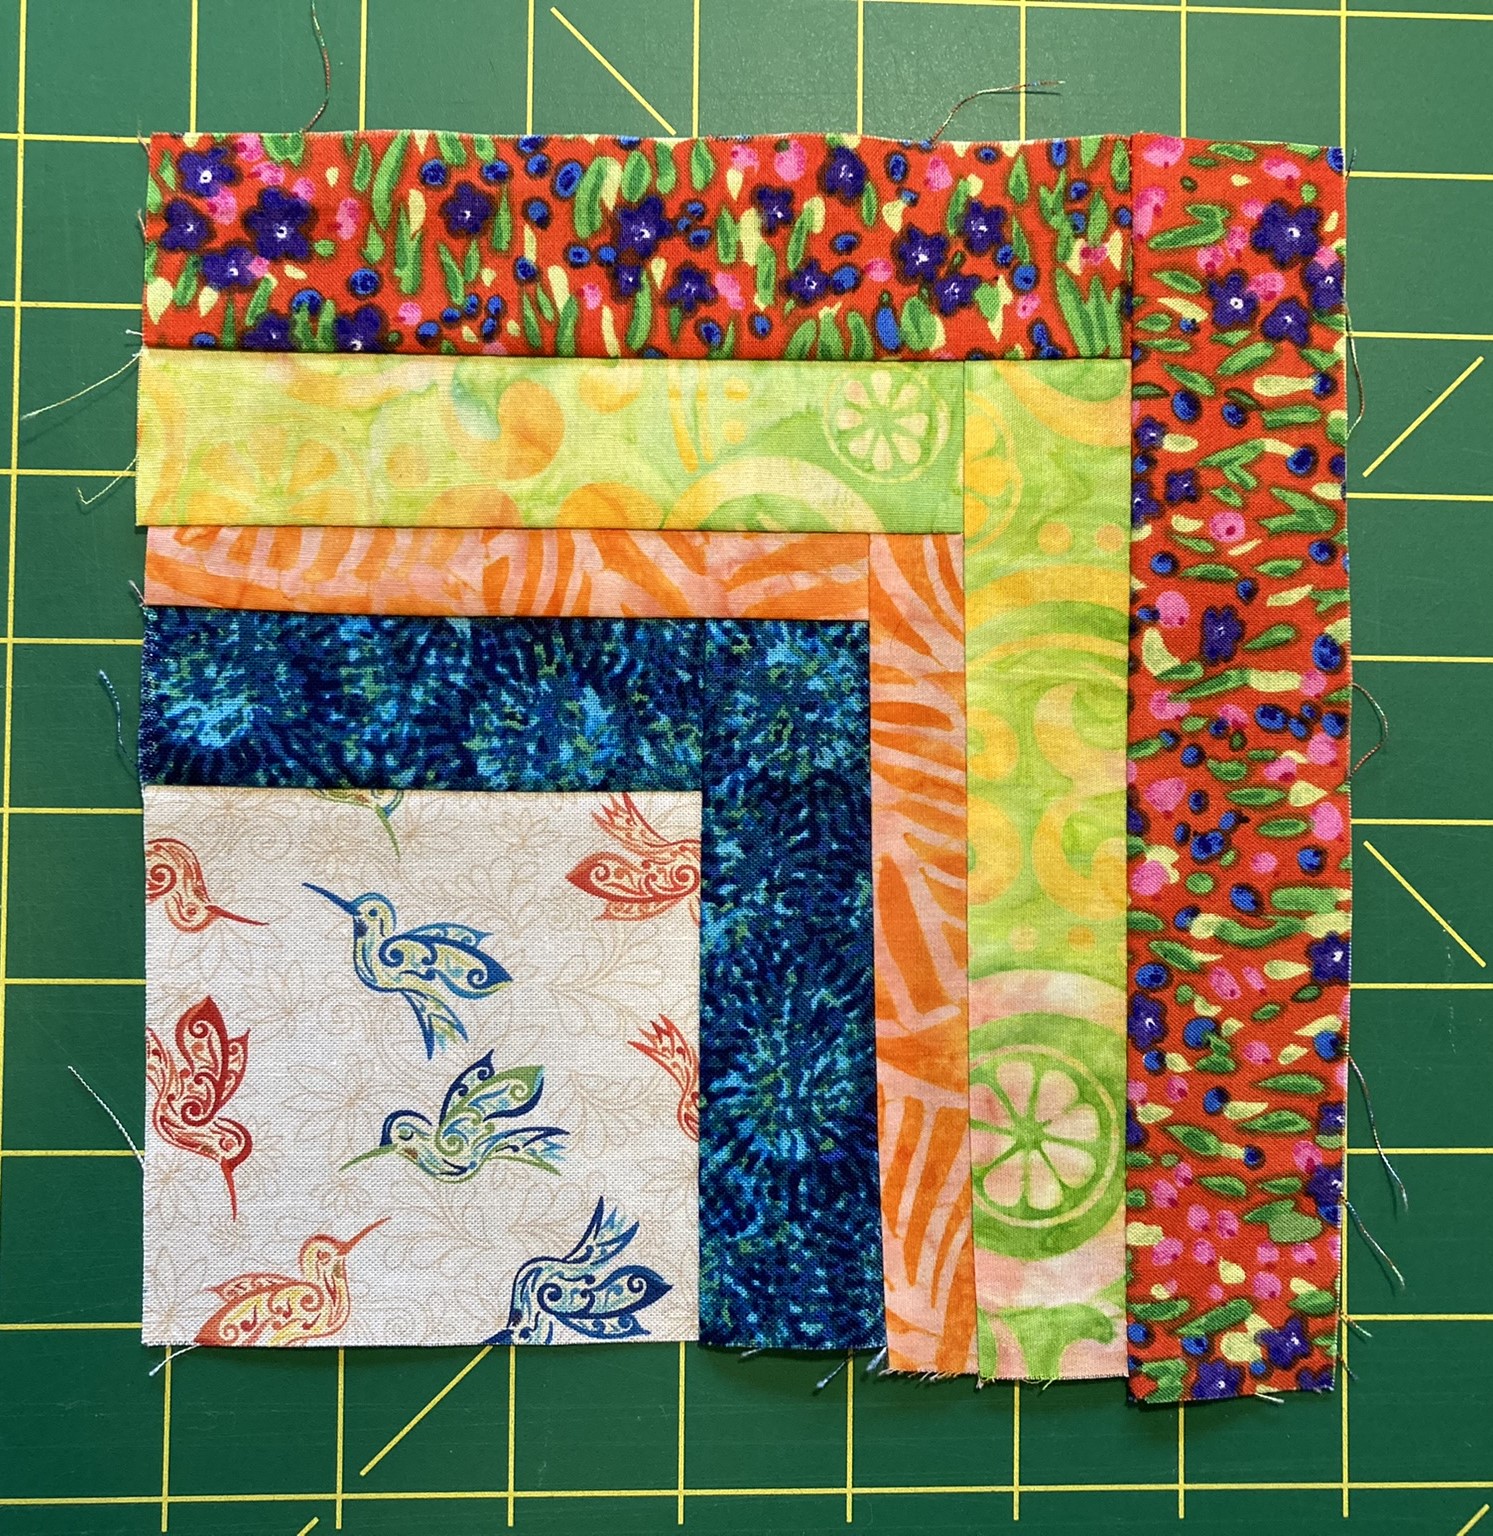

Since I didn't know what to expect, I decided to do a really scrappy block, and it's been such a fun process I thought it would work well for this block exchange, and then I'll have more to add to this quilt!
No need to have every log in your cabin be one of those colors - I'm hoping each block will have a bit of one of those colors in it somewhere, but it's more important that the colors in your block blend with or complement those basic colors. The overall look of the squares can be quite scrappy, with the unifying theme between the blocks being that bit of blue aqua/lime/grass/salmon pink range.
Here are some of the squares I've sewn so far - you can see they're all over the place with color:
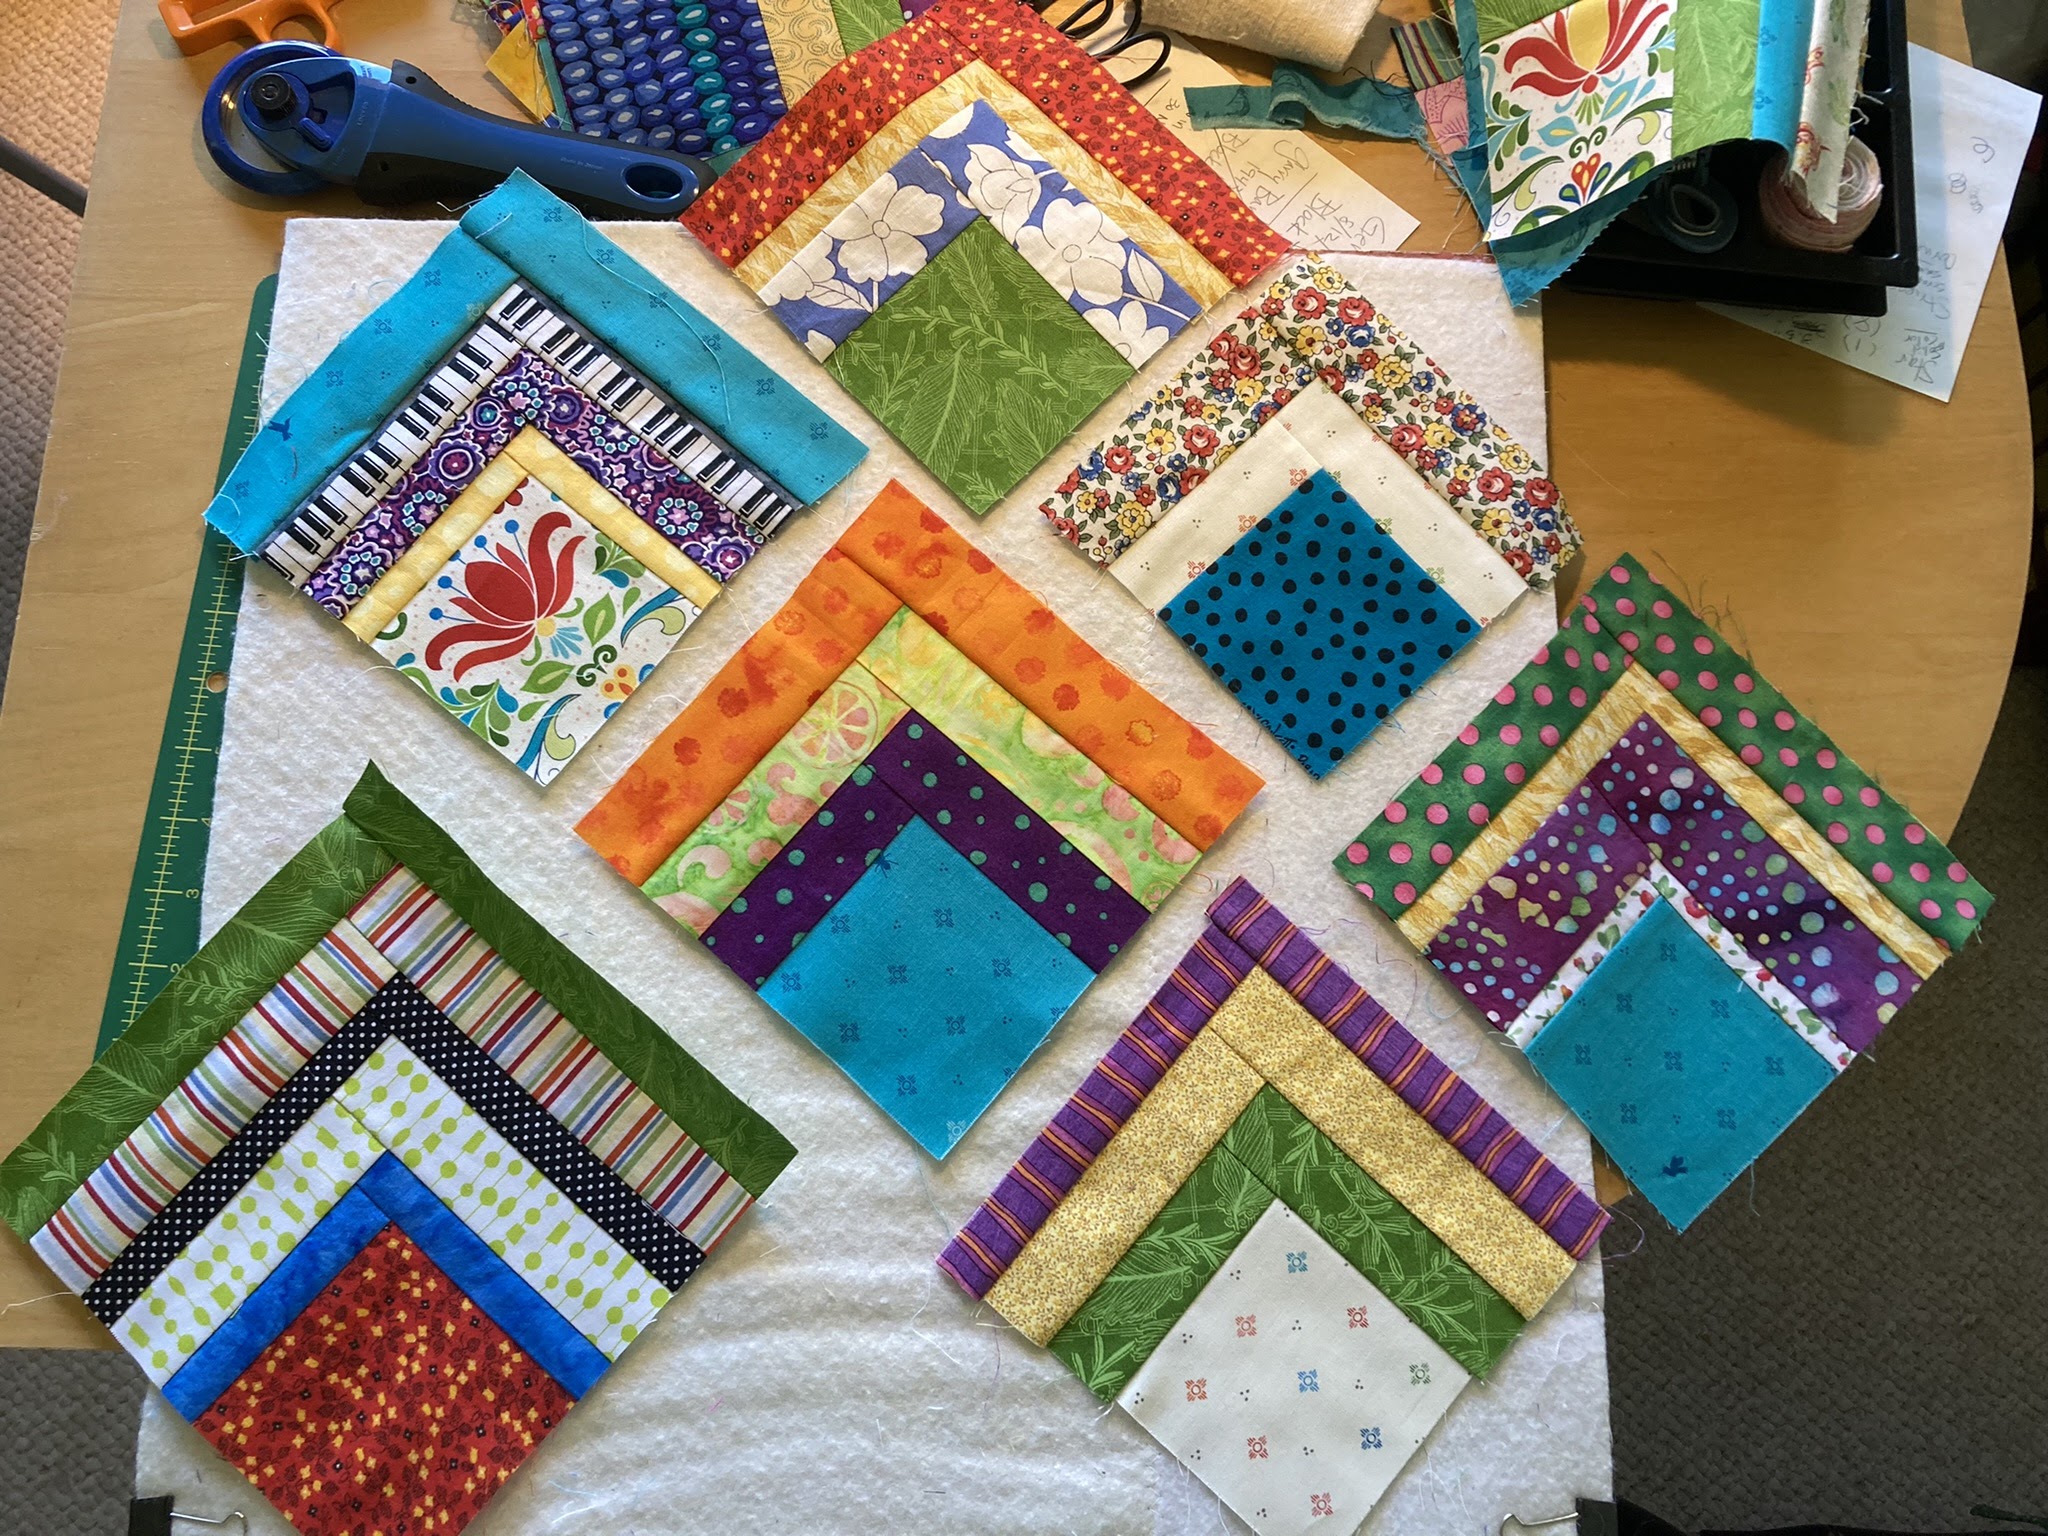
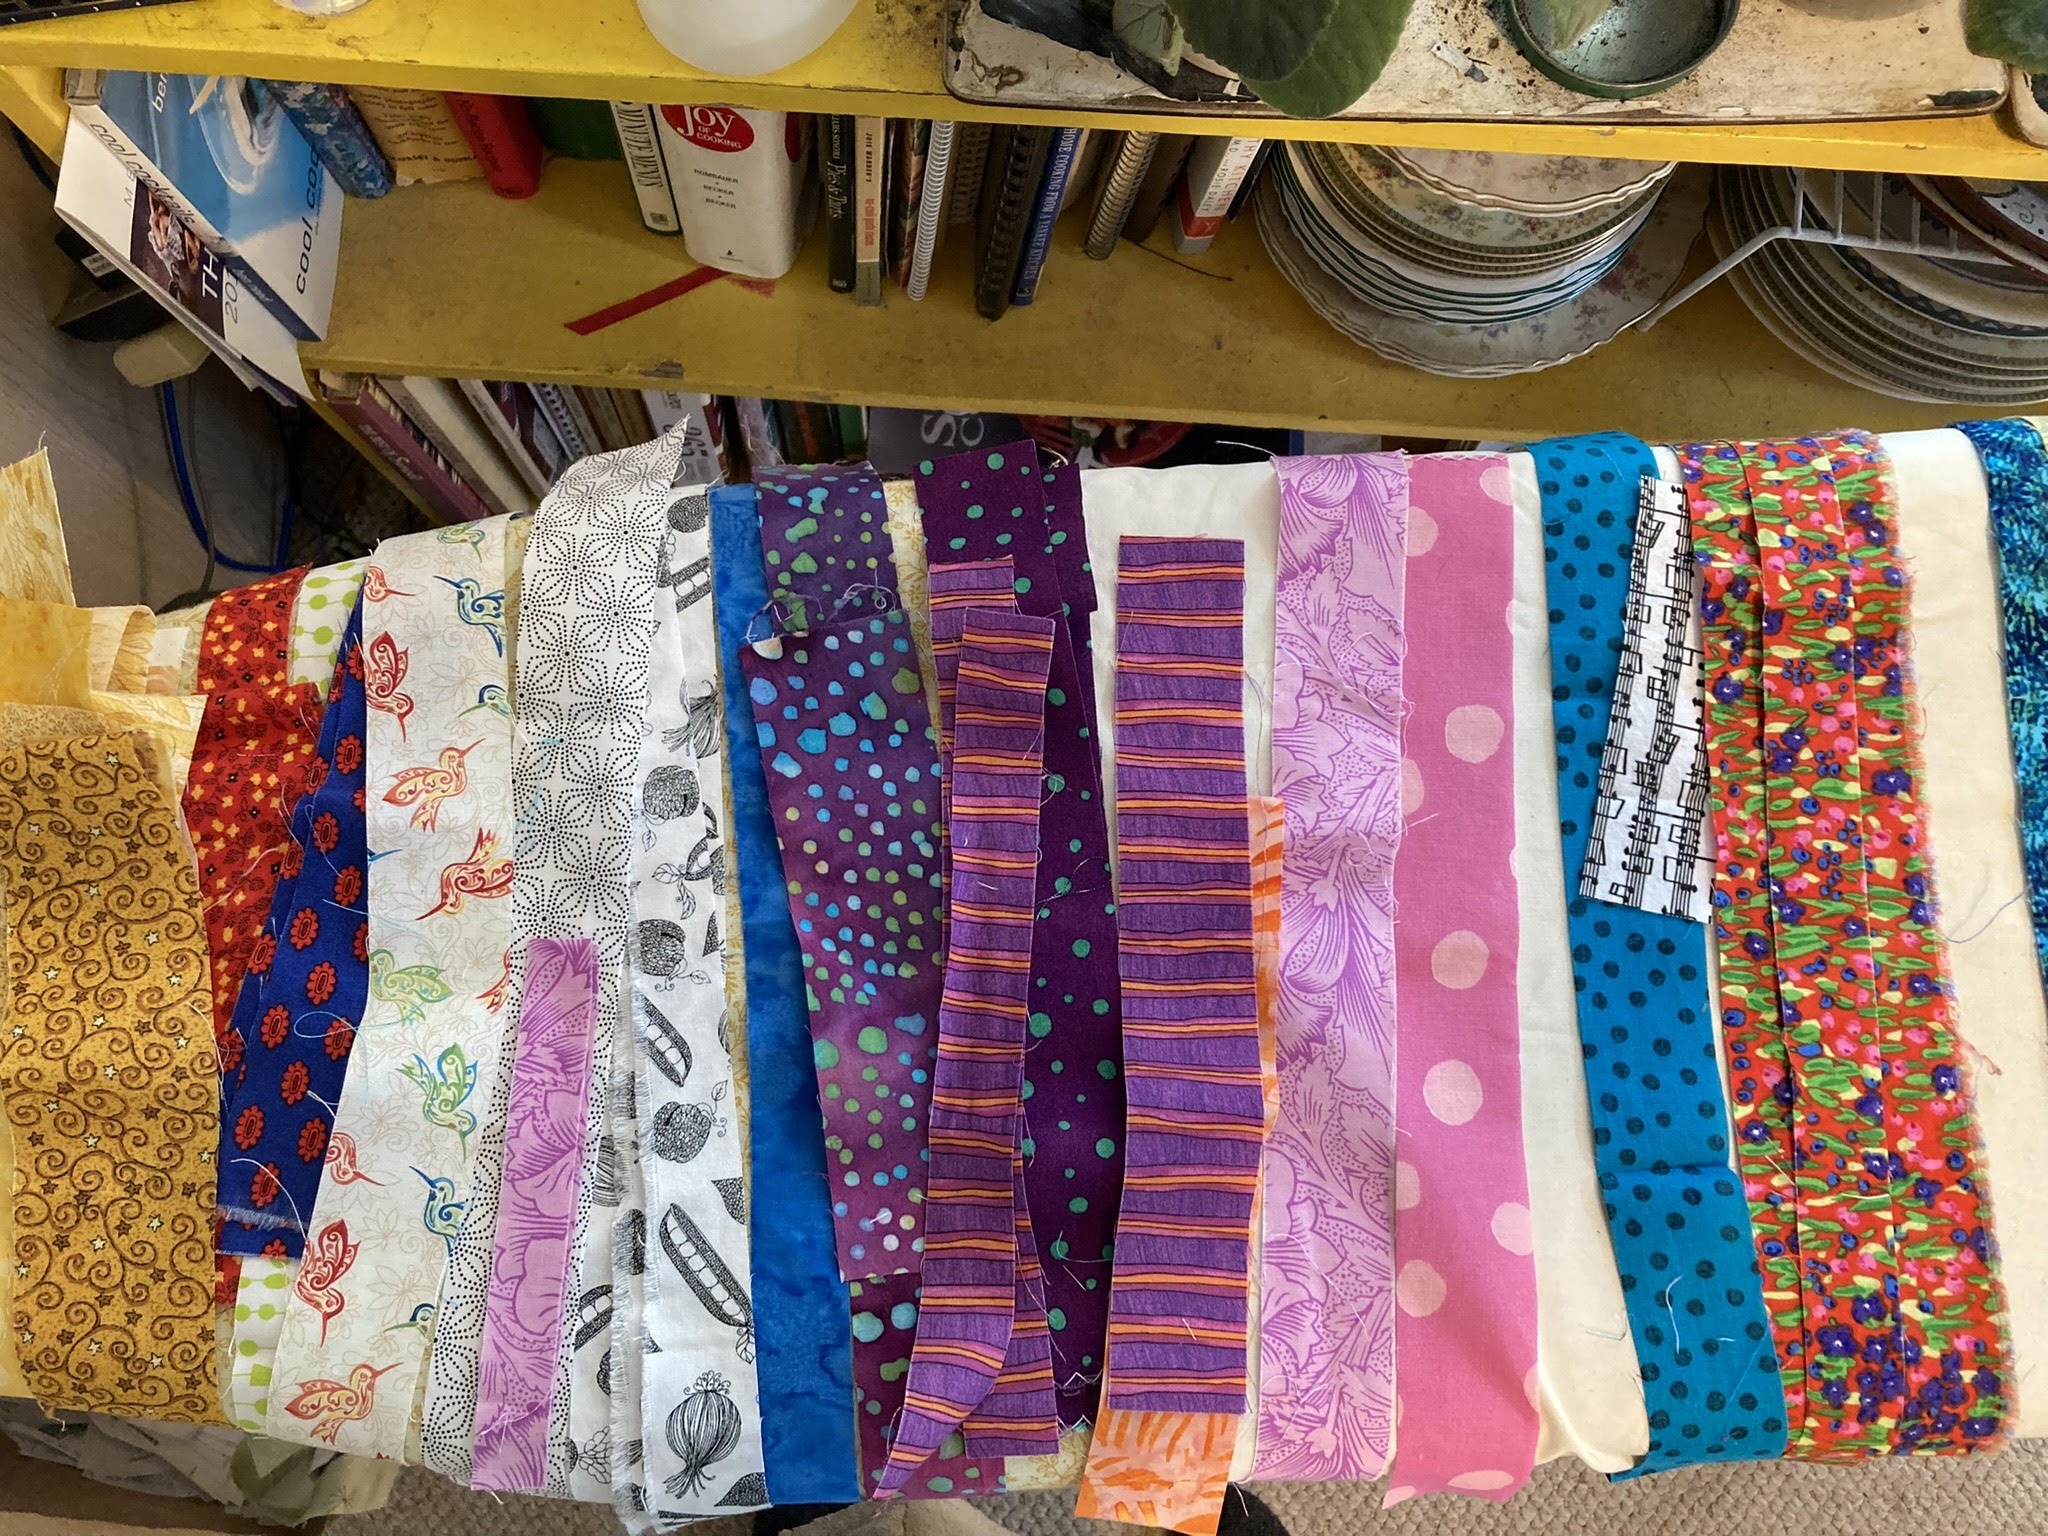


Please make TWO 6.5" blocks for me.
Kim Brackett has a good tutorial on making the 1/4 Log Cabin block at her Magnolia Bay Quilts blog here: 1/4 Log Cabin Tutorial. She explains the "squaring up" process really well too, with annotated photos (which I couldn't quite figure out how to do) so that part might be extra helpful in a way I am not provide below (sigh).
The biggest difference between her tutorial and the blocks I am requesting is that all the blocks should start with a 3.5" square.
Your log strips that border the two sides of the 3.5" square can be any width strip between 1" - 2.5", your choice.
Start by cutting a 3.5" square of fabric, and choose a different color for the first log strip you will add.

Build the square by adding a 3.5" long strip on the top side of the block. Press open the log you just attached, toward the outside. Measure the new length of of the right side and cut your next strip piece (the same width and fabric as your previous piece) long enough to extend along the full length of the right side of your block.
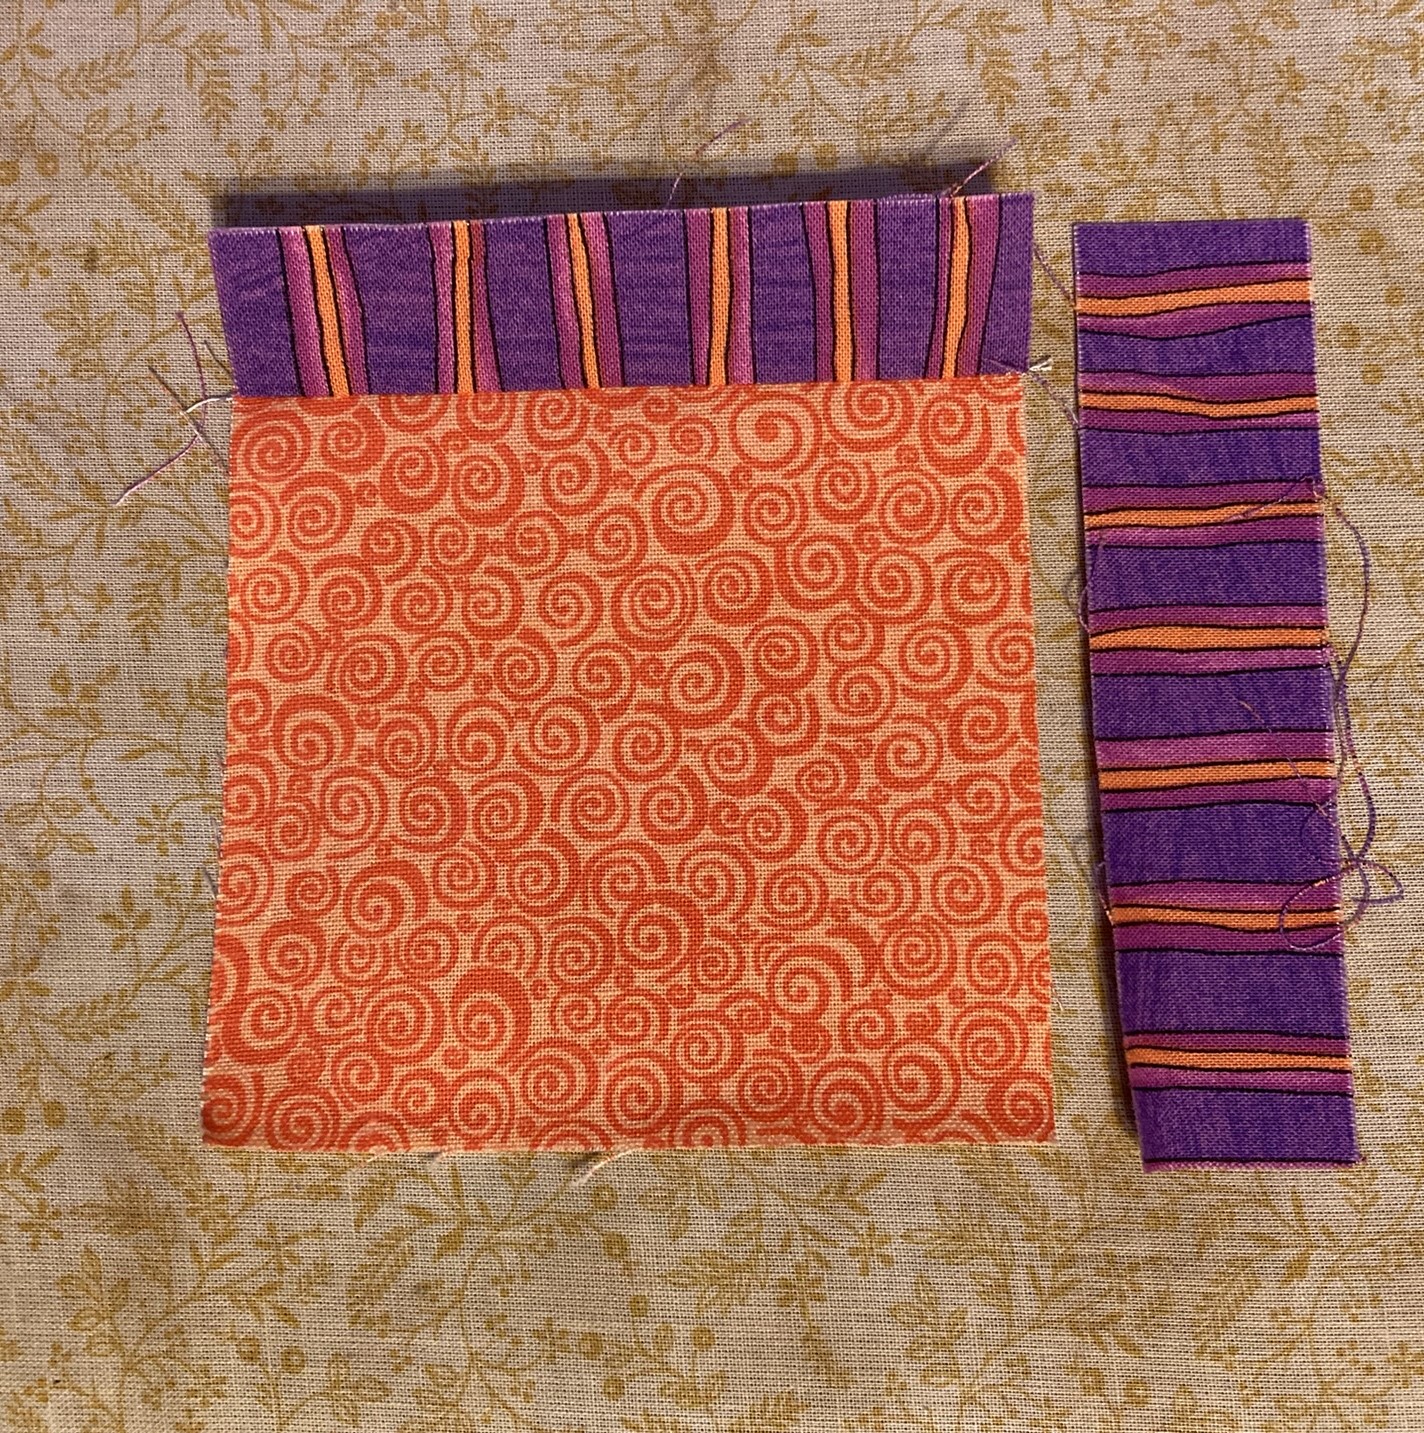
Add this new strip on the right side of the block. I find the simplest way to do this is to precut my strips the width of the fabric, and then just lay the strip across the side I need to cover and cut the needed length (plus a 1/4" or so, just in case...) and then square it off after each log is added.

Sew that log on, press open toward the outside of the block, and trim any edges that extend beyond the block edge. I neglected to take a photo of this process for the first striped row, so here are photos for the next row on the same block where you can see the places that need trimming. You can also refer to Kim Brackett's tutorial for good photos on trimming your block too!
.JPEG)

Continue in this manner, adding one strip on the "top", pressing open toward the piece you just sewed on, trimming any extra fabric, adding another strip of the same color on the "right" side of the block, pressing open and trimming until your square is at least 6.5". And then your block is done!
Here are a few more photos of my blocks so far.


Dear fellow Stash Bees,
I have so enjoyed making all your blocks and using up some of my “Stash”.
For my block, I am excited to have you make me blocks for a summer picnic quilt.

My inspiration came from a free pattern called Ventanas by Timeless Treasures. I can no longer find it on their website, but had kept a copy for myself ages ago wanting to use it for just this purpose.
It is made from a log cabin variation starting in a corner and building only on 2 sides. .There are several different blocks making the interesting patterns as they are joined.
I am including 2 different blocks for you to choose from. You only need to do ONE.
My colors are red, white/cream, and light, dark or medium blue. Each block has 6 rounds, so you will need 6 fabrics. A variety of shades and patterns are great.That’s what gives it interest and lets your eyes wander. You can use plain white or cream or evensmall prints with reds and blues. I wouldn’t mind a patriotic print, but otherwise no novelties.
Here are 3 different blocks I made. You can see the variety of fabrics.


When I signed up for this bee, last year, I knew exactly what I was going to ask for. I had a vision in mind, a mock up and draft instructions saved back. However, I’ve enjoyed everyone’s theme/idea based blocks so much that I started thinking about a theme for my turn. I had pretty much settled on my themed idea when a friend passed away unexpectedly.
Her passing made me rethink everything, I decided I’d wanted to re-frame my quilt to celebration life. My sister turns 40 soon, so I’d like to use my bee blocks to commemorate her 40 orbits around the sun. Symbolized with a bright organic shape against a neutral background.
I'm thinking rings, circles, ovals but am open to your interpretation of an organic shape, circle, ring, orbit, etc. For example I totally think snowballs, dresdens or log cabins would work for this request. And I'm very okay with any method to make this block, be it applique, raw-edge applique, reverse applique, improv, quarter circles, improv stack and whack, inset circle, drunkard's path ... whatever works for you will work for me. I'm good with any size, but share that if you are piecing a circle or ring shape larger diameters are easier.
I'm looking for Rainbow Brights (Red, Orange, Yellow, Green, Blue, Indigo, Violet) against Neutrals (White, Gray, Black, Navy). I'd like any solids to read as one color for the most part and solids are welcome. Here are examples of the fabrics that are suitable backgrounds in my thoughts. Please keep the ring or circle colors bright and saturated with a high contrast against the background.


Hello, Hive 2! I’m so excited to be the Queen Bee for November, and I can’t wait to see all the amazing blocks you create this month. For this tutorial, we’ll be working on a 9 Patch block.
I’m looking for a striking contrast between bright yellows and bold black-and-white prints to give our blocks some real punch. Here’s a quick breakdown:
To help inspire your fabric choices, I’ve included a color palette and fabric pull below!


You'll need 1/4" seam allowance for all seams. Here's the breakdown:
Now for the fun part—let’s piece everything together!
1. Lay out your fabrics for the 9-patch as follows:

2. Sew each row together using a 1/4" seam allowance:


And that’s it! You’ve created a 9 Patch Block with a bold, graphic look. I can’t wait to see what you come up with—happy quilting!
Warmest stitches,
Jai