Wednesday, November 1, 2023

Hive 5 - November Tutorial- "Plaid for Me" for Emily

Have you ever seen a fabric and thought… WOW!  That would really make an awesome quilt!  Well I have…. and it all started with this fabric:

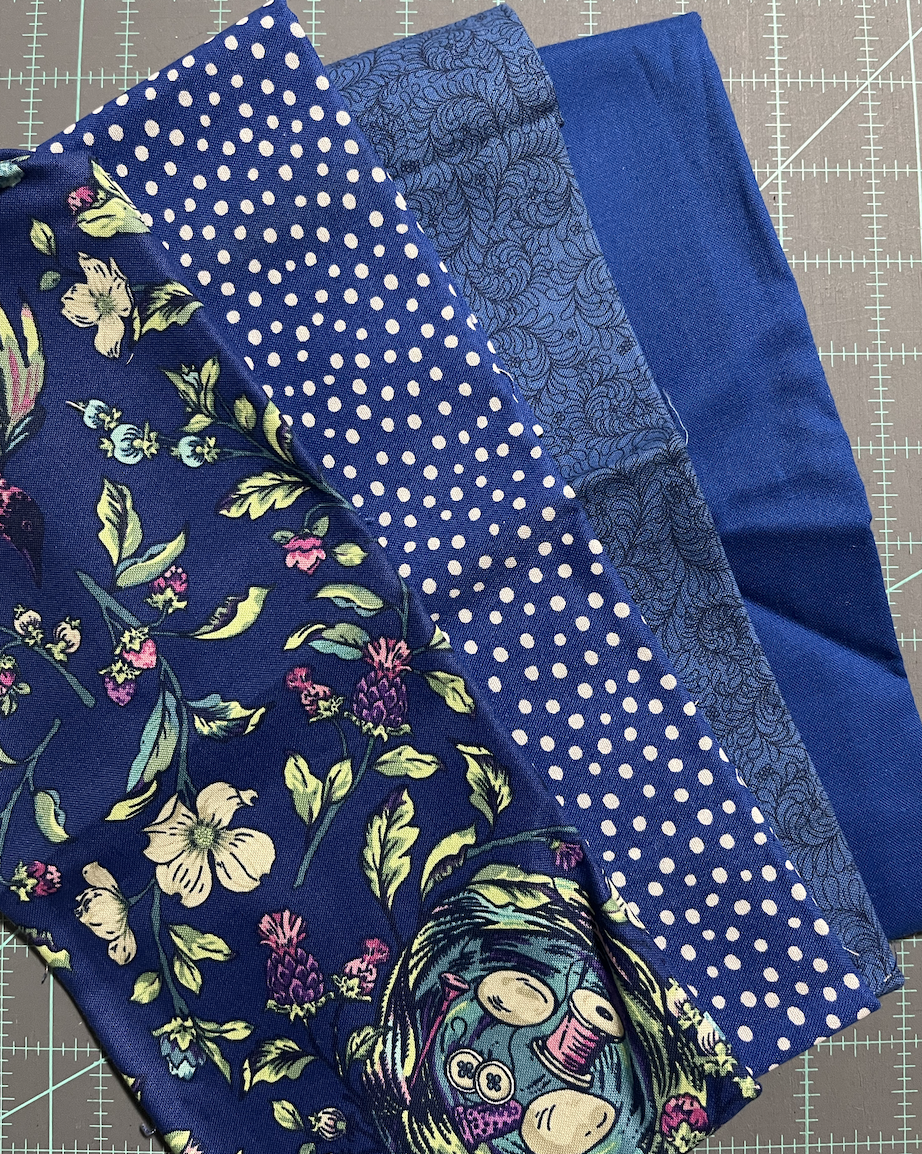
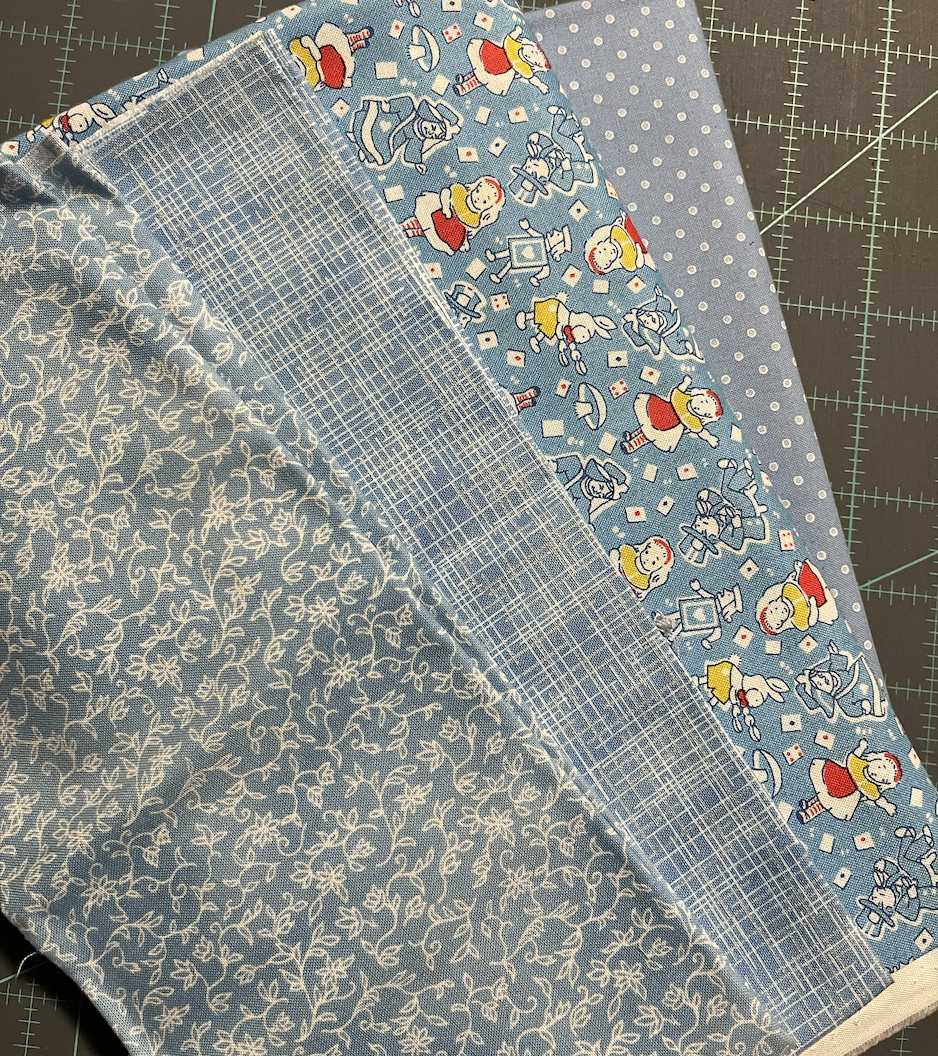
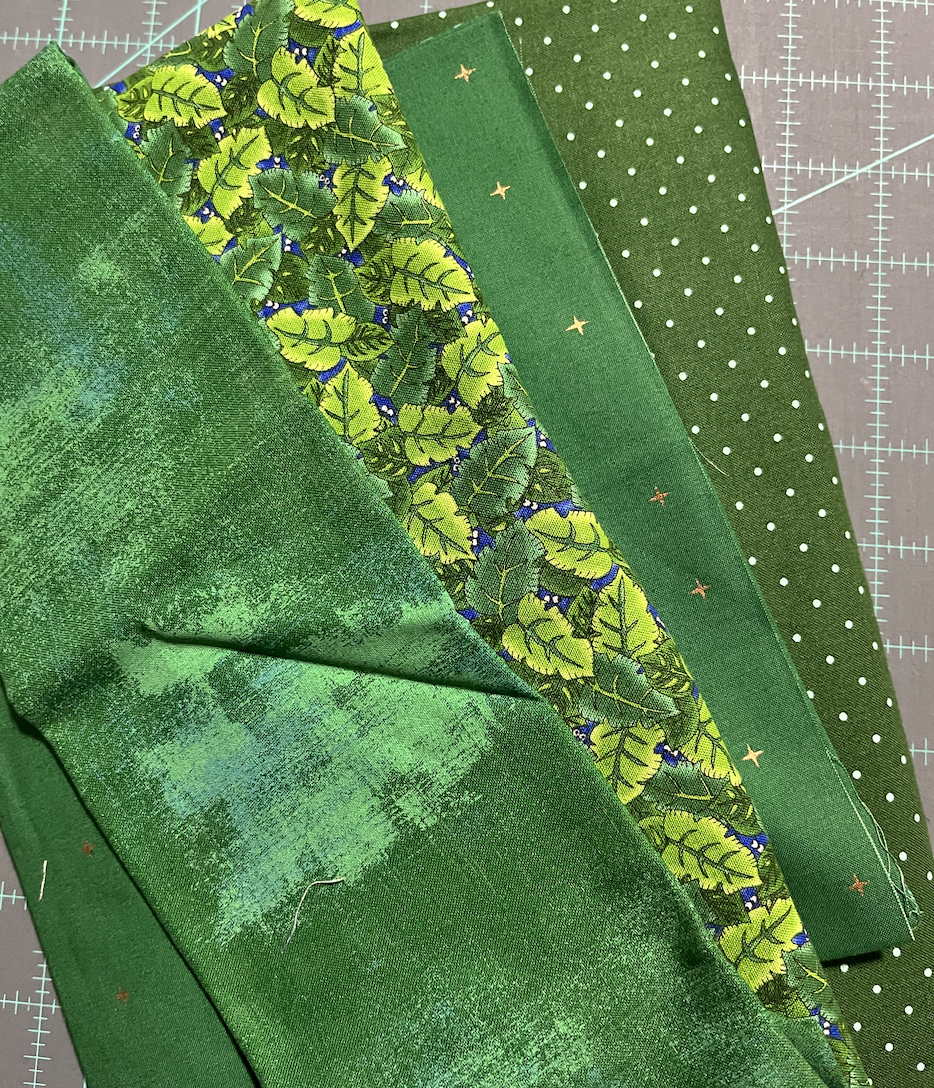
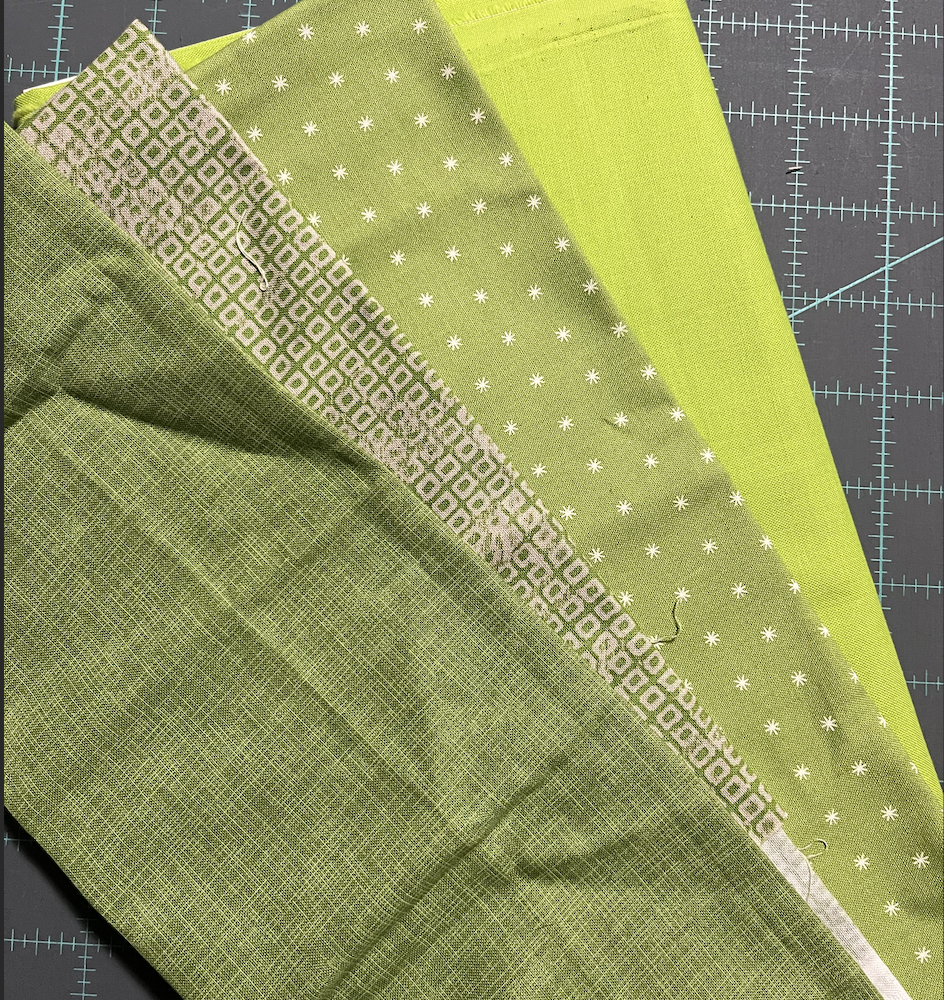
It is just so interesting to me.  It has deep and light greens, royal and light blues, and brown (with a lot of light background)


So I welcome you to help me turn this fabric into a flimsy!  Let’s call it Plaid With Me 🙂


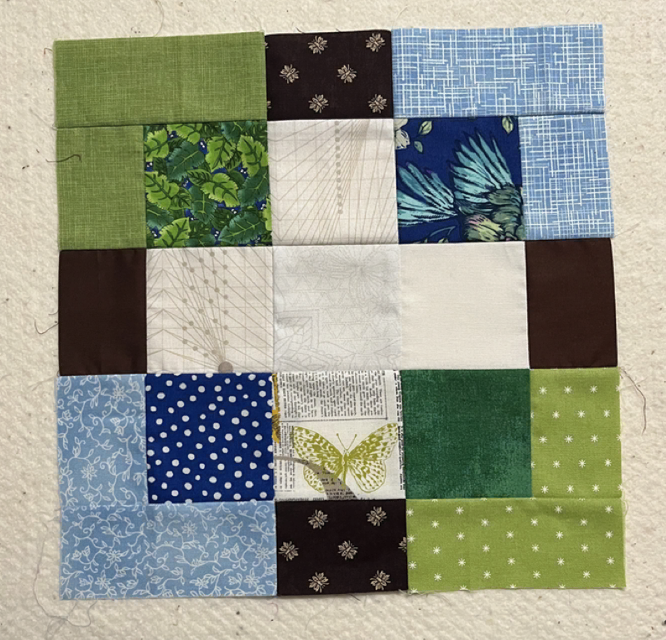
Your Finished block will look like this and will be 11” :

For this block you will need:


Royal Blues (This is what I had in my Stash)


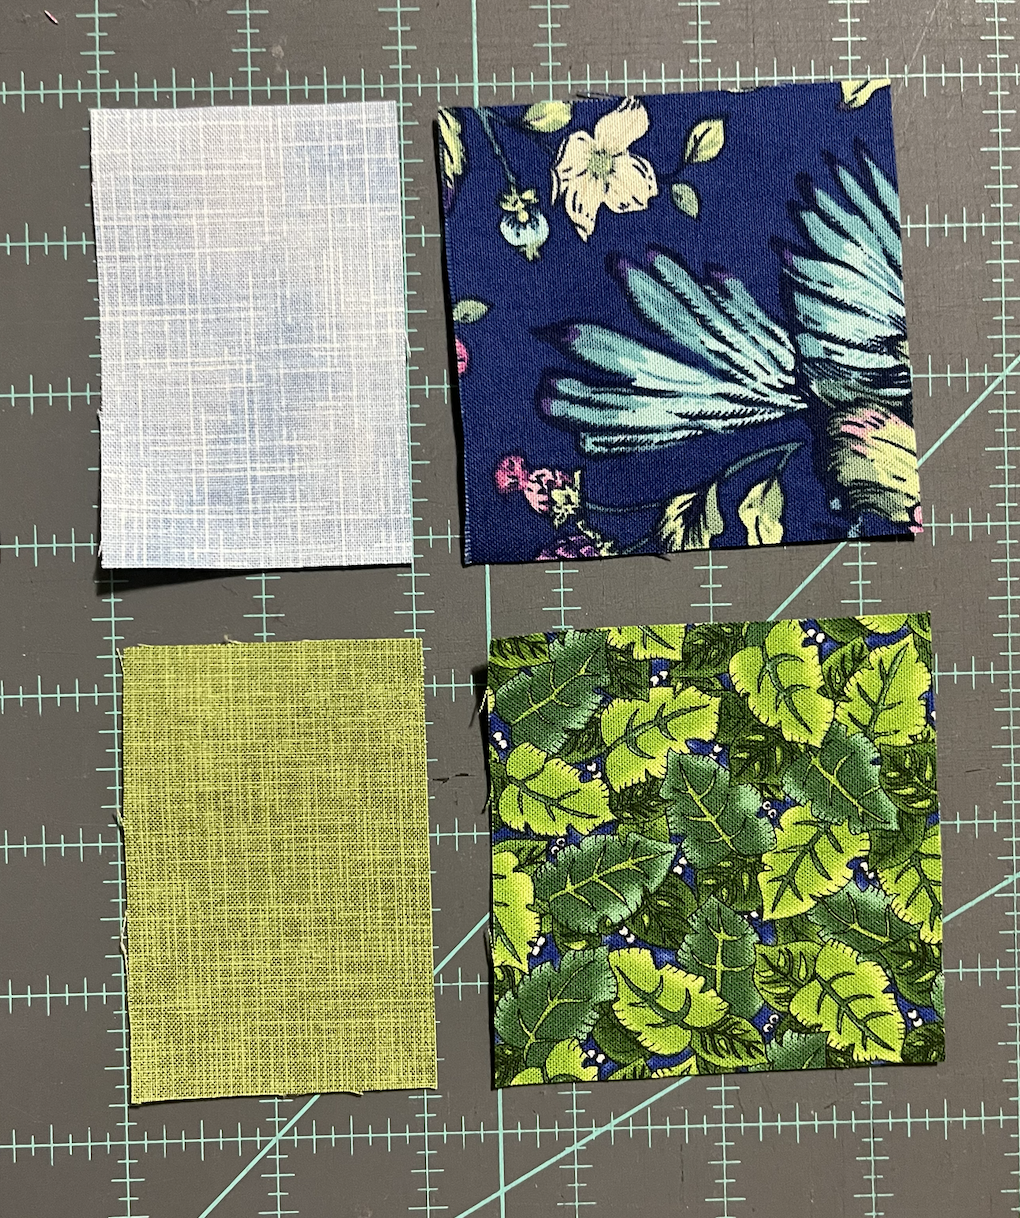
Light Blue 


Dark Green


 Light Green


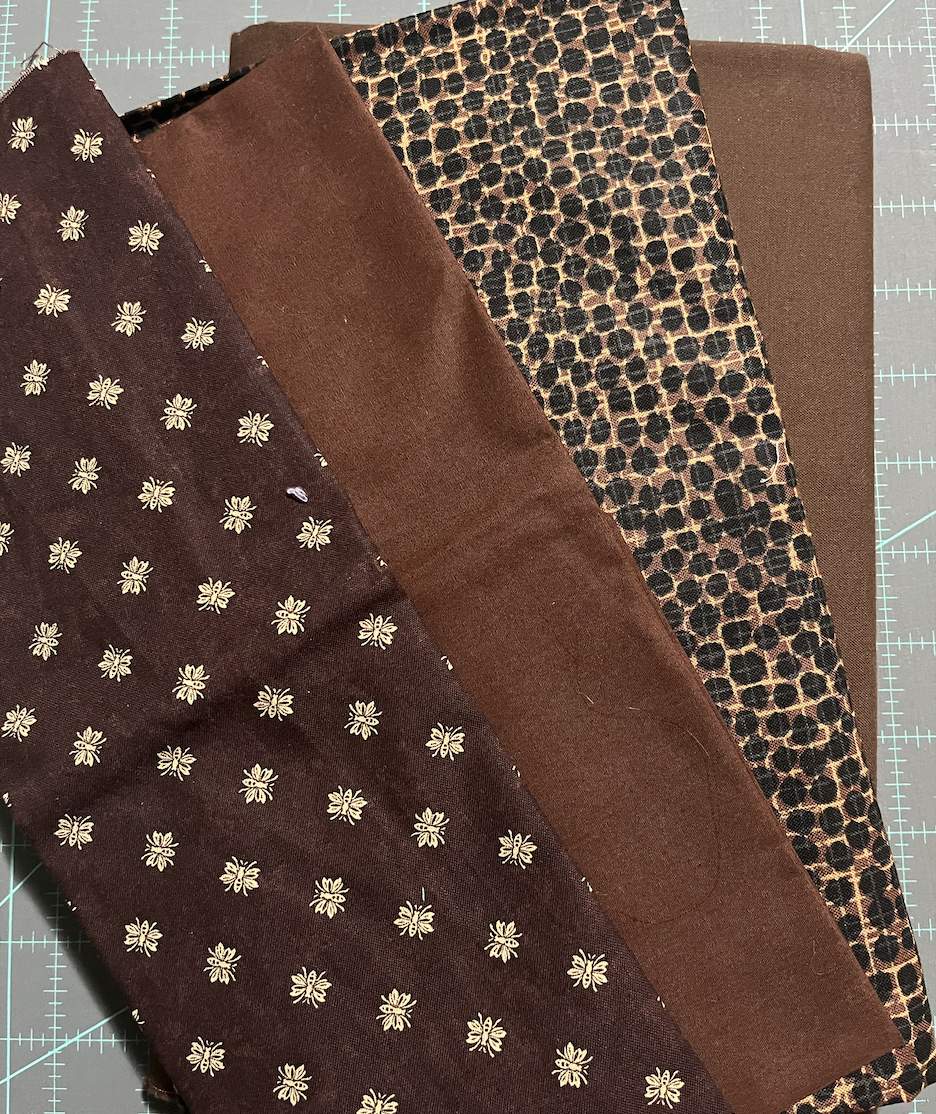
Chocolate Brown


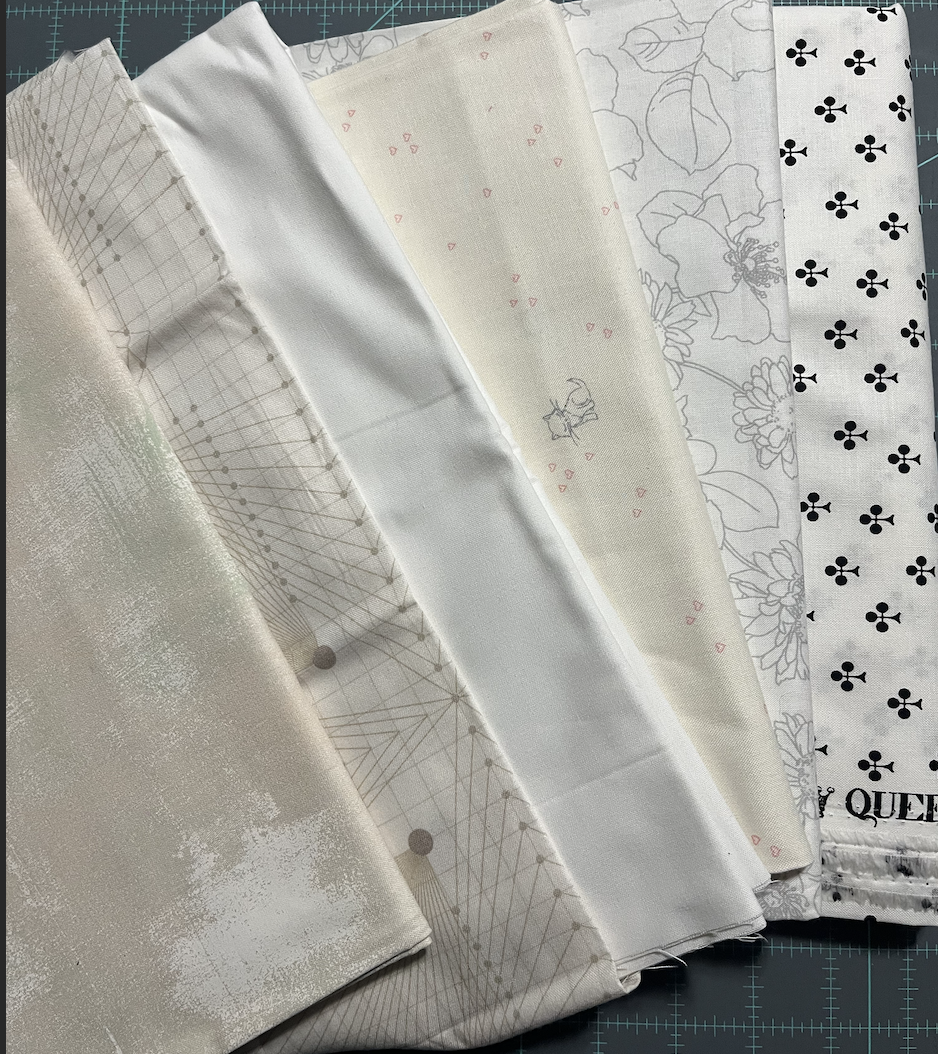
Whites or Low Volumes


Cutting

Each completed block will consist of:

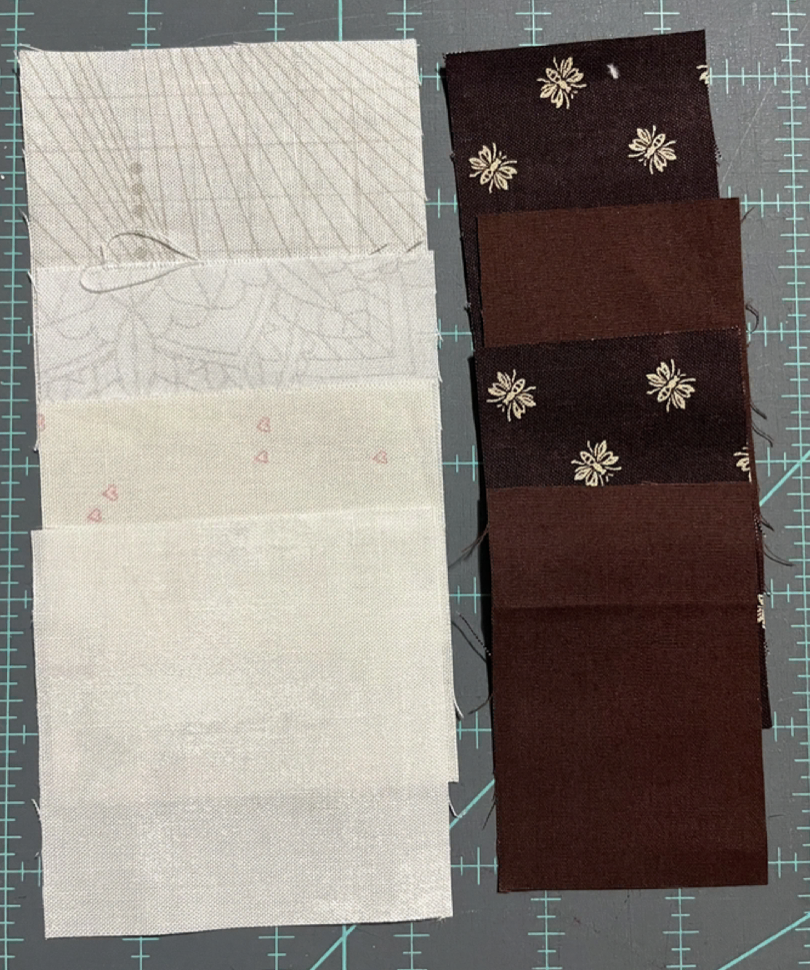
White/ Low Volume:                   

5 squares - 3” x 3”

Dark Blue

                2 squares - 3” x 3”

Dark Green

2 squares - 3” x 3”

Light Blue

2 rectangles - 2” x 3”

2 rectangles - 2” x 4 ½”

Light Green

2 rectangles - 2” x 3”

2 rectangles - 2” x 4 ½”

Brown

4 rectangles - 2” x 3”


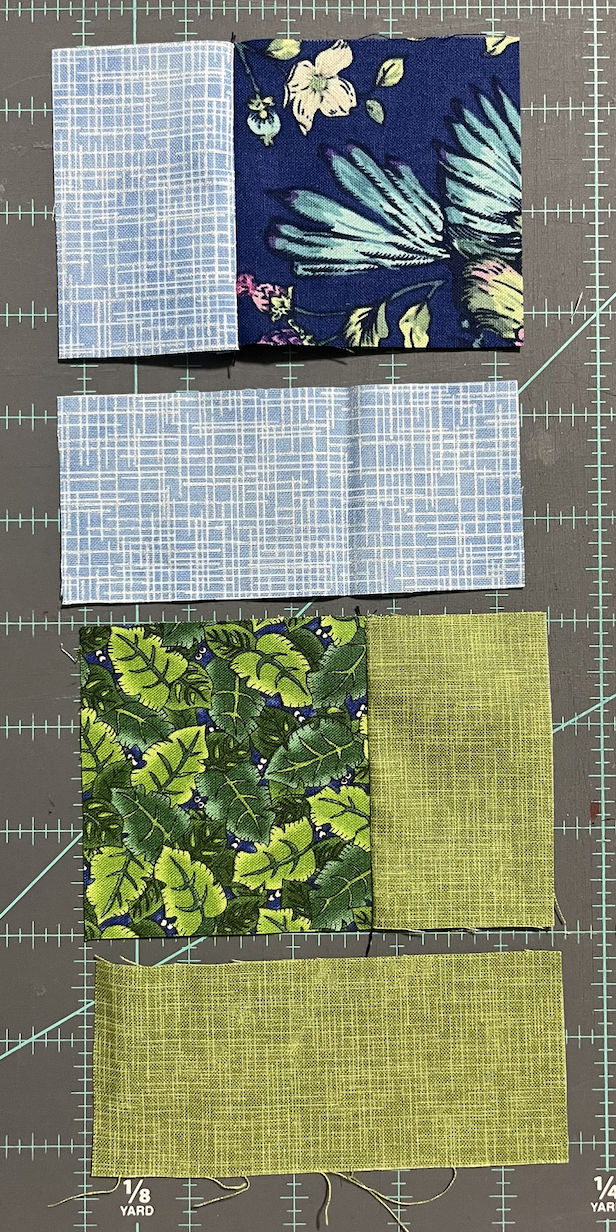
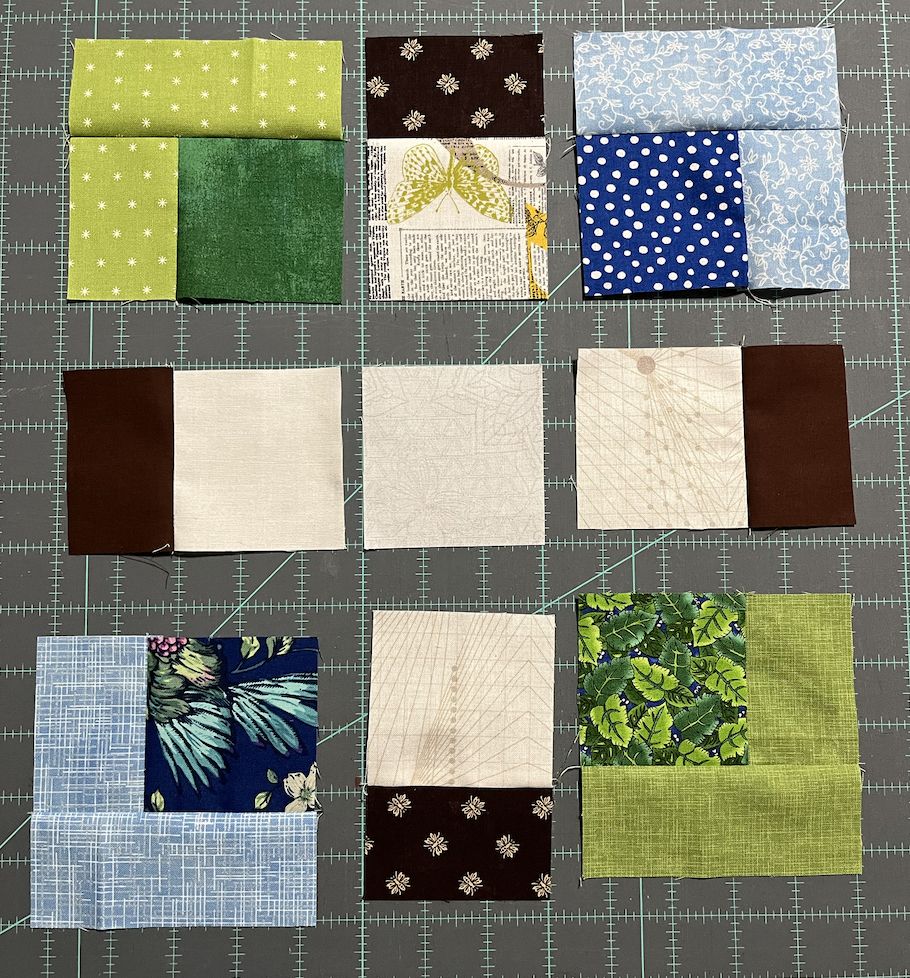
Start with a Dark Blue 3” squares and a Light Blue 2”x 3” strips. Add one strip to the side of the square. 


Then take a Dark Green 3” squares and a Light Green 2”x 3” strips. Add one strip to the side of the square.


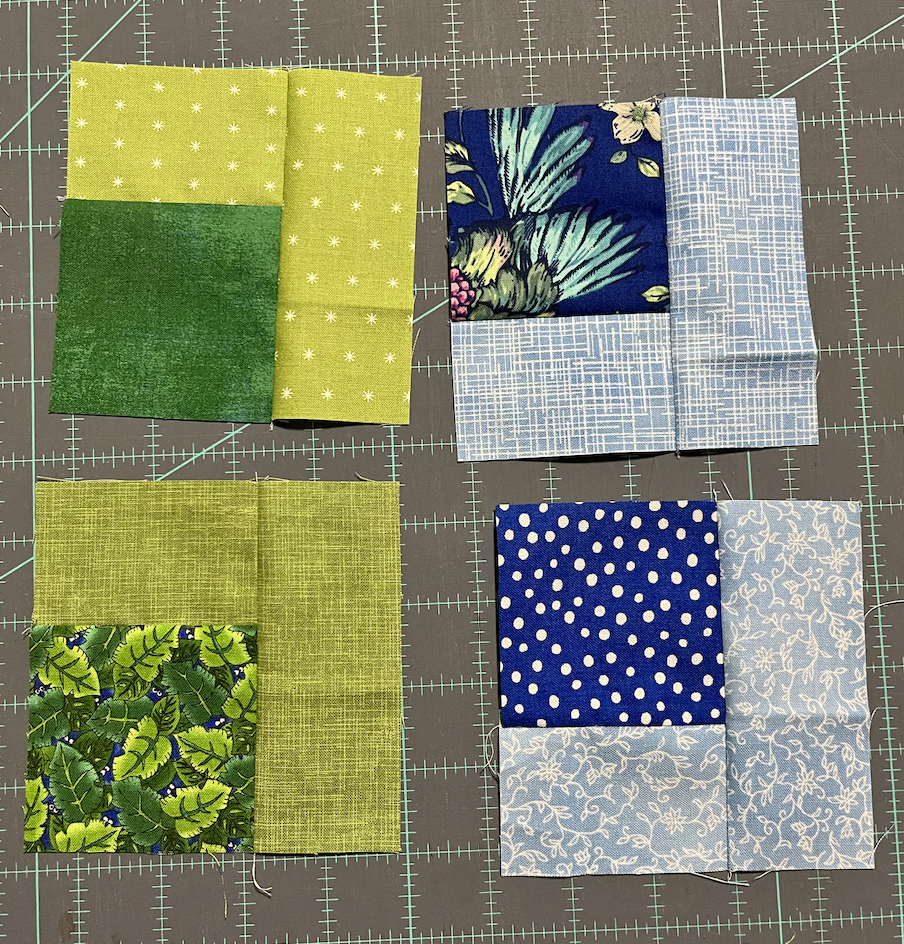
Next add the 2” x 4 ½” Light Green rectangles to the green and the 2” x 4 ½” Light blue rectangles to the blue 


                                                You should end up with 2 Blue and 2 Green Squares 


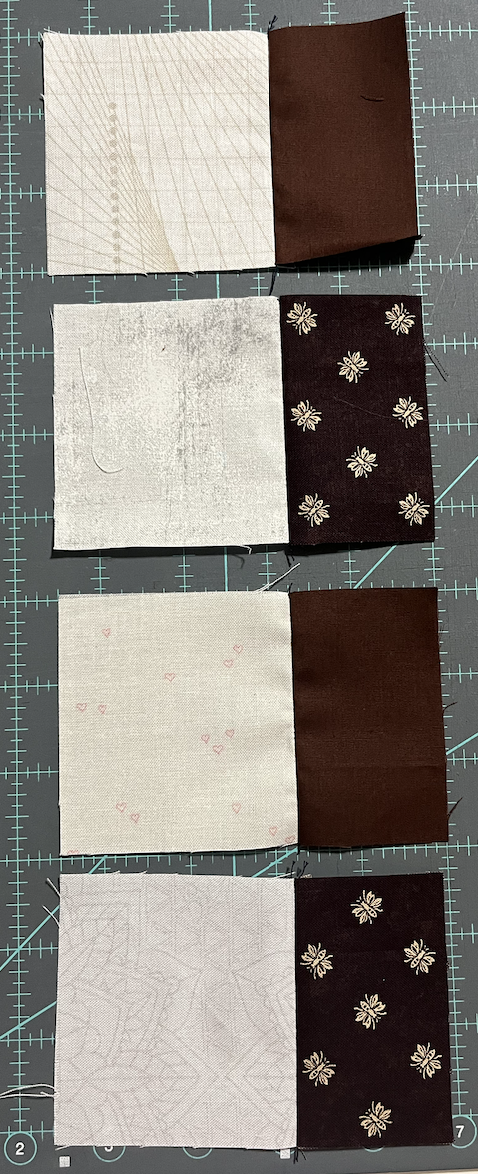
Sew a Low Volume/White 3” squares and a Brown 2”x 3” strips.

Add one strip to the side of the square.

Do this to 4 of the Low Volume/White 3” squares


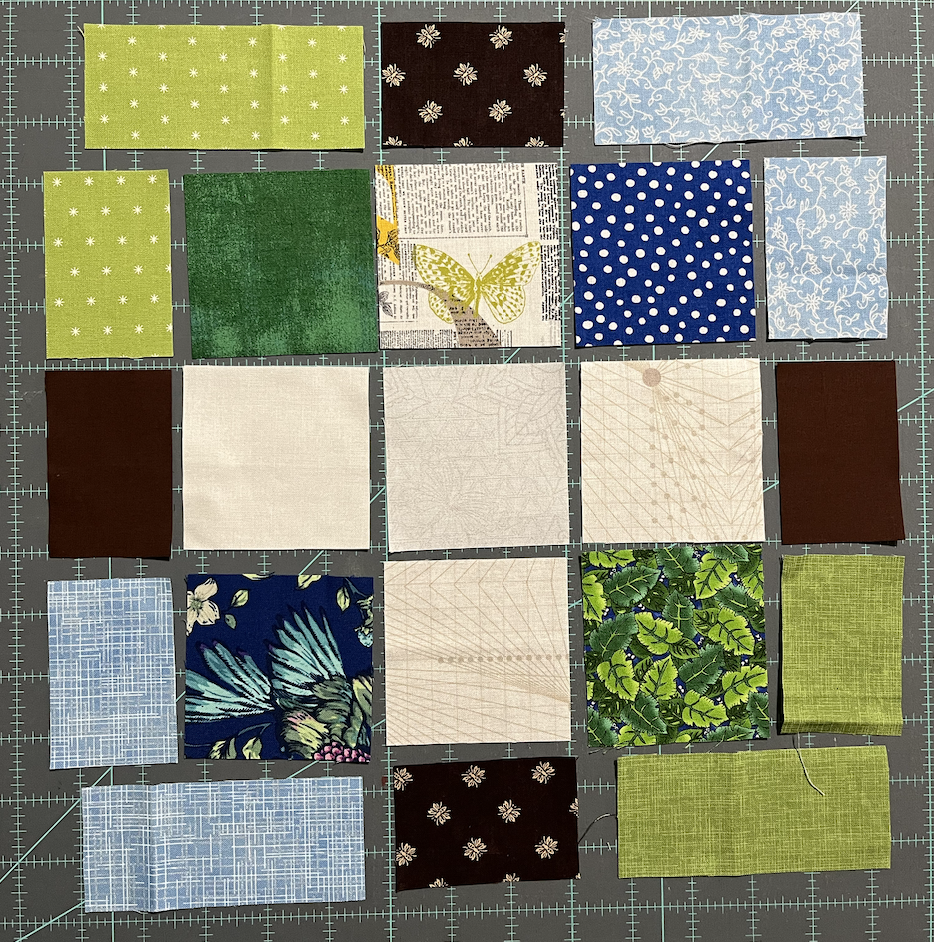
Layout your pieces.  A Low Volume/White 3” square for the center. The Low Volume/White/Brown pieces forming a plus sign with the browns facing outward. 


The blue and Green squares in the corners with darker color towards the center alternating colors in the corners.


Sew together into rows


Then sew those rows together


And now my humble thank you for joining me on this block journey! 


Hive 6 - November Tutorial - Blazing Arrows

This is the November, 2023 tutorial for Hive 6. 


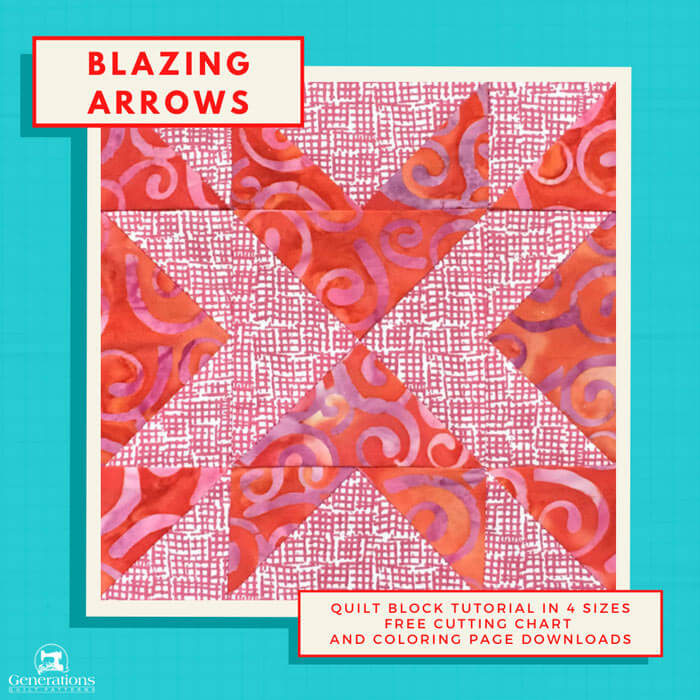
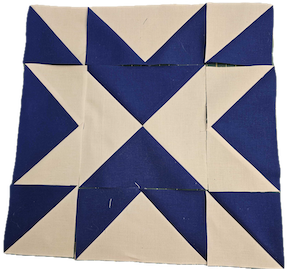
It is based on a block called Blazing Arrows from Generations Quilt Patterns. 


While my favorite color is red and the block on the tutorial site is in reds and whites, I want my block to be in darks blues and whites. Here is the color inspiration for my quilt. 


The unfinished size of the block will be a 12 1/2 inch square. You can use tone on tone or patterned fabrics, but the background should really read as white and the blues to read as darkish blues. By darkish blue I mean navy, royal, cadet, medium, cobalt or midnight to name a few. (Check those blue names on Simplicable to see what I mean.)  I would prefer not to have grey blues or green blues.

I used just 2 fabrics to make my block, but feel free to be scrappy.

Their are 2 sets of directions posted on the Generations Quilt Patterns site. I have just gotten to the point of understanding how to put together flying geese block in the most basic way. What I will show here is that method, not the no-waste method. If you are comfortable with the no-waste method, please feel free to use. 

Terminology:

  • HST: Half square triangle
  • QST: Quarter square triangle
  • FG: Flying geese
  • RST: Right sides together

Cutting:

The block should contain 2 colors of fabrics; the white background and the darkish blue foreground. Again, feel free to be scrappy. The cutting chart below is a modified version of the Option #2 from the Generations Quilt Patterns site for the Blazing Arrows block.

Generations Quilt Patterns logo

Cutting Chart for a
Blazing Arrows Quilt Block

Traditional Piecing
with Folded or Connector Corners

PatchFabricQtyFinished Block Size

12''
HST-1White2
4¼'' x 4¼''
HST-2Blue2
4¼'' x 4¼''
QST-1White1
7½'' x 7½''
QST-2Blue1
7½'' x 7½''
FG-1White2
3½'' x 6½''
Sky-1Blue4
3½'' x 3½''
FG-2Blue2
3½'' x 6½''
Sky-2White4
3½'' x 3½''
Unfinished Block Size
12½''
Grid Size
3''

Piecing:

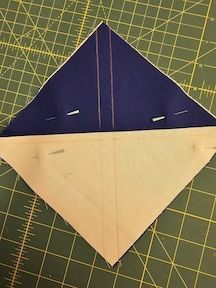
HST: Place 1 white and blue 4 1/4 inch square, right sides together. Draw a diagonal line on the back of the white fabric. Sew a 1/4 inch seam on both sides of the line. Press to set seam. Cut on the diagonal line, open and press to the dark side. Do the same for the second set of 4 1/4 blocks. This results in 4 HSTs. Trim the HSTs to 3 1/2 inch square.


QST: place 1 white and 1 blue 7 1/2 inch square, right sides together. Draw a diagonal line on the back of the white fabric. Sew a 1/4 inch seam on both sides of the line. Press to set seam. Cut on the diagonal line, open and press to the dark side. 


Place the 2 resulting HSTs right sides together, white on blue and blue on white. Mark a diagonal line on the back of one of the fabrics and sew a quarter inch seam on each side. Press, then cut on the diagonal line. 


Press open the resulting QSTs (this results in 2 but you only need 1 - unless you want to make an extra block). I pressed this seam open, but do what works for you. Trim to a 6 1/2 inch square.


FG: Place 3 1/2 inch white square on the left of the of the 3 1/2 by 6 1/2 inch blue rectangle, RST. Sew a diagonal line from the center top to the lower left corner. Press to set seam. Flip the white lower middle corner up to the upper left corner and press again. 


Trim the back 2 fabrics to a quarter inch seam above the diagonal seam. 


Place another 3 1/2 inch white square on the right half of the 3 1/2 by 6 1/2 inch blue rectangle, RST. Sew a diagonal line from the center top to the lower right corner. Press to set seam. Flip the lower white middle corner up to the upper right corner and press again. 

Trim the back 2 fabrics to quarter inch seam above the diagonal seam. Repeat with the other 2 white squares and blue rectangle. Then do the same with the blue 3 1/2 inch squares and white 3 1/2 by 6 1/2 inch rectangles. You will end up with 4 FG in 2 different color orientations. Trim, if needed, to 3 1/2 by 6 1/2 inch rectangles.


Putting it all together:

Layout per pic below
HST, FG (horizontally) and HST
FG (vertically), QST, and FG (vertically)
HST, FG (horizontally) and HST

Sew pieces together across the rows. Then sew 3 rows together and voila! You have just created a Blazing Arrows block.

Thank you for your effort. I have really enjoyed being with the group this year and seeing all the creative patterns. The more I am exposed to quilters, the more artists I see.

If you want to make more than 1 block, I would be thrilled!

Pennie (NeedsTheBeach)  

Hive 1 - November Tutorial - Rainbow Stained Glass for Molli 🌈

Rainbow Stained Glass


Contents

Hello, Hive 1! Here we are, at the end of the year! Hopefully this will be a quick block for you as we approach the holidays. I’m pretty sure it’s going to take you longer to read this post than it will to assemble the block.

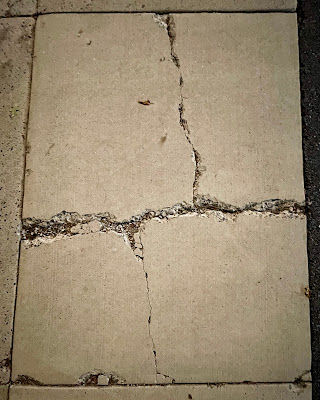
For my block I’ve chosen a stained-glass design. There’s a sidewalk paver near my office that I see when I take my work walks, and every time I walk over it, I think about what a cool quilt block it would make.

Sidewalk paver with stained-glass-like cracks.

So, here we are!

Here is an inspiration quilt I found online, just for a sort-of idea about what was in my brain.


While I based my block on the general idea of the above quilt, I’ve kept the construction as simple as possible by keeping all of the “cames” at 90-degree angles. (From Wikipedia, in stained glass, a came “is a divider bar used between small pieces of glass to make a larger glazing panel.” Sashing for stained glass!)


Fabric

I am requesting that the for the “glass” you use any of the colors from Gilbert Baker’s original eight-color pride flag, which includes not just the ROYGBV we see in standard (and progressive) pride flags today, but also pink and teal.

Gilbert Baker's original pride flag
 

I’m fine with solids, blenders, or anything with a relatively small print that reads as mostly the intended color. Although, as you can see in a couple of the sample blocks I did—well, okay, all of them—I didn’t hold myself too closely to those parameters. I’m going more for the spirit of the law, rather than the letter.

Batiks are fine! As are “accent” fabrics that are rainbow-themed, such as the “heat map” fabric in my second sample block, or the rose in my third sample block. I’d ask that you don’t do a whole block with that sort of fabric, but one pane of glass would be fine! Also, the wee birds in the fourth sample block are maybe a bit bigger than what I’d aim for, for a blender, but they’re just so cute! I figure when it’s spread out over the whole quilt, it’ll look cool.


Solids, blenders, and small prints


An idea of rainbow-type fabrics that would be fine!

If you can, please use at least two different fabrics for the glass, for at least a little variety within each block.

Also don’t worry TOO much about making your block too…cohesive or attractive within itself. If your block ends up looking weird like this…

…I won’t be upset. :) I figure once it’s all put together, it’s all going to balance itself out anyway. Or maybe not, and the whole thing will look weird!! Either way, I’m going to love it.

For the cames / sashing, I’m asking for a dark gray / charcoal, or something in that ballpark. The color I used in my samples is very close to Michael Miller Color Couture Metal (SC5333-META-D). Solid, blender, or something with a very small print that reads solid from 10 feet away—those are all fine.

My grays were not interested in looking good alone in a photo, so here they are mixed with some colorful fabrics to give you an idea. They still don’t look quite the same as they do to the naked eye. The leftmost is maybe a bit lighter (in real life) than I’m going for but would be okay. Second gray from the left is the one from my samples. Rightmost has tiny bats and is a good example of a tone-on-tone sort of print that would be fine.


Left to right: 1) Kona Solid Coal; 2) the one used in my samples (unnamed solid FQ!);
3) Michael Miller Color Couture, Metal; 4) Riley Blake Seasonal Basics, Bat Black (C651-BLACK)

The Block

The block I am requesting is about 11” x 11”. Don’t worry about trimming it when you’re done—I’ll do that as I assemble the quilt.

This is a very whim-friendly block. My instructions are for a “starter block.” You can follow them to a T, or you can make modifications along the way as you see fit. Please feel free to be as creative as you like—or not! It's been a long year; no one needs to stress about doing something "creative"!

Cutting instructions


Notes & Tips:

  • Read all instructions before you begin cutting and assembling.
  • While all the sashing should be 1” (.5” finished), the below cutting instructions for the glass panes are just guidelines—if you’d like to use different dimensions, please feel free!
    • For example, if a scrap you want to use for unit B is 3.5” x 4.25” (rather than 4.25” x 4.25”), then you could cut the following to compensate for the difference: C: 7.5” x 6.75”, D: 3.5” x 6.75”, E: 7.5” x 4.25”.
    • If you don’t have any scraps you want to use that are as big as 6.75” x 6.75”, consider my rose sample above, which creates the C/E side with three panes rather than two. For that example, you would need additional sashing.
  • If you don’t want to worry about the sashing being exactly the right length after you’ve sewn it, cut your A units a bit longer than 11”.

PIECES TO CUT
Cames / sashing from charcoal fabric Glass panes from rainbow fabrics
(2, 3, or 4 different fabrics)
A: (2) 1” x 11” B: (1) 4.25” x 4.25”
C: (1) 6.75” x 6.75”
D: (1) 4.25” x 6.75”
E: (1) 6.75” x 4.25”


Assembly


Notes & Tips:

  • All seams are ¼”.
  • To chain piece, cut one A unit into two pieces first (4.25” and 6.75”), and then Steps 1 and 5 can be done consecutively; then Steps 2 and 6; then Steps 3 and 7.
  • The finished block should be about 11” x 11”. Don’t worry if it’s a little smaller.
  • Again, don’t worry about trimming the edges!

Here we go!

  1. Sew one A unit to an edge of the B unit.
  2. Sew a short edge of the D unit to the remaining long edge of A from Step 1.
  3. Press seams open.
  4. Trim the excess A unit (carefully; you need the rest in the next step).
  5. Sew the excess of the A unit from Step 4 to an edge of the C unit.
  6. Sew a long edge of the E unit to the remaining long edge of A from Step 5.
  7. Press seams open.
  8. If you haven’t already, decide now how you want the finished block to lay out—you have multiple options, depending on which way you turn the units from Steps 4 and 7, particularly if any of your fabrics are directional, patterned, or ombre.


  9. Keeping your Step 4 unit oriented the way you decided in Step 8, sew the remaining A unit to a long edge of Step 4.
  10. Keeping your Step 7 unit oriented the way you decided in Step 8, sew a long edge of the Step 7 unit to the remaining long edge of A from Step 9.
  11. Press seams open.
  12. Celebrate!

I hope this was a low-stress block to wrap up our StashBee year!

Thank you for sewing for—and with!—me!

Molli B.