Sunday, April 17, 2022

Hive 1: April block for Kathrin

 Happy Easter! 

I had so much fun using the paper piecing method for this block. Shopping my stash for blues, greens and brights was easier than I expected, turns out I have A LOT of them 😁

I also had to go shopping (darnπŸ˜‚) for a light grey, I found the best one at my favorite Etsy shop so I bought her entire stash for future blocks! Moda "Celestial" by Zen Chic, it looks like it sparkles!! ✨

I hope you like my blocks, I can't wait to see it all together! 


~Adrienne


Tuesday, April 5, 2022

Hive 1- April block for Kathrin


Hi Kathrin,

Thank you for this fun weekend project:) I love paper piecing and prefer to chain piece, so I made two for you. The only grey I have is light grey but not to worry, it is grey-er than the picture! I will mail it this week. 

Marie

Sunday, April 3, 2022

Hive Crash, Hive 3, April Block for Rebecca


Hi Rebecca,

I absolutely had to try your block!

The background fabric is actually a burnt orange, although it looks more neon on the pic.

Hope you like it.

Will send it out next Saturday, if your Hive Mama has provided the address.

Happy sewing,

Rita

Saturday, April 2, 2022

Hive 1, April Block for Kathrin


Hi Kathrin,


I couldn't resist to make both blocks. πŸ™‚ And, as I love paper piecing, I sewed them both that way. I enjoyed searching my stash and scraps for plant themed prints, hope you like what I chose. For the grey, I was actually hard pressed, as I used nearly all my mid to light grey fabrics in my last two quilts... Guess, I have to go shopping - what a shame πŸ˜‹.

I'll get the blocks into the post box today.

Happy sewing,

Rita

Friday, April 1, 2022

Hive 3 - April Tutorial - Improv Birch Block

Hello bee mates - I have chosen an improv block for this month.  If you have never done improv piecing before, don't worry - it is fun and easy.  I found a very well written free tutorial that will guide you through the process and I will share my tips and photos of my block below.

Improv Birch Tutorial Link

3rd Story Workshop Improv Birch Tree Tutorial

Block Size

I would like finished blocks that are at least 12.5 inches high and at least 12.5 inches wide.  When making an improv block like this, it is best to start with a larger piece of background fabric so that you can trim it down to size - you may be cutting the background at an angle and when you sew it back together, sometimes you need to trim it square and it starts to get smaller.  I am thinking about making finished blocks in different widths, so if your block ends up wider than 12.5 inches, you don't have to trim it - you can just send it to me and I may use it as wide as it is, or maybe I'll trim it to 12.5 inches.  Likewise, you don't need to trim the length to 12.5 inches, just make sure it is at least 12.5 inches wide and tall.

Please make a minimum of 2 birches in your block - you can make as many as you want if you want to make more than 2 birches.  Your birches can be as skinny or wide as you like.  They can be straight or set in the block at an angle - just like trees in a real forest.

In the example of the red birch block at the top of the page, I started with a piece of background fabric that was 14 x 14 inches.  The finished block is about 18 inches wide.  Depending on how many birches you put in the block and how wide your birches are, you could start with a narrower piece of background fabric.  You can also use strips of background fabric that are 14 inches long instead of cutting a larger piece to insert the birches.

Inspiration

My inspiration for the blocks is based on photos of birch forests.  Here are a few.


Fabric Parameters

You will need 1 background color fabric and scraps of white and black fabric for the birches.

I am requesting solids or low volume prints that read as solids for the background, and white and black scraps.  For the birch accents, use black and white stripes or prints that will look birch-like.  If you don't have any black and white prints for accents, it is perfectly fine to use black and white scraps only for the birches.  The red birch block at the top of this post doesn't use accent fabrics.  The green birch block farther down does use accent fabrics.

The background fabric should be about 14 inches tall.  You will be inserting the birches vertically into the background fabric, so you can use one big piece of fabric, or several pieces shorter in width and insert the birches between the shorter width pieces.  It is okay to piece together scraps for the background if you don't have a large piece of fabric.  

For the background color, please use solids or low volume prints that read as solids - colors for background can be any shade of red, orange, yellow, or green.  Here is an example of solid colors you might use and one showing some grunge or low volume prints that would work.  I am looking for colors you might find in a birch forest, so the golden yellows and greens work well.  Please don't use greens or reds that have blue in them.


You will also need some scraps of black and white fabric.  For the whites, you can use white, off-white, low volume white on white fabric - as long as it reads white.  If you have some black and white striped scraps or other black and white prints that would work, you can use them in the birches (see tutorial), however, just plain black and white scraps are fine.  Here is an example of the scraps that I used and a photo of some black and white prints that I will be using for accents on my birches.


About Improv
If you haven't done improv piecing before, don't worry - it is very forgiving.  You don't even have to use a ruler, however, if you feel more comfortable using a ruler, go ahead.  It is okay if seams aren't straight.  Real trees aren't perfectly straight.

Pressing
You can press the seams any way you like.  The black strips are so thin, it is hard to press toward the dark color, so it is okay to press your seams open or to press towards the white.  For the green block, I pressed seams to the side.  For the red block, I pressed them open.  I think pressing the seams open was easier for this block and I will be doing my other blocks with seams pressed open.  But this is your choice.

In my block below with the green background, I have two trees overlapping.  Where the trees overlap, the seam is a little bulky and doesn't lay particularly flat.  If this happens to you, don't worry about it.  I don't think it will be noticeable after the top is quilted.

Photos of My First Block Progress
The tutorial says to start with a fat quarter of white fabric.  I just used some 2.5 inch strips I had in my stash.  I did cut a couple of them lengthwise so that they weren't all the same width when I made my birches.

First, I sub cut my black and white scraps.  You can see with the black scraps I wasn't using a ruler.


The next few photos show my progress at sewing the strips together into the birch units.


Here is my birch unit ready to be cut up into birches.  This unit ended up being about 8 or 9 inches tall - however, I really need it to be 14 inches tall so I can insert it in my background fabric.  Since I was planning to add some black and white striped accents to my birch trees, I didn't need to make them 14 inches tall - they will become taller when I add the accent fabric.  If you don't have black and white accent fabric to make your birch trees taller, then just add a few more rows of black and white strips until your birch unit is 14 inches tall.


This photo shows the birch unit that has been subcut into strips to make the birch trees - I have also flipped every other piece so that they look more random.


This photo shows the birches after I have inserted the plain white between the striped strips and added my accent fabric.  If you look at the red block at the top of the page, you'll see that I have one birch that doesn't have a white strip in the middle.

I forgot to take a photo of the first steps of inserting the birches.  You can see that on the left, I cut the background fabric at an angle and inserted a leaning birch tree.  For the second birch tree, I cut through the bottom of the first birch tree so that when I sewed the second tree, it looks like it is in front of the first one.  You can overlap trees if you want, but it isn't necessary - you can have each tree separated by background fabric if you want.


Here is my block after the third tree has been added.


And here it is after I added the background to the third tree.


This is my block - you can tell it is a lot wider than 12.5 inches.  I am going to wait until I assemble the top before I cut this block down.  I may end up adding more birches on the right side and make it a really wide block.


Here are a few photos of my red birch block under construction.  The first photo shows my 14 x 14 inch background fabric and my slab of black and white strips for the birches.  The second photo shows the birches after I sewed then together, but before I inserted them in the background fabric.


I hope you enjoy making this block.  I am looking forward to seeing all of the birches this hive will be making!

Rebecca @spockie_


Hive 4 April Tutorial - Fun Friendship Star


Hive 4 Fun Friendship Star


Two color ways, one left spinning and one right spinning

I’m excited to share this block with you. I had thought how appropriate this block would be.

Donna Jordan has a great video and free pattern on her website, but mine is changed. I asked

permission and they want to see the project when it's completed.


I have learned a lot of technique from watching her. Here's the link to that block and website.


video tutorial https://www.youtube.com/watch?v=cNSr25dAc_A

website https://jordanfabrics.com/


As simple as it is, there are some fun things to do with it.  

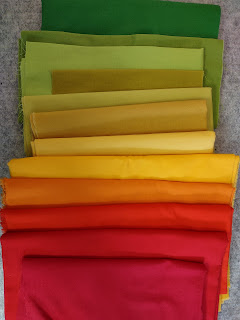
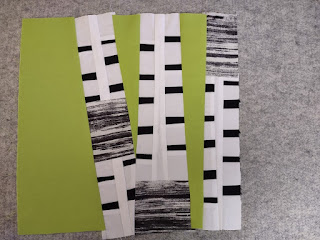
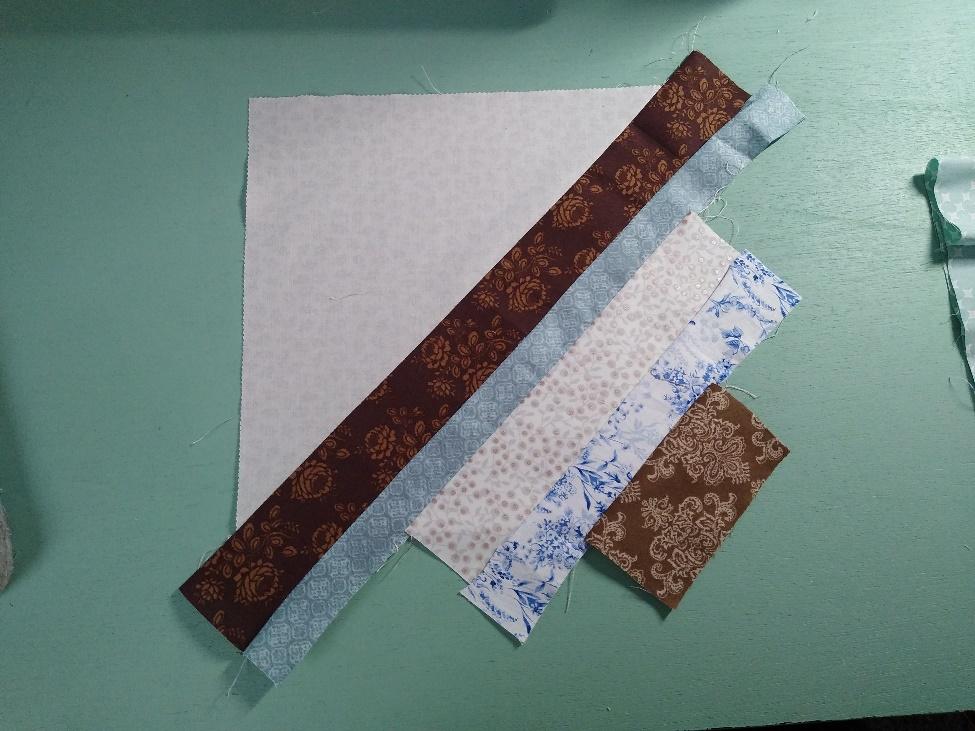
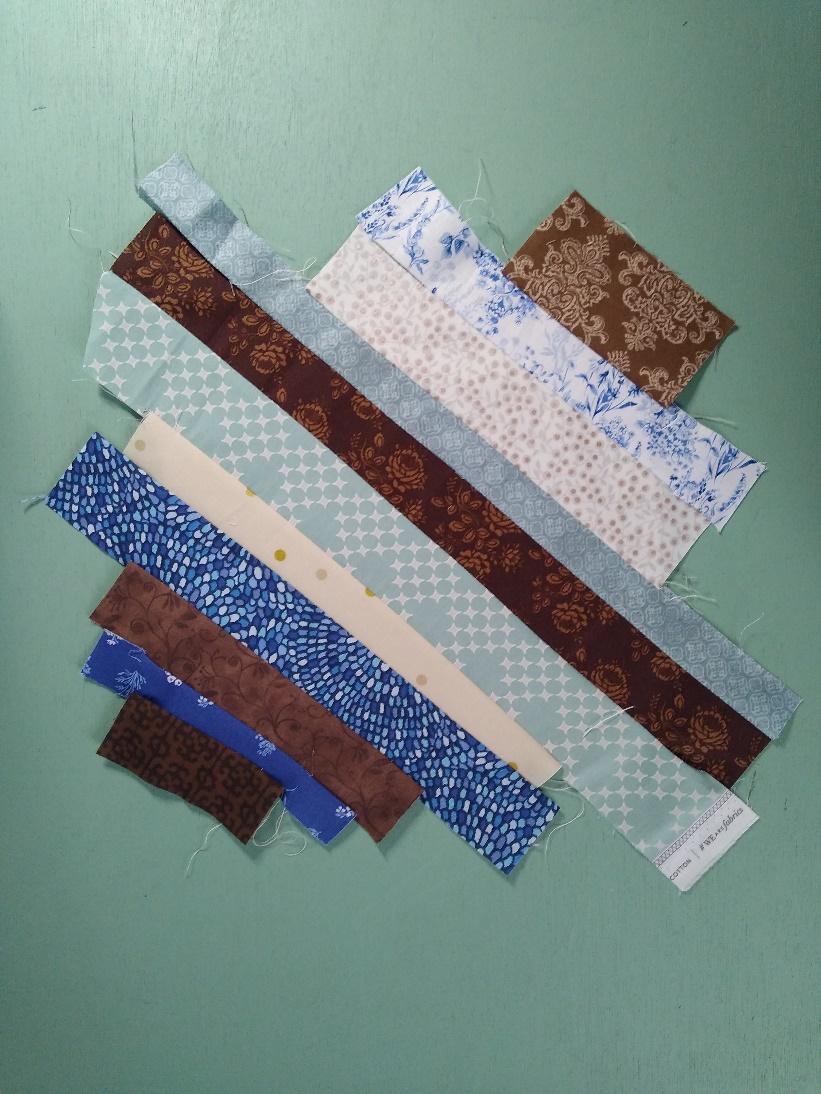
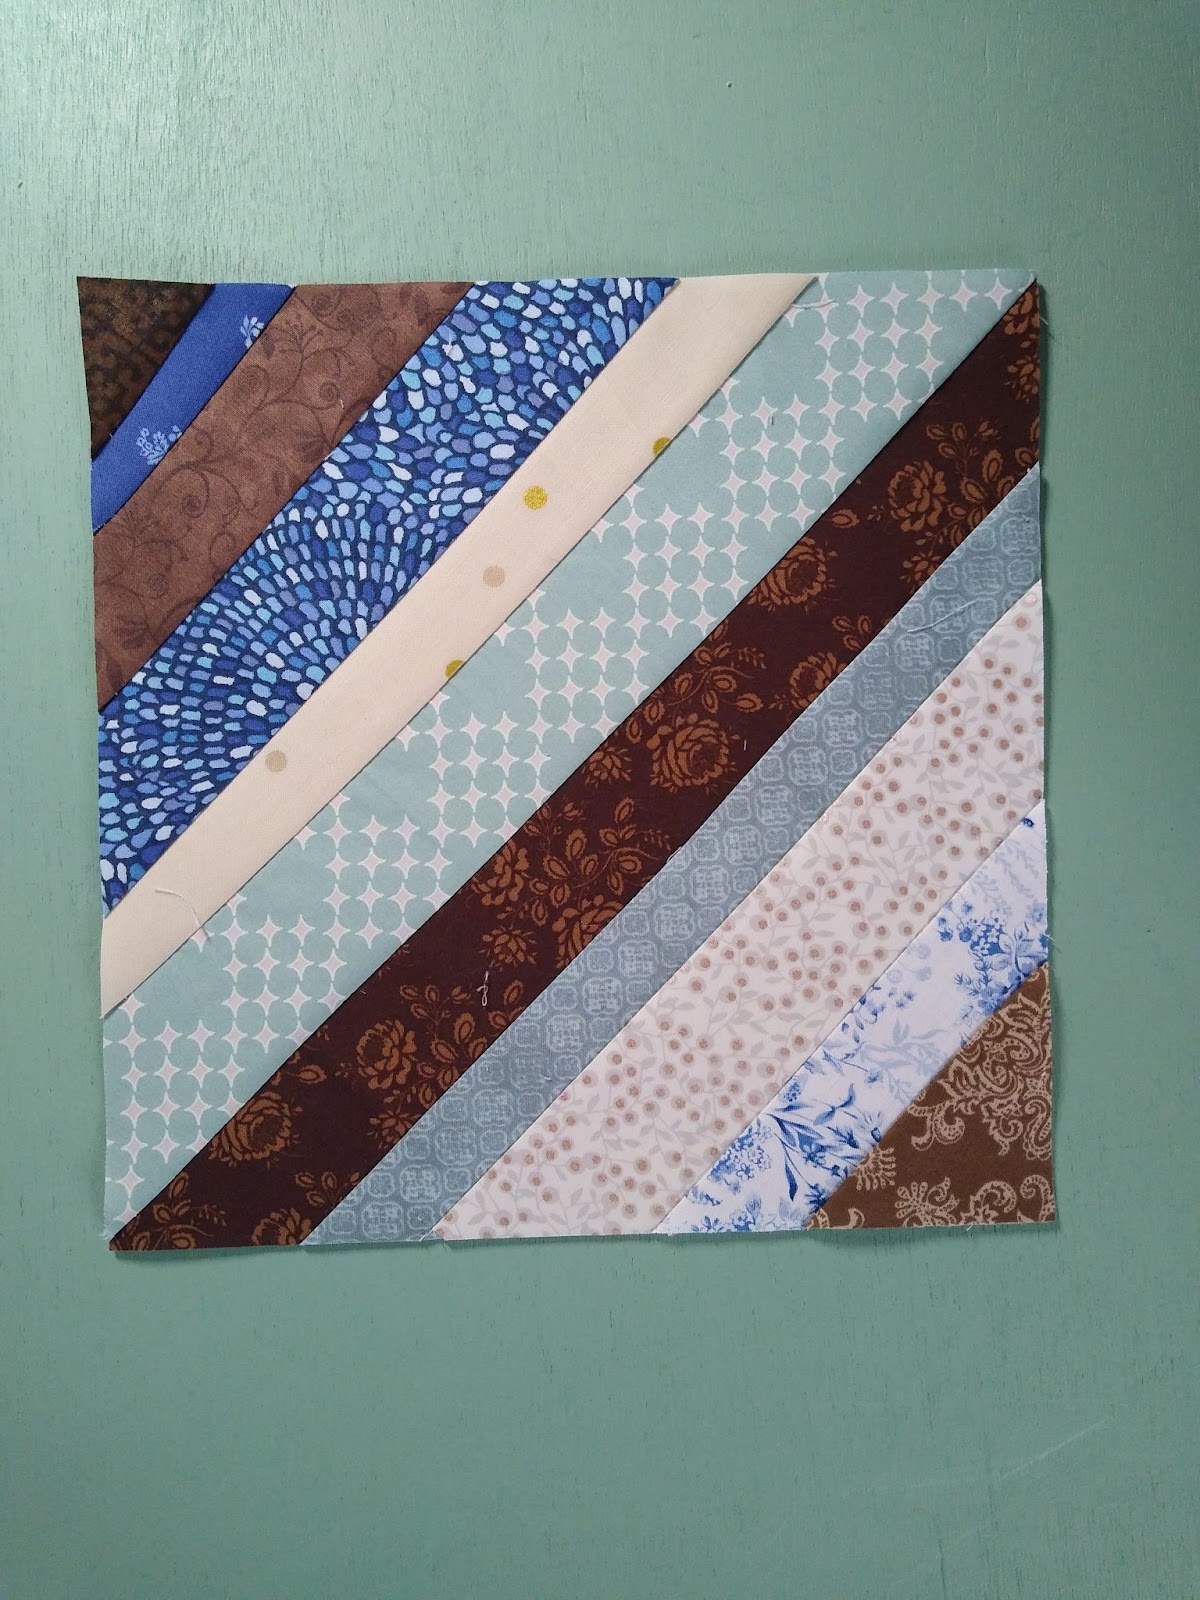
First of all, what color ?   You choose.  A favorite of yours or even something you have a lot of

and need to lighten your stash bin. You need four different fabrics of the same color. 

Look for a variety of designs, shades or tones. Whatever makes you happy. 


Then find a fabric that you might want to cut in a fussy matter (highlighting a certain design), or not.

This will be the center of the block.  You can go wild. 


Choose one more fabric for the star points or “legs”  It can be inspired by your center, or a complete contrast to the first.  Just be sure that it will stand out. 
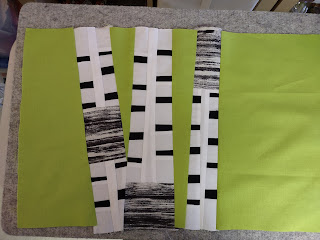
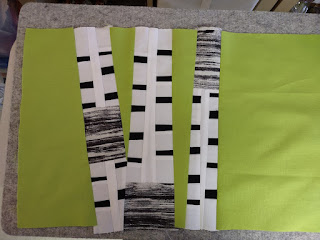
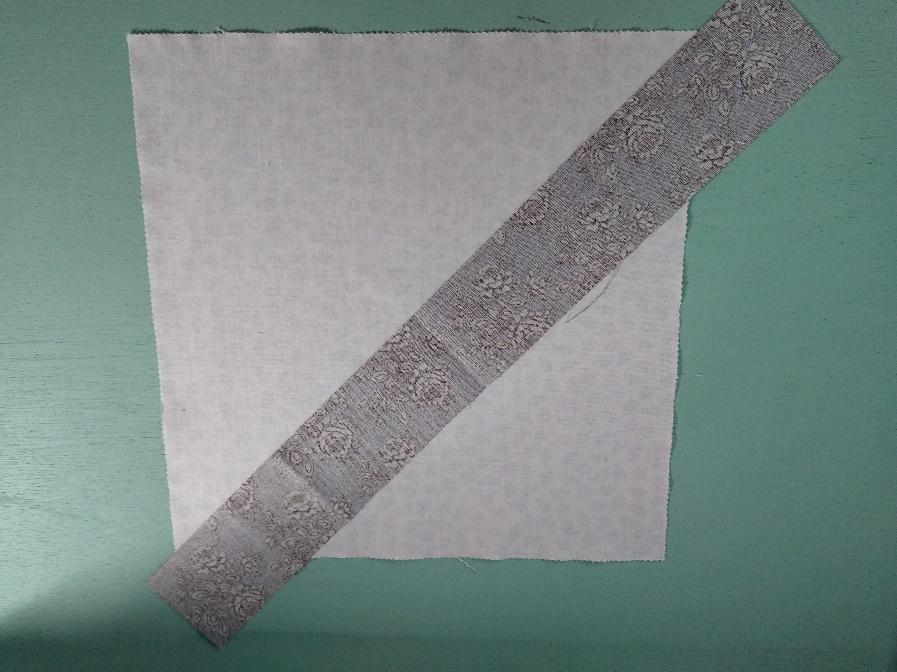
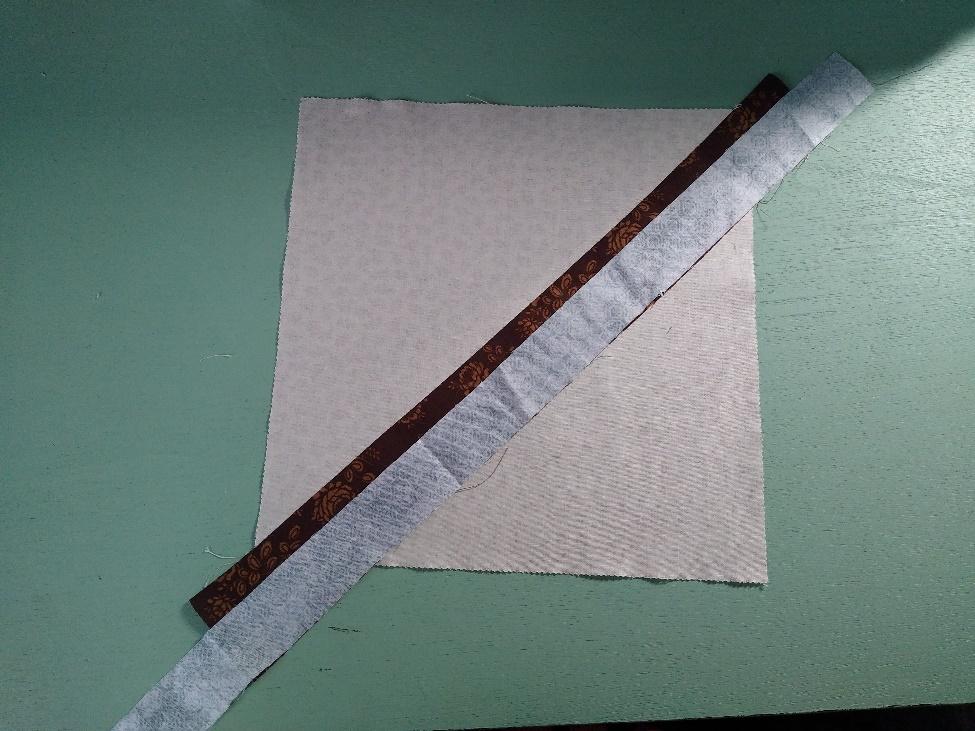
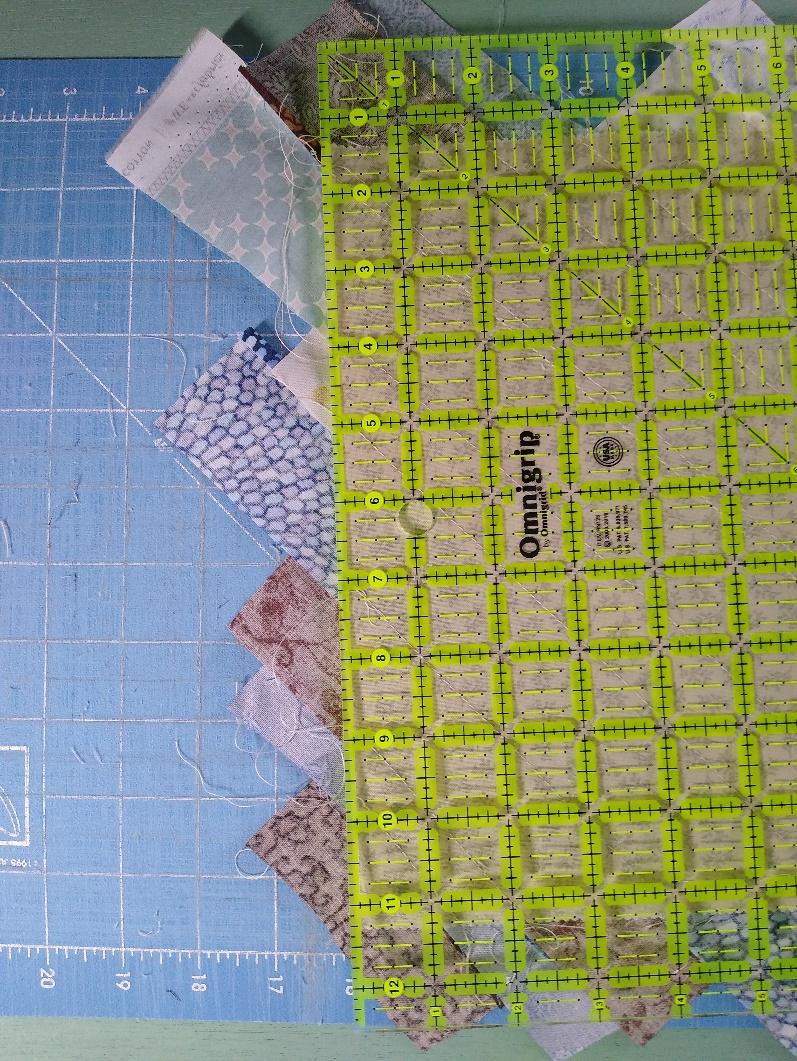

Now let’s cut::


  1.  Favorite 4  same color fabrics.  (If you don’t have 4 of something, you can repeat colors)

         A 5.5” x 9.5” rectangle from each of them. 


:


2. Fussy cut or center.  4.5 “ square


3.  (4) 4.5" squares  (star points) 


Here is a second color way, Goldish, blue and red


Ready, Set, Sew.

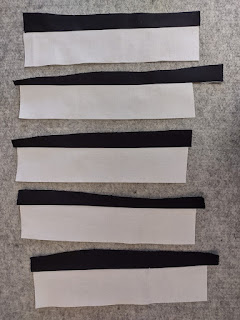
Here’s where you have to pay attention. I want my stars to go in both directions.

That means some of you are going to make a stitch and flip corner in the right corner of the rectangle

and some of you will make them on the left corner.  This is on the 5.5 edge.

If you do it the wrong way, it’s okay as long as all four of yours are the same.

I pick Helen, Dawn, Joan, Cathleen and Marissa to put these corners on the left vertical top of the rectangle. 

I pick Laura, Lisa, Em, Kristen and Samantha to put these corners on the right vertical top edge of the rectangle.


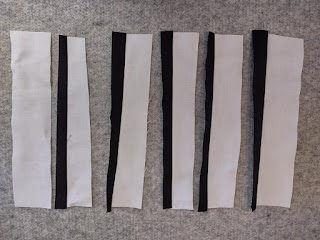
You can draw a diagonal line on the star point if you want.  I use diagonal seam tape and that’s easier.

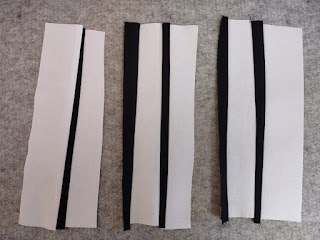
Stitch on the diagonal line. Press away from the rectangle and trim ¼ inch away. 

If you want to keep the cut off triangle for yourself, please do so,

but if you were going to throw them in the trash can, send them to me. 

I love little small scraps and have a plan for these.  


The diagonal seam tape is actually under the block, but I extended washi tape out further to align my point.  


Notice that these stars have floating points. Which means the background is at least one inch larger than the corner piece. No points will be lost.  I especially like this when coordinating with different block makers of various experience levels.  I don’t mind sacrificing a point or two along the way, but I'm happier when they maintain their integrity.  


Depending if you were a left corner or a right corner, lay out your 4 rectangles around the center square. The right angle  goes next to the center.

Left hand version in order to sew.  

Right hand version
In order to sew


Next partial piecing which is not at all scary.  It’s just like you were sewing a seam and you run out of bobbin thread. You stop and start again. In the example above, start with piece 1 and sew only 2 inches of it on to the center square. I stopped at the red star.


Stop, cut your thread and pick up rectangle 2 and sew all the way down. In this instance I am working counter clockwise.

Get the next rectangle and continue to sew working the way around the center.


When you have all the rectangles on, go back and finish the first seam where we only sewed two inches.  I recently found out it’s much easier if you sew from the unfinished part of the seam toward the already sewn seam.  

Last seam toward the first seam.  If you look closely you can see the  first. stitches.  


You can give your block a quick press., (you're just going to fold it up and send it in the mail to me, so don't spend a lot of time on pressing) Mail it to me and I'll trim the blocks all to the same size...roughly 14.5.....This is going to be so bright and happy. Thank you for making this for me. I'm always easy to contact and ask a question if you need to. Remember I'm excited about all and any colors, so you cannot disappoint. .
Susan  


Hive 5 April Tutorial - Foundation Pieced String Quilt

 2021 and 2022 alike have been the year(s) of the wedding table quilt. I have been piecing and quilting up a storm preparing a dozen table quilts for reception decoration at my September wedding. I’m finally down to the last one—this is where Stashbee comes in. Together we will make a foundation pieced string quilt table topper.

My wedding colors are dusty blue and cool brown. I have a wide variety of tones and saturations in my completed tops but in general aim for muted tones of blue, brown, and cream. No kitschy novelty or licensed fabrics. I’d prefer all unique fabrics if your stash can support it, but no worries if you need to repeat a couple. 10-13 fabric strips should cover it.

Our foundation is a 10 in square. Fabric doesn’t matter here at all; the entire thing will be hidden away under strips. Be sure that nothing shows through your strips, though. I used one from an old layer cake set. From all the selected blue, brown, and cream fabrics cut random width strips. I used widths ranging from 1.0 in up to 2.5 in. Feel free to go smaller, but keep the max width at 2.5 in. The length needs to be enough to cover the 10 in square diagonally at the spot you decide to place that specific strip. Make sure that the entire foundation piece is covered in the end. Use all 3 colors, but don’t necessarily use them in equal amounts. Humans naturally love order and patterns, but try to keep it wild. The end goal is loosely coordinated chaos. 

Start with a long strip. Place it face down running diagonal down the middle of the 10 in square. You can start in the exact middle or off-center, whatever feels right in your heart. Stitch with a quarter inch seam.

Start adding more strips down on one half of the square. The edges will get funky. Ignore them for now. 

Once the first half is done, repeat on the other. Eventually, your 10 in square will be entirely covered in strips.

The last step is trimming. Turn the block face down and trim off the strip edges using the foundation as a guide. Your final block should be 10 inches.

And you're done!