Monday, February 8, 2021

Hive 1 February 2021 Block for Kathryn


Hi Kathryn,

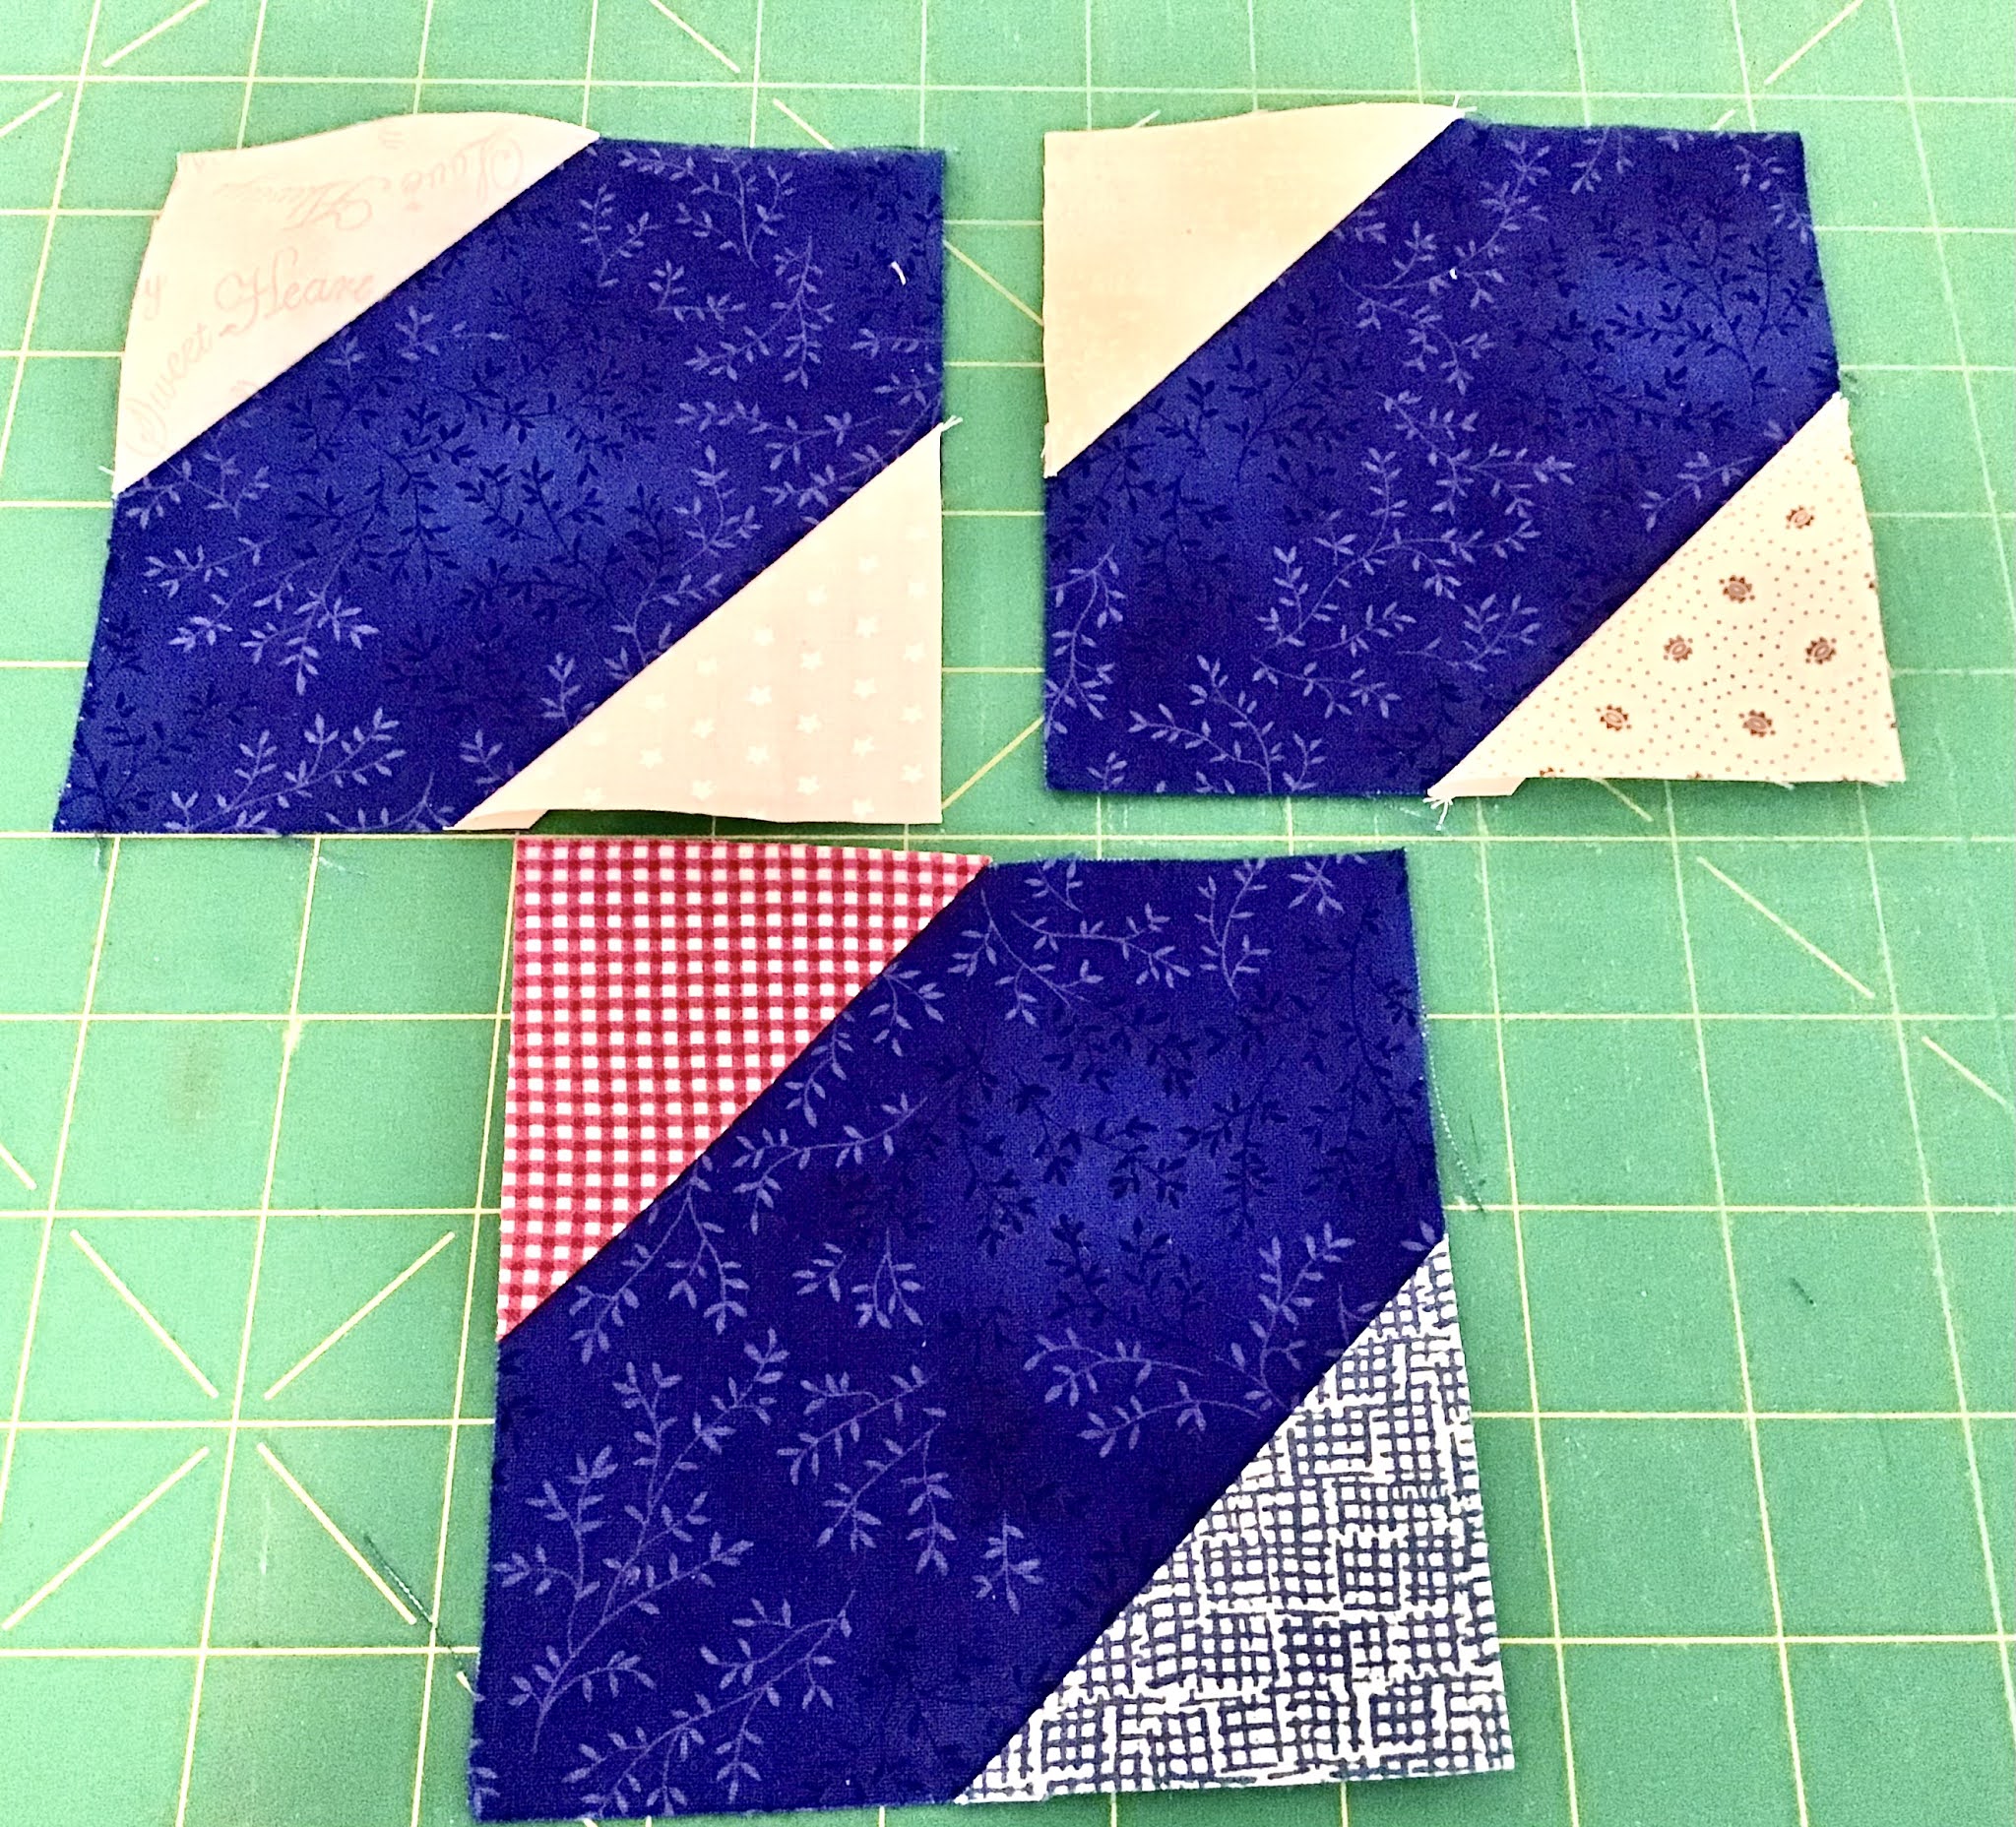
Turns out, I don't have many plain colour fabrics, mostly blenders in my stash. I was surprised by myself! :) Hope this colour selection is okay for your mom's quilt.

I'll put the block in the post this evening.

Take care, Greetings from snowy Ireland,

Rita.

Wednesday, February 3, 2021

Block for Hive 1 Kathryn on its way!


Hi Kathryn,

February is a short month, so I decided to start working on your block right away! I got lucky and all the pieces fell into place. May this quilt warms your mom's heart 💜. Marie

Hive 1 - Bonus Block for Jayne

 I just love the idea of a garden of pretty flower blocks altogether. Here is mine to add to the others. Of course, had I read the instructions more carefully, I wouldn't have had to make a second set of corner blocks... oops!


Hope you like it, Jayne. I'll get it into the mail by next week.

~ Diana

Tuesday, February 2, 2021

Hive 1 Block for Kathie


I really enjoyed putting this block together! I don't have too many solids around, so for the background I went with a very subtle print.

All of these colorful Xs will look so neat together - what a great idea!

-Julia D.

Hive 1 February 2021 block for Kathie


 Mother's Dream
 for Kathie.

I enjoyed this block so much I made three. Lots of wonderful dreams. This is going to be a happy and colorful quilt. Thank you for introducing this block to me.  Enjoy! 
Happy sewing.
Jayne

Monday, February 1, 2021

Hive 6 February 2021 Tutorial - Four on the Road

Hello Hive 6

My name is Marie Doyle and I'm glad to be sewing with you all.   This is my 5th year in Stash Bee and I've learned so much from participating.   I've been sewing since I was in high school but quilting came to me later on.  I live in Mount Desert, Maine, which is on the same island as Acadia National Park.   My two daughters live in New England but we haven't been in each other's company for quite a while.  Covid 19 has forced us all to adjust and find other ways of getting together, but a silver lining has been that I've walked more trails and climbed more mountains than I would have otherwise.  Being outside has allowed us to keep a semblance of normalcy in a year that has been anything but.  I hope this finds you well, safe and healthy. 

My block this month is called "Four on the Road".  There are a few steps to it but none are difficult.  The first and second pictures below are the "done" but not sewn together block and my fabric pull.  I've always loved the red/blue combination but it always seemed too 4th of July for me.  This block uses cream/beige/tan instead of the white. If my directions aren't easy to understand, feel free to look for this block on Quilter's Cache, which is where I found it.  I’ll be sending it off to Quilts of Valor.


You'll see in the first picture that the "road" pieces are a tone-on-tone dark blue.  Please use that or a solid for these three pieces.   Other patchwork can be assorted red, blue or red/blue prints but please avoid batiks, bright blues or novelty prints.  You'll also notice that the center road pice has medium red and medium blue corners rather than the darker value.  This is to ensure that the road piece stands out.  (a picture further down will show this).   So....let's get started.


From the assorted cream /beige/ tan fabrics, you will need:
(16)   2 1/2” squares
(2)     3” squares

From the assorted red fabrics, you will need:
(5)     2 1/2” squares. (1 should be medium value)
(1)     3” square

From the tone-on-tone dark blue fabric, you will need:
(3)     4 1/2” squares

From the assorted blue fabrics, you will need:
(5)     2 1/2” squares  (1 should be medium value)
(1)     3” square


Putting it together:


Making the Four Patch Units:   
Using three (3) assorted red and one blue 2 1/2” squares with four cream /beige/ tan 2 1/2” squares, make two four patch units as shown in the picture above.  They should measure 4 1/2”.


Making the half square triangles and four more Four Patch Units:  
Draw a diagonal line across the wrong side of both cream /beige/ tan 3” squares.   Pair these with a blue and red 3” square, right sides together.  Sew 1/4” on either side of the diagonal line.  Cut on the drawn line.  Press to the dark and trim to 2 1/2”.   Using these four half square triangles, make another four Four Patch units as shown in the picture above.  They should measure 4 1/2” each.


Making the “Road” units:
Draw a diagonal line on the back of four (4)  cream /beige/ tan 2 1/2” squares.   Place two of these squares on the opposite corners of two of the 4 1/2” blue squares, right sides together, with outside edges aligned.  Sew on the drawn line.   Trim off extra leaving 1/4” seam allowance.  Press seams out.  (See picture above).  Repeat with the remaining blue 4 1/2” square using the red and blue medium value 2 1/2” squares.  These three (3) “Road” units should each measure 4 1/2”.

Lay out all the units as shown in the first picture and sew together as you would a 9-Patch.   This block should measure 12 1/2” unfinished.


Thank you so much for sewing for me!   You can find my address in our address document for our Hive.   Happy Valentine's Day!


Hive 2 - February Tutorial - Star & Cross Block

Hi, this is my 6th year in Stash Bee and every year I look forward to the great blocks made by my hive mates!

I saw a quilt using a similar block, and now just see the name from the 5,500 Blocks Book is Star and Cross, I see the cross but not so much the star. 


 This is a simple to sew block, but I do want a specific color scheme.


Purple, pink towards magenta, bright lemon yellow, soft green (almost towards lime) and a purpley blue (more on the light side). From these five colors you will pick any two, color A and B.


Background will be low volumes.


Cut 12 - 3 by 3 inch squares of low volume. They don't need to be all different, but if they repeat just space them around the block.

For the cross Cut 4 - 3 by 5 1/2 inch rectangles from your color A choice. I prefer this to be a texture, tone on tone, or blender where it basically reads as one color. Cut all from the same fabric. Batiks are okay. If you can, avoid solid colors.

For the other squares in color choice B - Cut 4 - 3 by 3 inch squares, these can be multi-color as long as they are still mostly the main color, all from same fabric.

For the center square cut a different fabric that coordinates with the 4 squares above in color B. Cut 1 -3 by 3 inch.

Take 8 low volume squares and sew into pairs. Take the remaining 4 low volumes and sew them to the 4 squares in color B. Then pair these together to make blocks of 4.

Sew the center block section between 2 of the color A - 3 by 5 1/2 inch blocks. Sew the remaining rectangles between the 4 patch blocks and then sew together as in photo.


This block should measure 13 inches square (will finish at 12 1/2) inches. (I know this is an odd size, but since it is based on a 5 patch, it would only be 10 inches if I used 2 1/2 squares and I wanted it slightly larger, so that is why I am using 3 inch squares.)


If you have any questions, please contact me.

-Gayle


Hive 3 February Tutorial - Rocky Mountain Puzzle

 Hello Hive 3! My name is Jackie and I live in Oregon. I do not blog but I do share my quilting, knitting, etc. over on Instagram @nwpatchwork. Please come visit!

I have been in Stash Bee several times over the years including the very first one.  The last time I  participated was back in 2018 which resulted in my Maple Leaf quilt. It is one of my favorites and the first "real" quilt that I quilted myself after I bought my new longarm. After a long break, I'm excited to be back sewing with everyone through 2021!!

I have decided on the Rocky Mountain Puzzle  for my block. This has been on my list to make for several years. 


As you can see from my photo I like bright, rich colors with a low volume background.  Please no batiks. To make it easier, you can keep the background all the same low volume print.  It does not need to be scrappy. 

Cutting:

1 -  5" square for the center

2 -  1 1/4" x 5" strips for frame 

2 -  1 1/4" x 6 1/2" strips for frame

5 -  4" squares print

5 -  4" squares low volume

2 -  3 1/2" squares low volume


Assembly:

Sew the two 1 1/4" x 5" strips on each side of the 5" center square.  Then add the other 1 1/4" x 6 1/2" strips to the top and bottom.


To make the HST's, pair up the 4" low volume squares to the 4" print squares.  Draw a diagonal line on all low volume squares and sew 1/4" on both sides of that line. Cut on the diagonal line, press and trim to 3 1/2".  You should now have 10 HST's.


Layout all pieces like the photo.  Take note that the 3 1/2" low volume background squares are in the upper left corner and lower right corner.


Sew the top and bottom HST's into rows.  Then sew the two HST's on each side together before sewing them to the center unit.  Finish the block by sewing the top row to the center unit followed by the bottom row.  You should now have a 12 1/2" block. No need to trim blocks! I can do that if needed.


Here is another one I made.  Please let me know if you have any questions or concerns with the block or fabric choices.  Thank you so much for making these blocks for me.  I can't wait to see what you make.


Hive 4 February Tutorial - HST Block For Rochelle

Hive 4 February Tutorial - HST Block For Rochelle

I can't believe this is my fifth year participating in Stash Bee!  I have to admit, not one of my stash bee quilts have been completed. I have two tops awaiting quilting and two that are still works in progress.  After much thought, I have decided to *try* and finish some outstanding projects in 2021 (isn't that always how the year starts out 😄)! Last year I asked for a fairly simple and modern black and white HST block.  I have made a few more blocks on my own but I still need quite a few more if I'm going to complete a king size quilt 😳

Last year I came across Steph Jacboson Designs and her Modern HST BOM(s). After looking through all the wonderful designs, I really liked the January 2019 design, which can be found here:

https://www.stephjacobsondesigns.com/2019/01/modern-hst-block-of-month-january-2019.html


I'm looking for black and white only.  You can use solids, tone on tone and/or small modern prints that still read white or black (please no large prints, no batiks, no cutesy novelty prints). If you use solids, use both a black and a white solid, if you use prints, use both a black and a white print - I'd like to alternate solid blocks with printed blocks in the final layout (if you have any doubts on your fabrics just go ahead an use solids, those solid blocks will be just as helpful since I have to make quite a few for a king).

Here are a few things I pulled from my stash:


You will need:

8 - 5" black squares
8 - 5" white squares


You'll make a total of 16 HSTs, trimming to 4 1/2" (unfinished).  I love my Quilters Magic Wand for marking HST lines 😊


Most HST cheat sheets say to use 4 7/8" for a 4 1/2" unfinished block but I like the warm and fuzzy feeling of using a larger size and then trimming down. Using the 5" square I did not have much trimming to do.


I don't think I need to go through the HST making process but if you do need help, Bloom Heart Quilts has a great tutorial and several HST methods. I chose to make my HSTs the old fashioned way (2 at a time),  if you like to make 4 or 8 at a time - feel free to use your preferred method.  Please iron all seams open throughout, this will make my life much easier when I am quilting 😉

Here is the layout for your HSTs, I had to keep going back to my photo to make sure the layout was correct.


 I sewed the first two and last two blocks of each row together.


Then completed each row.


With all the rows complete, I attached with the top two rows and bottom two rows (sorry no photo here but I think you get it).

And finally sew the last center seam and you're done! Your block should measure 16 1/2" (unfinished).  A nice big, simple block! Please let me know if you have any questions.

💗 Rochelle

Hive 1 2021 February Tutorial - Mother's Dream


Hi, I'm Kathie from Allentown, PA, and am glad to have you joining me for this month's Stash Bee block.  The block I am asking you to make for February is called Mother’s Dream.  My 94 year old mother has been having some health issues, so I’d like to make this colorful quilt for her.  She is the one that taught and encouraged me to sew more than 60 years ago.


Fabric:  I’d like you to use three solid colored fabrics.  If you don’t have any, use anything that is close to solid-looking, like a tone-on-tone.  I’m looking for contrast, so pick one medium color, then one that is a lighter color and one that is a darker color than the medium.   You’ll see in my example that I used a dark purple and a coral and a light pink.

Color:  You can use any colors you want.  You don’t have to try to match colors.  There will be so many colors in the quilt that anything goes.  Here are a few that I’ve made as examples.


Pressing:  Although I normally press so that my pieces nest nicely, when I work with solids I usually press my seams OPEN.  I find that it produces a very flat and neat block. 

Cutting:

Darkest fabric – Cut one 4-1/2 by 4-1/2 inch square and four 4-1/2 by 2-1/2 inch rectangles.

Medium fabric - Cut four 4-1/2 by 2-1/2 inch rectangles.

Lightest fabric – Cut two 4-1/2 inch squares and two 5-1/2 inch squares.


Cut each of the light squares on the diagonal.


Sew

Sew the dark and medium fabrics together as shown below. 


Add the triangles cut from the 5-1/2 inch squares onto the sides of the two-color squares.  Make sure that the orientation of dark , medium and light fabric matches my picture. The triangles should be even with the medium fabric edge but will extend beyond the dark fabric at the top. Sew

Sew the three rows together.  The triangles will again extend beyond the dark fabric edges of the middle row.


Trim the light fabric so that it is even with the edge of the dark fabric.  You can line up your ruler so that the 4-1/4  inch line sits on the seam.  


Add the triangles cut from the 4-1/2 inch square to dark edges of the block.  Center the triangles over the edge as well as you can.  The block will be squared up, so it doesn’t have to be perfect.


You are done.  The final product will be somewhere between 12-1/2 and 12-3/4 inches.  Don’t bother to square it up.  I’ll decide the final size one I get all of them.  Thanks so much.