
This was such a fun block to see come together. Can't wait to see the final product, with all the fabulous intersections from so many quilters. In the mail tomorrow!
-Julia C.

This was such a fun block to see come together. Can't wait to see the final product, with all the fabulous intersections from so many quilters. In the mail tomorrow!
-Julia C.
Hi Rita,
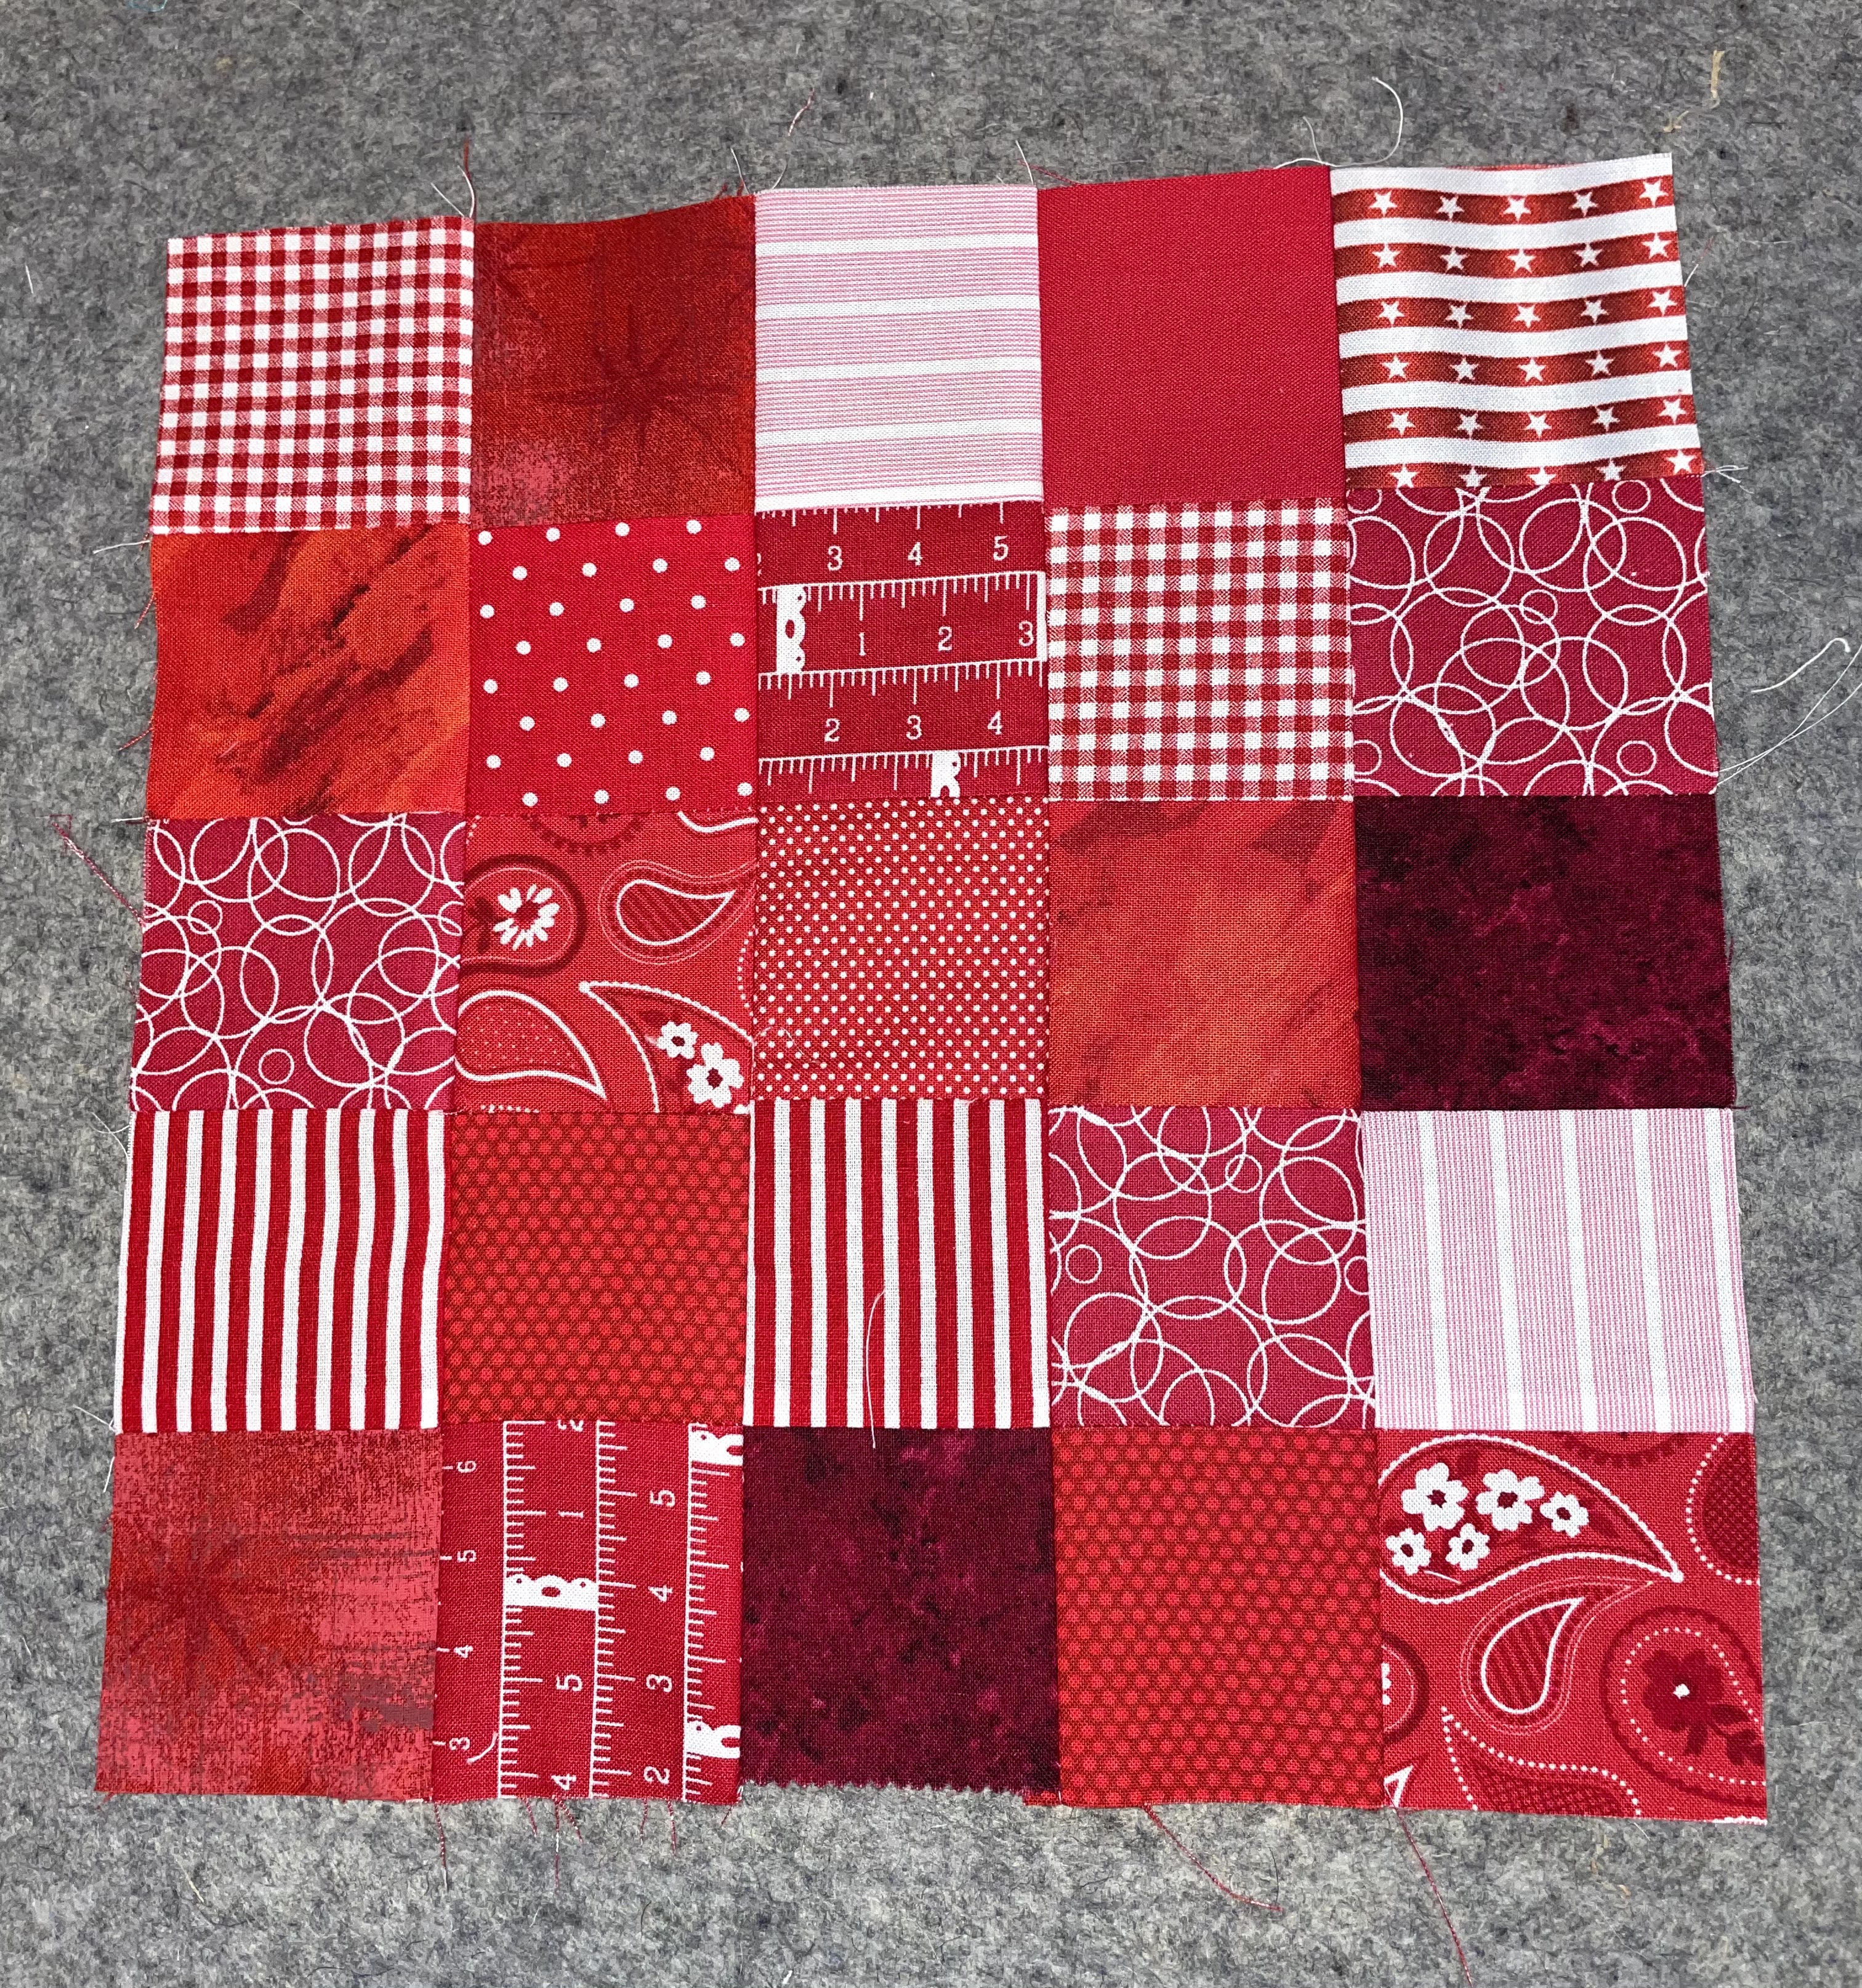
Here is my contribution to your quilt in primary colors. Thanks for the paper piecing pattern, everything falls nicely into place and creates more crossroads:) It is on its way to you now. Have fun in completing this bright and cheerful quilt! Warmest regards from Miami, Marie


Carolyn

I'm so impressed with your tutorial, Rita! We have a professional in our midst. These were a breeze to chain piece, so they went together well. I hope you get all the colors of the rainbow.
Kathie L in Allentown, PA


Hello Hive Mates. My husband and I purchased our first camper ever, and since he’s restoring a 1967 Chevy pick-up, we selected a vintage style trailer to go with his truck. We took delivery last fall-- too late to try it out, so it went directly into storage until this Spring. Since this month marks Spring, I thought it would be fun to make a quilt for the camper. The idea was easy, but deciding on the block drove me crazy. I wanted something totally improvised and fun but in colors to match the vintage green theme, and I wanted something easy for you.
You will find the inspiration for this quilt in the finished quilt section on the Stashbee website. It’s circles. Take a look. It's so sweet and whimsical! The instruction was simple. Make a block of any size (no bigger than 16.5 ") using low volume fabric as the background and appliqué circles in any order you choose, using any method you choose.
Here is a sample of the fabrics I pulled that would work. It’s based on sea foam green (see a small piece of the truck at the top?), and please feel free to use prints with other colors as long as the sea foam shines through too. I rummaged through my scrap bins and bag of orphan blocks and found a few bits and pieces that will also work. Anything goes. You decide, but don't think about it too much. Just arrange it in way that works for you. Planned, random...it will all be fun for me to play with. You can use any decorative stitching you want as well. I'm going to pull out one of my machines with cams to play a bit myself.


Jennifer's Block for March 2021- Busy Block
I really look forward to the beginning of each month to see what you all have chosen. I always enjoy putting together a block or two for you. I'm excited that it is my turn.
I have chosen a paper-pieced block I saw on another hive several years ago.

The block is from Blossom Heart Quilts and is called Busy. The tutorial and paper piece download is here. You will need to print 4 templates.
I am asking for 4 of the components that make up one block. They can be all different - but please don't sew them together.
I would like sea glass colors, highly saturated greens and blues. Prints are preferred, but not batiks or children's prints.
I usually just buy a fat quarter here and there, but to give you an idea of what I like, I looked up some fabric lines, they are: Laminx from Heather Moore of Cloud 9, Animal Crackers by Sweetwater, Figures by Zen Chic. Blocks do not need to be those brands specifically, but you get the idea.
Here are the main colors I like for the for the center of this block:


If you don't have paper piecing paper, just drop me a note and I'll print out the template on the paper piecing paper and drop it in the mail. I seem to have a lot of the paper piecing paper.
Don't forget to reduce your stitch size - I use 2.5 for paper piecing.
I tend to make a mess when I'm paper piecing - here is what this block looked like mid-way:

In addition to the blue or green sea-glass colors, there is pale/pastel light yellow or light pink, light/medium grey and white/ivory in this block.
You can choose solids or prints for these sections.
 When paper piecing here is the guide:
A1 = jewel tone
A2 & A5 = pale/pastel light yellow or light pink
A3 & A6 = light/medium grey
A4 & A7 = white / ivory
As a tip, here is what I like to do to make sure I don't mess up - I write the names on every block, this way I can just grab the right piece and sew.
You leave the paper on or take it off.
Amy York requested the same block in a previous stashbee - you can see her tutorial by clicking on the word 'stashbee'. All her blocks together are here.
I'm going for the same type of configuration, just with a different color pattern.
Thank you so much!
My instagram is @JennQuilts
Hello Stash Bee! This month's block is *not* the scrap jar star that is made from the original tutorial from Gigi's Thimble, which you can find here. However, I saw these blocks under the hashtag #scrapjarstars on Instagram, fell in love with the block, and this is modified from that original design. Different size, different construction, same idea!
Hi there, I'm Em. You can find me sharing quilting stuff over on Instagram. I'd love if you would pop over there and say "hello". Since I'm in an Instagram hive, I'll be sharing an IG-friendly version of this tutorial so you can find it easily as you create your blocks this month.
I've participated in Stash Bee a bunch of years. There's a blue and green stars quilt that is throw size and lives on my couch. My two youngest children have quilts on their beds that were made with the help of Stash Bee, and the quilt on my own bed (kind size!) was even made with the help of my friends in this bee. Another Stash Bee quilt went to live with one of my sweet daycare kiddos when he "graduated" to kindergarten and the 6th is still in bits ... maybe this year it will grow up and become a real quilt!
I thought I would get photos of the ones that still live here, but I waited too long, and now it's the night before I need to post this tutorial and it's too dark to take photos. Story of my life.
Okay, here's the block. 16.5-inches unfinished, 16-inches finished.

Dig into your scrap bin and choose scraps in one color. Your choice.
Find some low volume pieces for the background.
Here's your cutting guide:
COLOR:
(4) strips 2.5 x 12.5 inches
[OR (20) 2.5-inch squares], whichever is easier or makes the most sense for you
plus (4) 5-inch squares
BACKGROUND:
(4) 2.5-inch squares
(4) 2.5 x 4.5 inch rectangles
(1) 9.25-inch square


Subcut perpendicular to your sewn lines every 2.5-inches to create four units that are 2.5 x 8.5 inches. 
Flip the 1st and 3rd units to face the opposite direction so same fabrics do not line up with one another and sew the units back together to create an 8.5 inch patchwork square.


ALTERNATE: Sew (20) 2.5 inch squares together in a 4x4 grid to create an 8.5 inch unfinished square.
STEP 2: MAKE THE CORNER UNITS
Sew a 2.5 inch square COLOR to a 2.5 inch square BACKGROUND. Add a 2.5 x 4.5 inch rectangle of background. Repeat three time to create 4 units that are 4.5 inch squares, unfinished.


STEP 3: MAKE THE FLYING GEESE/STAR POINTS
Note: I'm using the 4-at-a-time/no waste flying geese method here. I don't care how you make these geese if you prefer a different method. They just need to be 4.5 x 8.5 inches, unfinished.
Draw a diagonal line corner-to-corner on each of the (4) 5 inch square of COLOR. Line up 2 of those squares with the edges of opposite, diagonal corner of the 9.25-inch square of BACKGROUND.

Sew a scant 1/4 inch away from the line on each side of the line. Cut the block apart on the line. Press the COLOR open (your unit will now look like a heart).

Place a remained 5-inch square to line up with the corner of the background. The line your drew will go from the corner of the background fabric up through the middle of the "heart" shape. Again, sew a scant1/4 inch away from the line on each side and cut the unit apart on the line. Press open.

TRIM TO 4.5 x 8.5 inches.
STEP 4: ASSEMBLE THE BLOCK
It's a star! Patchwork square goes in the middle. Corner units are arranged so that the COLOR is in the outside corner.


Happy quilting!
Em

