

Hi Pam,
These were so much fun! Thank you for asking for this Hashtag this month! Hope you like them, they'll be in the post to you this evening.
Happy quilting,
Rita

Hi Pam,
These were so much fun! Thank you for asking for this Hashtag this month! Hope you like them, they'll be in the post to you this evening.
Happy quilting,
Rita


I've wanted to make a hashtag quilt for a while, but wasn't feeling the measuring and seam-matching, so I decided to make a slightly wonky and easier, faster version. I love the look of a quilt where the blocks are all a bit different, even if the concept is the same for all of them.
Here are the directions for my version of the hashtag block:
Fabrics: One 12.5 inch square of dark grey or black fabric, either solid or print, for the background.
Four 1.25 inch strips of bright (print or solid) fabrics, at least 14 inches long
Assembly: Using a ruler and rotary cutter, make a cut off one side of the background square. No rules for where to make the cut, and it can be parallel to the edge or slightly at an angle as I did with my sample blocks.


Hi Abby,
I couldn't resist adding some titles... I read voraciously since my early teens, but I haven't made a book shelf quilt yet, probably, because it would remind me of the many, many boxes of books I left behind, when I moved to Ireland over 20 years ago.
Hope you're going to enjoy snuggling under all those 'fabric books' :).
These books are shipping out to you today.
Happy quilting,
Rita


|
Star Halloween fabric |
1 - 4 inch square
8 - 3 inch squares |
 |
|
Background Halloween or coordinating fabric |
8 - 4 inch squares |
 |


What a fun block! My machine started acting up with the zigzag stitch (time to get it in for maintenance!) but I was able to finish the block. Can't wait to see the finished quilt!

~ Diana
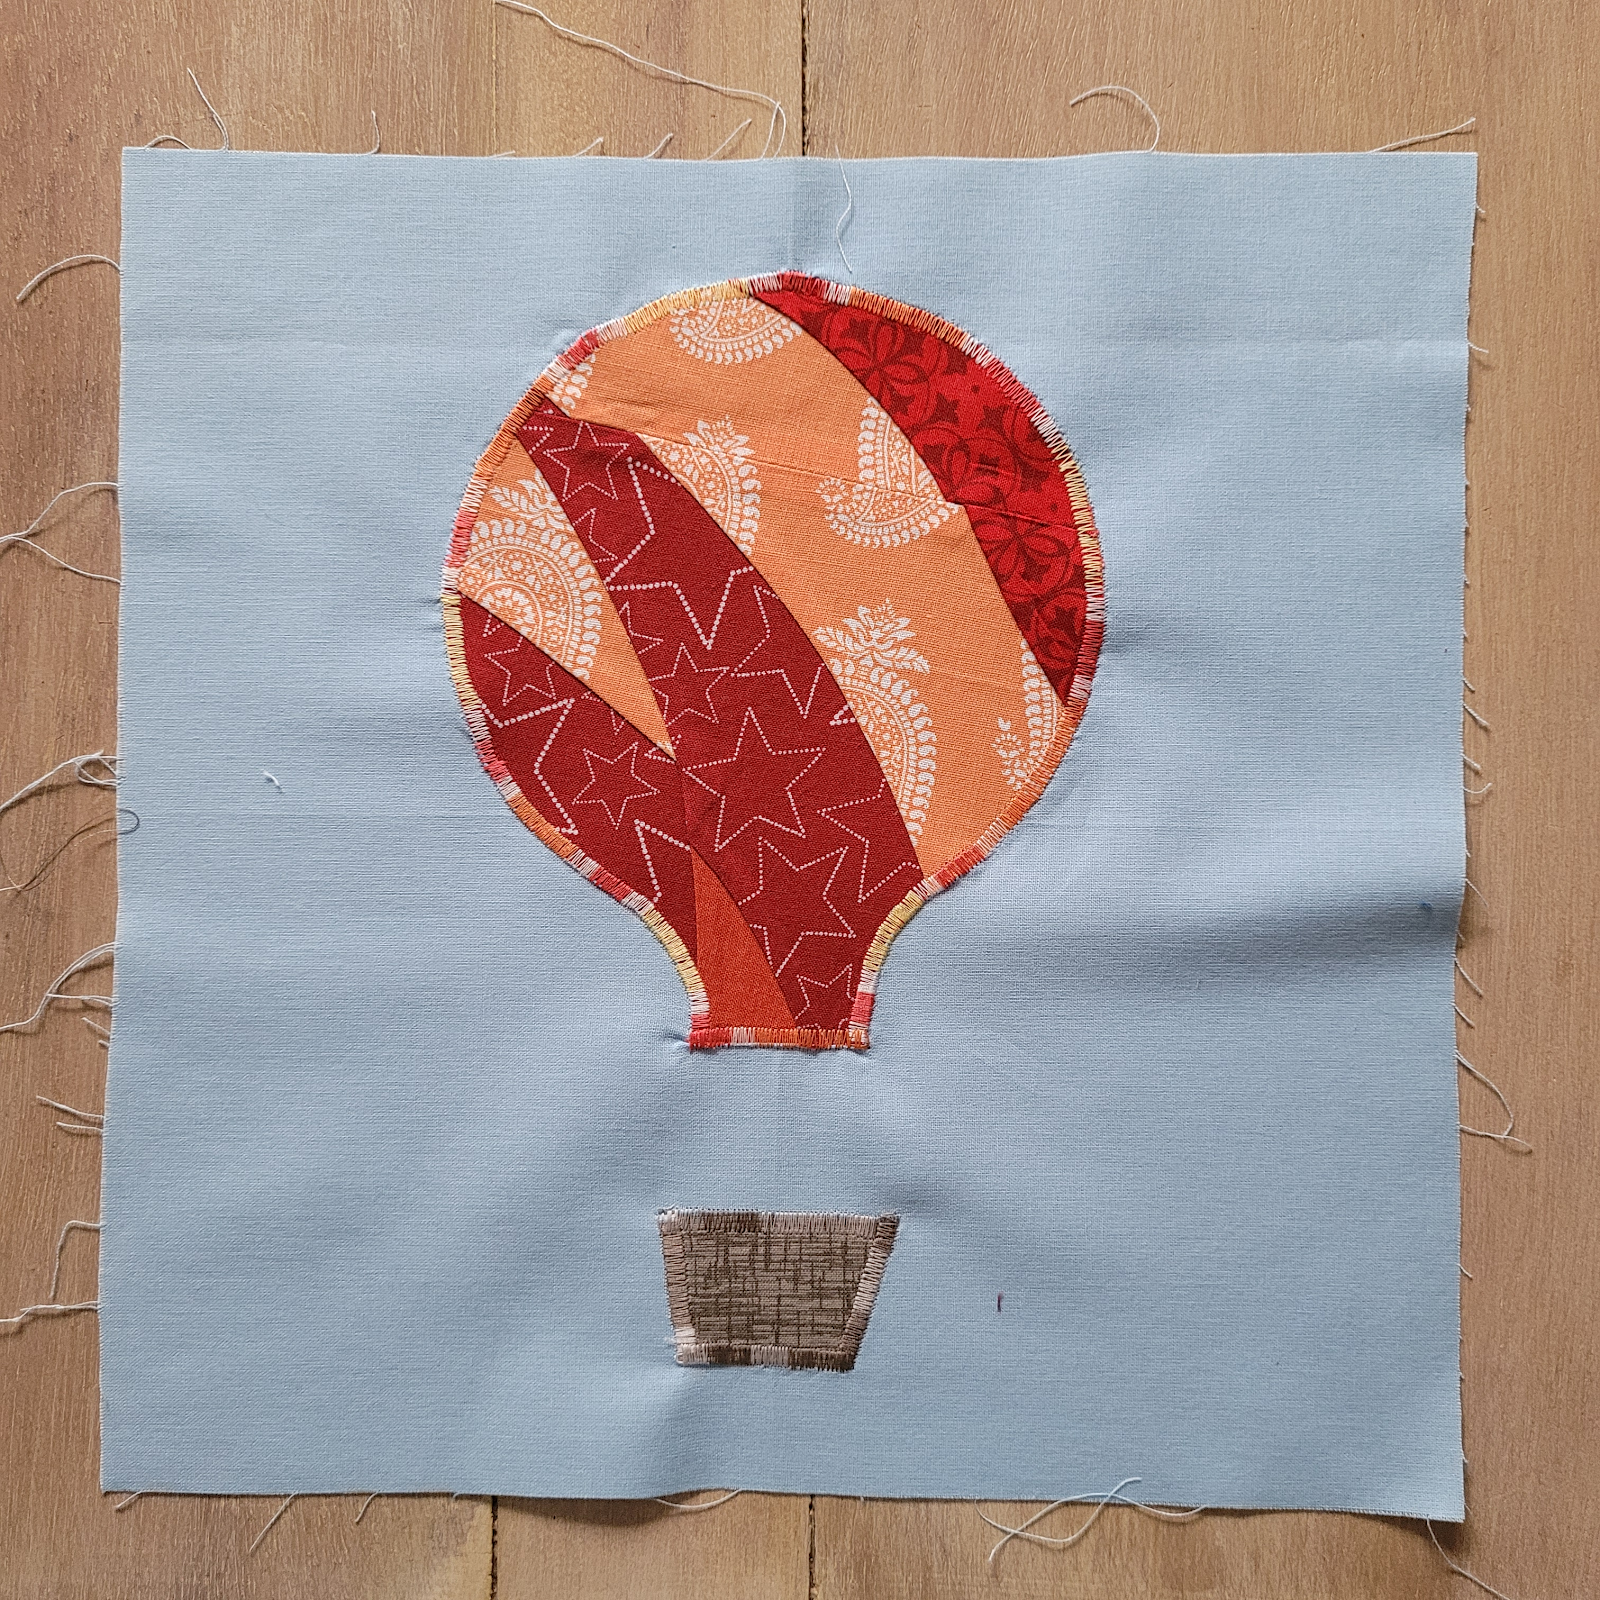


I was touched by your initiative for this quilt and I am honored to contribute.
Thank you for introducing me to this technique. It was my first real project using interfacing.
I will mail everything this week!
Marie
Hi, Everyone!
This is my first year with Stash Bee. I am loving it and am so excited for my turn as Queen Bee. This month we will be working on a hot air balloon baby quilt using raw edge appliqué, but before I get into the tutorial I want to tell you a bit about the recipients of this quilt.
There is a church in my area that runs a program for unwed mothers. These women have little to no support system. They have no village to help raise their children, so to speak. This program seeks to fix that. They help to provide healthcare, food, education, and other needs. Twice a year they throw a baby shower for the expectant mothers, making sure they have things like diapers, cribs, and clothing for the impending arrivals.
When I first heard about this program through the organist at my church, the Stash Bee had just started. I was in the process of brainstorming what I would do come my month, and a lightbulb just went off. I quickly volunteered to make a baby quilt for them to raffle off to the moms as a sort of door prize. If I could make a quilt for every mom in the program, I would, but alas I can't. I decided on hot air balloons because they're bright and fun, but can be made gender neutral since we don't know which baby will get this. I hope you have fun helping me with this quilt, and that it will become a treasured possession for a family in need.

Fabric Dos and Don'ts:
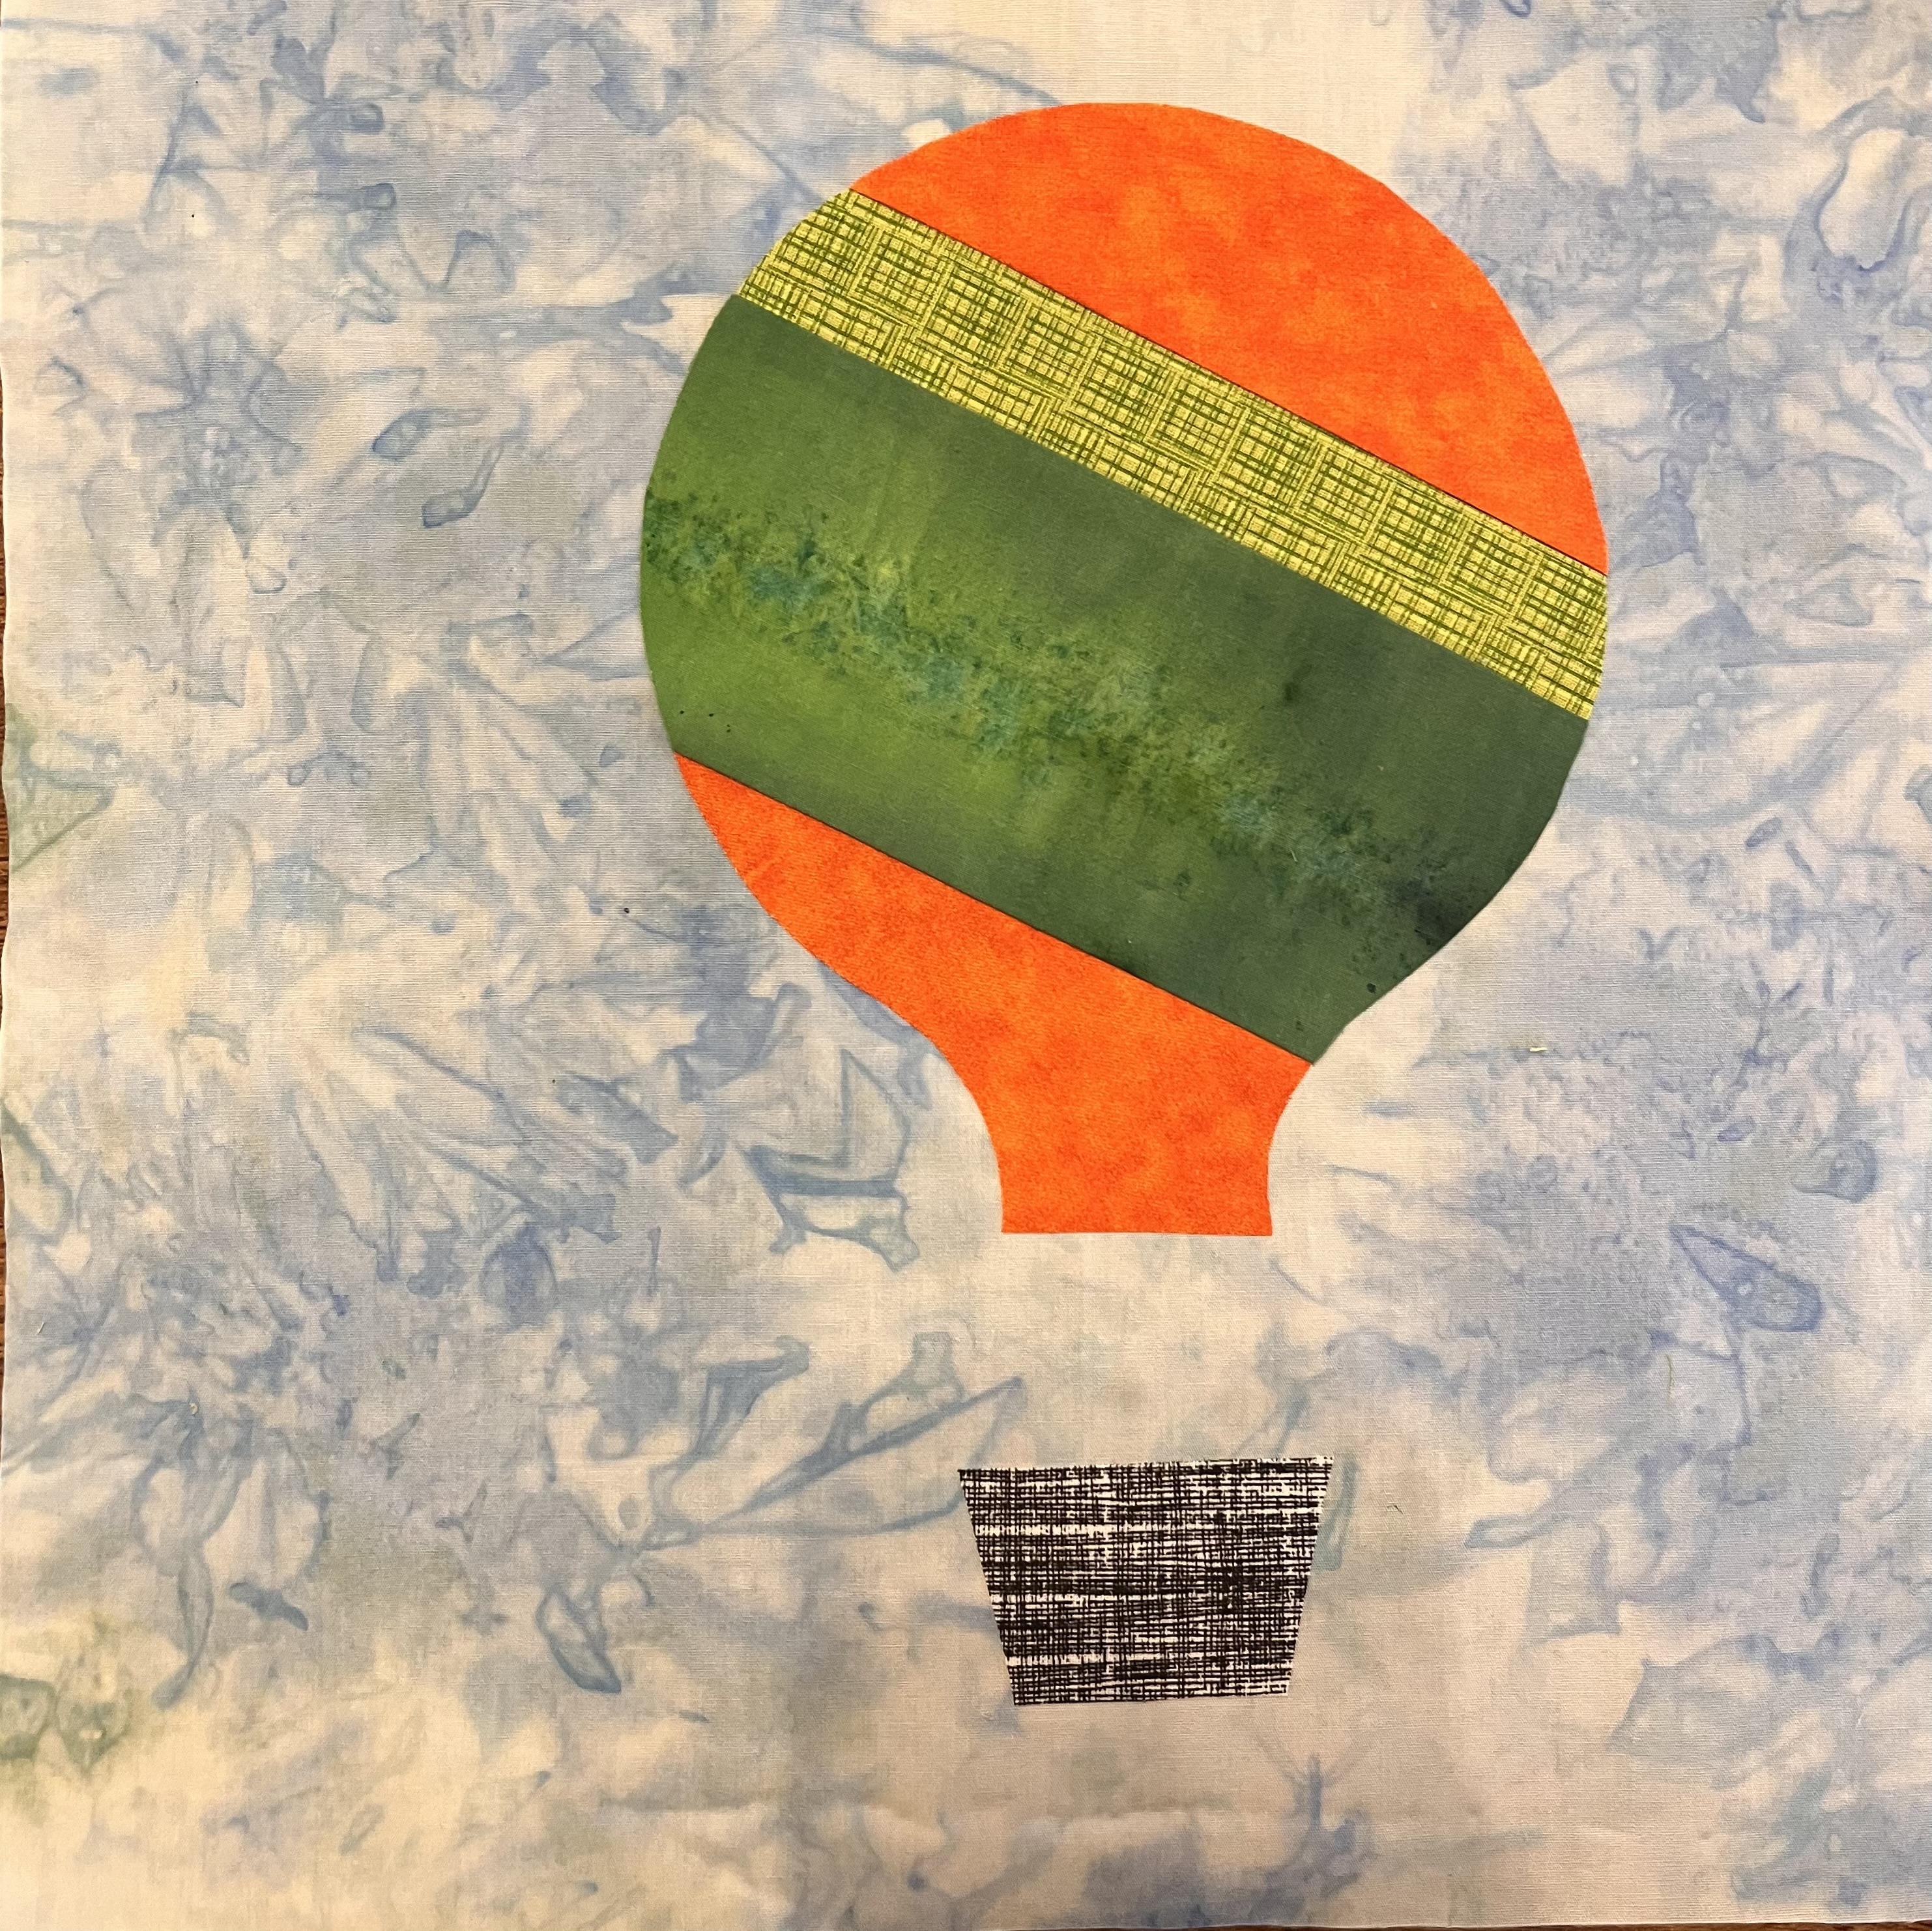
For the background, I'd like light blue solids or blenders. You can use tone-on-tone as well, or even a pretty ice-dyed fabric like the one in one of my examples. As long as it looks like the sky on a beautiful day, I'm happy.
For the balloon itself, there are a few options. You can use a single piece of fabric with a bold pattern, a crumb block, stripes, or pretty much anything you can think of. Whichever method you choose, I want bright, saturated colors in order to stimulate the baby as he or she grows.
The basket should be made out of neutral colors, so black, white, brown, tan or cream. It can be solid, tone on tone, a soft pattern, or a textured print like the black one in my example. Don't be afraid to make this too plain. I will be adding extra details when quilting. You only need a small piece, so raid your scrap bin for this.
You will also need a lightweight fusible interfacing. I prefer Pellon Heat and Bond Light, but you can use any equivalent product you want as long as it's intended to sew through. Alternatively, you could pin the appliqués to the background fabric, but I think the interfacing holds better when sewing.


I really just have one don't for this quilt. Do not choose fabrics with patterns or colors that are traditionally gendered. I personally have no issue with giving a girl dinosaurs and a boy pink, but many people do. It's important that this quilt be something most people would like. With that said, if you're putting together scraps, you can use these fabrics if you won't be able to make out the pattern, or if there's a tiny splash of pink that gets lost when you look at the bigger picture.
Cutting Instructions:
1 - 11 1/2" square of background fabric (You can leave this larger if you want and I'll trim down.)
1 - 6" x 7" piece of interfacing
1 - 1 1/2" x 2 1/2" piece of interfacing
1 - 1 1/2" x 2 1/2" piece of basket fabric
Scraps for balloon, or a single piece of 6" x 7" fabric
Appliqué patterns: Hot Air Balloon Appliqué Pattern
Tutorial:
Step 1: Download, print, and cut out the appliqué patterns.




My inspiration for this month is Palo Duro Canyon. Palo Duro Canyon is located in the Texas Panhandle near the cities of Amarillo and Canyon. As one of the largest canyons in the United States, it is roughly 25–40 miles long and has an average width of 6 miles, but reaches a width of 20 miles at places. If you've never been there, here's a photo of me in front of the Lighthouse. It is one of the most iconic formations within the canyon. The Lighthouse is not visible from any of the canyon roads. It is roughly a seven mile round trip hike, but it is very much worth the effort.

You can see below my fabric pulls for this block. We will be using creams and earth toned fabric. For this block you may use 2 1/2" strips or scraps in varying lengths.

Fabric requirements:
Creams, and low value tans are preferred, with light/medium contrast.
Earth tones; rust, browns, golds; subtle prints; anything indicative of what could be found in nature. Please use 6 different prints, if at all possible.
Cutting Directions:
Cream or light cream print
6 squares 2 1/2" X 2 1/2"
Earth toned prints
2 squares (A) 2 1/2" X 2 1/2" [matching the colors of the (C) strips below]
2 rectangles (B) 2 1/2" X 10 1/2" [Each a different color]
2 rectangles (C) 2 1/2" X 8 1/2" [Each a different color]
2 rectangles (D) 2 1/2" X 4 1/2" [Each a different color]
2 rectangles (E) 2 1/2" X 6 1/2" [Each a different color]
* (A) Earth toned and (C) are sewn on the same rows, thus the colors should match across the row.
* (D) and (E) are sewn on the same rows, thus the colors should match across the row.
* If you have a fabric with an obvious stripe or direction, it should be cut horizontally.

The diagram below will help to explain how the block is pieced with corresponding color placement. Note: we will NOT be using the blue or green colors in this example.


Hi everyone! My name is Meghan (@missprissquilts) and this is my second time participating in the Stash Bee. I thought for sure I was going to choose a scrappy theme, because I am TERRIBLE at scrappy, so block swaps force me to be random. But after seeing how creative my hive-mates have been during "Choose Your Own Adventure" months, I decided I couldn't possibly choose one block! So I hope you'll all forgive me for yet another sampler quilt... over the last few years I've become a very keen gardener, so it only seemed right to choose a garden sampler.
The Blocks
I'm open to blocks of any size, but ideally in finished sizes that are multiples of 3, so I don't break my brain trying to put them together. (So unfinished, think 3.5", 6.5"x12.5", etc.).
As far as design goes, I think anything you'd find in a moonlit garden is fair game, and I love whimsy, so I'm here for a toadstool and gnome, moon and stars, and of course every flower, snail and lightning bug you can imagine. I found tons of inspiration on Instagram (#midnightgardensal is a treasure trove) and even went so far as to make a Pinterest Board of blocks I found interesting, since I'm sure I'll make quite a few to supplement what my hive-mates come up with. As you can see from the sample pics I chose, my favorite designs tend to be FPP, but any technique you like is fair game!


Colors:
I'm envisioning VERY high contrast, so think black/deep midnight blue/deeeeeeep purples for background fabrics (low-mid volumes are my fave, but solids are good too), and BRIGHT colors for the main elements, but please lean towards pinks and away from red.


I hope this sounds like a fun challenge! I can't wait to see what everyone comes up with!

