Hello there ladies!!
I'm Jacque and have returned this year to stash bee, but in the early years I was in Stash Bee for a few years and loved it! I am a nurse in Western Wisconsin living the full life on a dairy farm with my hubby and we are parents to 3 kiddos, and 5 grandbabies 8 and under.
For our block this month I thought we could all do a little improv creativity and use some of our stash and scraps. This block was made all from scraps and stash so I think it is appropriate and fun! All seams are a 1/4 inch.
This pattern I call either chop sticks or pickup sticks. Here is what we will need:
For the background please use black and dark grey colors. You can see mine is very scrappy and all the backgrounds read in my preferred colorways.
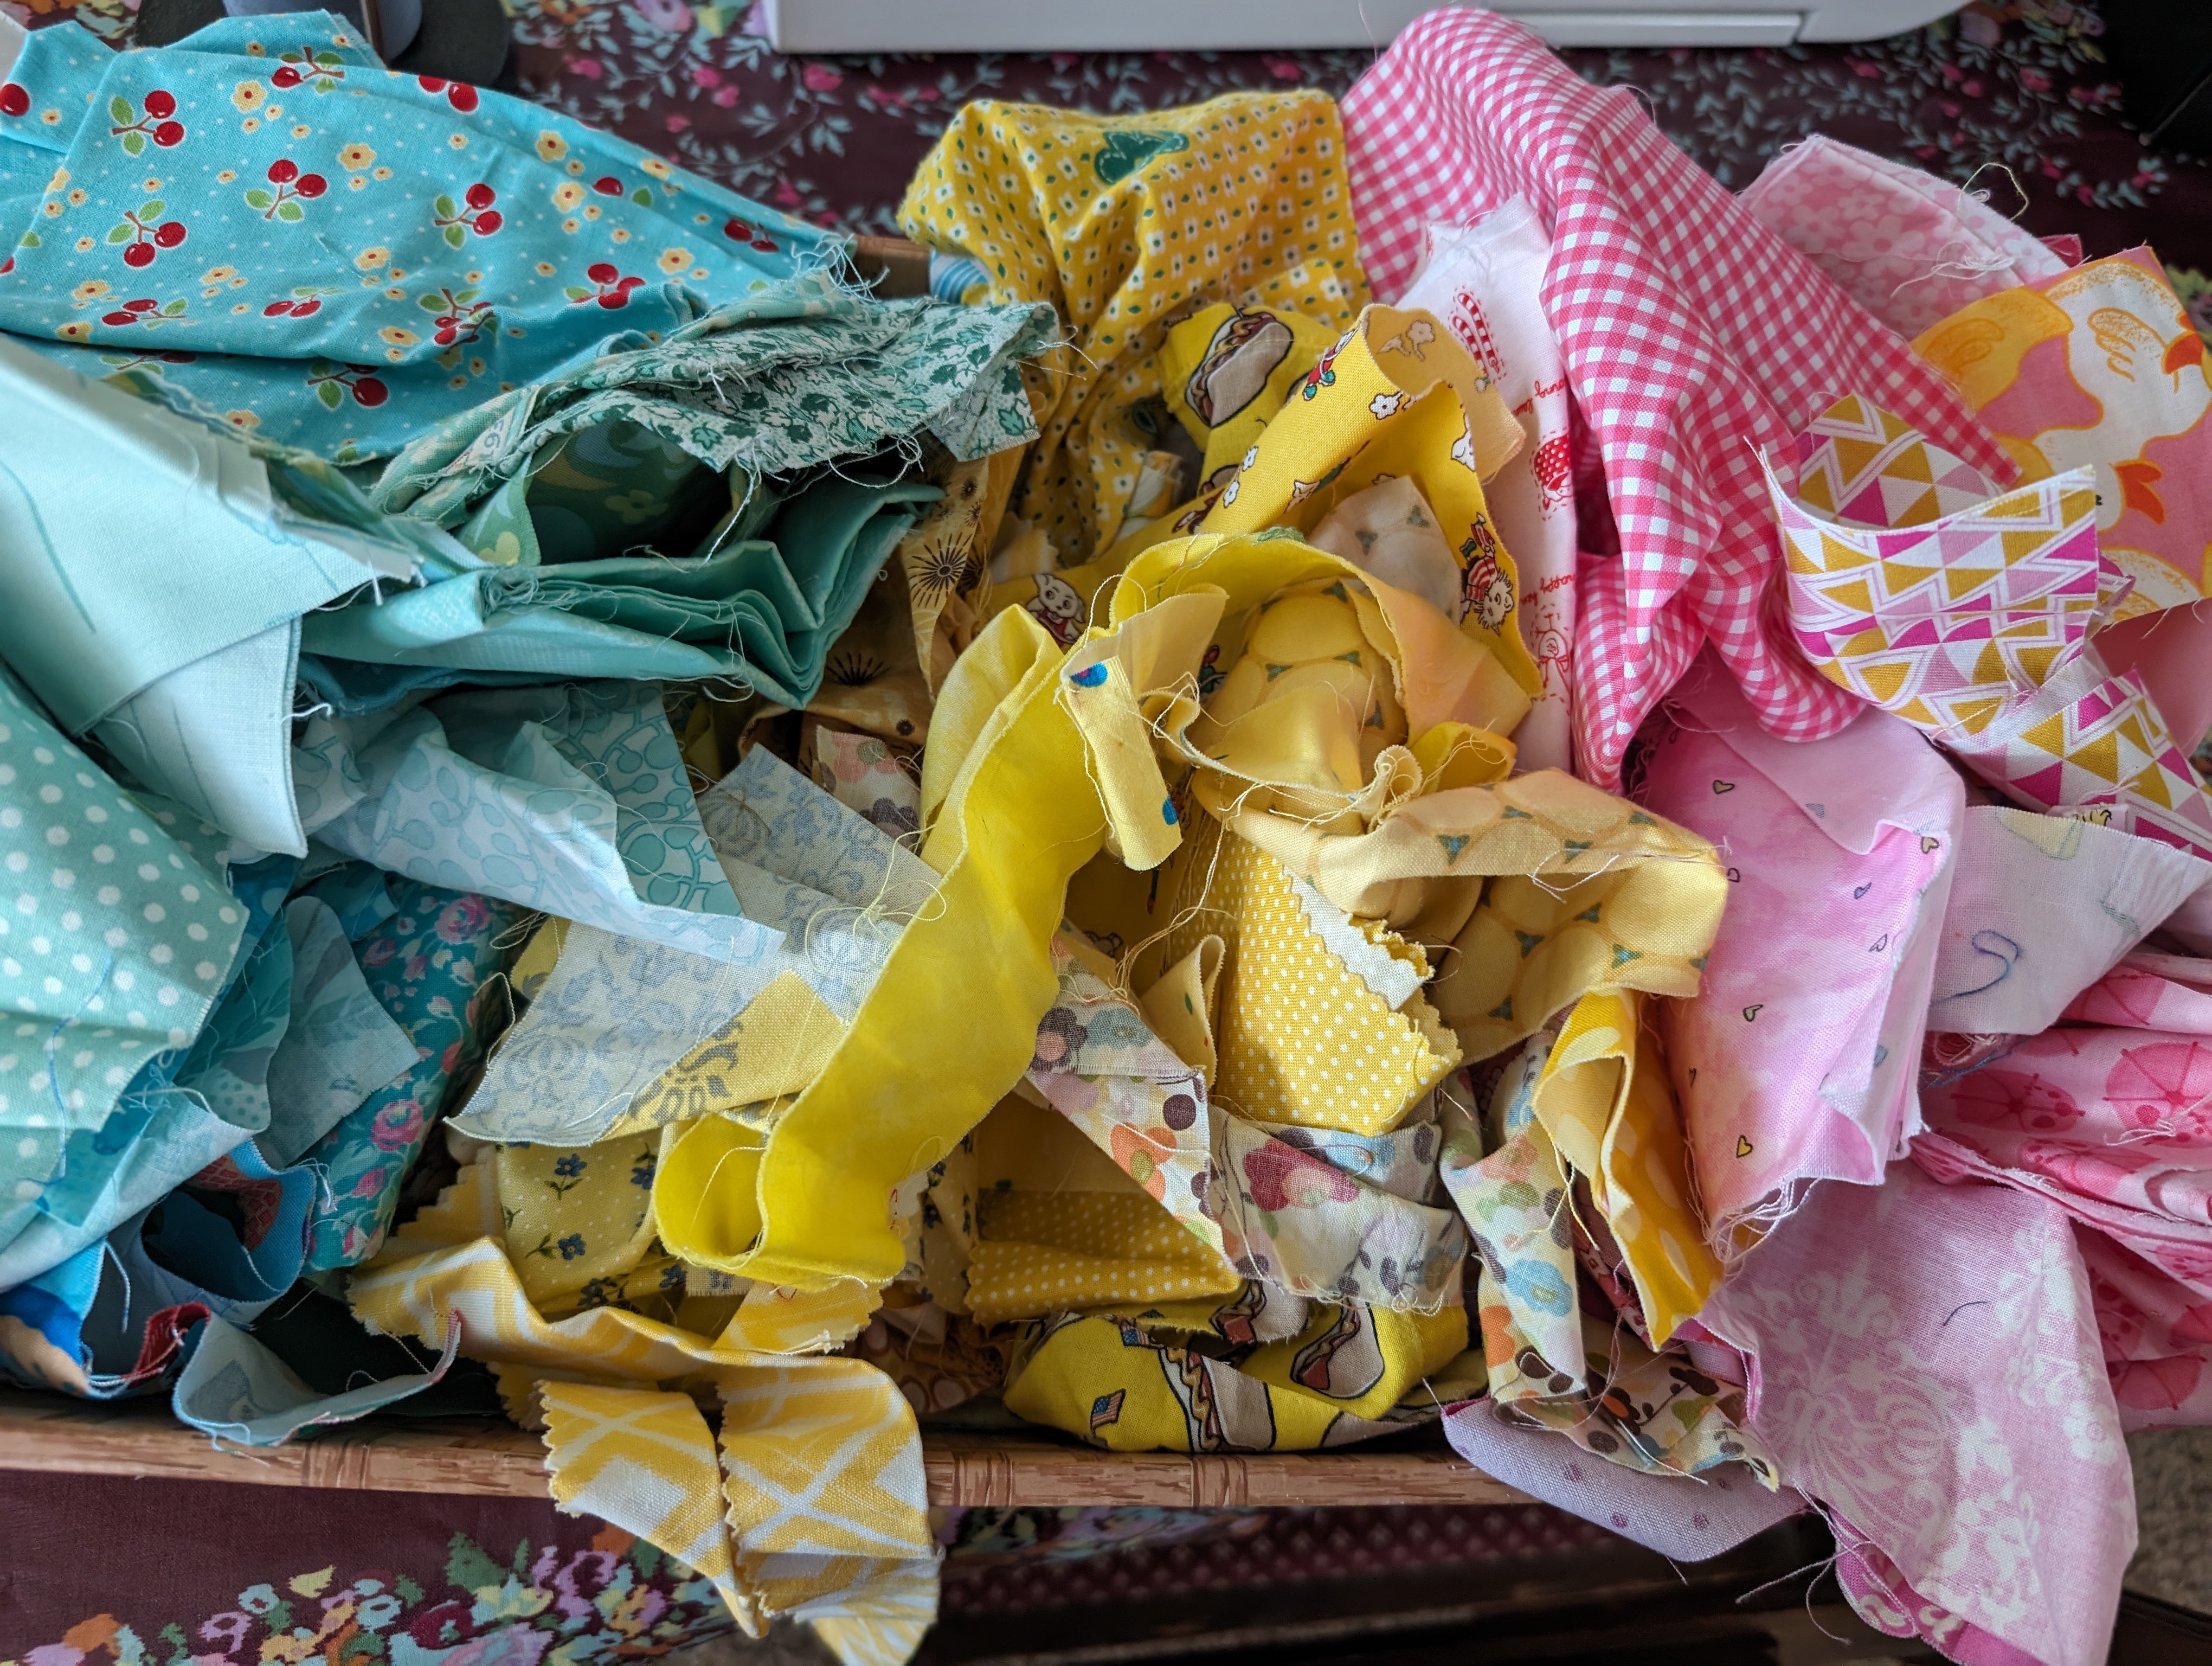
For the pickup sticks I would prefer brighter pinks, aqua/turquoise and yellows.
Background:
Cut 9 - 5 1/2 inch squares in blacks and dark greys.

Chopsticks: In colors Aqua/turquoise, brighter pinks and yellows:
Cut several 1 inch wide strips about 7 1/2 - 8 inches long so that they are long enough to place on the slant or angle of the blocks. You will trim them up anyway.
Here are my background blocks and some pickup stick strips ready to go.
**** There is a tutorial I found on YouTube from Jordan Fabrics called Chopsticks which gives great tips especially on matching up the strips and how best to press the seams allowances depending on which seam you are sewing to decrease seam bulk. I would encourage you to view it:https://www.youtube.com/watch?v=m0AMpWXnMxY
It even helped me when I went back and reviewed it again, so then I had to go back and fix a few blocks. I always say every day I learn something new it's a good day.
Take a 5 1/2 inch square and just take a ruler and just cut the fabric in half how ever you like.
Now take a 1 inch wide strip of your choosing and sew it to one side of the angle you just cut and sew with a straight 1/4 inch seam allowance. With this strip press seam allowance towards the background. and be sure to press it with a hot iron, but try not to tug so the blocks don't stretch.
Once the first strips are sewn they will look like this. The pickup sticks strips should be 1/2 inch wide. Press these first strips towards the black fabric.
Now take your ruler and randomly cut the square again at what ever angle you prefer.
Sew a strip on the one side like this. Press the seam now towards the strip.
Now this is the tricky part. This is where the tutorial I linked up above to the Jordan Fabrics tutorial will explain about halfway through how to line up the strips so they match up by the way you pin the pieces back together and I have to say it was very successful for me to get the strips looking straight. Again, please take time to view it.
Once the second half is pinned as shown in the linked tutorial sew the second side back on the strip. Be sure to press the seam towards the center. and it should look like this.
Now I just had to give this one a third strip, two to 3 strips are preferred per block. Again, cut at an angle, add the strip on the one side, follow the pinning directions to add on the second side and sew your block back together.
I had us cut the blocks generously as sometimes seams are lined up not perfectly so now, once you have all your strips sewn into the block, figure out how you want things to look and square each 5 1/2 inch block down to 5 inches square.
Here' the trimmed up block at 5 inches square.
Now, lay out your 9 blocks into a 3 by 3 layout. Twist and turn your strips around to where you are happy with how they look and line up and sew them together, alternating the direction of the seams in each row so that they but up nicely to each other and decrease the bulk on the back of the block.
Once you are happy with the layout, sew them all together and tada!! You have a scrappy 9-patch pick up sticks block!
This is a very easy block to make and shouldn't take long. I can't wait to see how much fun you all having making these fun and simple blocks. Any questions or concerns please reach out to me. Thank you again for making this block for me and I hope you enjoyed the process.
Jacque


No comments:
Post a Comment