
Hello there, quilty friends!
I am so happy to be back for my second year with Stashbee and to be sewing with everyone. I'm growing a bit tired of the gray weather we've been having here in Southern California, so I'm hoping to bring some bright and cheerful sewing to your space! This month we are going to be doing the Chubby chicken block by Oh, Kaye Quilting. I crashed a hive last year that did this pattern and loved it so much, I decided I needed chickens of my own. I've basically copied Emily's wonderful instructions from January of last year.
We'll be using the same pattern, just a different color palette.

Unfinished block size: 12.5”
Fabric Style: The chicken body and wing accent is a bright, cheerful combination of any 2 fabrics you have in your stash. I'm looking for saturated ROYGBIV colors in the wildest patterns imaginable. Think it's too wild? It's probably PERFECT! The beak and comb are orange; feel free to use two different oranges, any hue you'd like. The background is solid or tone-on-tone DARK, one fabric. I'm not picky about what color you choose for the background as long as it reads dark (black, blue, gray, green, and purple are all fine!) and provides a good contrast to your other color choices. The only prints not welcome are batik, branded, or cartoon character prints. To give you an idea of what I'm looking for, here's a pull from my stash:

Cutting Instructions: There are lots of moving parts, so each piece has a letter label. Keep a close eye on your half-square triangle (HST) orientations! I’ve included a labeled diagram from Oh, Kaye Quilting as well as pictures from my own assembly.
.png)
Background (one fabric, solid or tone on tone DARK)
A: 5” Square
F: 5.5” x 3”
G: 3” square
H: 2.5” x 1”
I: 3” x 2”
J: 2.5” Square
K: 8.5” x 2”
L: 10” x 1.5”
M: 12.5” x 1.5”
Main Body (scrappy or single fabric, one color and hue, quilter’s choice)
A: 5” Square
B: 6.5” x 3”
C: 5.5” Square
D: (2) 5” x 3”
E: 7.5” x 2”
Wing Accent (contrasting color to Main Body, quilter’s choice)
C: 5.5“ Square
Beak & Comb (scrappy or single fabric, orange)
G: 3”x 3”
J: 2.5” x 2.5”
Block Construction: Press your seams as you please. I'm not picky about that either. :)
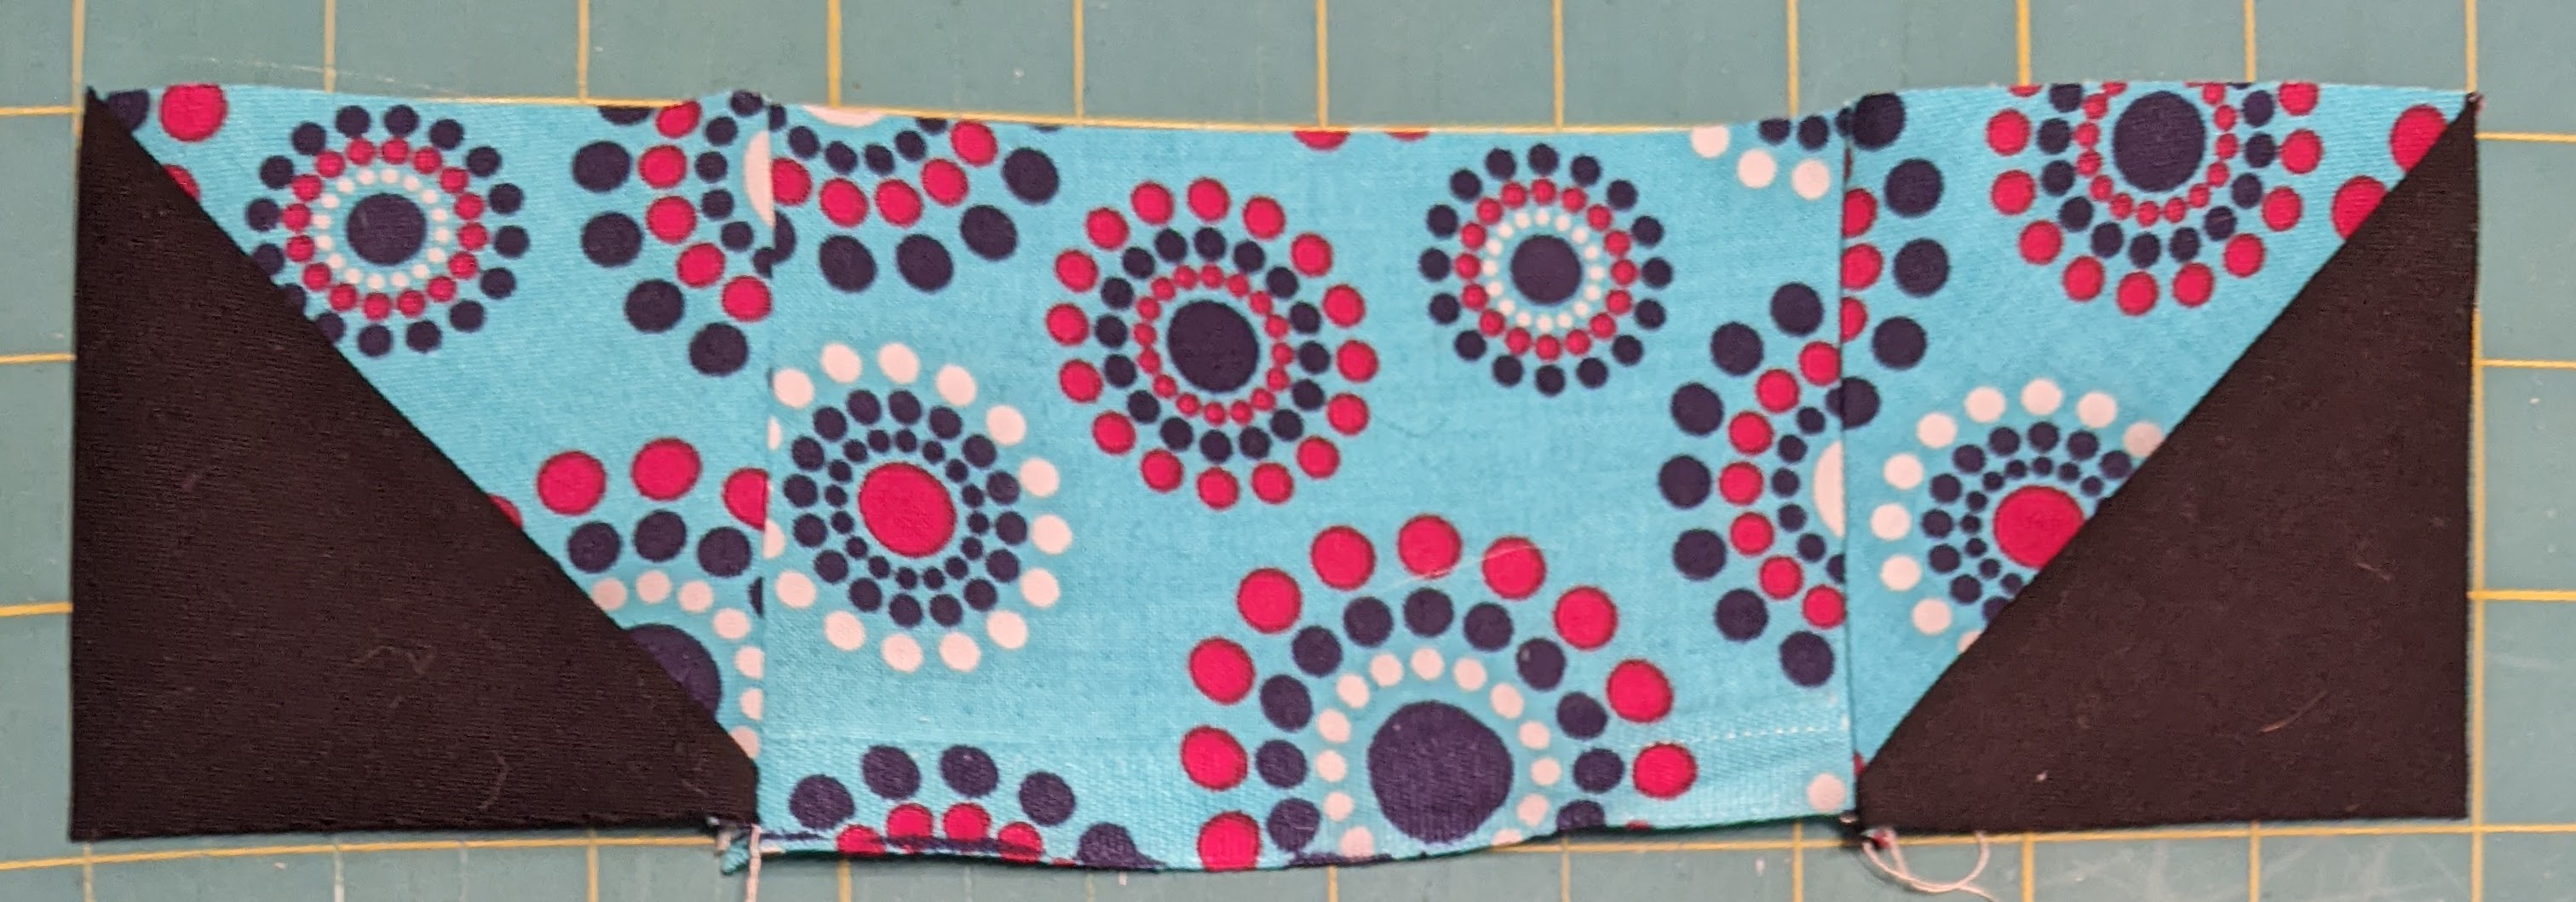
1. Place 5” squares A from Background and Main Body right sides together. Sew ¼” seam around the edges, then cut diagonally to make 4 HSTs. Trim to 3”. You will have one extra.


2. Place 2.5” squares J from Background and Beak & Comb right sides together. Mark a line down the diagonal and sew ¼” seam on either side, the cut down the middle to make 2 HSTs. Trim to 2”. You will have one extra.


3. Place 3” squares G from Background and Beak & Comb right sides together. Mark a line down the diagonal and sew ¼” seam on either side, then cut down the middle to make 2 HSTs. Trim to 2.5”. You will have one extra.


Place 5.5” squares C from Main Body and Wing Accent together. Mark a line down the diagonal and sew ¼” seam on either side, then cut down the middle to make 2 HSTs. Trim to 5”. You will have one extra.


5. Sew together in a row: A HST from Step 1, then D, then another A HST together. This is the bottom of the chicken. Double-check your HST orientation.
Sew C HST from Step 4 to D. Then sew E on top to make the chicken body. Double-check your HST orientation.

Sew the chicken body CDE from Step 6 to B.

Sew the chicken bottom ADA from Step 5 to the chicken body BCDE from Step 7.

Sew Beak & Comb G from Step 2 to Background H. Double-check your HST orientation.

Sew together in a row: A HST from Step 1, then Background F, then Beak & Comb GH unit from Step 9. Double-check your HST orientation.

Connect the row AFGH from Step 10 to the chicken bottom/body unit made in Step 8.

Sew Background strip L to the chicken bottom.

Sew Background strip M to the left/tail side.

Sew together in one column: Background I, then Beak & Comb J from Step 2, then Background K. Double-check your HST orientation.

Connect the column IJK from Step 14 to the right/front of the chicken AND VOILA!

No comments:
Post a Comment