~ Diana


New to Stashbee? Read on, to find out more!
What is StashBee?


Finishing up this pretty block today, popping it in the mail in the morning!


Thanks for a nice block method! Gets my wheels turning for a scrap project in my future.
Will drop in the mail tomorrow.
Chris
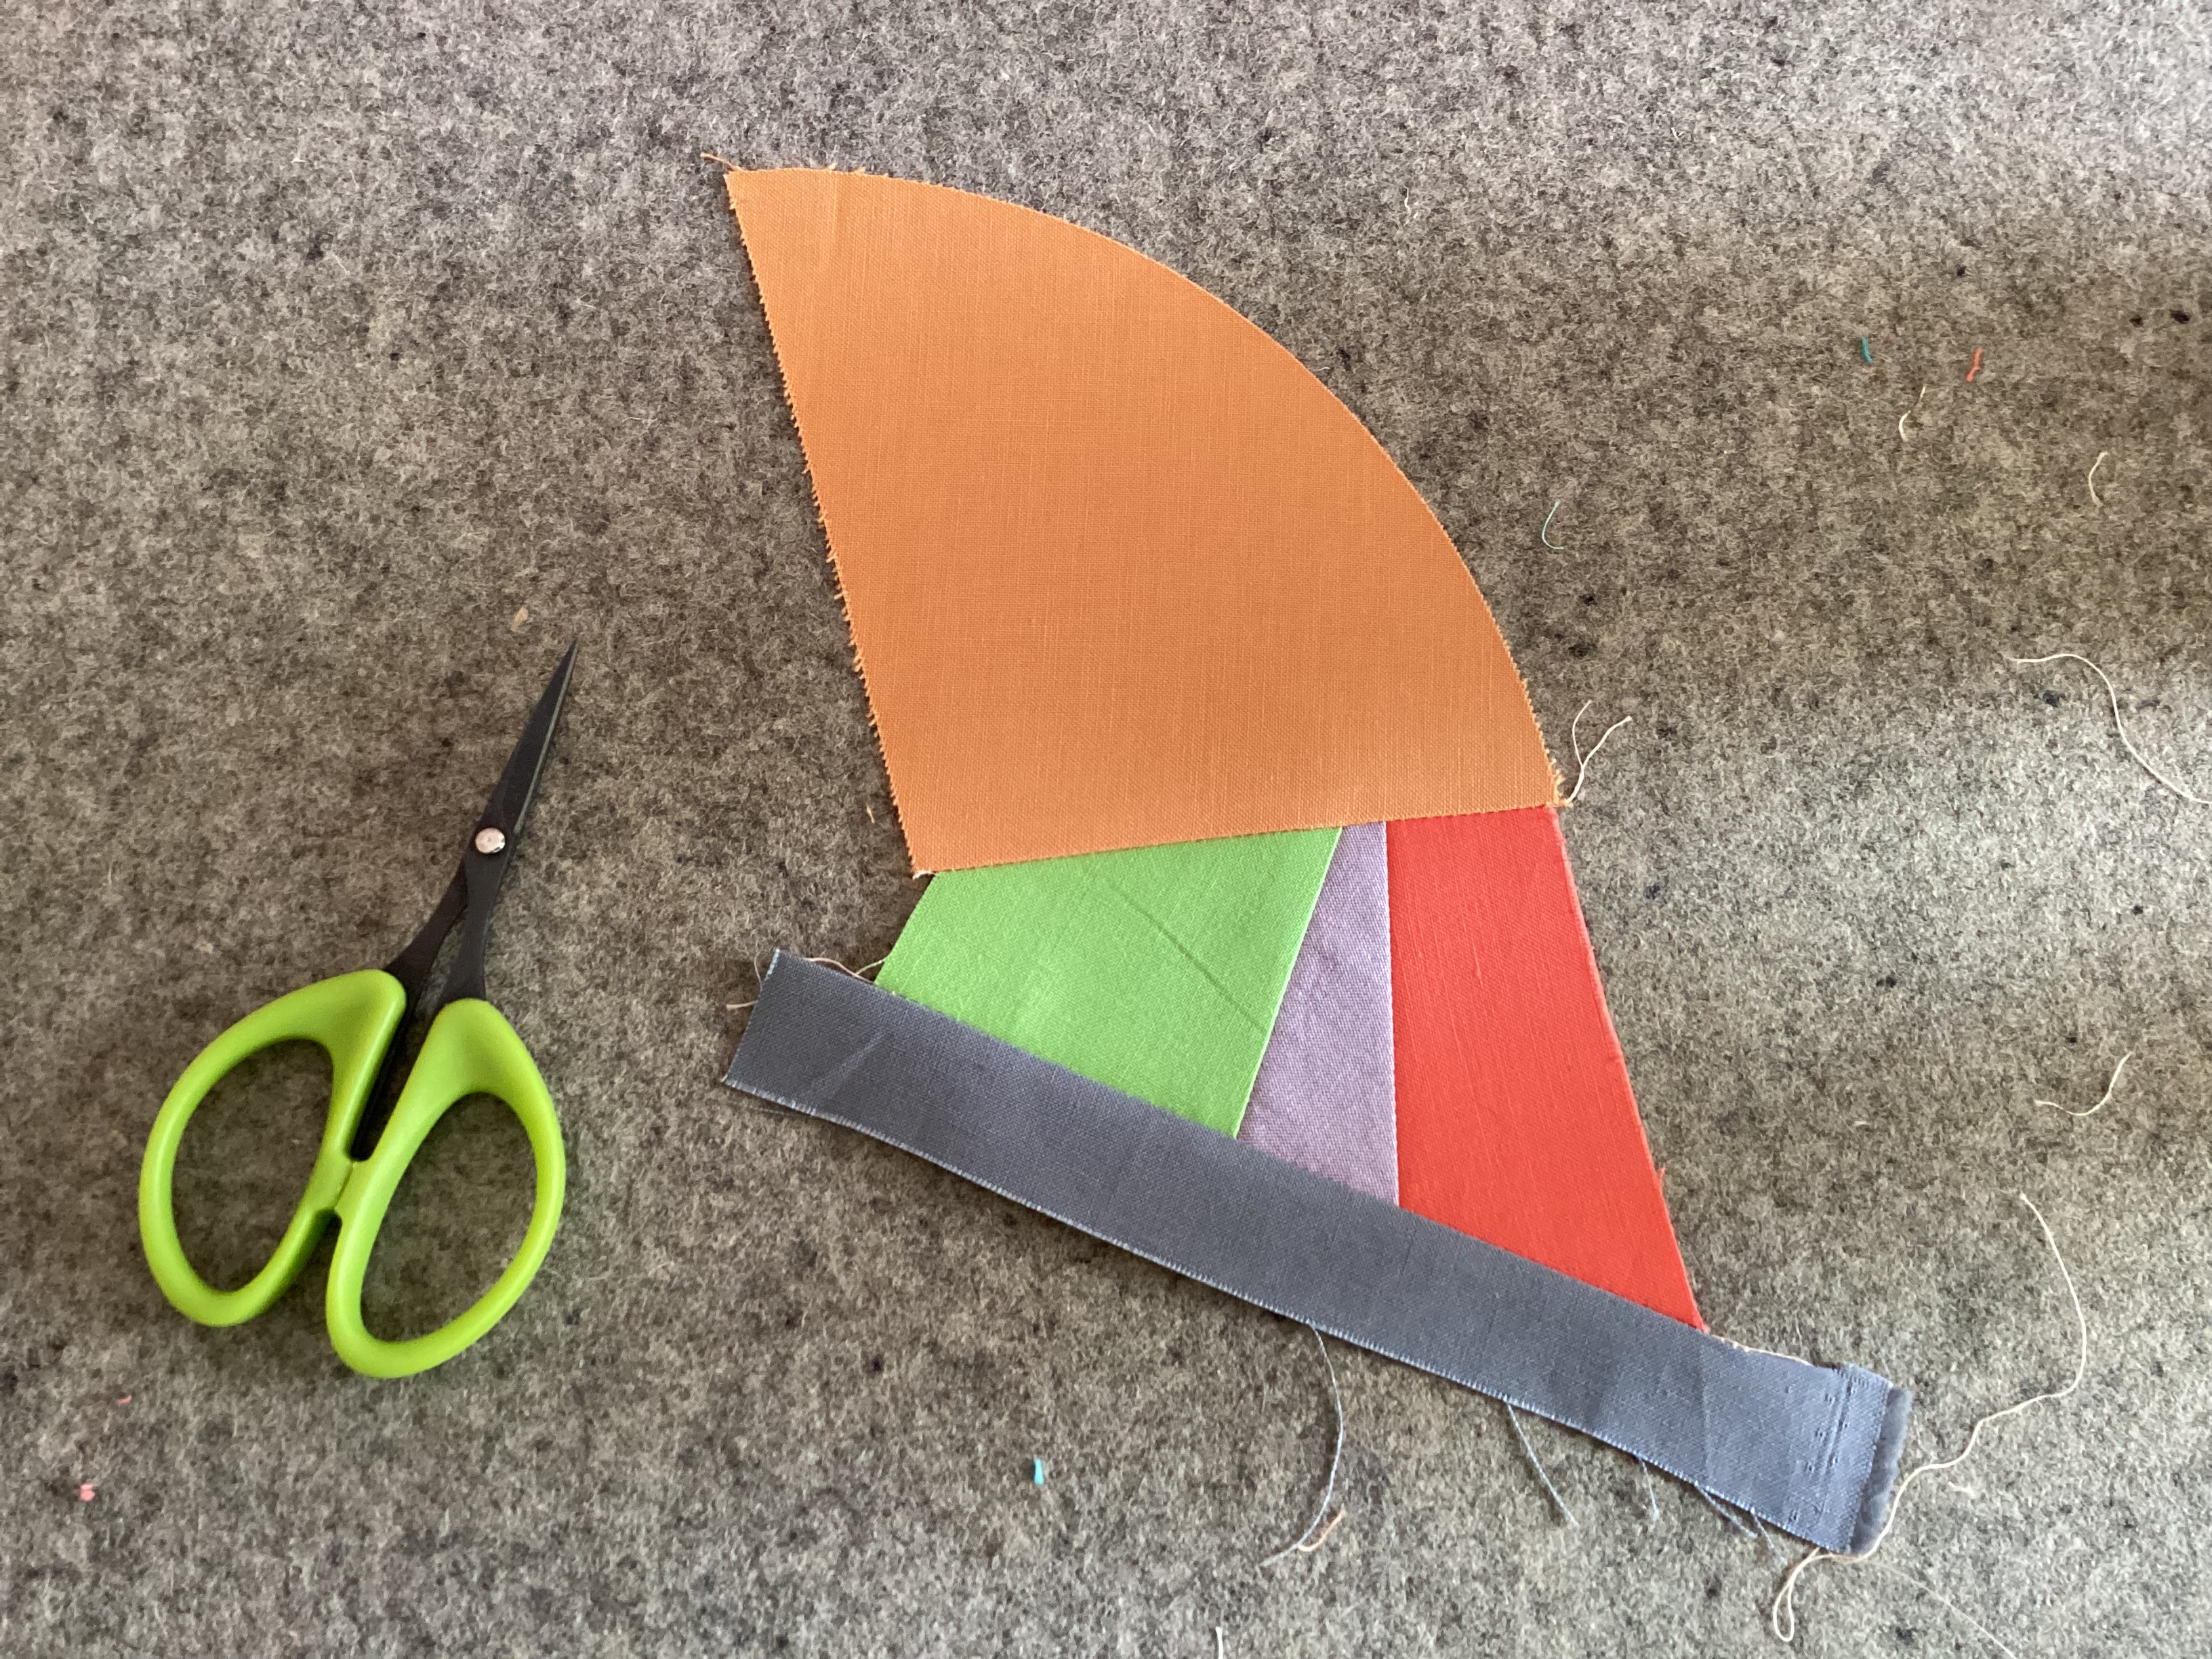
It's been sew great sewing with everyone this year and I just love this block that Molli picked for us. I was working from my scrap bins so got a little creative.
As always, I can't wait to see the finished project!


Hello from Hive 6!
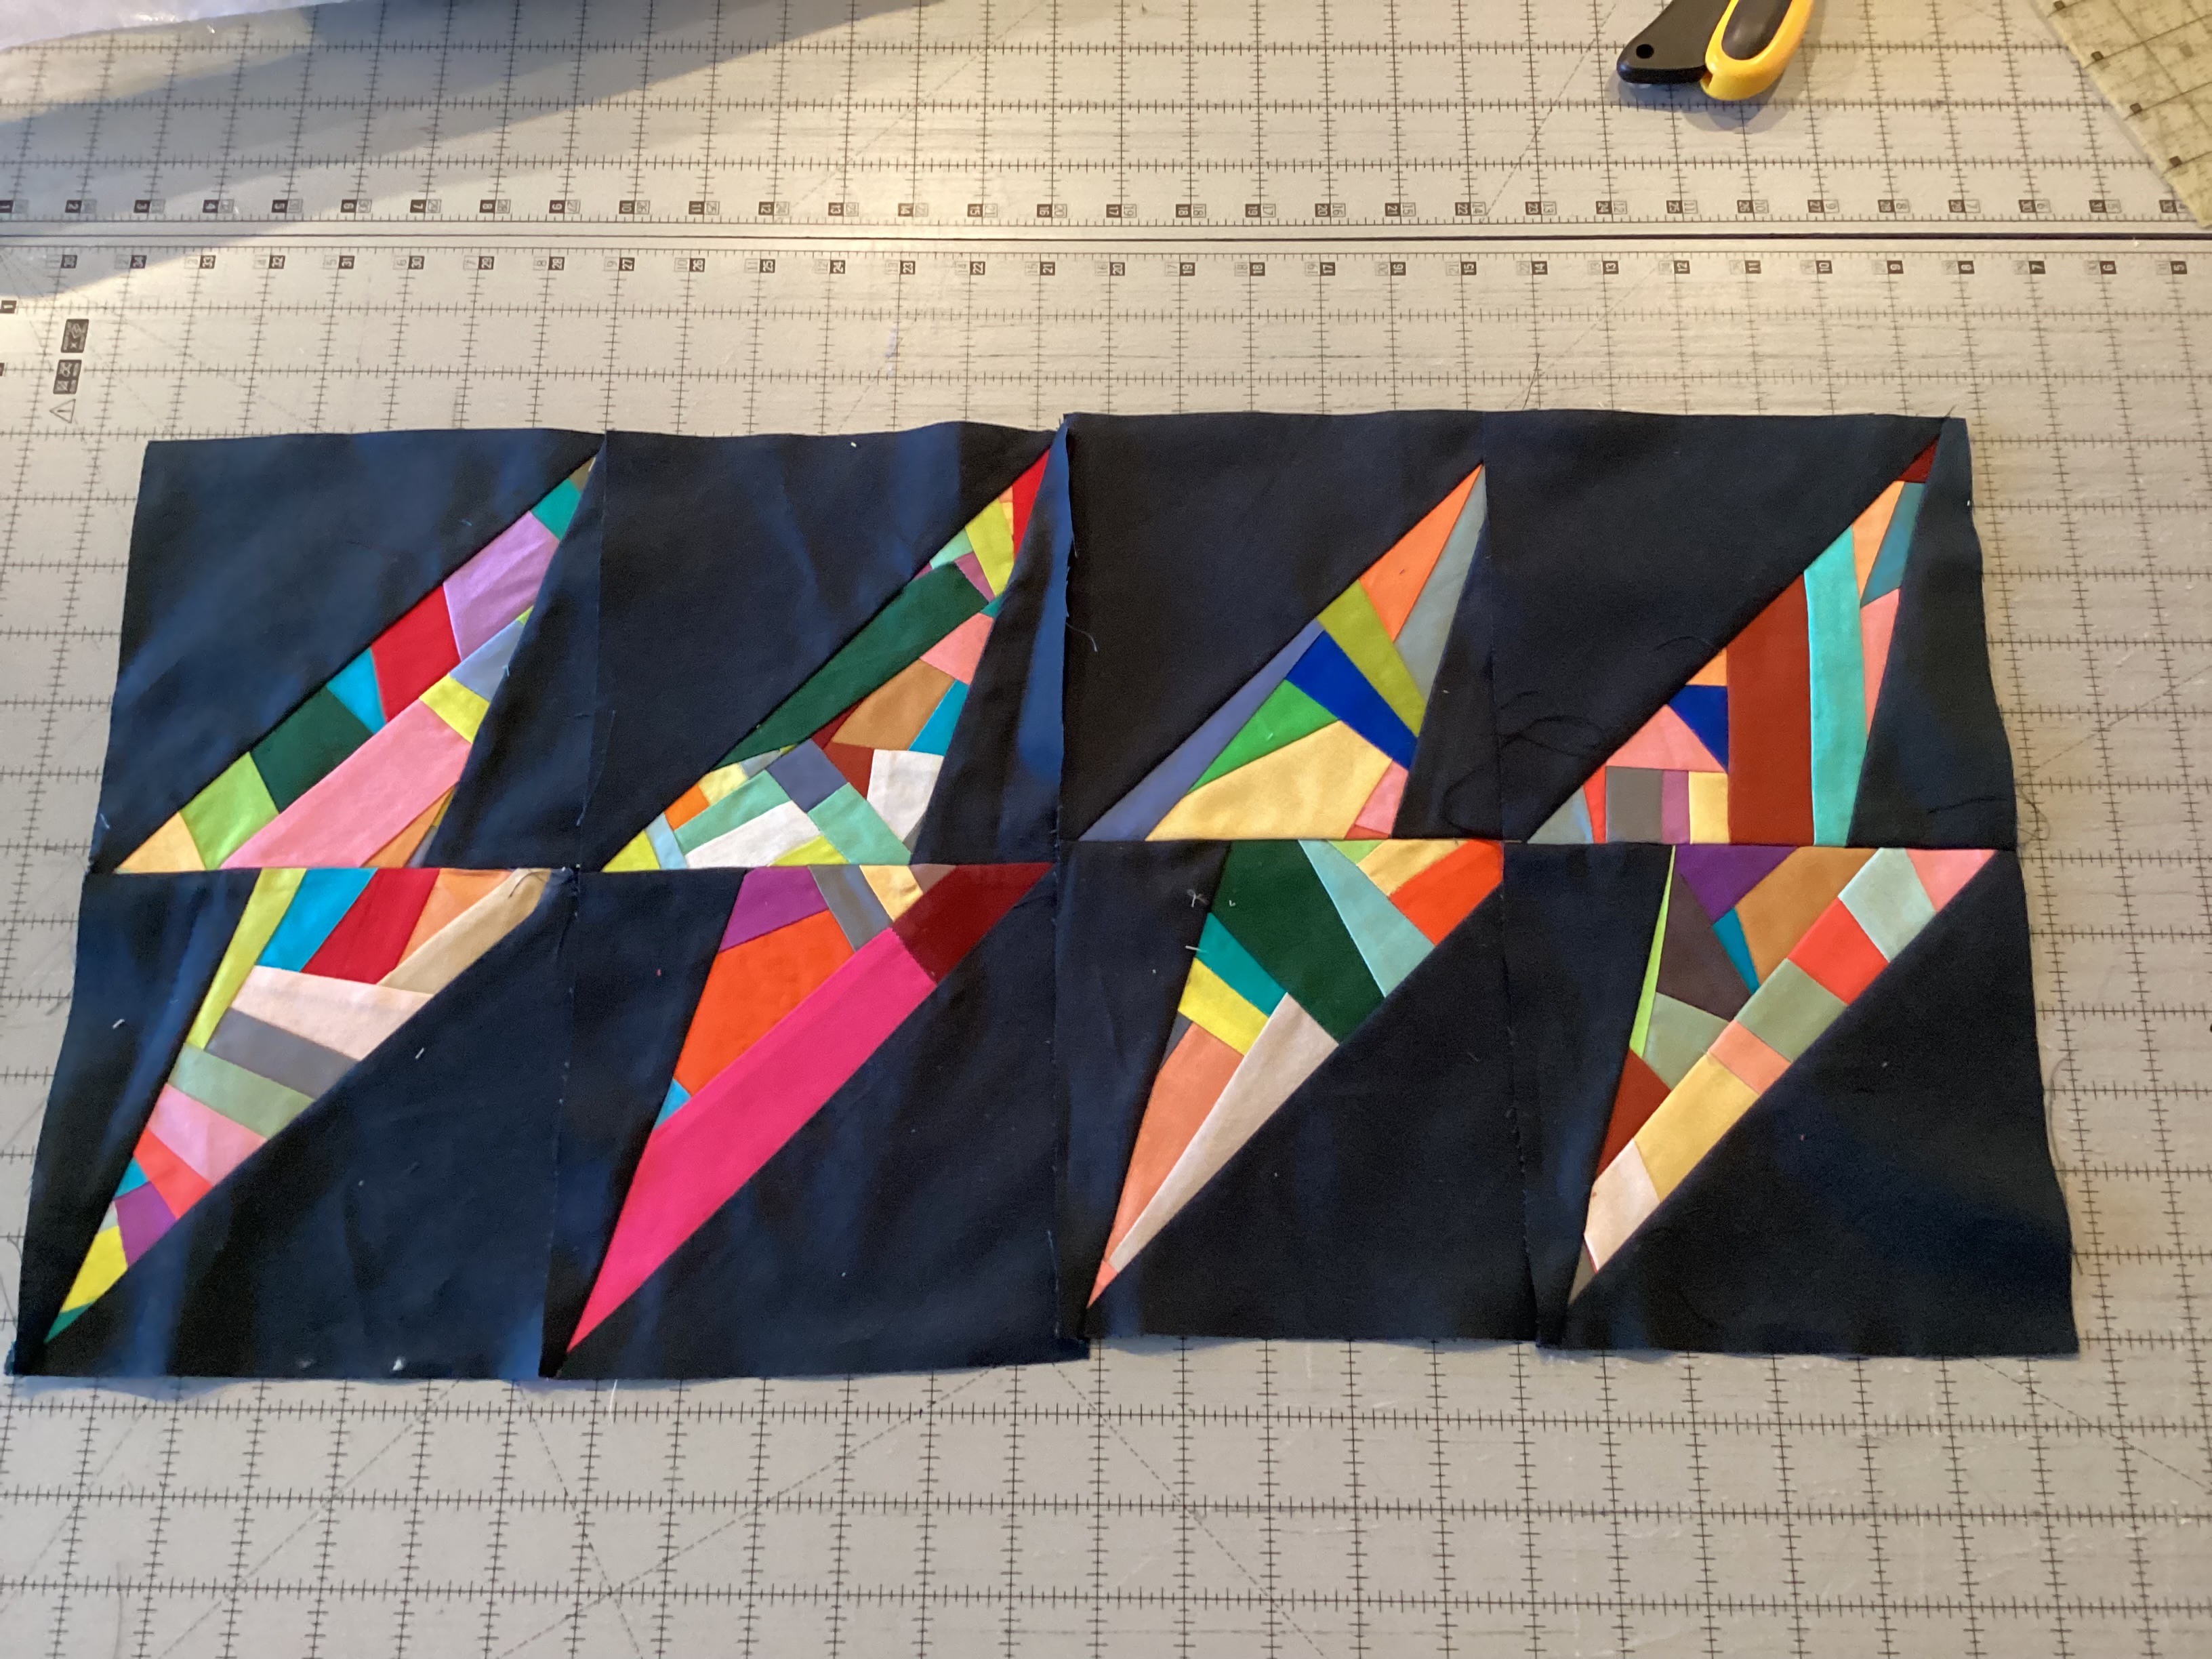
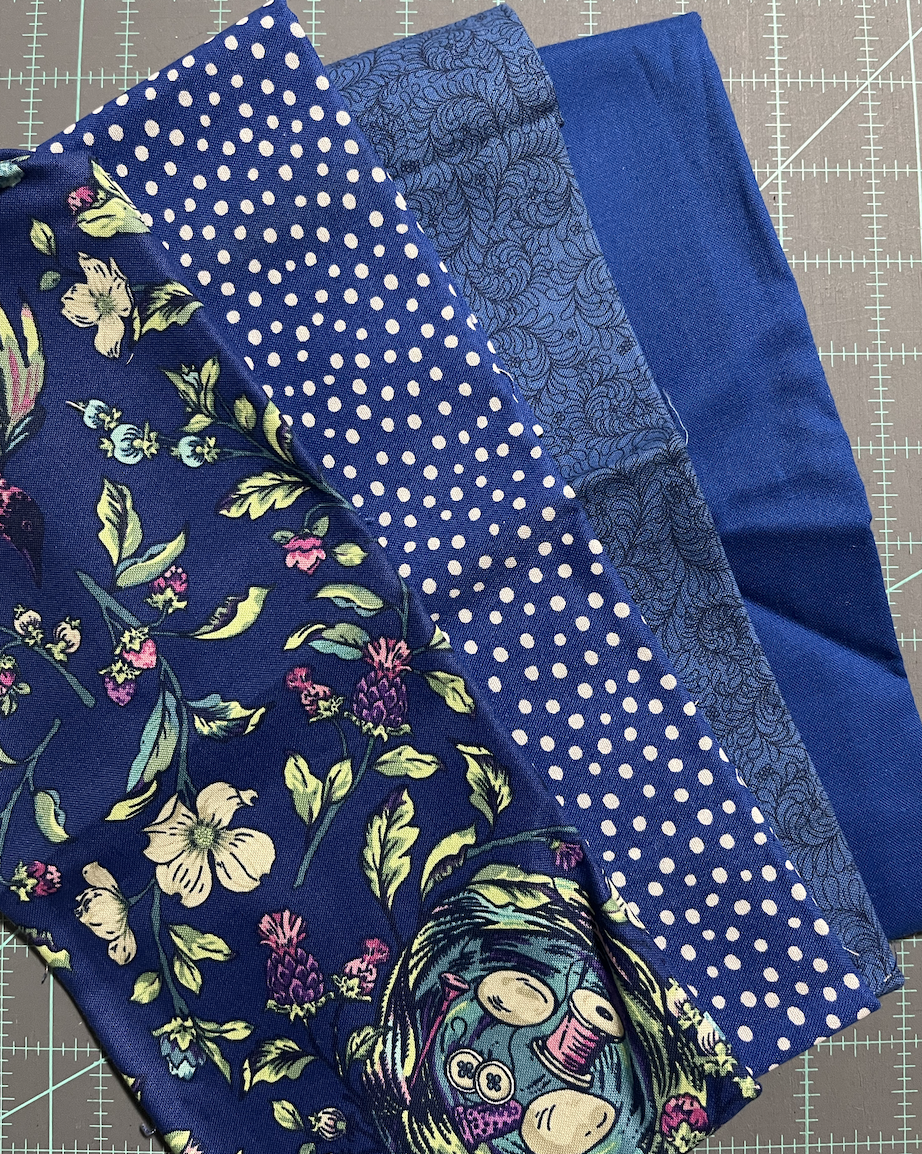
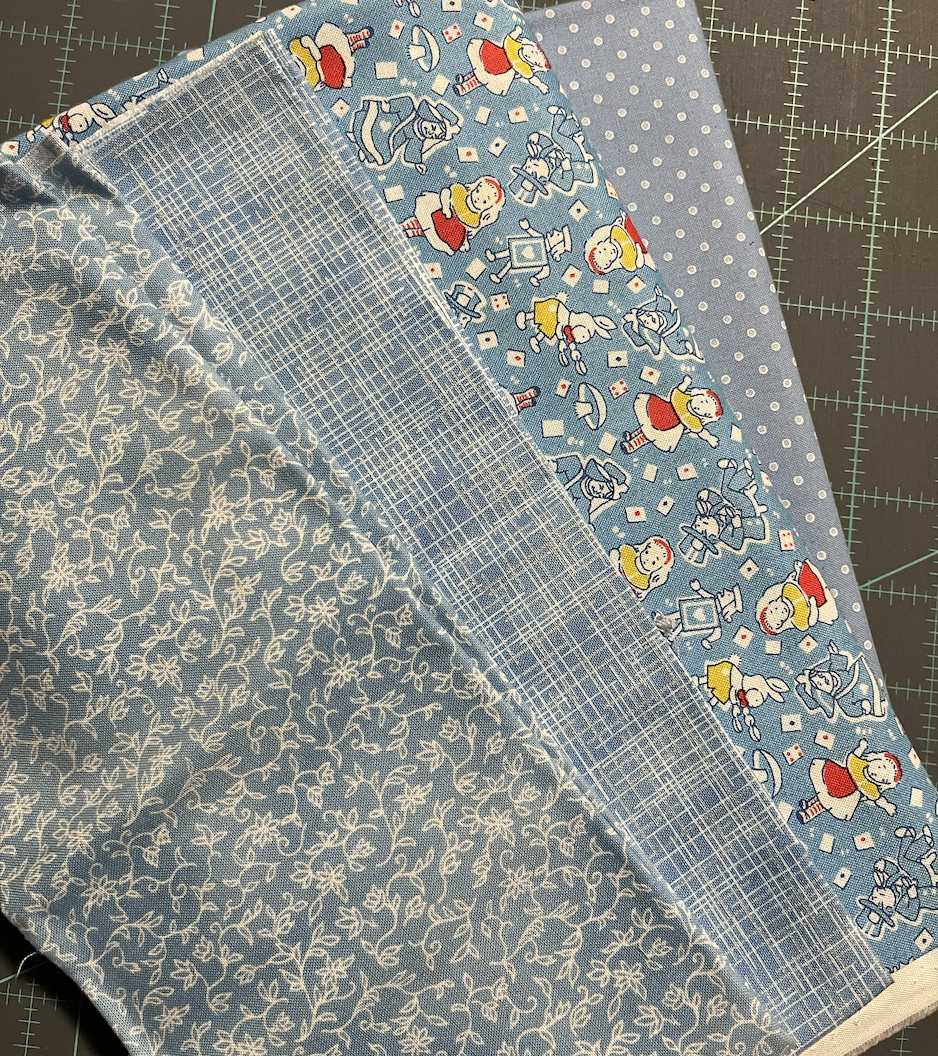
Here is "fabric" for my friend and fellow South Florida Modern Quilt Guild quilter, Diane! I was sure hoping this block would make a dent in my stash, well...it did not😂 But it was sure fun to piece together! It's leaving in the mail this week! Marie (crashing from Hive 6)

Hi Molli,
Hope you like my contribution to your rainbow quilt! I can’t wait to see how it turns out :)

Happy Sewing,
Nicole B.


This month we'll be making a tree. Scattered Thoughts of a Crafty Mom has an excellent tutorial, so I'm just going to direct you over there. The only change is the background color. Instead of having all red backgrounds, I'd like any background of a rainbow color. The final block is 12.5x12.5" square.

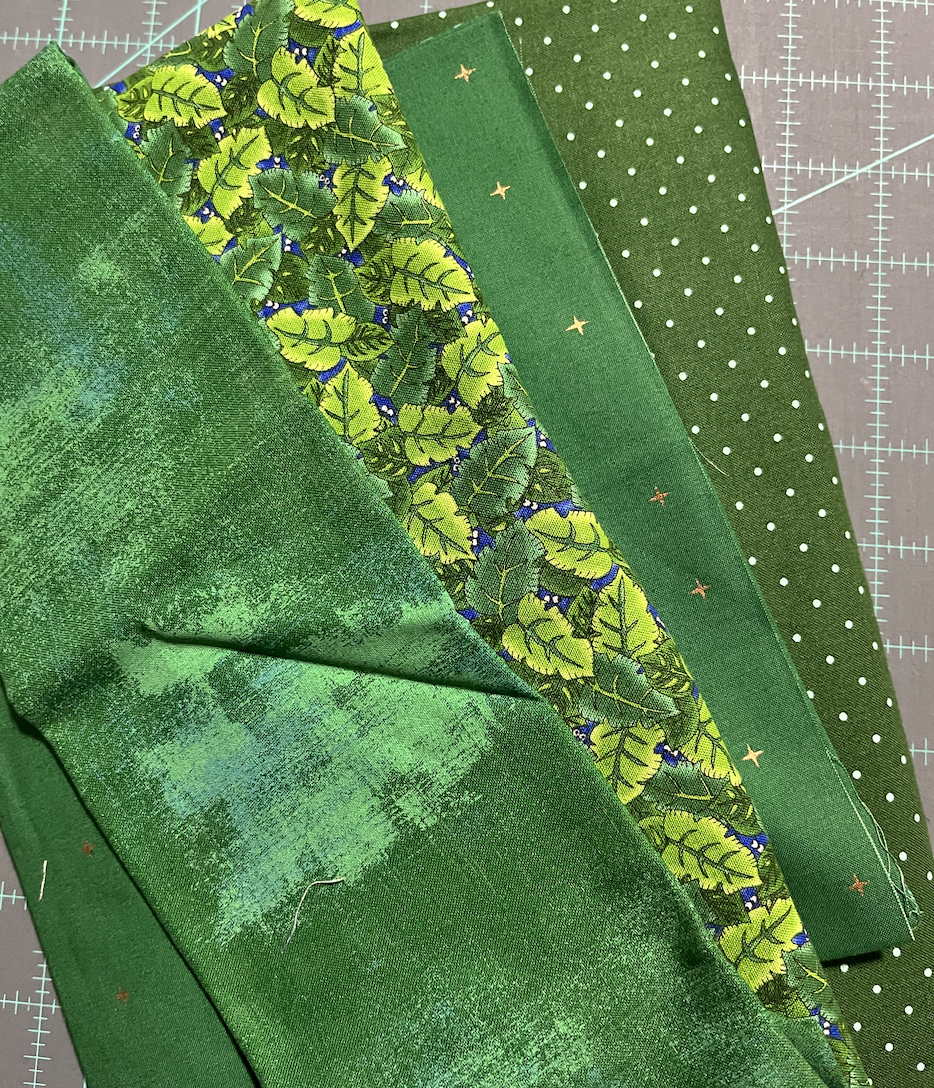
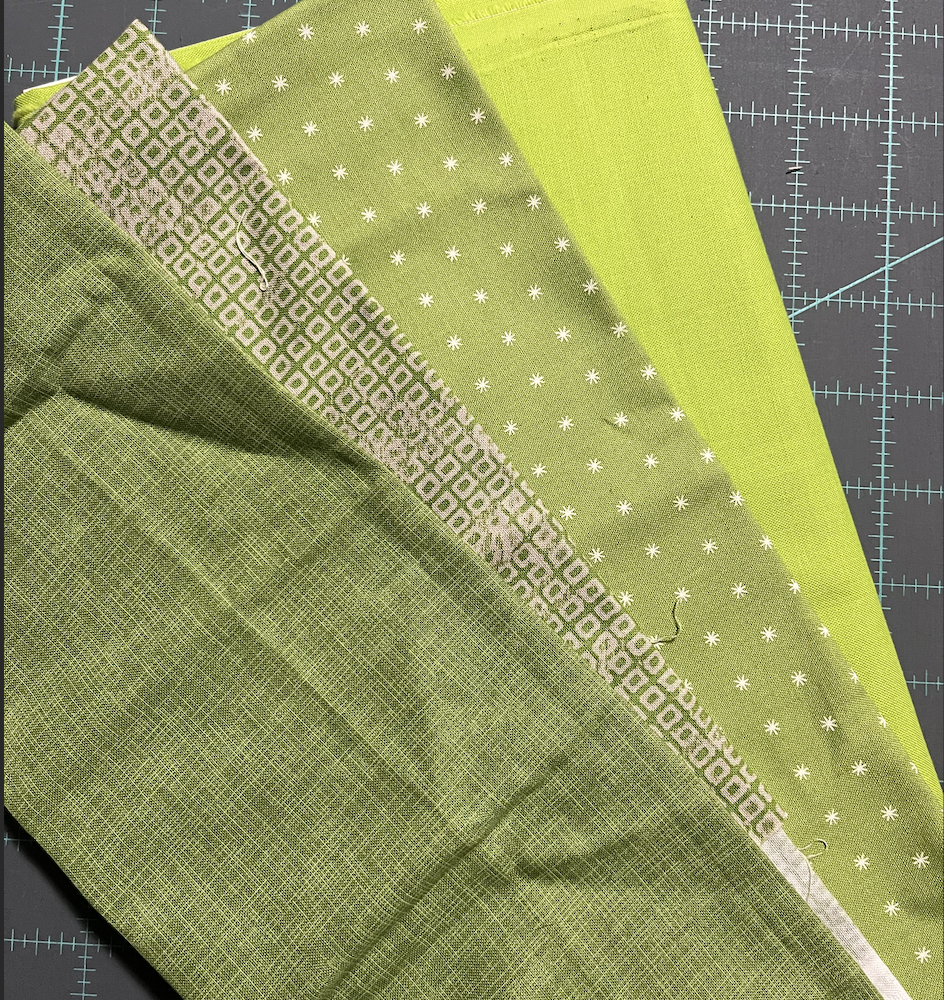
Greens for the tree: 8- 2.5x2.5" squares and 4- 3x3" squares. Please make sure the fabric reads green. If possible please use at least four different greens for the tree. Please no batiks, but solids are fine.


Background - any happy rainbow color: 19- 2.5x2.5" squares and 5- 3x3" squares. I'm doing a medium blue, but I also added a few other color examples. You are welcome to use any rainbow color, not just the colors that I give examples of below. If possible, please use at least 5 different fabrics (again no batiks) that read their given color. Also if possible, try to stick with a specific color - i.e., light blues vs medium blue. This last request isn't too important, but it will help make the trees stand out more. Again, please no batiks, but solids are fine.


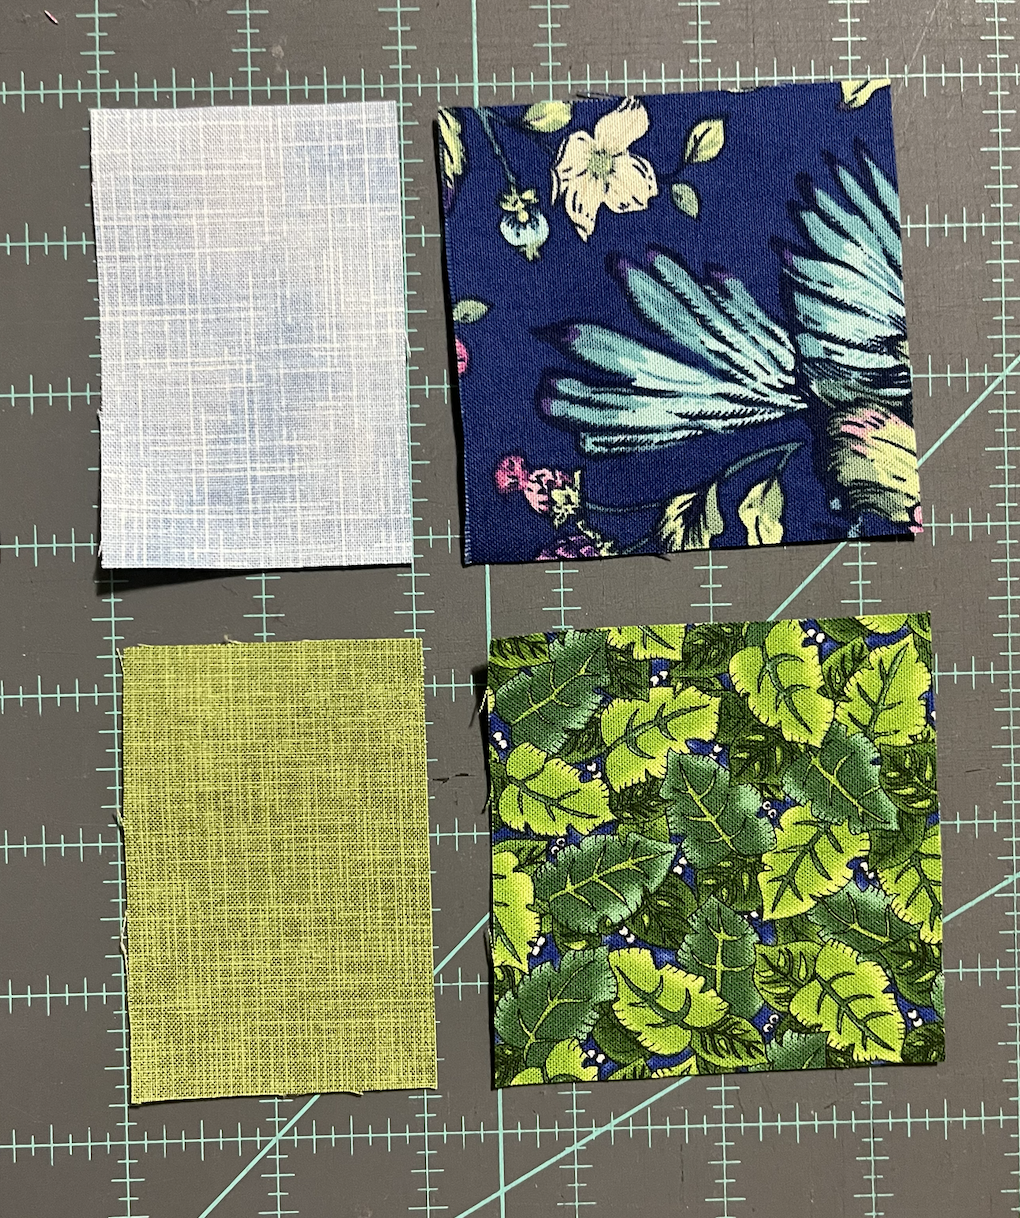
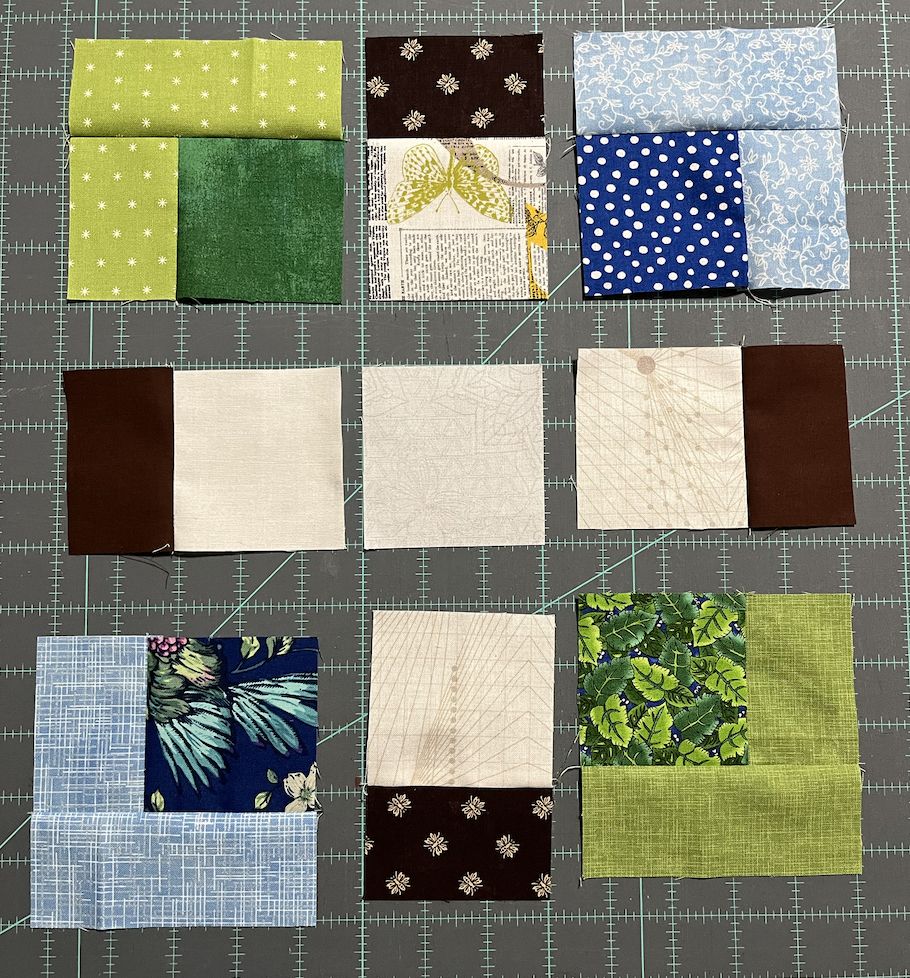
Have you ever seen a fabric and thought… WOW! That would really make an awesome quilt! Well I have…. and it all started with this fabric:
It is just so interesting to me. It has deep and light greens, royal and light blues, and brown (with a lot of light background)
So I welcome you to help me turn this fabric into a flimsy! Let’s call it Plaid With Me 🙂
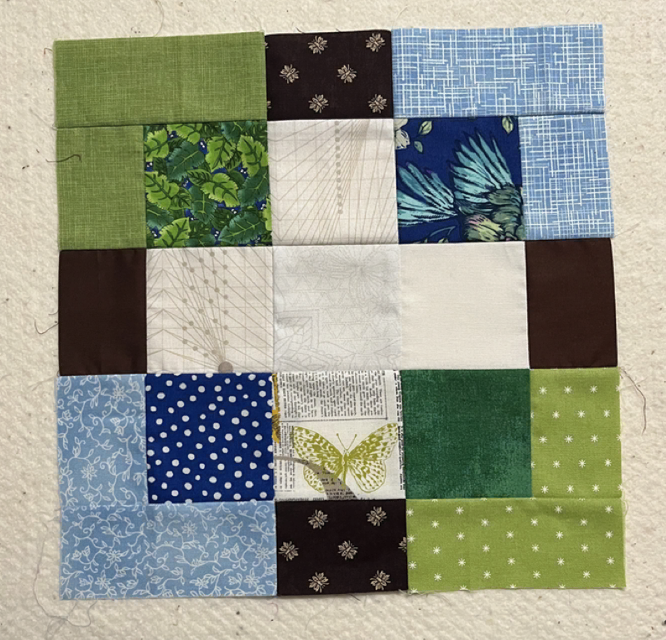
Your Finished block will look like this and will be 11” :
For this block you will need:
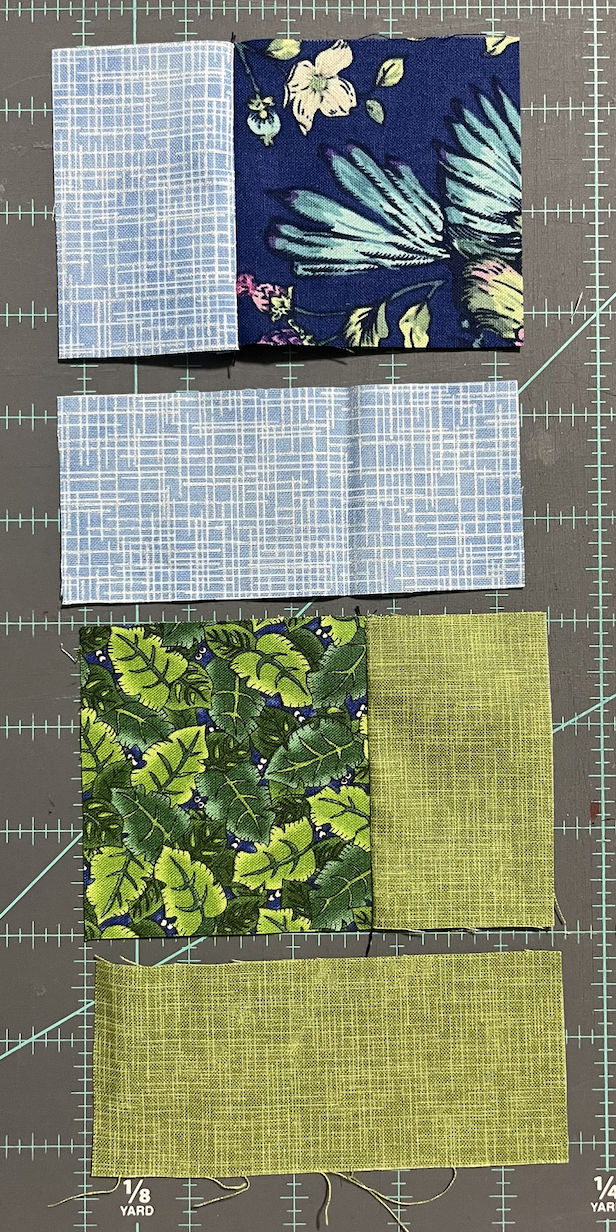
Royal Blues (This is what I had in my Stash)
Light Blue
Dark Green
Light Green
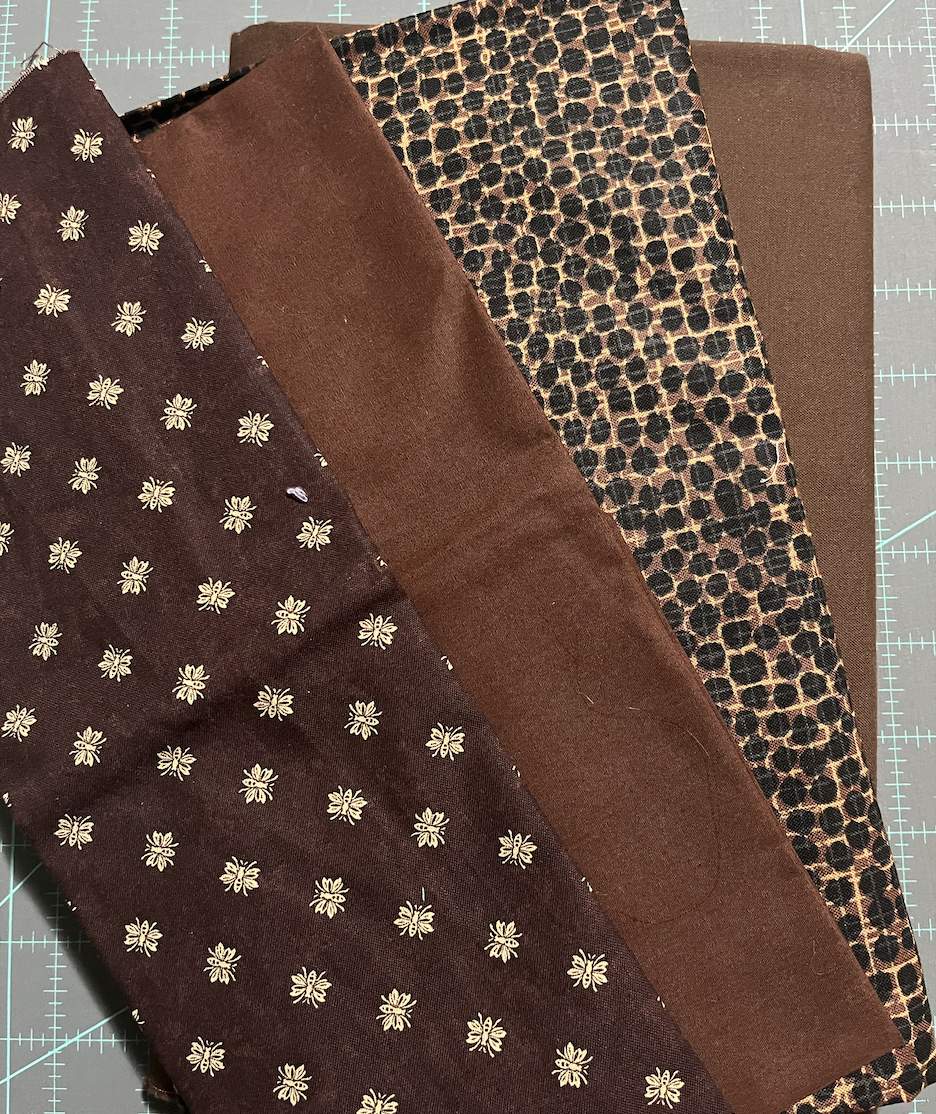
Chocolate Brown
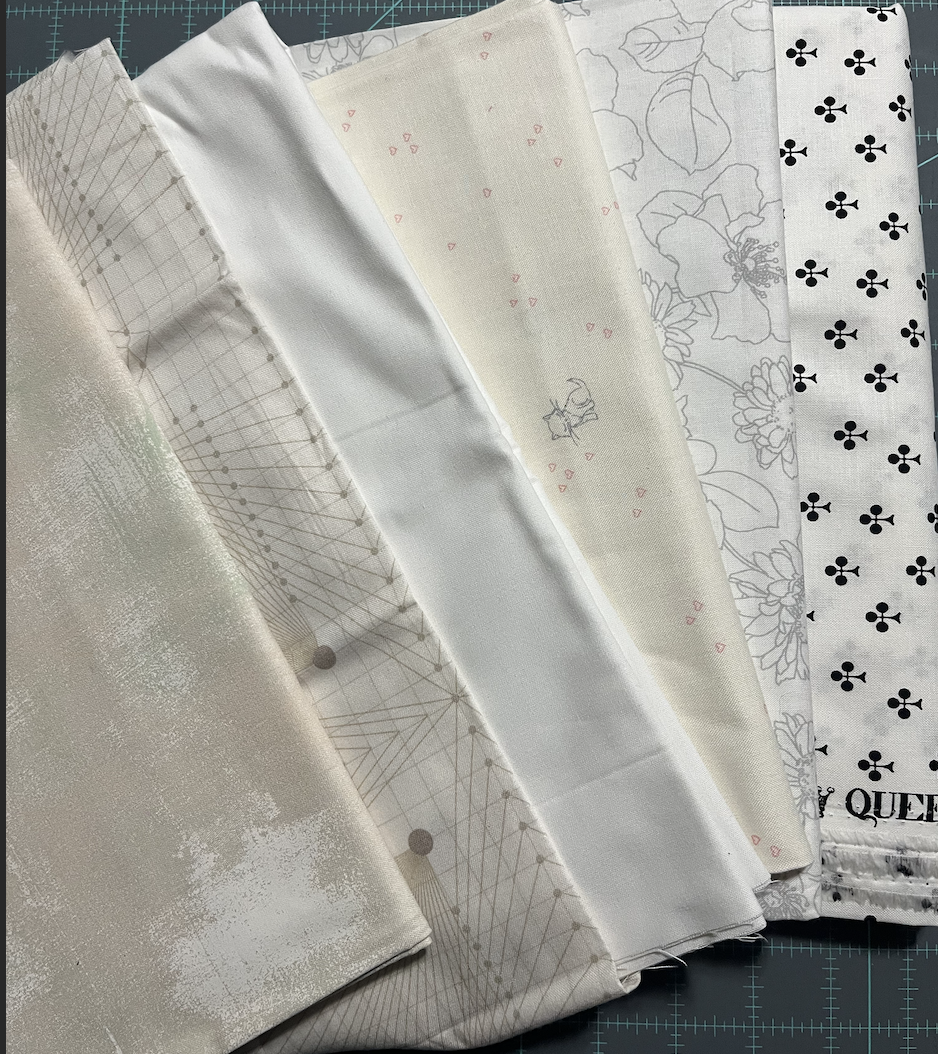
Whites or Low Volumes
Cutting
Each completed block will consist of:
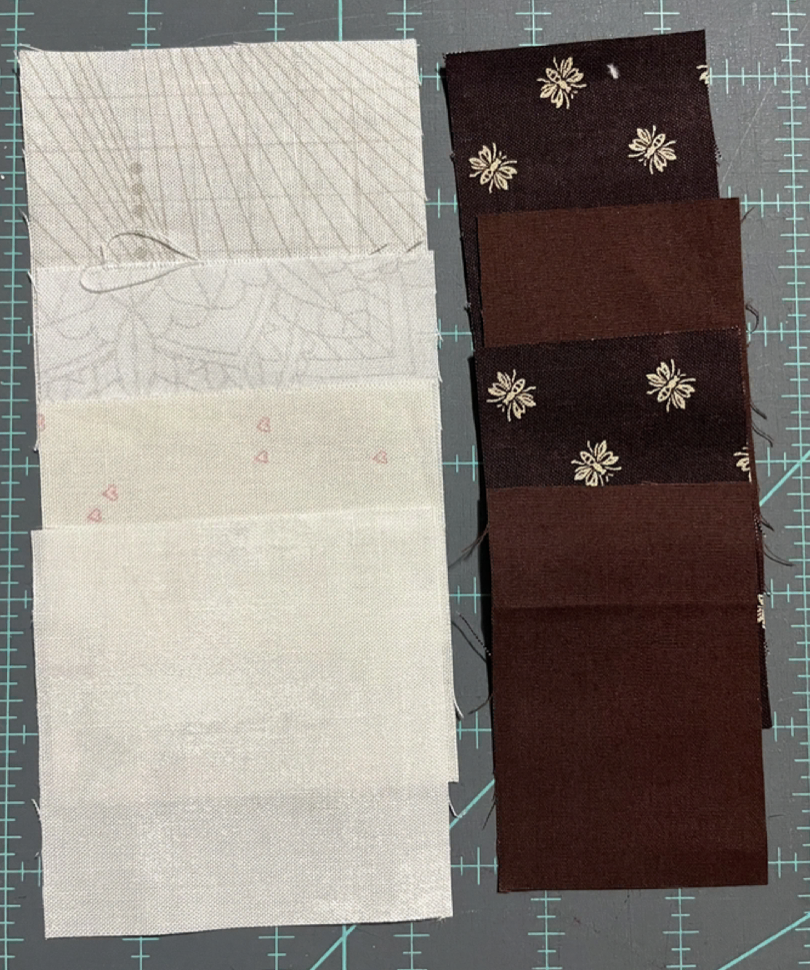
White/ Low Volume:
5 squares - 3” x 3”
Dark Blue
2 squares - 3” x 3”
Dark Green
2 squares - 3” x 3”
Light Blue
2 rectangles - 2” x 3”
2 rectangles - 2” x 4 ½”
Light Green
2 rectangles - 2” x 3”
2 rectangles - 2” x 4 ½”
Brown
4 rectangles - 2” x 3”
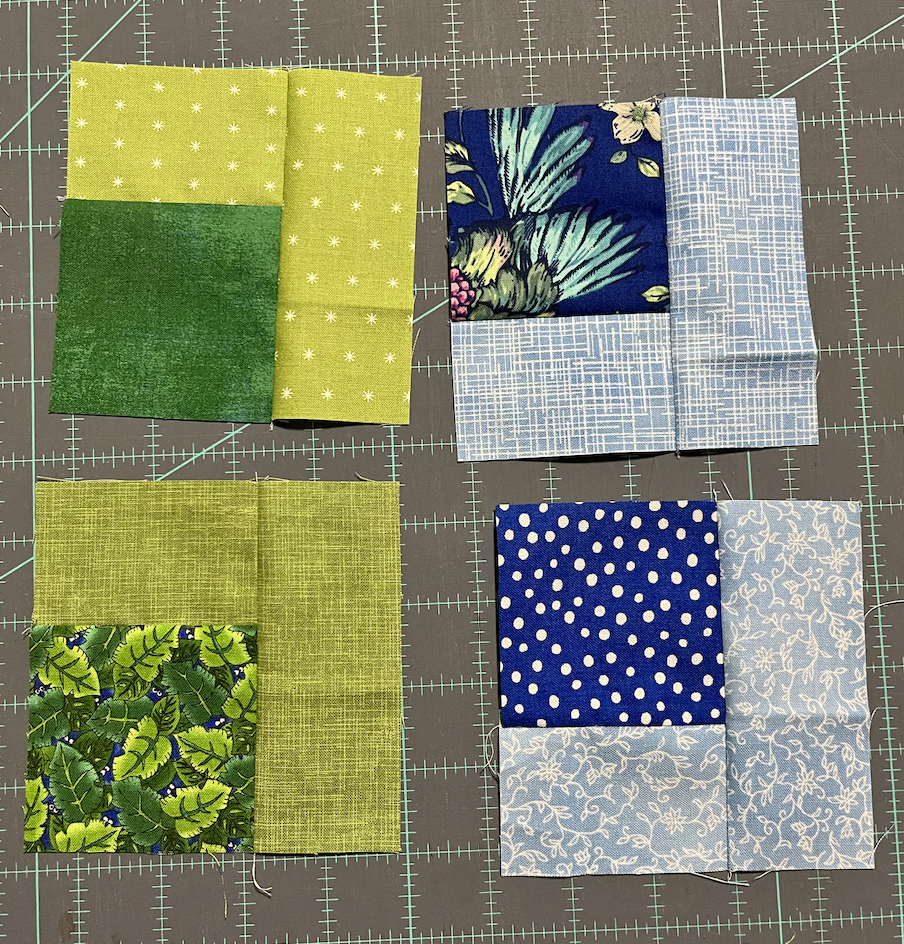
Start with a Dark Blue 3” squares and a Light Blue 2”x 3” strips. Add one strip to the side of the square.
Then take a Dark Green 3” squares and a Light Green 2”x 3” strips. Add one strip to the side of the square.
Next add the 2” x 4 ½” Light Green rectangles to the green and the 2” x 4 ½” Light blue rectangles to the blue
You should end up with 2 Blue and 2 Green Squares
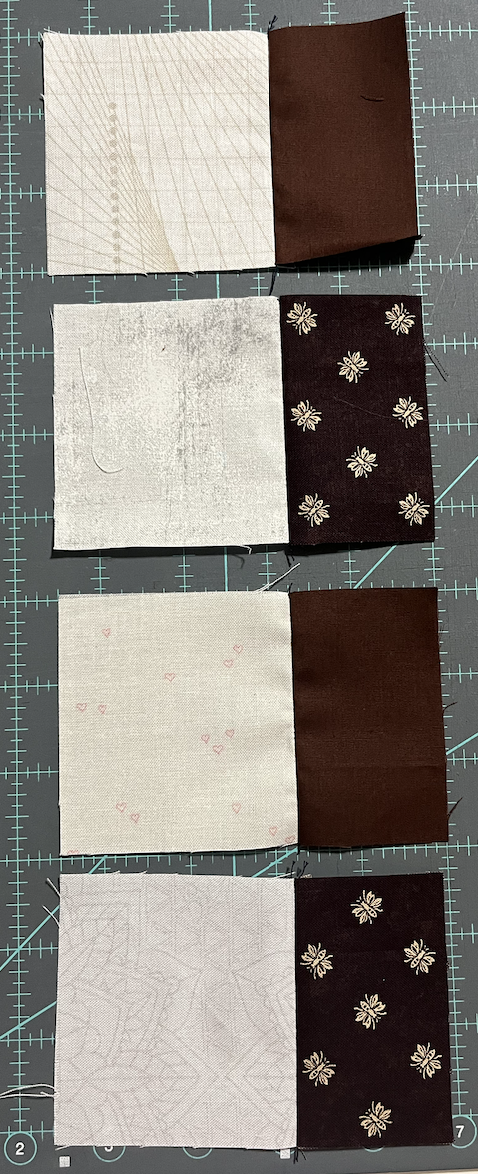
Sew a Low Volume/White 3” squares and a Brown 2”x 3” strips.
Add one strip to the side of the square.
Do this to 4 of the Low Volume/White 3” squares
Layout your pieces. A Low Volume/White 3” square for the center. The Low Volume/White/Brown pieces forming a plus sign with the browns facing outward.
The blue and Green squares in the corners with darker color towards the center alternating colors in the corners.
Sew together into rows
And now my humble thank you for joining me on this block journey!
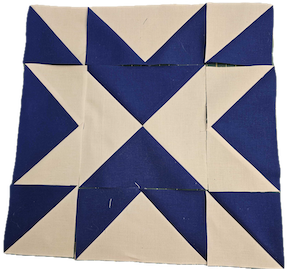
This is the November, 2023 tutorial for Hive 6.


Terminology:
Cutting:
 | Cutting Chart for aTraditional Piecing | |||||
|---|---|---|---|---|---|---|
| Patch | Fabric | Qty | Finished Block Size | |||
| 12'' | ||||||
| HST-1 | White | 2 | 4¼'' x 4¼'' | |||
| HST-2 | Blue | 2 | 4¼'' x 4¼'' | |||
| QST-1 | White | 1 | 7½'' x 7½'' | |||
| QST-2 | Blue | 1 | 7½'' x 7½'' | |||
| FG-1 | White | 2 | 3½'' x 6½'' | |||
| Sky-1 | Blue | 4 | 3½'' x 3½'' | |||
| FG-2 | Blue | 2 | 3½'' x 6½'' | |||
| Sky-2 | White | 4 | 3½'' x 3½'' | |||
| Unfinished Block Size | 12½'' | |||||
| Grid Size | 3'' | |||||
Piecing:
HST: Place 1 white and blue 4 1/4 inch square, right sides together. Draw a diagonal line on the back of the white fabric. Sew a 1/4 inch seam on both sides of the line. Press to set seam. Cut on the diagonal line, open and press to the dark side. Do the same for the second set of 4 1/4 blocks. This results in 4 HSTs. Trim the HSTs to 3 1/2 inch square.

QST: place 1 white and 1 blue 7 1/2 inch square, right sides together. Draw a diagonal line on the back of the white fabric. Sew a 1/4 inch seam on both sides of the line. Press to set seam. Cut on the diagonal line, open and press to the dark side.

Place the 2 resulting HSTs right sides together, white on blue and blue on white. Mark a diagonal line on the back of one of the fabrics and sew a quarter inch seam on each side. Press, then cut on the diagonal line.

FG: Place 3 1/2 inch white square on the left of the of the 3 1/2 by 6 1/2 inch blue rectangle, RST. Sew a diagonal line from the center top to the lower left corner. Press to set seam. Flip the white lower middle corner up to the upper left corner and press again.


HST, FG (horizontally) and HSTFG (vertically), QST, and FG (vertically)HST, FG (horizontally) and HST


