


Hi guys,
This is my first time participating in a Monthly Block Swap and also Stash Bee. Loving it so far!
Slightly scared now it is my turn, but I hope the below is understandable.
Fabric
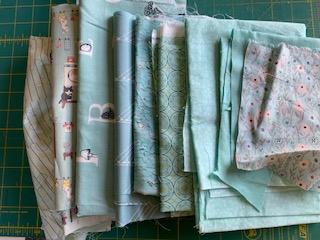
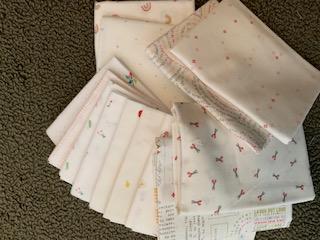
I am going for a black/white/grey monochrome look. I have included some ideas for fabrics, these
are all from my stash and are what I have made/will be making the rest of the blocks from.If you
don't have much variation in your stash, please don't worry about it and just use what you have.
Off white, large prints, batik, novelty prints, text prints, florals, all fine, just treat them as their "main"
colour. To see where they fall, you can use the B/W filter on your camera to find the value, similar
to what we did for Sara's block in March. As you can see in my examples below, I've used some
dark fabrics with a tiny amount of colour, this is OK, but I’d like the main colour to read as black/
grey or white.
If you don't have a massive array of shades, happy for it to be a stark black and white block too.
The main point here is to have fun not using colour! I've had this in mind for a while, so have been
collecting fabrics!
Essential tools: Ruler, Rotary cutter, Cutting mat, Hot dry iron, Ironing mat/board, Glue or safety
Pins. And, of course, a sewing machine!
Nice to have tools: EPP Glue stick, Add a quarter ruler, Rotating cutting mat (I don't have one,
but it is on my wishlist!)
Instructional FPP videos and guides:
Foundation Paper Piecing:
Tiny Orchard Quilts YouTube Video
Whole Circle Guide
Paper piecing made simple | Quilting Tutorial with Angela Walters for Craftsy
Sewing a curved seam:
Secrets to sewing curves
Patterns
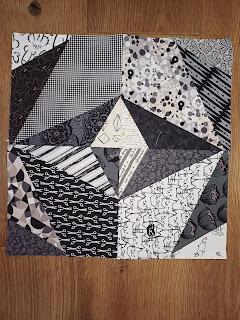
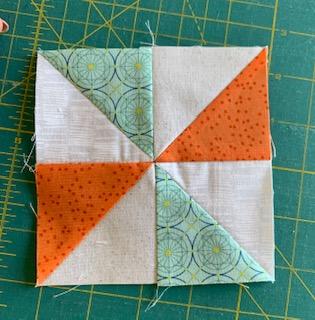
There are two main options, zigzag or circle. I am happy for you do do either one or both if you
fancy mixing it up! The zigzag creates a star or diamond shape when 4 pieces are combined,
the circle is likewise made of 4 pieces. The circle can be made of 4 plain pieces, or from a variety
of FPP options, which are all included below in the PDF patterns.
I forgot to put the inch square as the printing measure, however you can check they are correct
as one of the quarters should be 7.5 inches along each side (this is including the 1/4 inch seam
allowance on each side) , and the final block should be 14.5 inches. If you print to actual size, or
100% scale, it should work. However, if it is too big or too small, don't worry, as I am happy to either
cut it down to size, or add a border to make it up in size.
The PDFs can be found here:
Please let me know if this link does not work and I can email them to you directly instead.
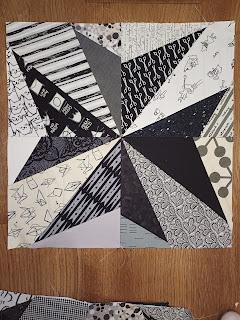
Block ideas:
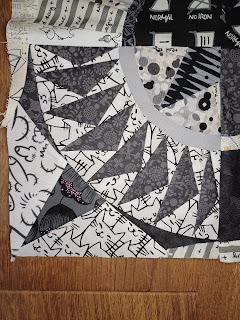
The first one is slightly skewiff as I was experimenting with an asymmetrical zigzag. It didn’t
quite work how I wanted it to, but you can see the difference that the fabric choice makes when
you compare to the second one.
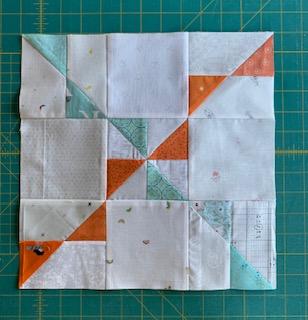
You will need 4 copies of the zig zag pattern to achieve either of the below options:
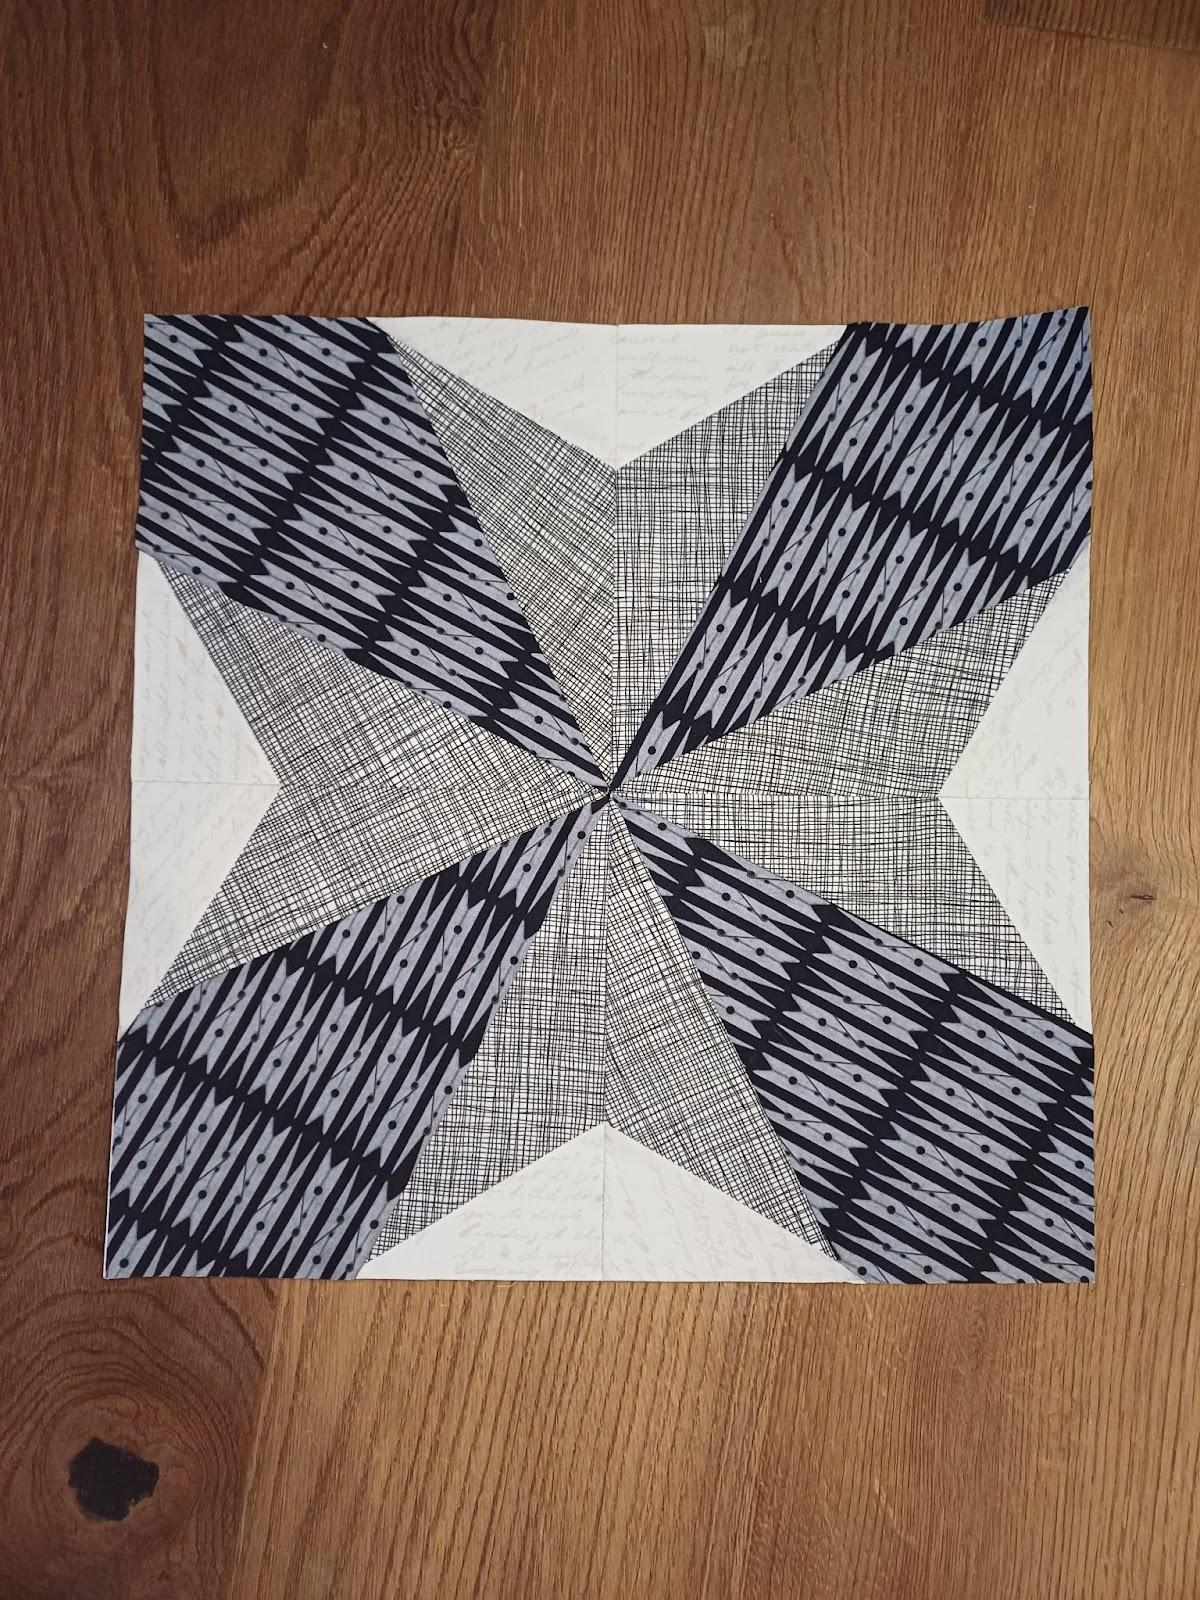
This is an alternate way to layout the zigzag, to create a diamond in the middle. You will need to
print 4 copies of the same pattern for this option as well, but the layout is different.
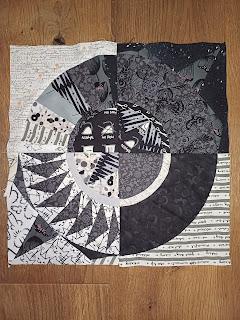
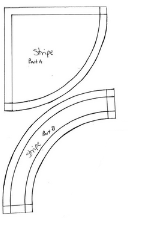
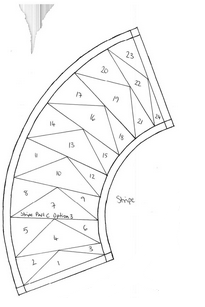
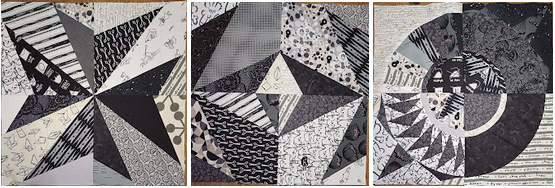
This is the circle option. Within it, there are a few variations as well.
This is the basic block, just curved seams.
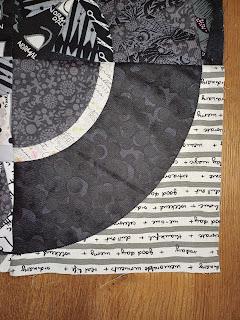
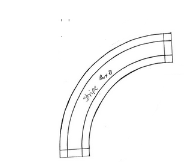
Part A, B, C and D from pages 1 and 2 as below


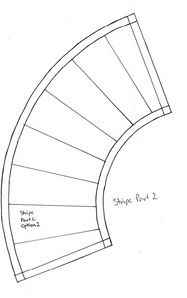
This is the basic block with a striped FPP band in a white to black colour gradient.
Part A, B, C (option 2) and D from pages 1 and 2
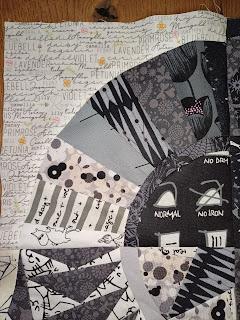
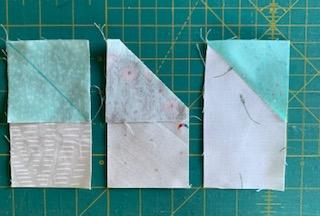
This block was done in dark fabrics. You have a subtle flying geese, as well as the corner and centre
being the FPP blocks.
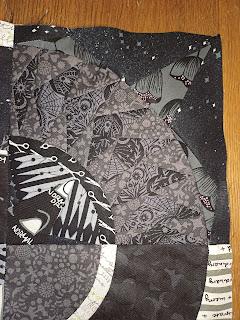
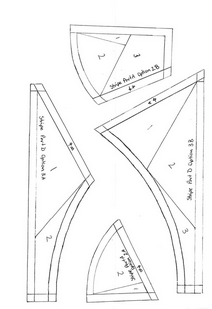
Part A (option 2A and 2B), B, C (option 3) and D (option 3A and 3B) from pages 1, 3 and 4.
Due to the way they come together, Parts A and D are in two pieces.
Apologies for the smudge at the top of Part C Option 3, the original paper tore and I didn’t realise
it would show up on the scan. I’ve had a bit of a mare with scanners, so I decided to leave it, lest
it refuses to work for me at all!
This is the same as above, but using a greater variation of the colour gradient.
Thanks for participating! Any questions or issues, please let me know!
All the best,
Kate @toodlipoops
Xxx


