
This year the decision which block two use for Stash Bee was a bit of a challenge. I had about 4 or 5 to chose from.
Finally, I decided on this design. It is based on a court house block.
I run a quilt group in my local church and we are supporting an organisation that looks after foster children in crisis care. When the children are taken from their families they often only got the clothes they are wearing and nothing else. So we are sewing quilts for children and babies that they can call their own and take with them when they leave crisis care and go to a permanent foster home.The finished quilt will go to this cause.
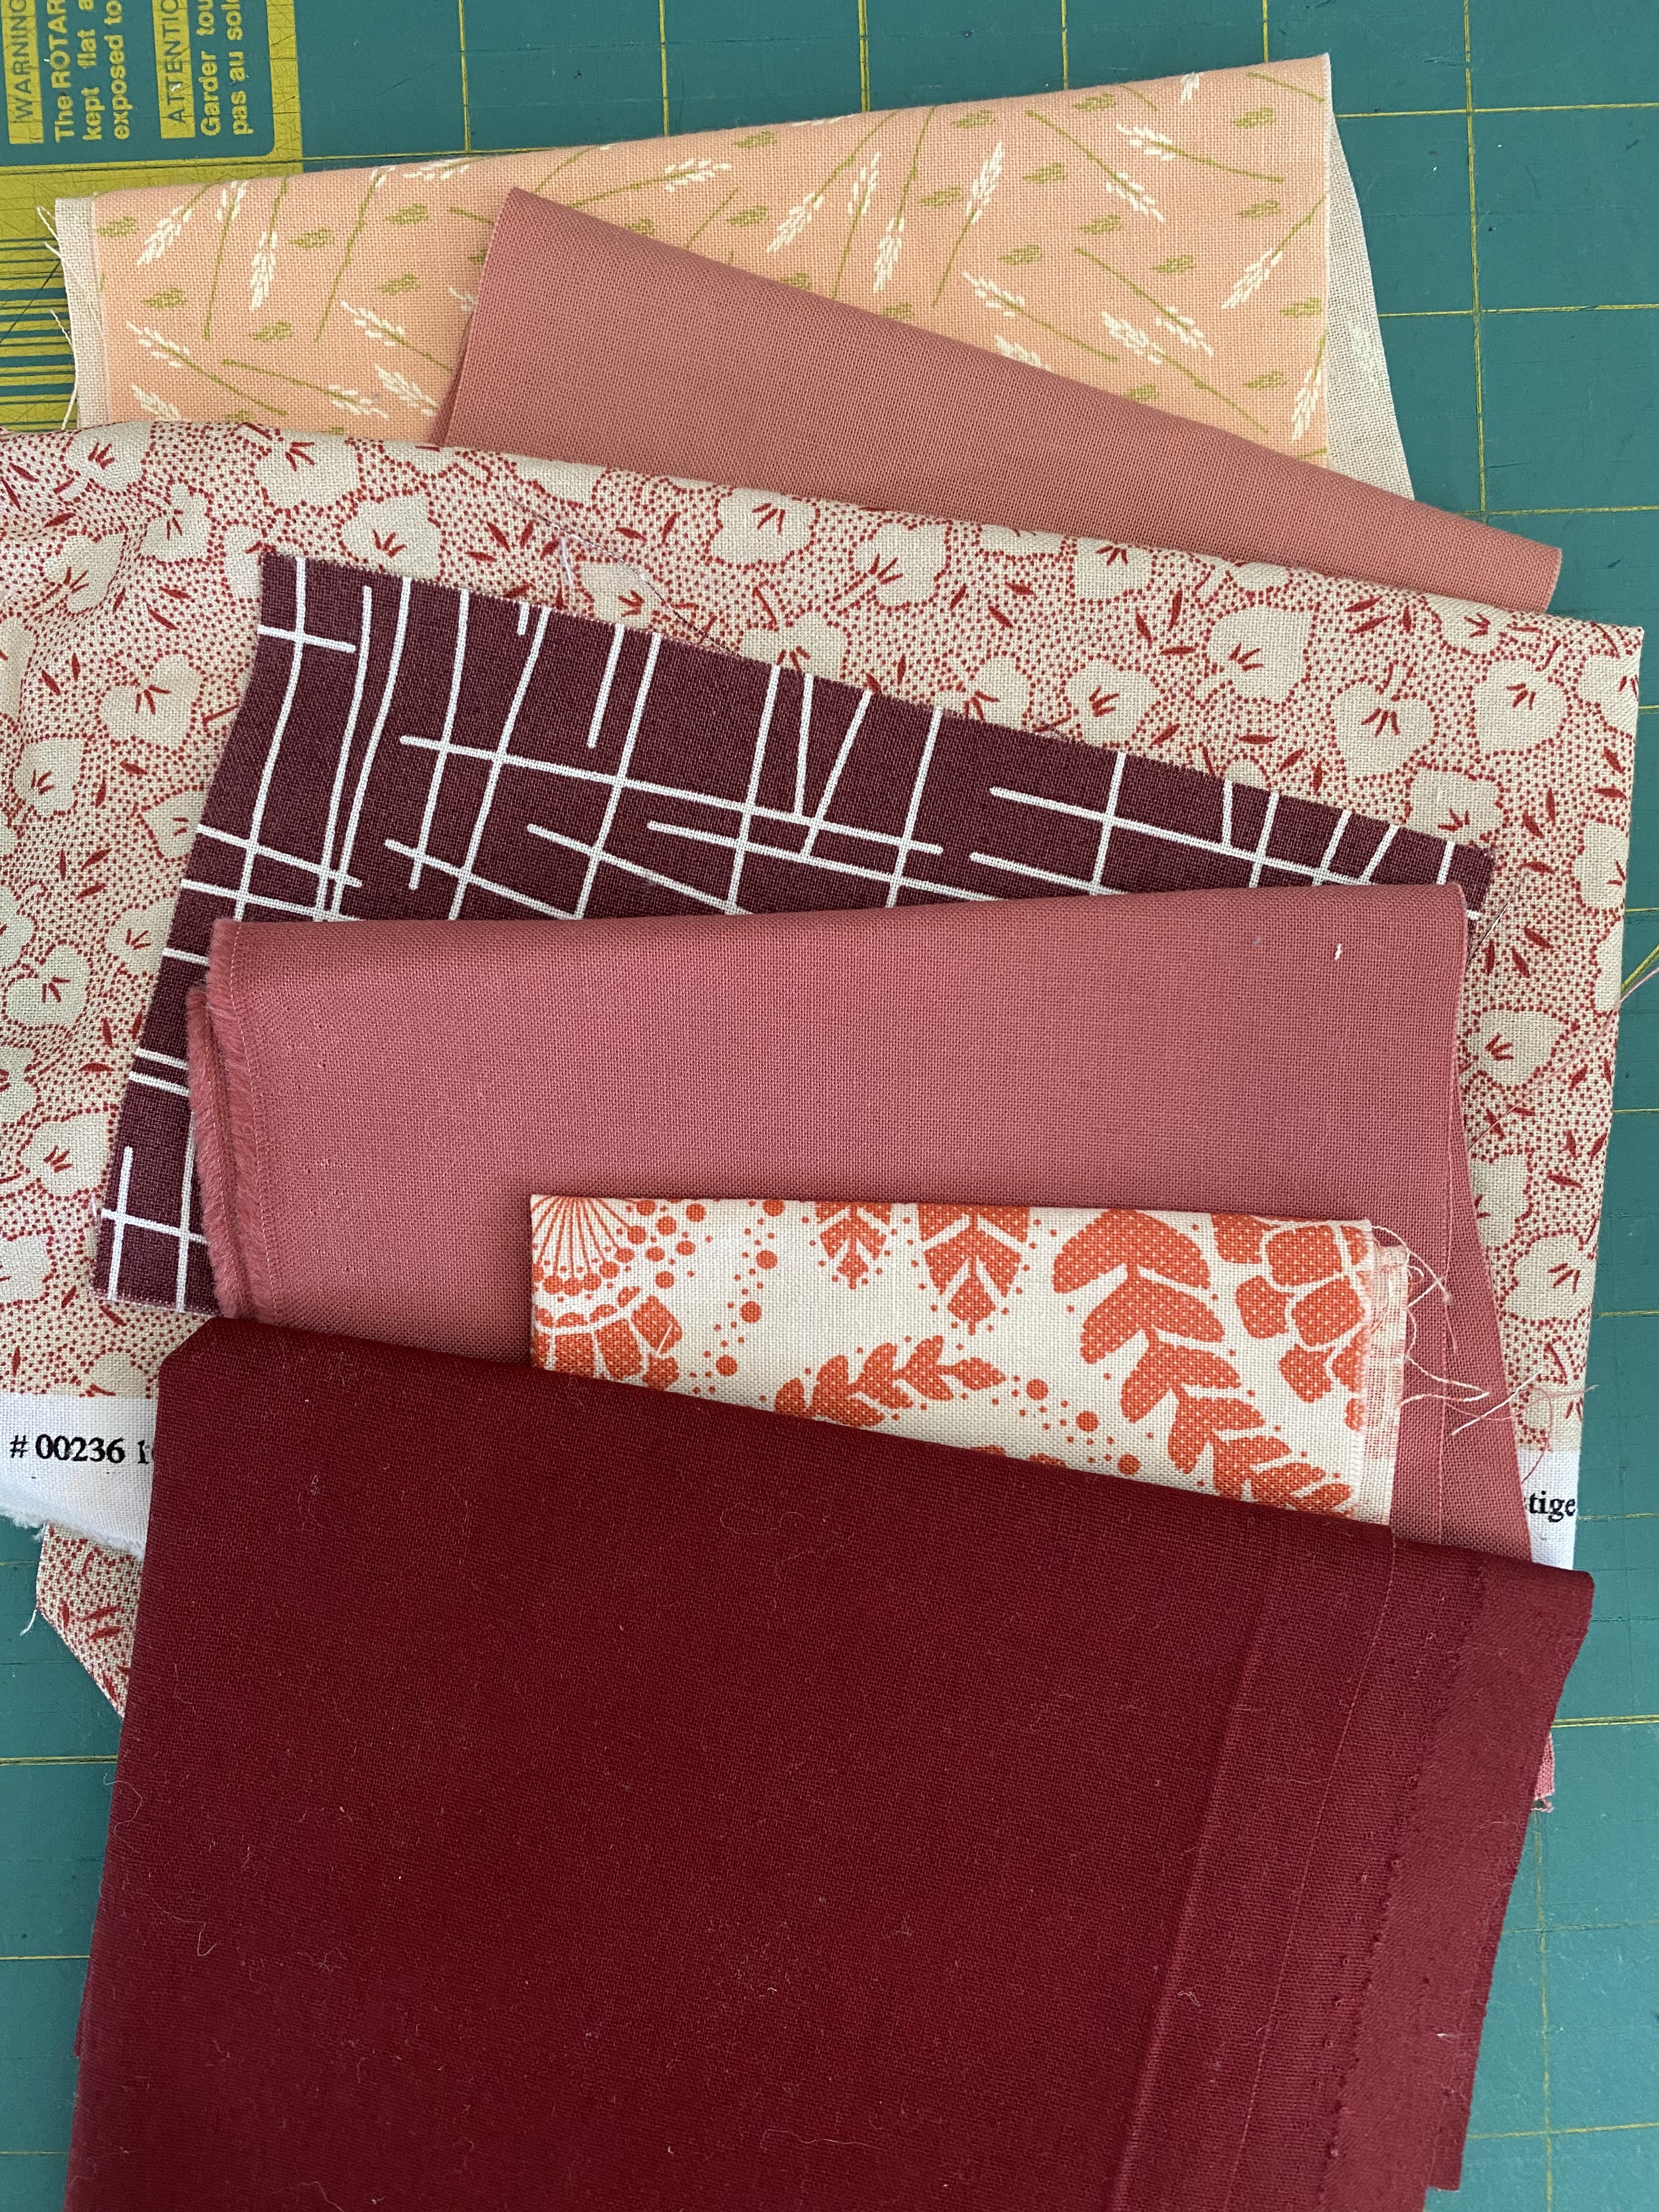
Please use fabrics in red-tones (from dark maroon over pink-ish to peach colours). My sample fabric pull is below. I prefer small patterns, so they can show on the narrow strips. You can also mix in solids. Background fabric should be low volume white/off-white. Please do not use novelty prints, licensed prints and batiks.
The finished block should measure 16" x 16"

Fabric requirements:
- 4 different fabrics in red tones.
- Red 1: 6"x3"
- Red 2: 6"x7"
- Red 3: 6"x11"
- Red 4: 6"x15"
- 1 FQ low volume white/off-white background fabric
Cutting Instructions:
- Red 1 - (2) 3" x 3" squares, put one aside
- Red 2 - (2) 1.5" x 5" strips, (2) 1.5" x 7" strips
- Red 3 - (2) 1.5" x 9" strips, (2) 1.5" x 11" strips
- Red 4 - (2) 1.5" x 13" strips, (2) 1.5" x 15" strips

- Background:
- (2) 1.5" x 3" strips
- (2) 1.5" x 5" strips
- (2) 1.5" x 7" strips
- (2) 1.5" x 9" strips
- (2) 1.5" x 11" strips
- (2) 1.5" x 13" strips
- (4) 2.5" x 7.5" strips, put aside
- (2) 1.5" x 2.5" strips, put aside
- (2) 1.5" x 1.5" squares, put aside
Below is a sketch how to cut your strips from a FQ with the least possible waste:

Take your 3" x 3" 'Red 1' square and sew (2) 1.5" x 3" white strips to top and bottom, press seams open. Then sew your (2) 1.5" x 5" white strips to the right and left sides, press seams open.

Sew (2) colour 'Red 2' 1.5" x 5" strips to top and bottom, press seams open. Sew (2) 1.5" x 7" strips to the right and left sides, press seams open.

Sew (2) 1.5" x 7" background strips to top and bottom, press seams open. Sew (2) 1.5" x 9" strips to the right and left sides, press seams open.

Sew (2) colour 'Red 3' 1.5" x 9" strips to top and bottom, press seams open. Sew (2) 1.5" x 11" strips to the right and left sides, press seams open.

Sew (2) 1.5" x 11" background strips to top and bottom, press seams open. Sew (2) 1.5" x 13" strips to the right and left sides, press seams open.

Sew (2) colour 'Red 4' 1.5" x 13" strips to top and bottom, press seams open. Sew (2) 1.5" x 15" strips to the right and left sides, press seams open. And you are done.

You don't have to do anything further, but you probably wonder why you have a red square and a few background strips left over.
I will show you :)
Your blocks will be cut it into four equal squares, squares will be swapped around (I will not keep the blocks together, but rather mix them up nicely across the whole quilt top) and then the red square and background strips will be used to join all the blocks together.


No comments:
Post a Comment