Hello Hive 1. I'm Jayne and I live north of San Francisco and love to sew. I'm always planning quilt tops in my head. Being a charity quilter I plan quilts around the amount of fabric that has been donated and go from there. I don't follow directions all the time and I just wing it. I'm a visual learner and appreciate photos and most of the time I do not read the directions if I can help it. I have run into a few problems with this method but always manage to work it all out.
So with that said I did my best to write the directions for my Quatrefoil block. I chose this block by looking at the past patterns used with Stash Bee and for those of you who have made this before, I apologize for your repetition, but I really like it and had never made one before. The difference with this block to most of the Quatrefoil blocks online is the corner unit. I have chosen the half square triangle so it would give the illusion of leaves in the corner and I might sash the blocks and make the corner squares green tying it all together, still deciding.
I would like the WHITE portion of the quilt to be made with WHITE ON WHITE and the corners to be green as for the rest I don't have a color pallet picked out because I love the floral prints for this block and flowers come in all colors. In my blocks, I chose accent colors from the floral print and went from there.
Now for my directions.
 |
| Hive 1 Jayne Quatrefoil Block |
Fabric and Cutting Guide
Fabric Colors for A - Floral
Fabric Colors for B - C - D, Bright vibrant true colors, no neon or earth tones. My samples I used some solids or tone on tone
(A and D may be the same if you like. Most of mine are different. The one sample with A and D the same is the blue and yellow lemon block)
CUTTING DIRECTIONS:
Fabric A: Main Fabric in Petal Blocks - Floral
- Cut 4 - 4.5" x 4.5" squares
Fabric B and C: Same colors for Contrast Fabric for the Center Unit and Corner Units
Solids or tone on tone
- B -- Cut 4 - 2" x 2" squares for the Corner Units
- C -- Cut 2 - 1.5" x 2.5" rectangles for the Center Unit
- C -- Cut 2 - 1.5" x 4.5" rectangles for the Center Unit
Fabric D: Center Unit Accent Fabric (this could also be out of fabric A)
Just the CENTER unit D.
Cut 1 - 2.5" x 2.5" square
Fabric E: Background Fabric
Please use WHITE ON WHITE
- Cut 8 - 2" x 2" squares (for Petal Units)
- Cut 4 - 2" x 3" rectangles (for Corner Units)
- Cut 4 - 3" x 4.5" rectangles (for Corner Units)
Fabric F: OUTSIDE CORNER UNIT: Green
Cut 4 - 2.5" x 2.5" squares
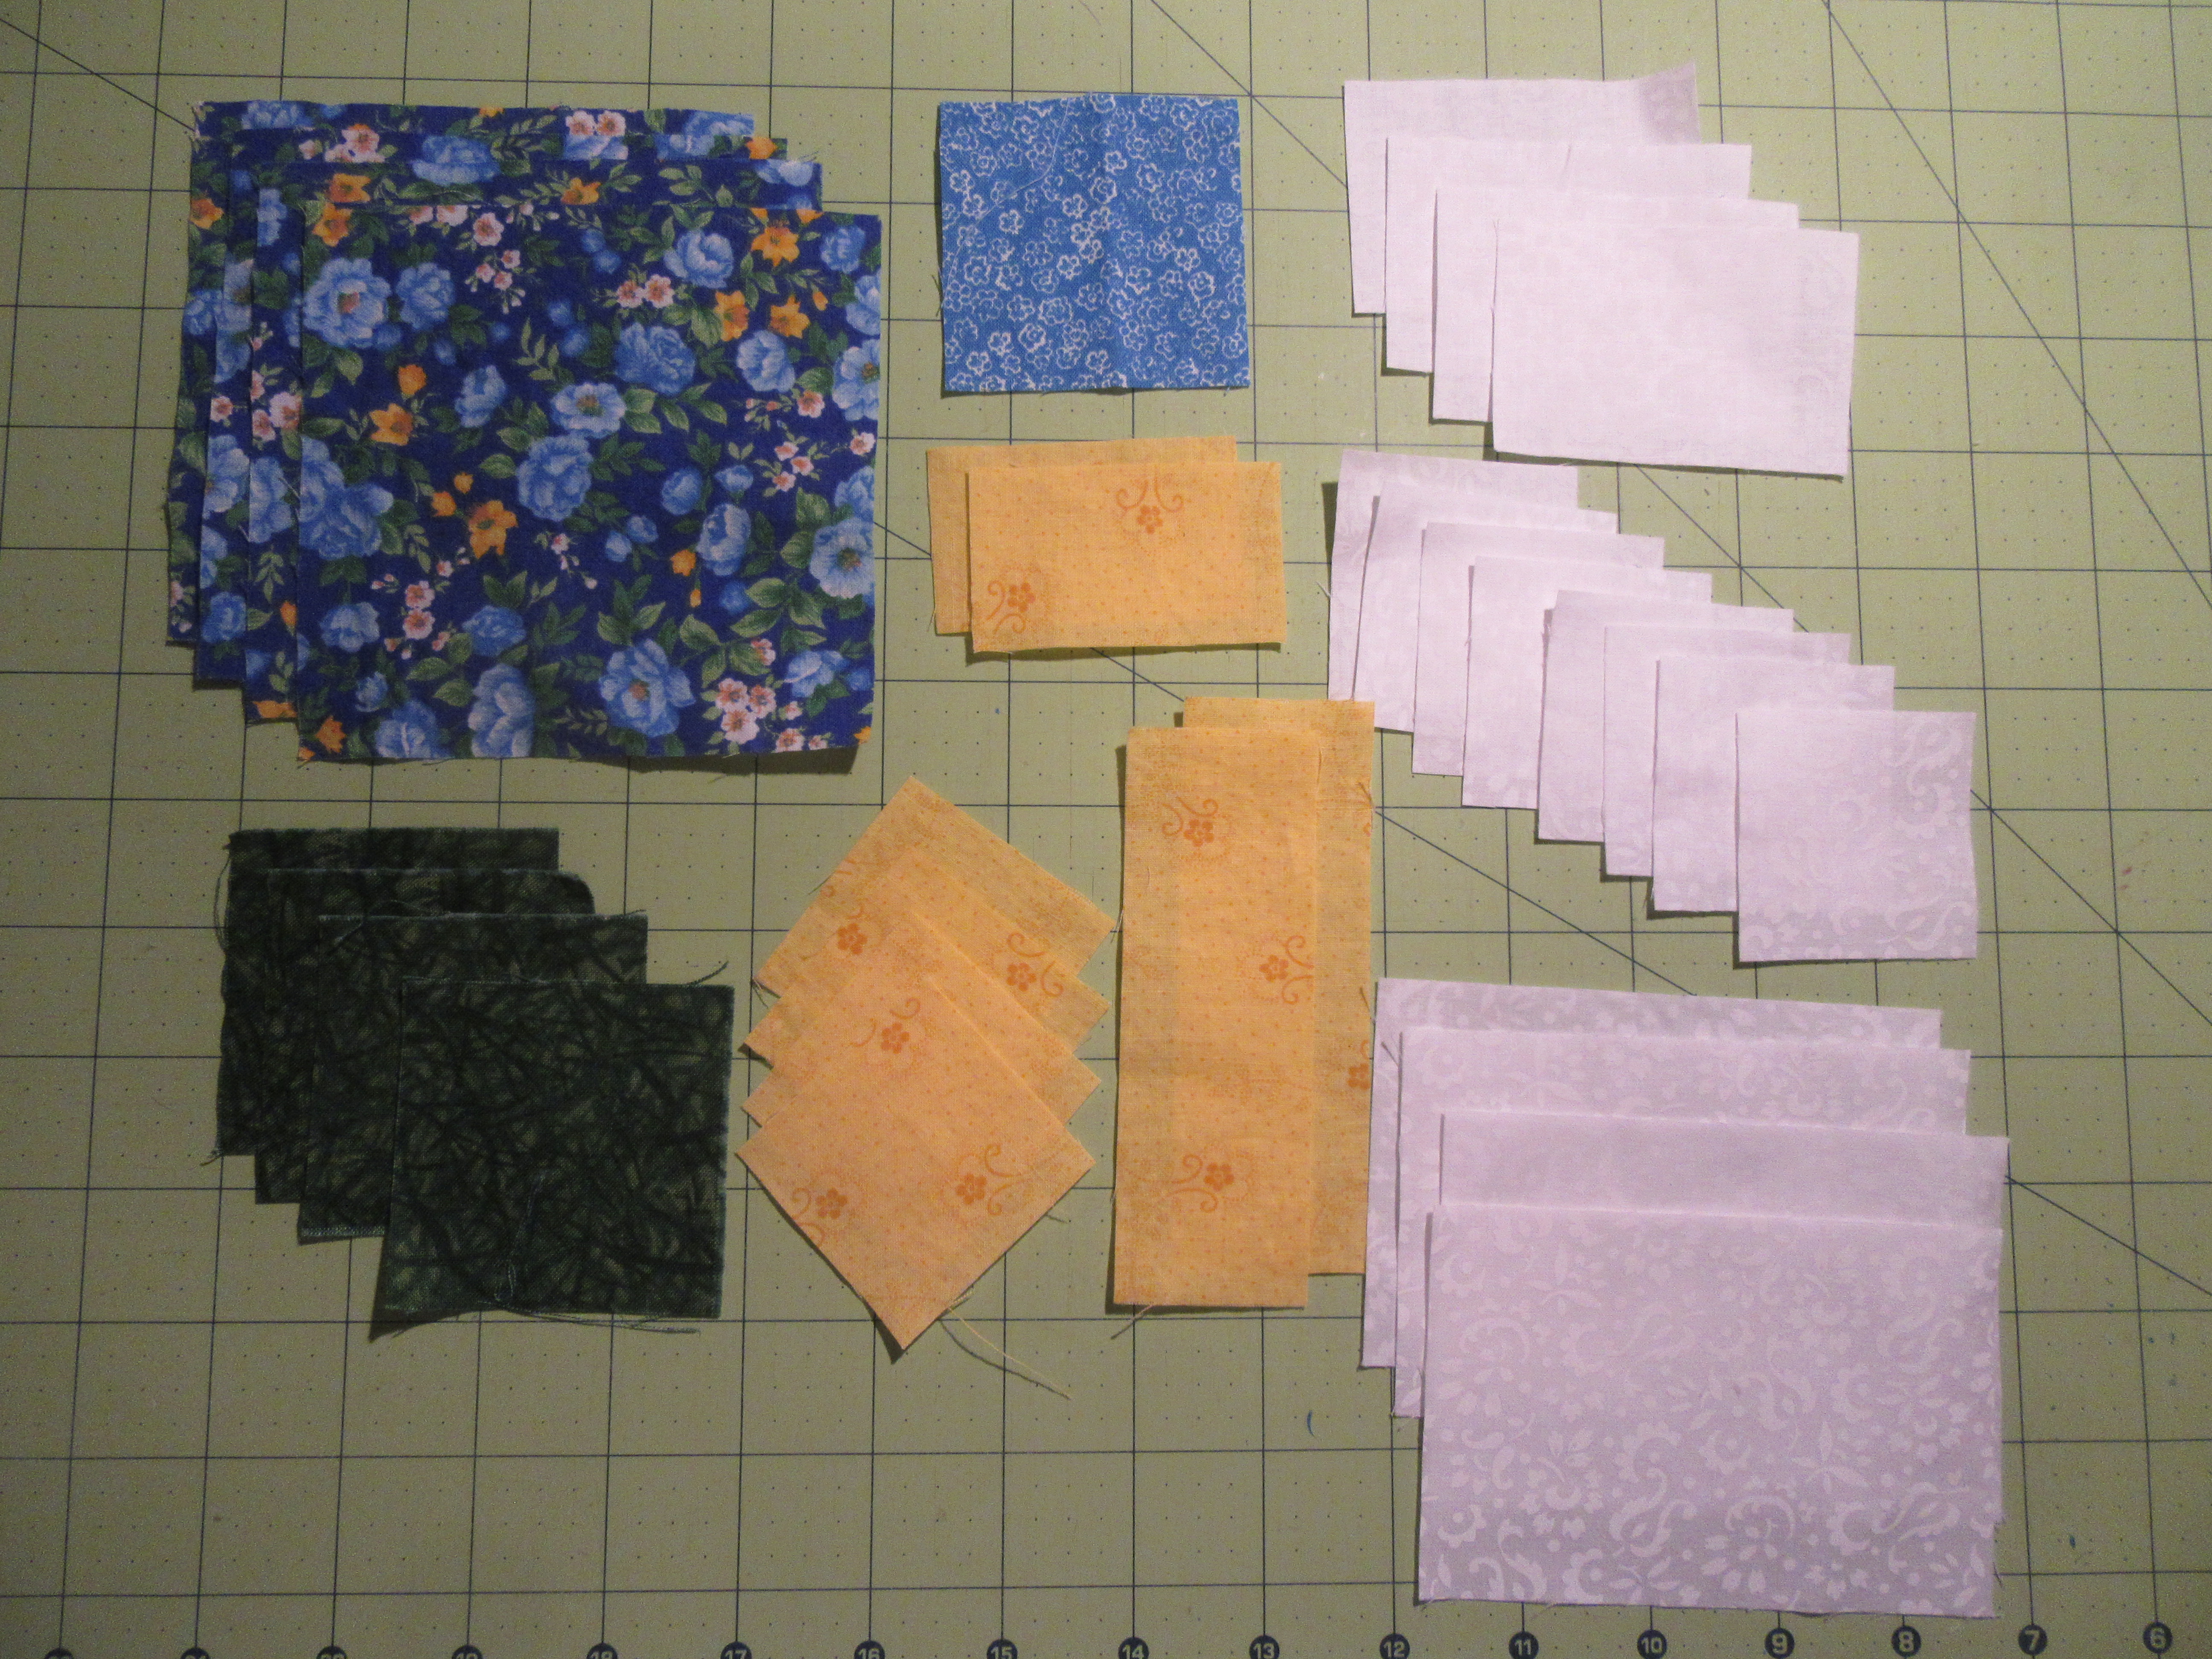
Here is everything cut out.
Constructing the Petal Blocks:
Snowball 2 corners of each 4 1/2 square with 2 1/2 background fabric. First, I drew a line corner to corner and then sewed on the line. Second I trimmed 1/4 inch away from the seam and then ironed the corners back. See above.
Construction of the Center Block:
Center Unit
Sew 1 1/2 x 2 1/2 piece to top and bottom of 2 1/2 center square. Press. Sew the 1 1/2 x 4 1/2 piece to the sides of the unit, press. See above.
Tip: I tend to sew a scant 1/4 inch and usually have a little to trim off, I'd rather it need trimming than being too small. At this point I squared up my center unit to 4 1/2 inch square as seen in photo. I only had a little to trim, but it would make a difference. See above.
Construction of the Corner Block Part 1 inside section:
Corner Units
Sew 2-inch square to 2 x 3-inch background fabric to make 4 units, press. See above.
Construction of the Corner Block Part 2 outside section:
Outside Corner Unit
For the corner units, you will need to make 2 LEFT corners and 2 RIGHT corners. I mark the 4 green 2 1/2 inch squares on the diagonal first (I used a chalk marker so it would show) and then lay all 4 out and pin before sewing, it's easy to mix this part up. Check that you have 2 LEFT and 2 RIGHT before you cut them. After trimming 1/4 inch from seam line press. See above.
Building the Block
I laid all my units out and sewed them across in rows, but you can do your favorite way. 5 units on the top, 3 units in the middle, and again 5 units on the bottom, press. I then sewed my 3 rows together. Press. Completed size 12 1/2 square.
Thank you for making this block for me.
I'm excited to see what each one of you choose for their month of blocks and can't wait for the new postings each month. If you have any questions please don't hesitate to ask me. I look forward to all your wonderful blocks and can't wait to make a BEE-utiful quilt with them.
Jayne


2 comments:
Great tutorial Jayne! I will start working on it this weekend, I will keep you posted! Marie
Hi Maire, I hope you enjoy making this block. I look forward to see what fabrics you choose. Happy stitching.
Jayne
Post a Comment