
Hi everyone! My name is Anna and I live in sunny Tucson, AZ. Try not to hate me right now! I know most of the country has had a really rough winter while I’ve been sitting over here sipping lemonade on the porch in 70+ degree weather. But just remember- I will be melting come summer and you can all feel free to laugh at me then.
I live with my boyfriend of 5 years in our brand new house. Yes, we bought a house together before getting married. We do things out of order around here ;) but don’t worry, the wedding is next on the list! We have two cute pooches- a Siberian Husky and a mutt- who both love to bother me while I’m trying to sew or knit or do anything, really. But they’re so cute, I usually let it slide.
 |
| Can't even let me have a fabric photo shoot in peace :P |
 |
| First house! With Volvos! We're a Volvo family :) |
I sort of randomly found quilting. I mean, yes, my grandmother did make quilts (and I still have the one she made for me when I was young), but for the most part I didn’t grow up living near my grandparents and so never really got the opportunity to learn from her. She also wasn’t an avid quilter. She pretty much gave it up after all her grandkids were born and each had a blanket.
So here’s what I remember. I was in college. Early grad school (I have a BA in English Literature and an MA in Library Science), looking for a new hobby. I had already picked up crochet earlier that year and really loved it. But I wanted to create more things! Different things! With different stuff! So I was wandering around a local used bookstore (Bookman’s for you AZ peeps!) and saw a quilting book. Well, lots of quilting books. I paged through a few of them and thought, “Hey, I bet I could make a quilt! How hard could it be??” So I bought one. Then my mom bought me a cheap sewing machine for Christmas. And off I went! I soon found the answer to my earlier question, of course. Quilting was NOT easy. I had barely sewn anything before. Guys, I could not sew a straight line to save my life! My quilting book kept emphasizing the importance of a ¼” seam, but I just couldn’t do it. But I kept sewing anyway, thinking if I had to just fudge it to make everything fit together, I would.
And that’s what I did. Eventually. I actually set aside that first quilt for close to a year before I decided to pull it out and finish it. The points didn’t match up at all and it was just a huge mess on the back side, but I finished it! It was actually my discovery of the online quilting world and modern quilt blogs that eventually inspired me to finish it. That was the late summer/early fall where the obsession really took hold. And I haven’t looked back.
Now that I actually have a job and you know, paychecks (being a college student doesn’t allow for a huge fabric budget), I have been working on building up my stash. Everything used to be in big plastic bins on an ugly metal shelf at the old house. At the new house, I claimed the room that had shelved built into the closet for my sewing room and have removed my fabric from the bins.

It’s a work in progress. I am going to be building myself a taller cutting table with shelving underneath, which will likely be the permanent home for most of my fabric. But this is what’s going on in the mean time.
Favorite fabric designers? I don’t have much of her stuff, but I really love Rashida Coleman Hale. I still really, really want to buy some Koi somewhere. It’s just so pretty! I also love Tula Pink and Heather Ross, though again I don’t have much of it. I love their older prints, but I’m not willing (or able!) to pay the crazy out of print prices on places like Etsy and Ebay for pieces. I keep trying to buy some on IG (#thegreatfabricdestash), but man, I am so slow compared to some people! Sad day. I’ve also really loved the lines released by Jeni Baker so far- really looking forward to the new one!! I can’t really say what my favorite quilting/sewing tool is. I suppose my rotary cutter- I can’t imagine having to cut everything out with scissors!
Hmm. My favorite fictional character. Might have to be Lyra Silvertongue from Philip Pullman’s His Dark Materials trilogy (The Golden Compass, etc.). She’s just so awesome and determined and smart. I love those books SO much, highly recommend reading them! I have read them so many times I don’t even know anymore.
OKAY! On to what I want this month, shall we?
I thought it would be fun to do some more improv-y stuff. Not wonky, though, and I’ll even give you some instructions for planning things out ahead of time in case improv is not your scene.
So, here are my finished sample blocks (I opted not to sew the parts together just yet):

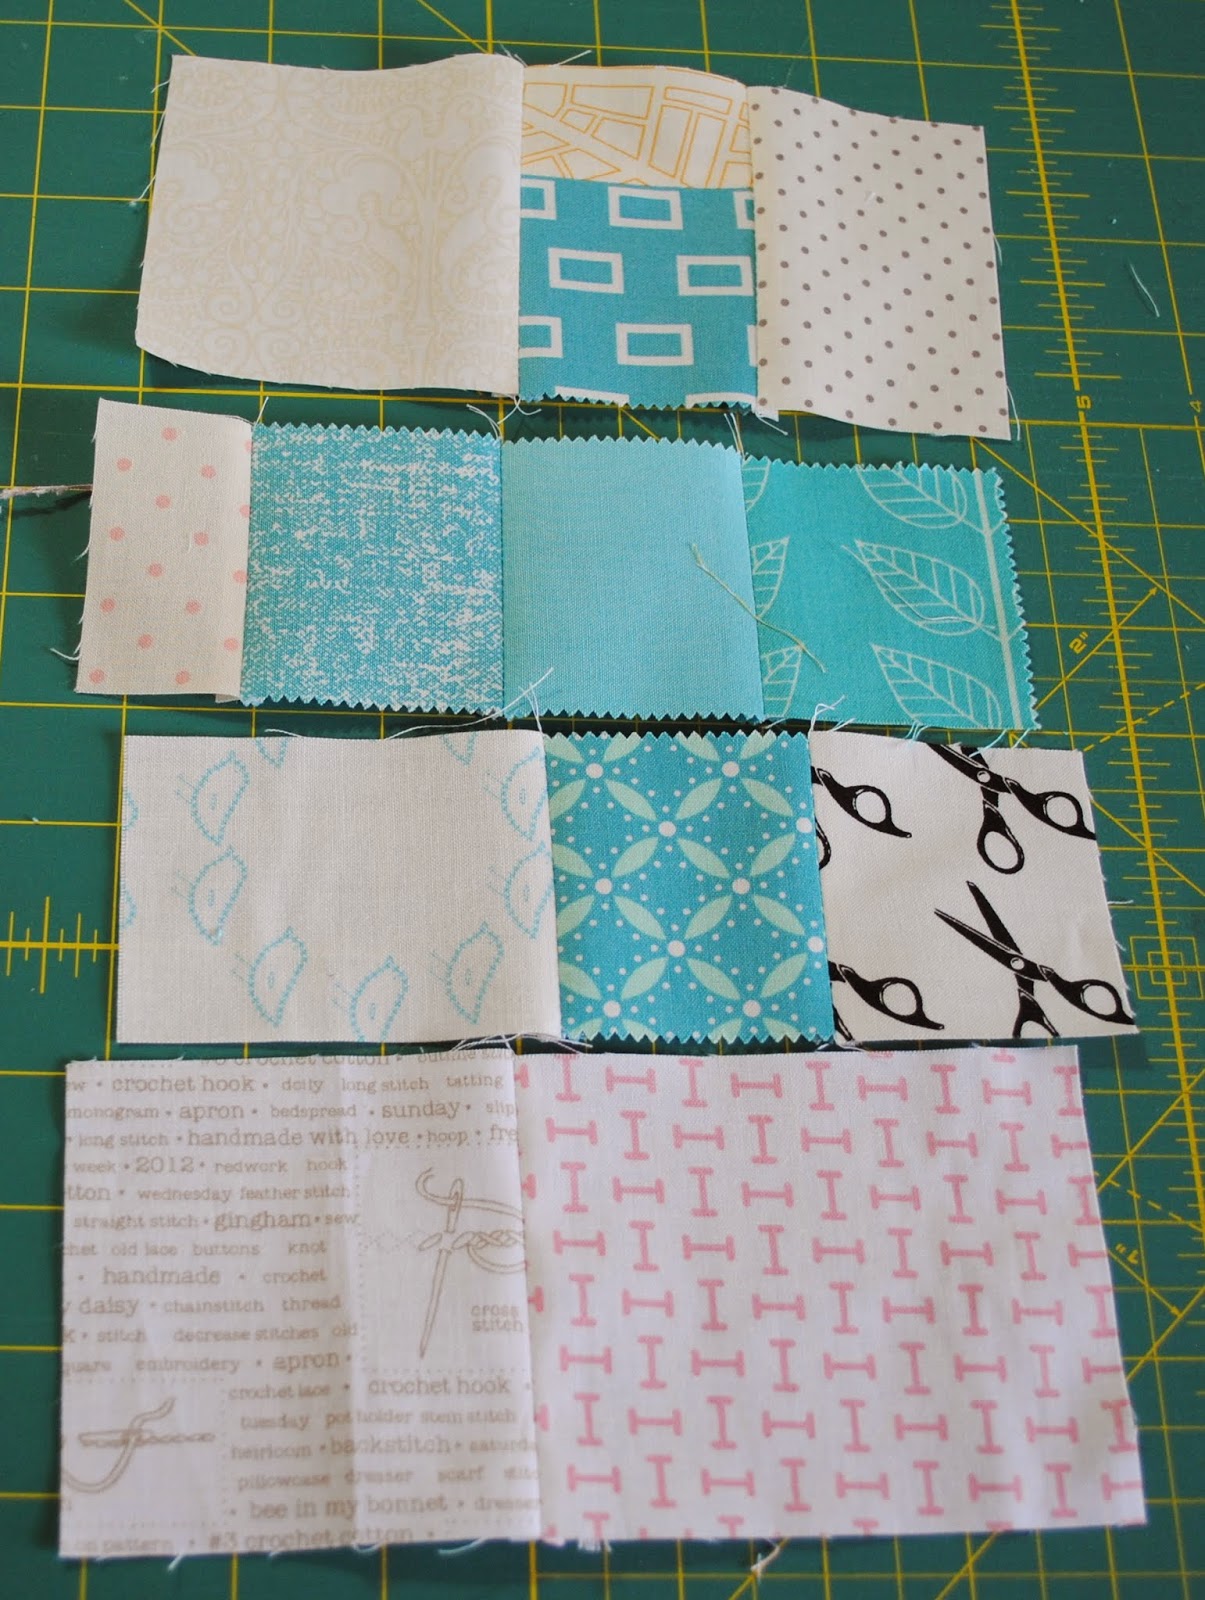
Now, when I say low volume I really mean 1 color, maybe 2 tops on a neutral background. I was in a low volume charm swap last year and some of the fabrics I got were definitely not my definition of low volume, so I will give you some examples of what I mean :)
Low volume- good:

Okay, so how do you go about making this? First, you’ll need to decide on the size of the pluses you want to make. Now, I don’t have a set number I want for each 16” block. My example has 4, but you could have as few as 2 or as many as you think will fit and still have some space between them. Aim for at least two, I’d say. The ones in my example are made up of 1”, 2”, and 3” finished squares. You could do sizes in between those or go a little bigger. I don’t want them to be so huge that one plus takes up the whole 16”. But I trust your judgment!
So have you chosen a couple of sizes? Good. Here’s what you do next.
If you want to go the improv route, cut 5 squares in scraps of the main color and 4 squares in scraps of low volume in your chosen size. So, for example, if I want to make 3” finished squares for my plus, I would cut 5 3.5” squares of color and 4 3.5" low volume squares to make the plus. Make sense? You’ll do this for each plus you want to make and then either put them together improv style with more low volume scraps, or add some extra low volume background and leave them apart.
If you feel like drafting a block first, here is how I did that.

First, I sketched out a 16” square. I use graph paper here, but feel free to use whatever drafting method you like best! I then decided I wanted 4 pluses and sketched those out. Then I connected the floating pluses with squares and rectangles. Be careful with this part- you want it to be easy to sew together, no partial seams! It may help after you draw out your pluses to subdivide the block around each of them like this

Next you’ll want to list all the different block sizes you have for cutting, being sure to add ½” for seam allowances. Notice I left one little bit out.. I didn't realize it until I had everything laid out and discovered a hole! but no big deal :)

Here are some pictures of my construction to give you an idea of how you go about it.
First, lay out your pieces. I put mine in the groups I separated out earlier in my sketch.

Let's start with the easiest block, shall we? From the picture above you can see it separates itself pretty easily into three horizontal rows. In the bottom row you'll have to sew a couple of pieces together before you join them horizontally, like this:

Then you sew the rows together!
 |
| Colors turned out weird in this picture... don't know what that's about! |

This one is less obvious. But there are columns here if you look closely!

See?

Donezo! I'll just add a couple pictures of the last two so you can see what I sewed together first (also, I may have forgotten to take individual finished pictures of the next two... oops!)

Yay! All done! You can either sew all your pieces together or leave them separate and I'll mix them up. Let's look at them again!
So you can draft a block yourself or go about things improv style. If both of those options stress you out, though, I have included pictures and cutting instructions below for a couple more blocks! You'll have to figure out the construction as I didn't have time to make these myself, though. I tried to make it fairly obvious where the block can be separated into parts like I did above, but you can always shoot me an email or tag me on Instagram (@crookedbanana) with any questions and I promise I'll answer! I hope you all have fun with this! Can't wait to see what you make!
Variation 1:
Variation 1:

Colors:
5- 2.5 x 2.5
5- 3.5 x 3.5
5- 1.5 x 1.5
Background:
6- 2.5 x 3.5
5- 3.5 x 3.5
5- 3.5 x 3.5
4- 2.5 x 2.5
4- 1.5 x 1.5
3- 2 x 2.5
3- 2 x 2.5
2- 1.5 x 2.5
2- 3.5 x 4
1- 2.5 x 5.5
1- 3.5 x 5
1- 3.5 x 2
1- 2 x 5.5
1- 3.5 x 2
1- 2 x 5.5
1- 3 x 3.5
Variation 2:

Colors:
Colors:
5- 2.5 x 2.5
15- 1.5 x 1.5 (5 in each color)
Background:
10- 1.5 x 1.5
5- 2.5 x 2.5
5- 2.5 x 2.5
5- 3.5 x 2.5
4- 1.5 x 2.5
2- 2.5 x 5
2- 4.5 x 3.5
1- 2.5 x 5.5
1- 3.5 x 3.5
1- 2.5 x 4.5
1- 4 x 4.5
1- 4.5 x 4.5
1- 3.5 x 8
1- 1.5 x 5.5
1- 1.5 x 4.5
1- 3 x 3.5
3 comments:
I'm excited about this block. I haven't done any plus blocks yet...strange I know. I have been collecting a few LVs so that will work out perfectly!
Oh wow I love this block!! Can't wait to start :)
Thanks for some easy steps for the improv-challenged like myself! Looking forward to giving this block a try. I love that this bee is challenging me to go outside of my comfort zone!
Post a Comment