
Bear Paw Block for Helen
Hello everyone, Happy New Year to you all, I can't quite believe it is 2025 which is my 60th to go round the sun. This is my 7th Stash Bee and 4th as Hive leader. I don't take part in many swaps these days but I love this one and so join up every year. It is so much fun finding out which block each hive member would like us to make.
I am a member of Capital Quilters, a guild based in Lower Hutt, Wellington where I used to live. It is probably the largest guild in New Zealand at 180 - 190 members. It is their 40th anniversary in June this year (2025) and in celebration of this milestone, we are all encouraged to make a quilt featuring our signature block The Hand of Friendship (Bear Paw for short).
Last year my dear friend, Maree (who is in our hive again this year) asked us to make Halloween themed Bear Paw blocks and I thought "perfect, I will do that this year and kill 2 birds with 1 stone getting a Halloween themed quilt made of the Hand of Friendship block".
I am asking you all to make one block (you can make more for me if you wish - they are a bit addictive with the fussy cutting opportunities) of a bear paw block that is 14 inch unfinished and 13 and 1/2 inch finished in the quilt.
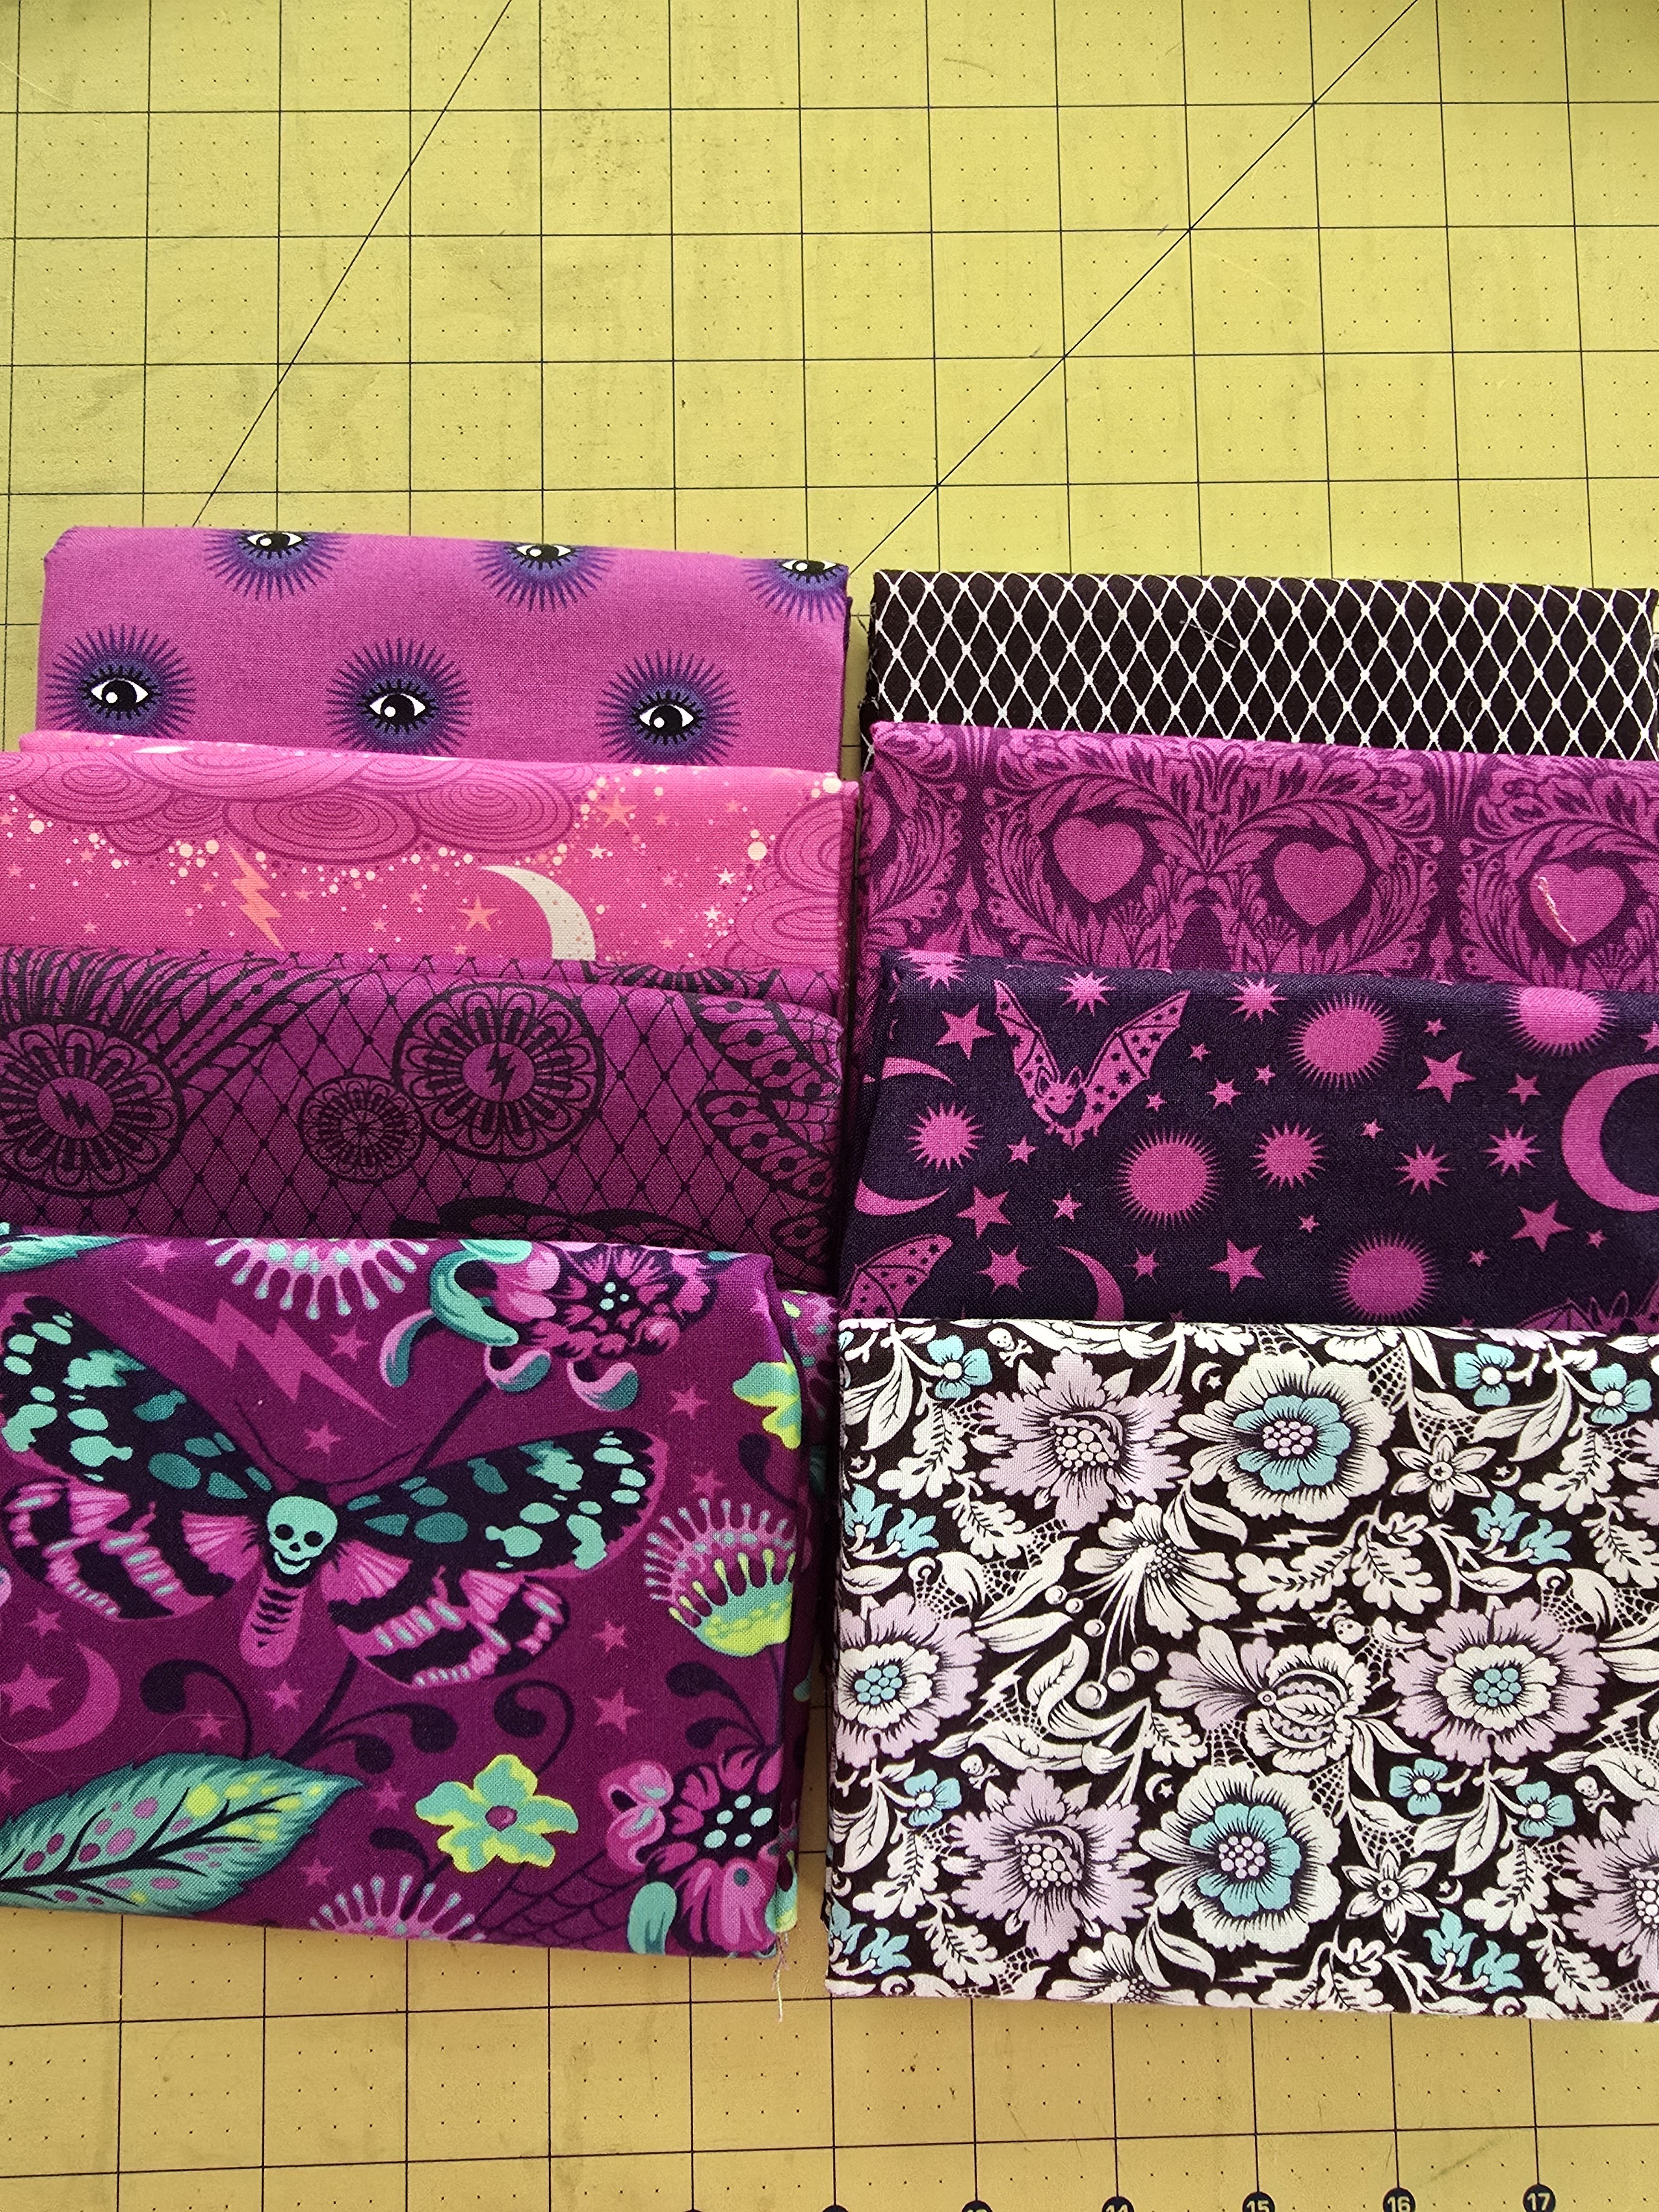
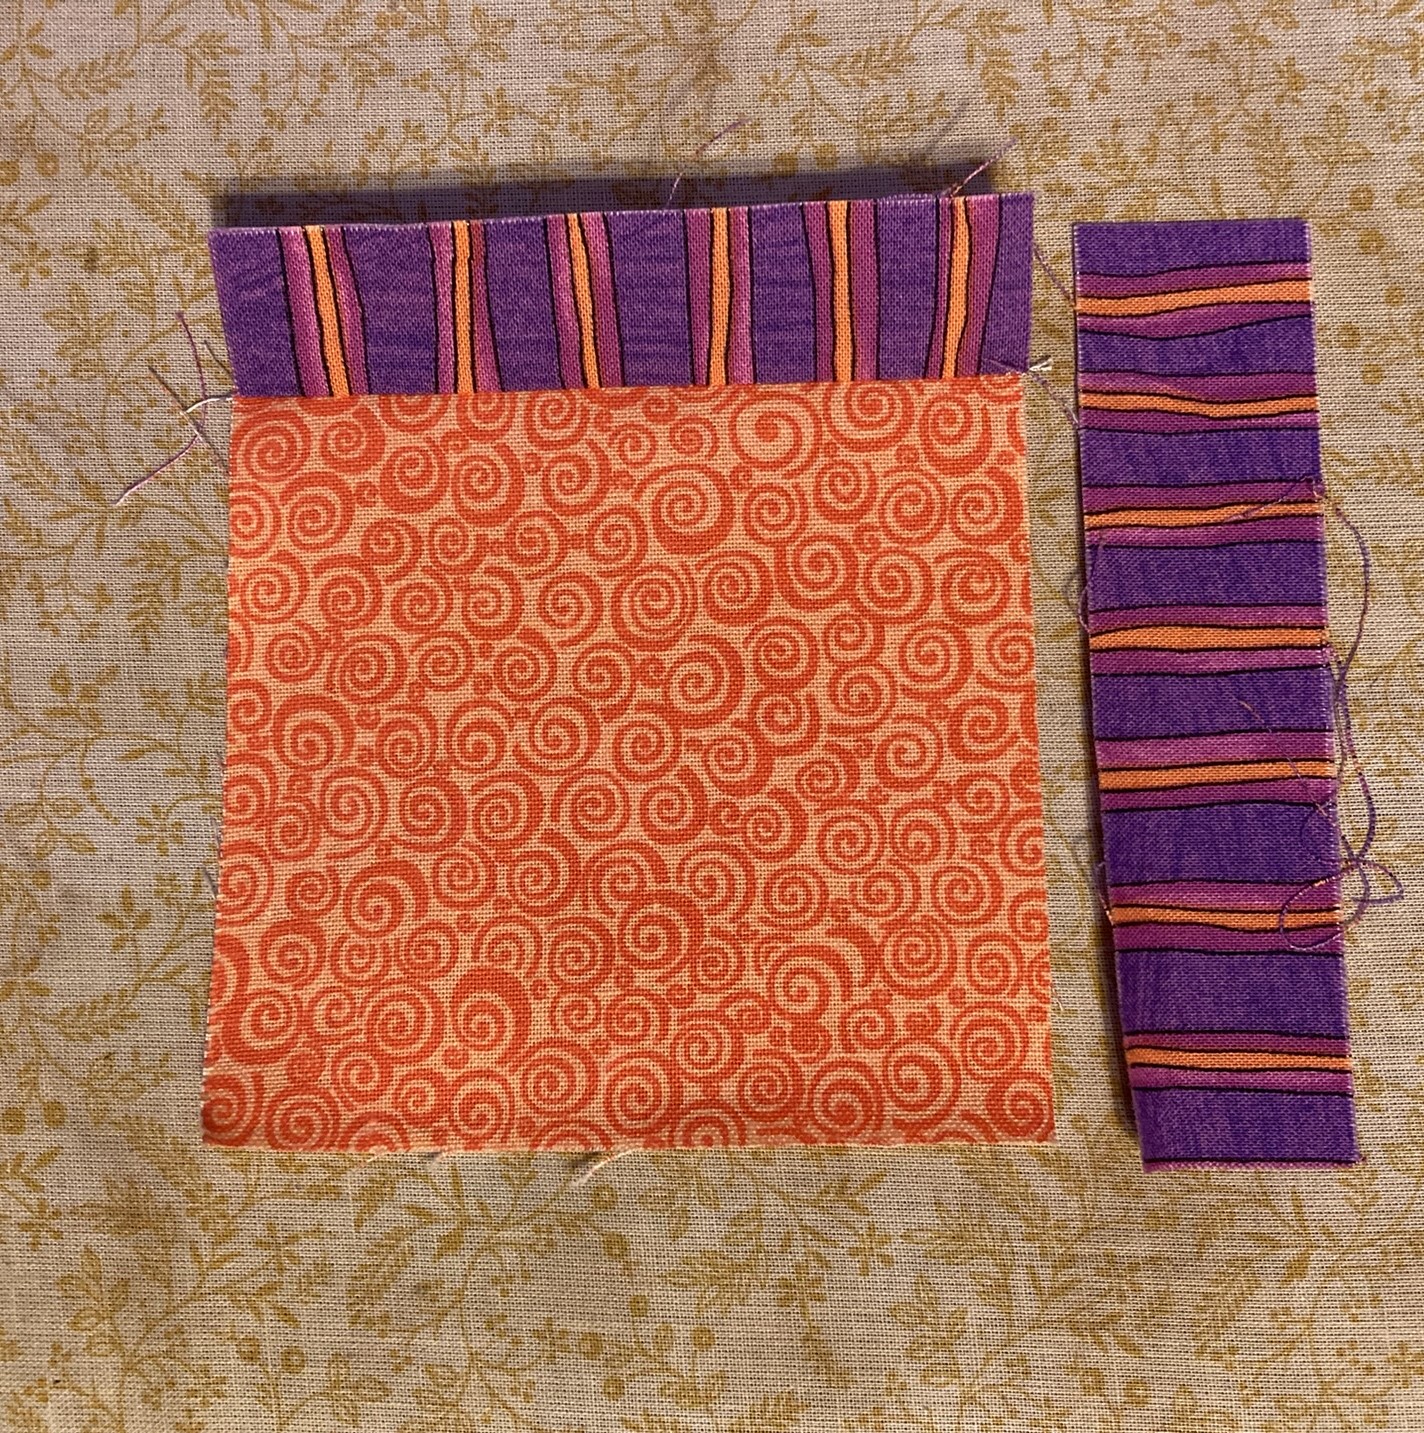
Fabric inspiration.
I am looking for blocks made with a variety of Halloween themed fabrics in shades of low volume white, black, grey, orange, mauve, and purple with splashes of red, peach and crimson. If you have a fussy cut Halloween motif in another shade that is fine, just make sure you don't use it for the background, sashing or claws. Please make sure there is some contrast between the paws and the background/sashing fabrics.
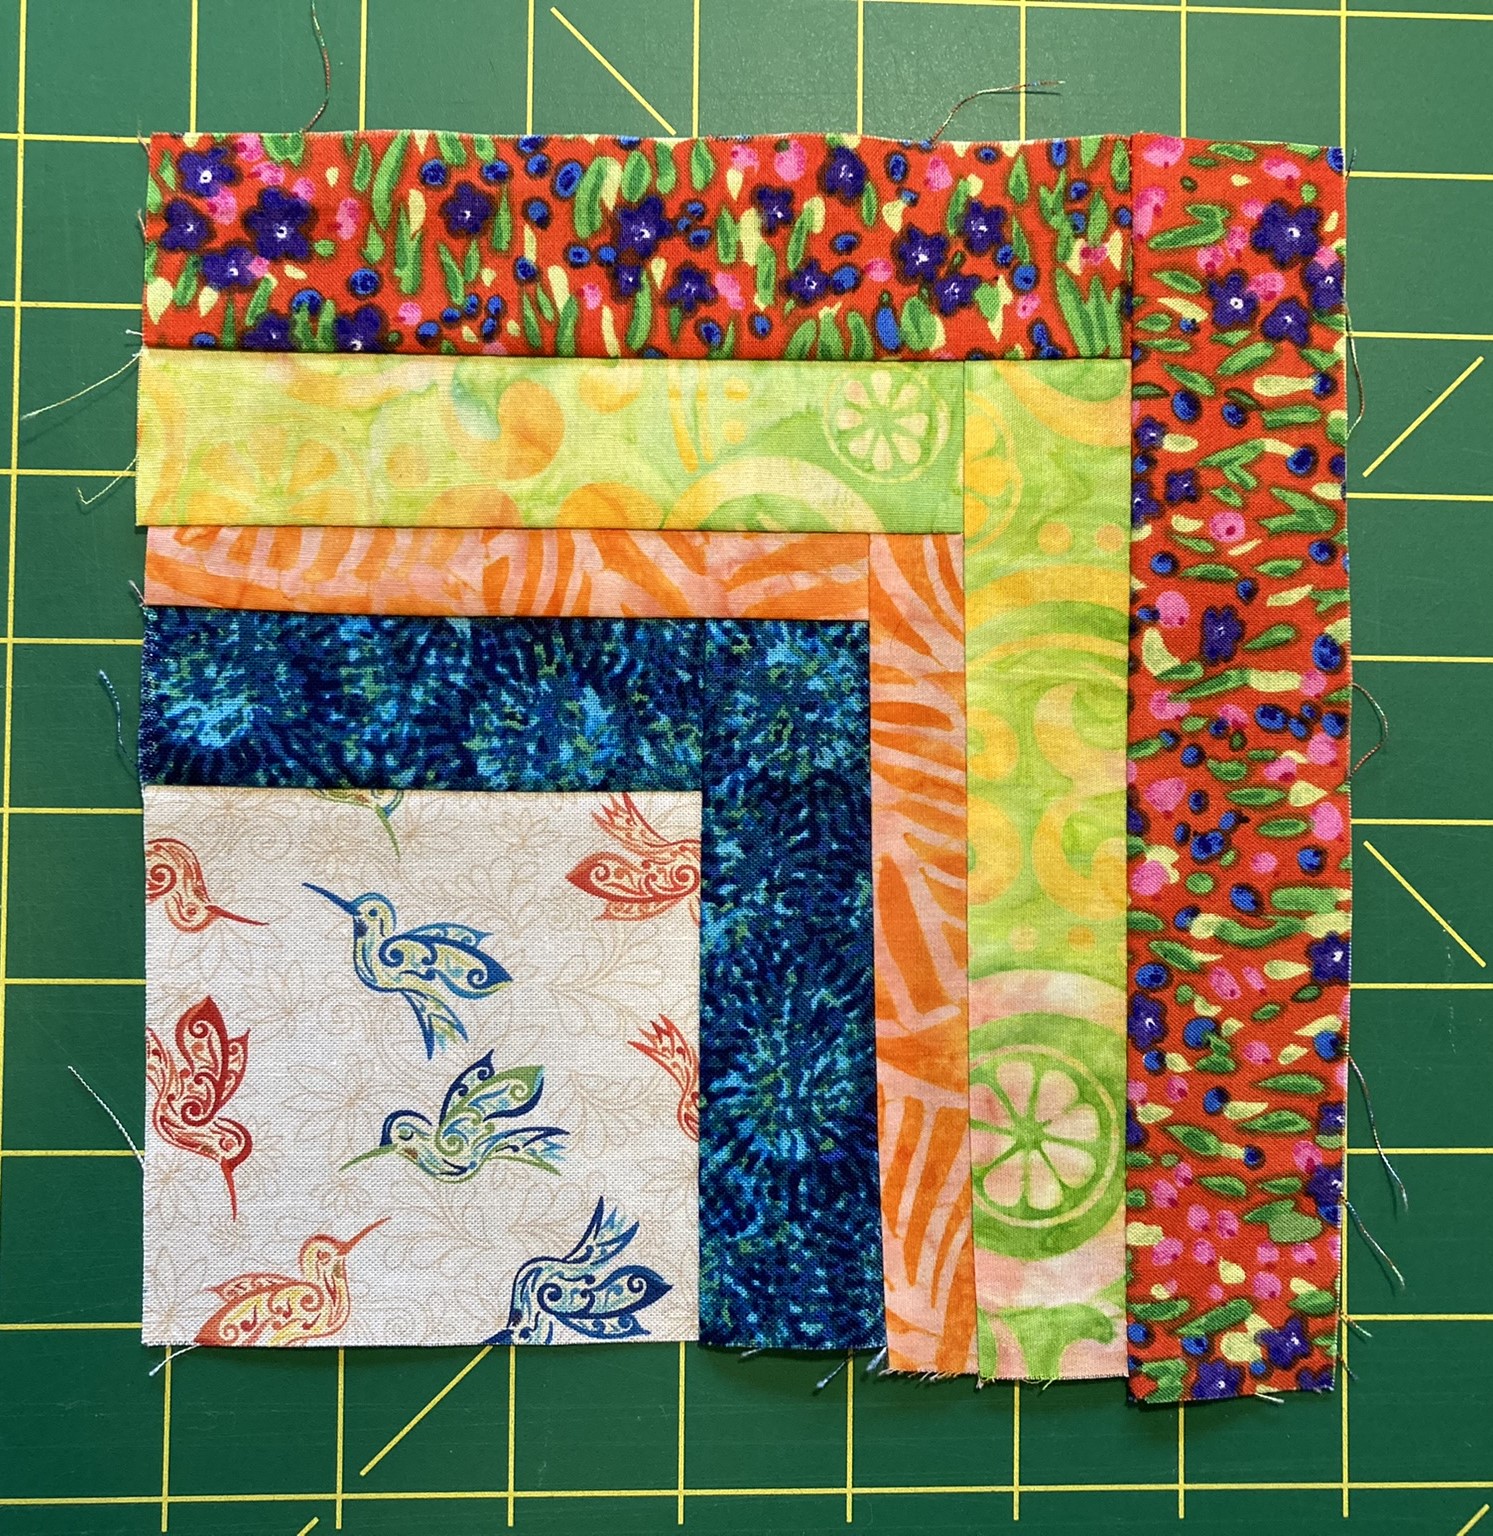
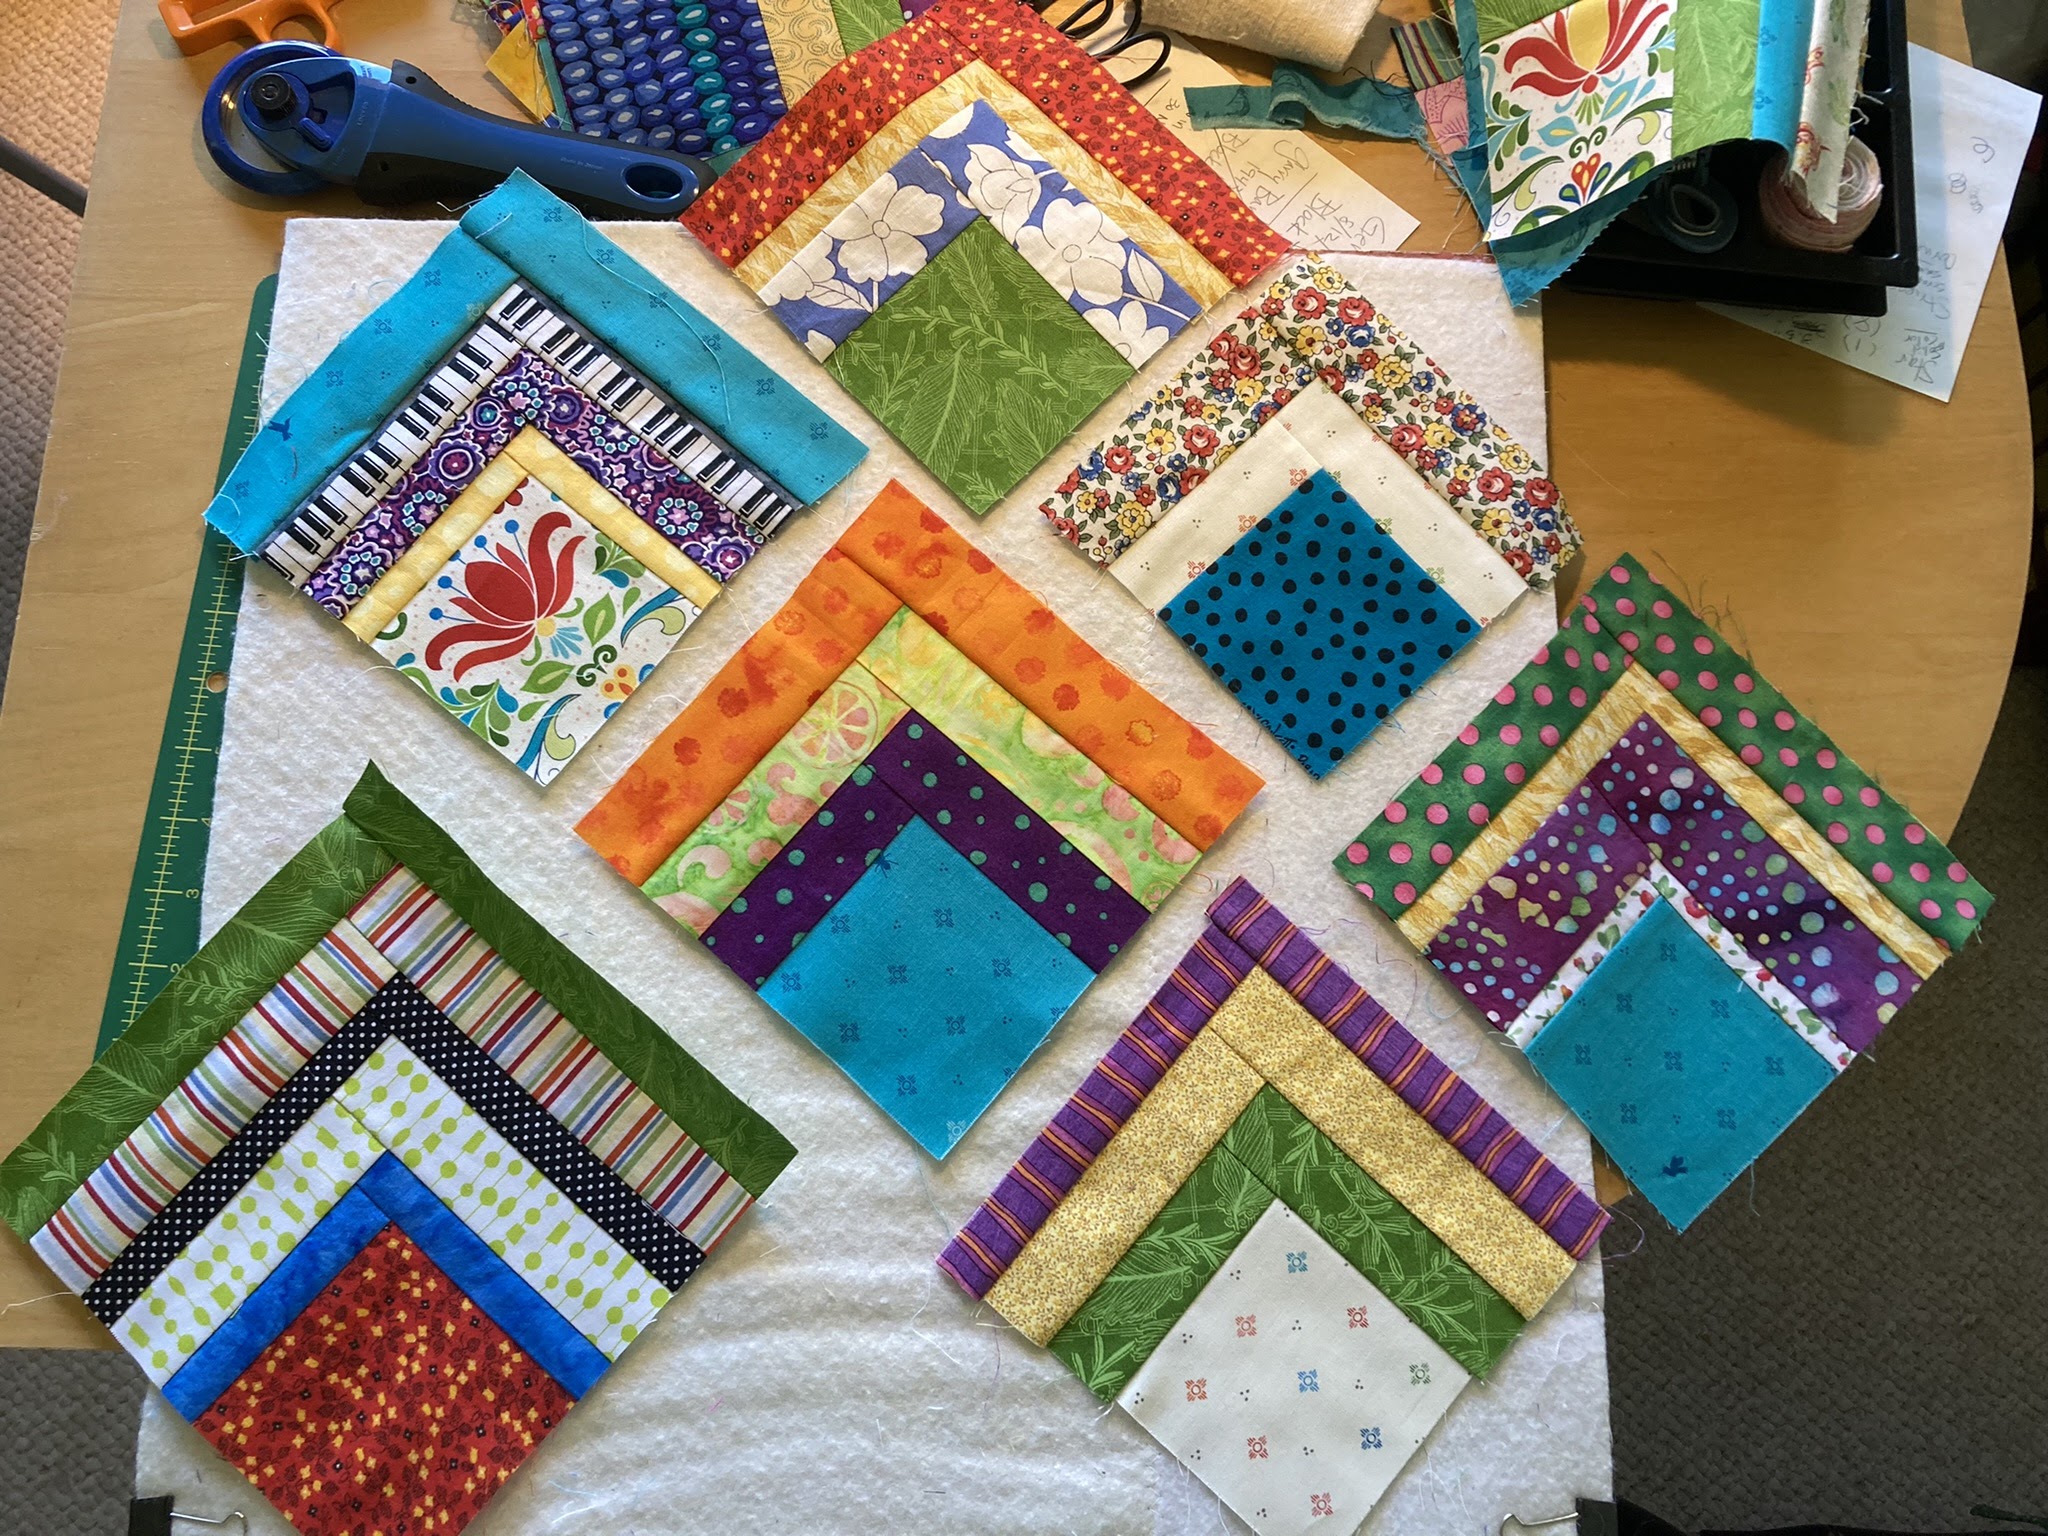
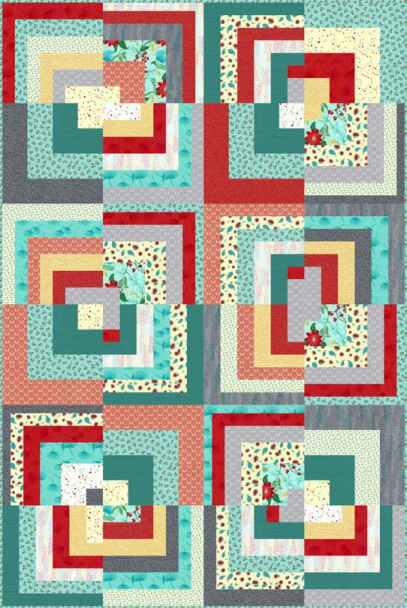
Here is 2 examples of blocks I have made.


| Piece | Fabric | Qty | |||
|---|---|---|---|---|---|
| 1 | A | 1 | 2" x 2" | ||
| 2 | B4 or B8 | 4 8 | 4½" x 4½" 2½" x 2½" | ||
| 3** | C | 2 | 6¼" x 6¼" | ||
| 4** | Background | 2 | 6¼" x 6¼" | ||
| 5 | Background | 4 | 2" x 6½" | ||
| 6 | Background | 4 | 2½" x 2½" | ||
| Unfinished Block Size | 14" | ||||
**These are the oversized patches that will be trimmed to perfection AFTER stitching.
- Fabric A is a small square which can be coloured or black and white - fussy cut if you wish
- Fabric B - Halloween Fabric (or other fabrics as suggested)
- Fabric C - Black and White, Black, or Black and Grey or Grey or Orange or Mauve/Purple
- Background - White or White on White or Slightly Off White Low volume fabric - with interesting black or grey details if you wish.
- Background - White or White on White or Slightly Off White Low volume fabric - with interesting black or grey details if you wish.
- Background - White or White on White or Slightly Off White Low volume fabric - with interesting black or grey details if you wish.
 Mark the fabric with the X
 Sew the 1/4 inch seams either side of the lines


The other side of the block showing the lovely point. If your points are being cut off you need to check your cutting size and sewn seam allowance. Move your needle across so you get an accurate 1/4 inch seam.


.JPEG)


