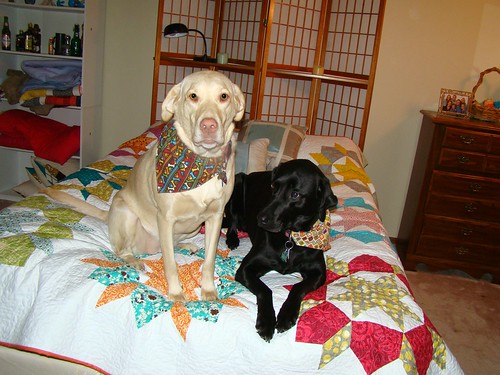
Hi everyone! My name is Jessica and I blog over at SewCraftyJess. By day I work as an audiologist, treating hearing and balance disorders, and by night I huddle down in my sewing room and stitch away! I live outside of Pittsburgh with my husband who is very supportive and tolerant of my sewing and quilting obsession, and more importantly turns a blind eye to my compulsion to buy pretty fabric. We have two fur-babies, a 5 year old black Lab named Zoey, and a 3 1/2 year old yellow Lab named Bella.
Dena said it best "the looks on their faces is cracking me up "what, you said we could be here" and the black one "are you sure she said we could get on the quilt?" What loves!!!!!" Bella is hands down the ringleader of all things trouble, and Zoey just follows her lead.
I began sewing almost three years ago, when my husband bought me a sewing machine for Christmas. I initially wanted a machine that could embroider so I could personalize gifts and things, but after a few sewing, and then quilting classes at Joann's I was hooked.
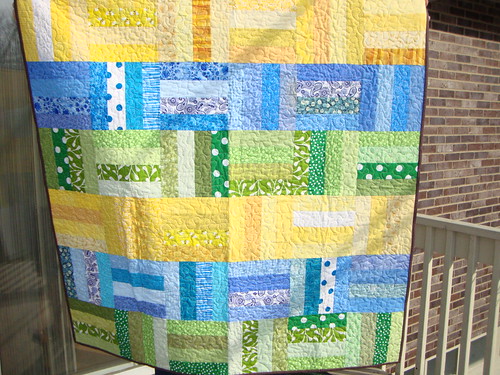
This was the very first quilt I ever made. This was before I knew about things like "proper seam allowances" and "designer fabrics," I'm pretty sure all the fabrics in this quilt came from Joann's, and even <gasp> Walmart (I cringe even admitting that). Needless to say, this quilt has not held up very well, and now has a wear hole in one spot, but it holds a special place in my heart, because it was my first quilt ever.
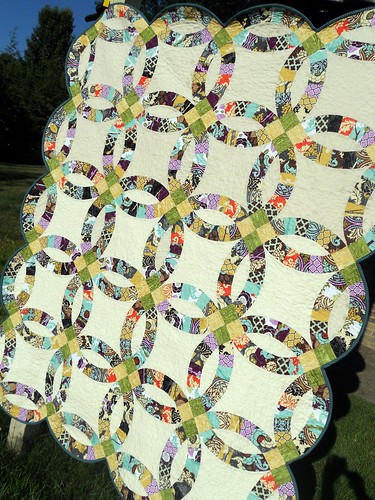
Last Christmas I upgraded my machine to Bertha, and she is a quilting beast. I love her dearly, and now can't imagine quilting with anything else. As for the hardest thing I have ever made, I'd have to say it was the Double Wedding Ring quilt I made last year for my cousin and her husband.
There was definitely a learning curve with this quilt, but I learned alot, and am now totally comfortable with piecing curves. I think my hands actually hurt from being pricked from all the pins so badly, but perhaps I'm forgetting how bad it was, because I would totally make it again!
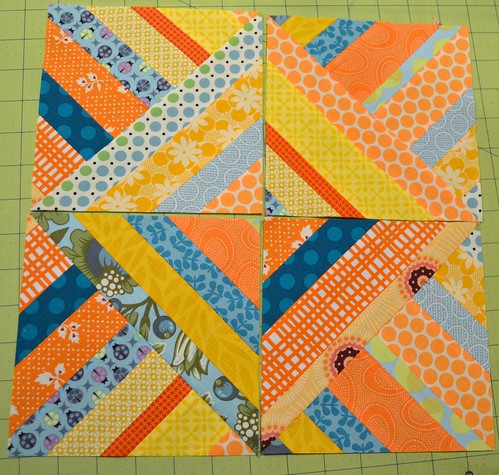
Well, now that you know a little bit about me, onto this months block! I wanted a block that would work very well with scraps, and no need for a universal solid color, and settled on this block and tutorial by Kristy, and this block by Erin.
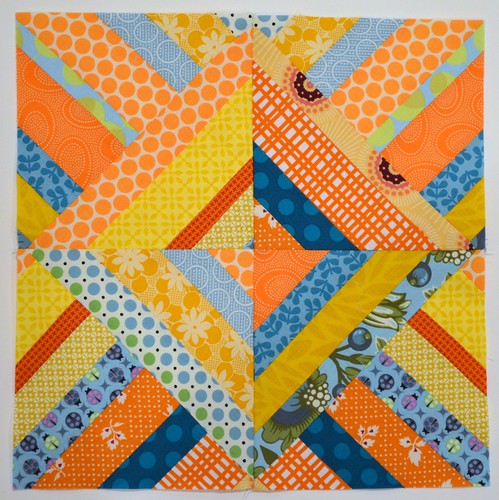
I've tweaked the tutorial below, so please read through for block instructions. I'm requesting prints predominantly in aquas, yellows and oranges, however some variation is fine, as these are scrappy blocks. Please use fabric strips measuring at least 10" long and between 1"-2" wide.
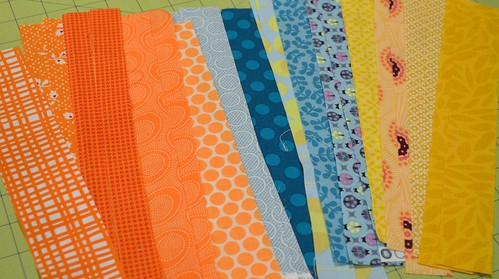
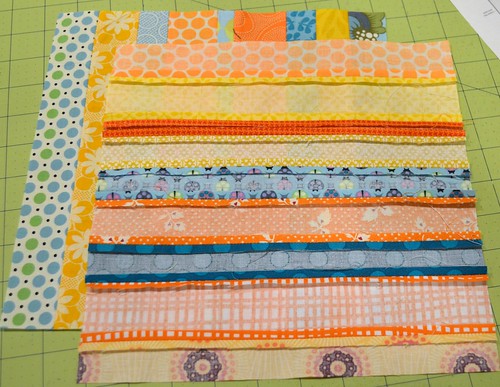
For each block, sew together strips to create (2) 10" x 10" squares. Press seams open, and trim to a perfect 10" square.
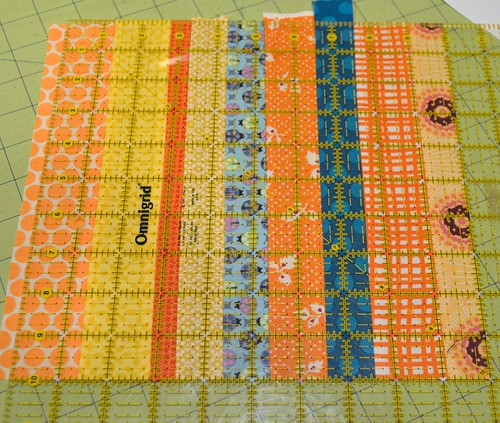
Align the (2) 10" x 10" squares right sides together, making sure that for one square the strips are running horizontally, and the second square the strips are running vertically.
Pin to keep fabrics in place, and stitch a 1/4" seam around all four sides of the square.

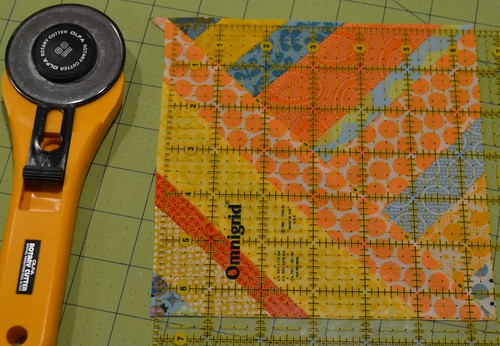
Cut each square on both diagonals, as shown below to create (4) appx. 6 3/4" half square triangles.

I chose to press seams towards the side of the HST that had the fabric strip running parallel to the seam to cut down on bulk. because you are dealing with bias edges, I also found it helpful to use spray starch.
Trim your pressed HSTs to 6 1/2" square.
Well, now that you know a little bit about me, onto this months block! I wanted a block that would work very well with scraps, and no need for a universal solid color, and settled on this block and tutorial by Kristy, and this block by Erin.

I've tweaked the tutorial below, so please read through for block instructions. I'm requesting prints predominantly in aquas, yellows and oranges, however some variation is fine, as these are scrappy blocks. Please use fabric strips measuring at least 10" long and between 1"-2" wide.

For each block, sew together strips to create (2) 10" x 10" squares. Press seams open, and trim to a perfect 10" square.

Align the (2) 10" x 10" squares right sides together, making sure that for one square the strips are running horizontally, and the second square the strips are running vertically.

Pin to keep fabrics in place, and stitch a 1/4" seam around all four sides of the square.

Cut each square on both diagonals, as shown below to create (4) appx. 6 3/4" half square triangles.

I chose to press seams towards the side of the HST that had the fabric strip running parallel to the seam to cut down on bulk. because you are dealing with bias edges, I also found it helpful to use spray starch.
Trim your pressed HSTs to 6 1/2" square.
Align your (4) HSTs so the strips form a central diamond shape.
Stitch the (4) HSTs together. Your finished block should measure 12.5" square.
I would love it if everyone could send two blocks, but if you can only make one, that's fine too! Thanks so much, can't wait to see everyone's blocks, let me know if you have any questions!!

Oh darn another trip to the fabric store...shame *wink*
ReplyDeleteThese look great! Can't wait to get started :)
ReplyDeleteWow, this looks like it will be fun with a fair amount of hair taring along the way.
ReplyDeleteoooh I LOVE these! Cannot wait to get started! Great colors as well!
ReplyDeleteCan't wait to get started! Love the bright colors!
ReplyDelete