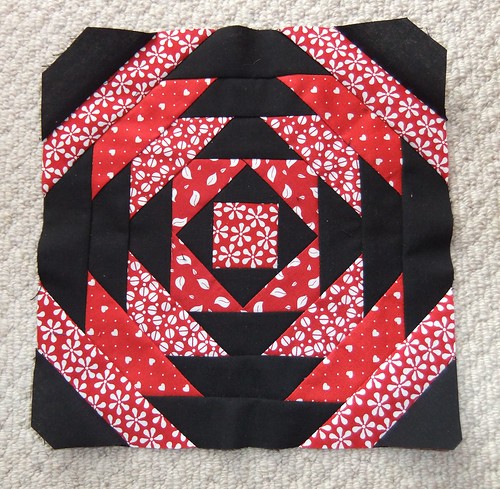
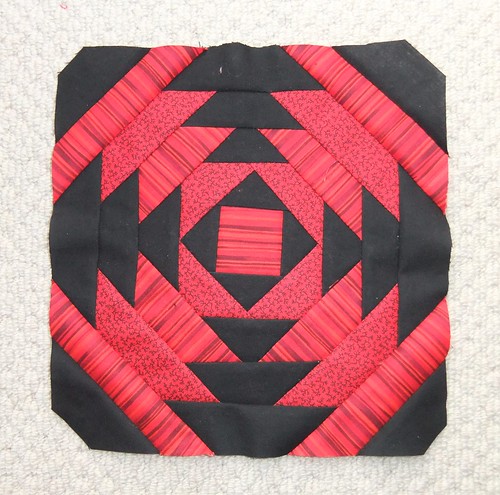
This is my first written tutorial. Forgive my mistakes and lengthy tutorial. I wrote it basically for the quilter that has not paper pieced before. Hope you all can understand it. :)
Tools that are HELPFUL to have:
Add-a-quarter ruler
Cardboard (I use the 5” cardboard from a charm pack)Carol Doak's Foundation Paper
*Blue fabric – solids or prints (the blue print can have white or red in it but no other colors). Please no baby blues or blues that have a touch of purple in it.
*Red fabric – solids or prints (the red print can have white or blue in it but no other colors). Please no pink red, orange red, or purple red.
*Kona White
The star can be all blue & white, or all red & white, it can be blue in the center, white, then the red at the points. All the red & blue fabric can be the same or scrappy like my sample. You can even go red, blue, red, blue throughout the star. The only thing I ask is that #2, #3, #6, and #7 be Kona White.
Template
The bordered star template can be found at Quilting Climber. Print at 100%. You’ll need to print four of the templates. Monica who designed the template has a 1” marker for you to verify that it printed correctly.
 |
| WRONG |
 |
| CORRECT |
Place your fabric front side up on #1. You'll be sewing on the lines and placing fabric on the non-printed side.
Next you'll want to trim some fabric so that it is 1/4" off of the #2 line. I placed the cardboard where the #2 line is and folded the template. I used the add-a-quarter ruler and cut the fabric at the 1/4".
The picture below is to just show you how I line the #2 piece of fabric on top of the #1 fabric.
Once I line them up, I then turn it over so that I can see the lines to sew on.
You'll be sewing on the line between #1 and #2. I take my length stitch down to 1.8. This makes it easier to take the paper off at the end.
Dry Iron the #2 fabric over. Turn it over and use the cardboard and fold over on the line between #1 and #3.
Now you'll want to use the add-a-quarter ruler and cut after 1/4".
Now you'll sew the line between #1/#2 and #4.
So you keep doing these steps until the end. Once you sew the line, iron, fold the next line, add the 1/4", sew again.
Here is how it will look like before trimming down.
When you trim, don't trim away the last 1/4" line. That will be the 1/4" seem allowance when you sew them all together. I take the paper off before sewing the star points to each other. Sew A & B together matching seems.
Now sew all 4 squares together.
Note: Once I sewed my first square block, I realized that when sewing, I should have sewed the line thru the 1/4" on the template.
With a pen, just extend your sewing lines out. By sewing to the end through where the 1/4" seem is for sewing them together, this helps secure them down. Just a tip that helped me after I started on the second set.
I will NOT need a SIG block. On the back of Quilts of Valor quilts I need to have a QOV label. I will fill it out and state STASH BEE - Hive #1. They ask the quilters to send a journal about making the quilt for the wounded soldier. I never do. I just send a card to thank them and let them know how much I appreciate their service and sacrifice. If you would like to send a little note, I'd be happy to send it along with mine. Just seal it up and stick it in with your block.
FYI - Once I put together the quilts, I then send it along with the backing to a designated long arm quilter that I get assigned to. They provide the batting and quilt it for free. They just don't do a meandering design over it, it is gorgeous work. Once I get them back, I'll post. I then bind and ask for a destination for the quilt to go to. My only 2 that I have done, have gone to a hospital Army Base in Germany. So that is QOV in a nutshell.
Again, I really appreciate your help on these QOV quilts. If you have any questions, about the star, just email me.
Thanks again!
Cindy


