This is my sixth year participating in Stashbee, and I'm glad to be Queen Bee for February 2022. I created a Floating Rectangle Block that is modern, scrappy, and easy. The block is 9-1/2" (unfinished), and you can use up small scraps for the rectangle and bigger scraps for the background. Because the rectangle "floats" it doesn't have to be centered, so I don't give exact measurements for cutting the background fabrics, and it's easiest to make the outer background strips oversized so the block can be trimmed down at the end.
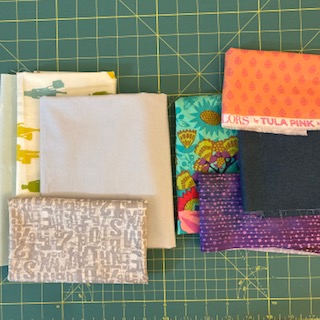
Fabrics: Choose light a light solid or a low-volume print for the background, and a bright solid or print for the rectangle. Modern fabrics look best for this block.
Cutting: From the background fabric cut a square or rectangle (a square IS a rectangle, but I aim to be clear) any size from 3" to 5" per side. From the bright fabric, cut 1-1/2" wide strips long enough to go around all four sides, but you don't have to trim them before sewing. The remaining background fabrics will be cut as you go after the center is pieced.
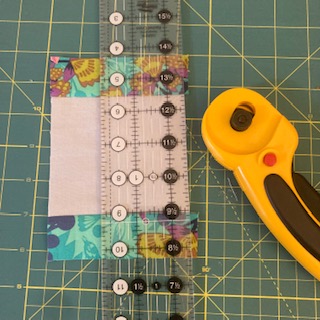
Sewing: Start by sewing two of the bright strips to opposite sides of the center rectangle.
Press the strips to the outside and trim the edges even with the center rectangle.
Sew strips to the other two sides in the same way, then press and trim.
Next cut a background strip somewhat longer than one of the sides, and any width you like. You don't have to be precise because you'll trim down later. Sew the background strip on one side, then press outward. No need to trim yet.
After the first two background strips are sewn, press and trim even with the raw edges of the center rectangle, then repeat with two other background strips. You'll end up with a shaggy oversized block. You can declare your block finished at this point and send it to me as-is, and I'll trim it down. Otherwise, trim the block down to 9-1/2" square, making sure the edges of the block are parallel to the edges of the rectangle. A large square ruler works great for this or use the lines on your cutting mat to get the size accurate.


No comments:
Post a Comment
Thank you for your comments!
Note: Only a member of this blog may post a comment.